


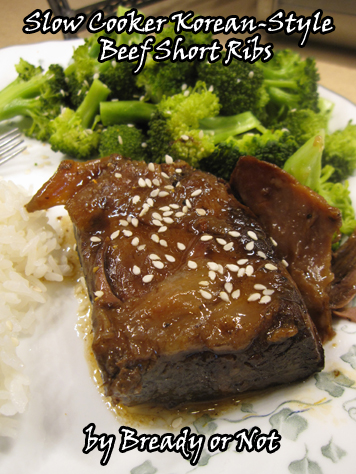
Bready or Not Classic: Slow Cooker Korean-Style Short Ribs
If all has gone according to plan, I’ve fled to a far-distant isle to enjoy Wensleydale cheese and scones. I didn’t want to schedule new recipes while I travel as I won’t be able to promote them to the fullest. Therefore, I’m revisiting a classic recipe this week. Enjoy!
I’m presenting to you the recipe for one of the best dishes I’ve ever made in a crock pot: Korean-Style Short Ribs.
I have made this many times over now. I’ve even tried it using cheaper cuts like chuck roast and rump roast. Those worked out okay (though the meat really dries out before its soak in the juice at the end), but they are nowhere as delicious as the short rib version.
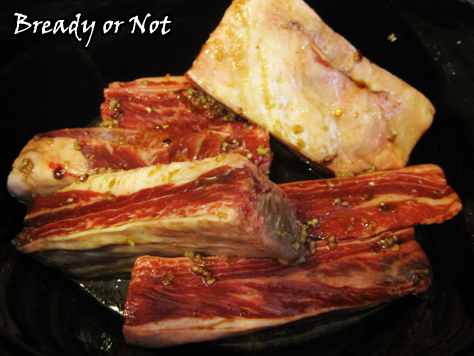
It turns out amazing whether you use boneless or bone-in ribs–a mix is a great way to go, too! Don’t trim the fat. You want all that flavor. The end result is a sauce that tastes like you added red wine, but you didn’t. It’s like MAGIC.
Seriously, these ribs taste like something from a great Asian restaurant. Pair it with some broccoli and a good spoonful of the sauce, and YUM.

Whenever I see beef short ribs go on sale, I do a little dance of joy because it means I get to make this recipe again.
Bready or Not Classic: Slow Cooker Korean-Style Beef Short Ribs
Ingredients
- 1/2 cup low-sodium soy sauce
- 1/3 cup light brown sugar packed
- 2 Tb sesame oil
- 2 Tb rice vinegar
- 1/2 teaspoon powdered ginger
- 4 cloves garlic minced
- 1/2 tsp red pepper flakes
- 5 lbs beef short ribs bone-in adds more flavor, but boneless works
- 1-2 Tb cornstarch
- sesame seeds optional
Instructions
- In a small bowl, mix together soy sauce, brown sugar, oil, vinegar, ginger, garlic and red pepper. Place the ribs in a 5 or 6-quart slow cooker; pour the sauce over them. Cover and cook on HIGH for 4 hours or on LOW for 9 hours. Depending on how the ribs are stacked in the cooker, you may want to quickly stir them at some point halfway through.
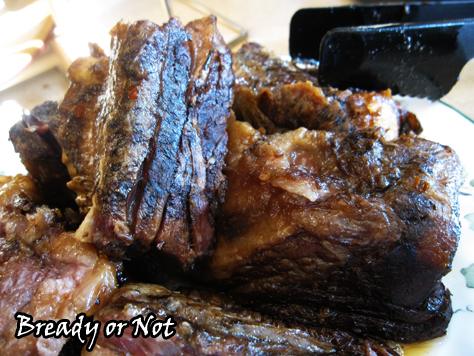
- Use a slotted spoon to remove the ribs from the cooker. Place a tablespoon of corn starch in a small bowl and add some juice from the cooker. Whisk them together to create a slurry without lumps, and add back into the crock pot. Stir. If the juice doesn't start to thicken, repeat the process with some more corn starch.
- Either keep the ribs intact, or pull meat into chunks and discard the bones and fat. Place meat in cooker again on WARM setting for 10 minutes or so to soak in flavors. Serve. Great with rice, broccoli, and perhaps a sprinkling of sesame seeds!
- OM NOM NOM!
Bready or Not Original: No Bake Chocolate Almond Oatmeal Bars [Gluten Free]
I’m here to set you up with a breakfast or snack bar that is delicious and mostly healthy. Plus, these No Bake Chocolate Almond Bars can be tweaked for several dietary needs!
![Bready or Not Original: No Bake Chocolate Almond Oatmeal Bars [Gluten Free]](https://www.bethcato.com/blog/wp-content/uploads/2018/11/No-Bake-Choc-Almond-Breakfast-Bars5_sm.jpg)
If you need gluten-free, use GF rolled oats. If you need dairy-free, use different chocolate chips. If you have nut allergies… well, you could probably use all-purpose flour and a different nut butter or even Biscoff spread, but I haven’t tested that mod myself.
![Bready or Not Original: No Bake Chocolate Almond Oatmeal Bars [Gluten Free]](https://www.bethcato.com/blog/wp-content/uploads/2018/11/No-Bake-Choc-Almond-Breakfast-Bars1_sm.jpg)
Though I did test this recipe. A lot. Because it kept coming out tasty, but still a bit off.
![Bready or Not Original: No Bake Chocolate Almond Oatmeal Bars [Gluten Free]](https://www.bethcato.com/blog/wp-content/uploads/2018/11/No-Bake-Choc-Almond-Breakfast-Bars8_sm.jpg)
The first try, I used milk chocolate chips, which is always my preference in cookies. To my surprise, I found the end result to be too sweet.
![Bready or Not Original: No Bake Chocolate Almond Oatmeal Bars [Gluten Free]](https://www.bethcato.com/blog/wp-content/uploads/2018/11/No-Bake-Choc-Almond-Breakfast-Bars13_sm.jpg)
The second try, I became quite frustrated when pressing the base layer into the pan. It was a big sticky mess.
![Bready or Not Original: No Bake Chocolate Almond Oatmeal Bars [Gluten Free]](https://www.bethcato.com/blog/wp-content/uploads/2018/11/No-Bake-Choc-Almond-Breakfast-Bars6_sm.jpg)
Therefore, by the third try, I knew what to do. Use semisweet chips. Chill the oat mixture from the time it is mixed. I also found that these bars were fantastic to freeze; just use waxed paper between the stacked bars.
![Bready or Not Original: No Bake Chocolate Almond Oatmeal Bars [Gluten Free]](https://www.bethcato.com/blog/wp-content/uploads/2018/11/No-Bake-Choc-Almond-Breakfast-Bars5_sm-150x150.jpg)
Bready or Not Original: No Bake Chocolate Almond Oatmeal Bars [Gluten Free]
Ingredients
Crust
- 3 cups old fashioned oats
- 1/2 cup almond flour
- 3 Tablespoons coconut oil melted
- 1/2 cup + 2 Tablespoons pure maple syrup
- 3/4 cup almond butter
- 1/2 teaspoon ground cinnamon
- 1 teaspoon vanilla extract
Filling
- 3/4 cup dark chocolate chips or semisweet
- 1/4 cup almond butter
Instructions
- In a large bowl, mix together all of the crust ingredients. The mixture should be sticky and clump together. If it's not cohesive, add more almond butter; if it's too wet, add some more oats and/or almond flour. Chill bowl in fridge for an least an hour.
- Line an 8x8 or 9x9-inch pan with aluminum foil and apply nonstick spray.
- Press half of the crust mix evenly into the bottom of the pan. A piece of waxed paper or parchment and a heavy glass make it easier to compress as much as possible. Place pan and bowl in fridge for another 30 minutes.
- In the microwave or in a pan on the stovetop, melt together the chocolate chips and remaining almond butter. When they become creamy and smooth, remove from heat. Pour the chocolate to completely cover the oat layer. Chill for another hour.
- Dollop the remaining oat mixture atop the hardened chocolate. Again, compress contents into pan as much as possible. Chill another 30 minutes.
- Use the foil to lift contents onto a cutting board. Slice. Keep bars for up to 3 weeks in the fridge, in a sealed container with waxed paper between the layers, or freeze for up to a month.
- OM NOM NOM!
Bready or Not: Baked Goat Cheese Salad Rounds [Gluten Free]
Let’s start off the new year with a deliciously cheesy recipe to make a salad extra special: Baked Goat Cheese Salad Rounds!
![Bready or Not: Baked Goat Cheese Salad Rounds [Gluten Free]](https://www.bethcato.com/blog/wp-content/uploads/2018/10/Baked-Goat-Cheese-Salad-Rounds9_sm.jpg)
This recipe is super easy. There are only four ingredients! The work is minimal as it goes in stages.
![Bready or Not: Baked Goat Cheese Salad Rounds [Gluten Free]](https://www.bethcato.com/blog/wp-content/uploads/2018/10/Baked-Goat-Cheese-Salad-Rounds2_sm.jpg)
The end result is a delicious, fancy cheese to add to your salads over the coming weeks. I do large salads with lots of cheese, so I use two rounds. For a small salad–or if you want less cheese (goat cheese IS strong)–do one round.
![Bready or Not: Baked Goat Cheese Salad Rounds [Gluten Free]](https://www.bethcato.com/blog/wp-content/uploads/2018/10/Baked-Goat-Cheese-Salad-Rounds4_sm.jpg)
The nice thing about this is that the recipe has everything portioned and ready in the freezer. In the time it takes to assemble the salad, the cheese rounds are baked and ready for eating.
![Bready or Not: Baked Goat Cheese Salad Rounds [Gluten Free]](https://www.bethcato.com/blog/wp-content/uploads/2018/10/Baked-Goat-Cheese-Salad-Rounds7_sm.jpg)
This is true whether you’re cooking for one, or for a group over for brunch.
![Bready or Not: Baked Goat Cheese Salad Rounds [Gluten Free]](https://www.bethcato.com/blog/wp-content/uploads/2018/10/Baked-Goat-Cheese-Salad-Rounds10_sm.jpg)
I made this recipe using the goat cheese available at Costco, where it is sold in a pack of two 10.5-ounce logs. A glance at Bready or Not of a month ago will show where the other log went–into Swirled Goat Cheese Brownies.
![Bready or Not: Baked Goat Cheese Salad Rounds [Gluten Free]](https://www.bethcato.com/blog/wp-content/uploads/2018/10/Baked-Goat-Cheese-Salad-Rounds11_sm.jpg)
Adapted from a recipe featured in Best of America’s Test Kitchen 2010.
![Bready or Not: Baked Goat Cheese Salad Rounds [Gluten Free]](https://www.bethcato.com/blog/wp-content/uploads/2018/10/Baked-Goat-Cheese-Salad-Rounds9_sm-150x150.jpg)
Bready or Not: Baked Goat Cheese Salad Rounds [Gluten Free]
Ingredients
- 1 cup pecans
- 10 1/2 ounces goat cheese softened
- 1 teaspoon dried Italian herbs
- 2 large eggs room temperature
Instructions
- In a food processor, pulse pecans until finely chopped. Transfer the pecans to another bowl. Add the cheese and herbs to the processor and process until smooth, about 30 seconds. Chill cheese in fridge in a covered bowl until firm, at least an hour.
- Set up a work station. Beat the two eggs in a small bowl. Place next to the bowl of pecan pieces. Lastly, line a small cookie sheet or plate with waxed paper.
- Use tablespoon scoop to doll out about 12 equal dollops of goat cheese onto the waxed paper. Smooth out a ball of cheese between palms, then dip into the egg, allowing excess to run off, then press and roll the ball to coat with pecan. Set back on waxed paper. Repeat with other balls. Use palm or the bottom of a glass to compress the cheese into flat rounds. Place in freezer for several hours, at minimum.
- Once they are set, transfer the rounds to a sealed container for the freezer with waxed paper between the layers. IMPORTANT: They will go straight from the freezer to the oven. Don't thaw, or they'll lose their shape when baking!
- When ready to bake, preheat oven or toaster oven at 475-degrees. Place foil on cookie sheet. Remove from freezer however many cheese rounds desired to cook; two rounds per large salad works well. Spray foil and cheese lightly with cooking spray.
- Bake until the nuts are golden brown and cheese is warmed through, 7 to 10 minutes. Let cool several minutes. Set on a salad of greens tossed with a vinaigrette.
- Frozen cheese rounds will keep well up to a month.
- OM NOM NOM
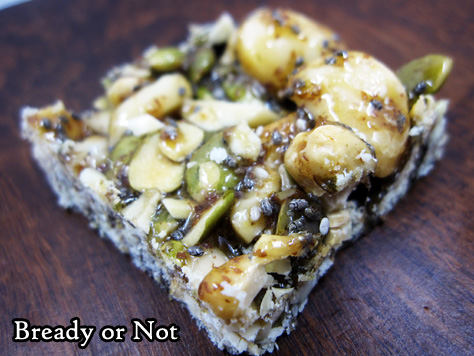
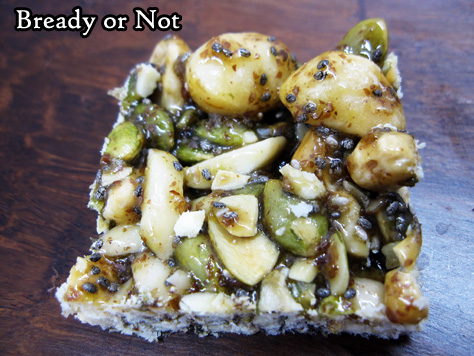
Bready or Not Original: Nutty Bites
I present to you my recipe for Nutty Bites. These are a fantastic snack or breakfast.
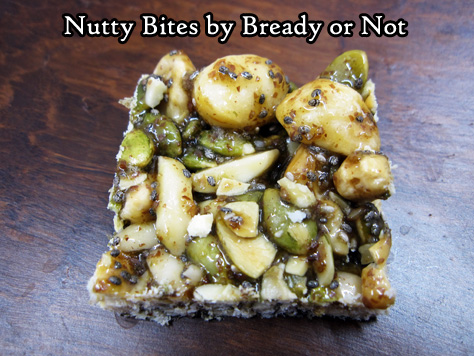
Plus, they are super-healthy, loaded with nuts and seeds, totally gluten-free, with honey as the sweetener and binding agent.
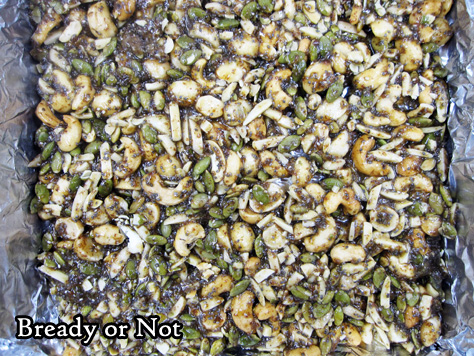
This is an easy recipe to customize, too. Keep the amounts of nuts and seeds the same, but switch in peanuts, hazelnuts, walnuts, wheat germ, sunflower kernels… whatever you like!
You can toast the nuts first, if you choose. I actually preferred it untoasted. Do note that some smaller add-ins like pepitas can burn quickly, and burned pepitas don’t taste that great. (Voice of experience here.)
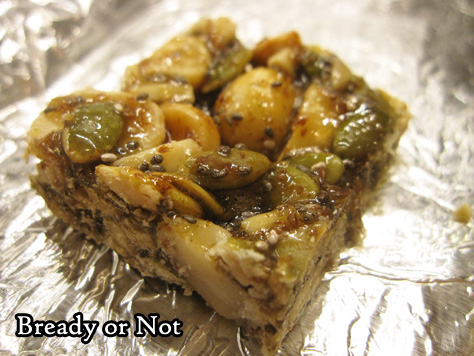
I can report that these keep well in the freezer for at least a month, too. Just make sure to have something like waxed paper between the layers–and even then, in a few spots with heavy honey, the bars might stick.
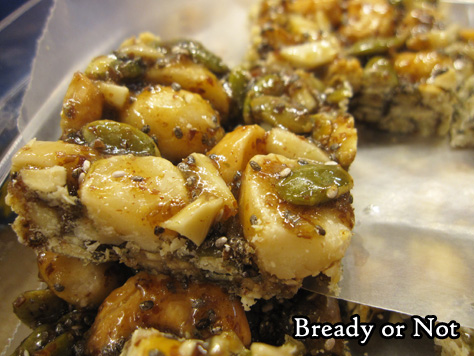
Oh, and did I mention that this is entirely made on stovetop? No need to heat up the house by turning on the oven! Whip out your candy thermometer and you’ll have Nutty Bites ready in no time flat.
Bready or Not Original: Nutty Bites
Ingredients
- 1/2 cup macadamia nuts
- 1/2 cup pecans
- 1/2 cup almonds
- 1/2 cup pepitas
- 1/4 cup chia seeds
- 1/4 cup ground flaxseed
- 3/4 cup honey
- 1/4 cup water
- sprinkle salt
Instructions
- Mix the nuts and seeds together in a large glass or metal bowl. Prepare an 8x8 pan with parchment paper or aluminum foil, and grease well.
- Heat the honey and water in a medium saucepan on medium-high. Use a candy thermometer to track the temperature as it rises to 275-degrees (soft crack stage). Stay close to the pan at all times! Once the honey starts boiling, it will bubble excessively, so keep stirring and use great caution.
- As soon as it reaches 275-degrees, pour the honey mix over the nuts and seeds. Stir to coat. It will harden quickly, so move fast! Pour everything into the ready pan and press out evenly.
- Let set out for an hour. Use a knife or bench knife to chop into squares. Store at room temperature in a sealed container between wax paper layers; they can also be frozen.
- OM NOM NOM!
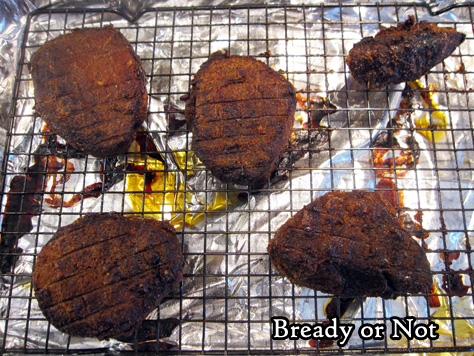
Bready or Not: Homemade Beef Jerky
Beef jerky is expensive to buy. If you can catch a good sale on an eye of round roast, this recipe makes cheap and delicious Homemade Beef Jerky.
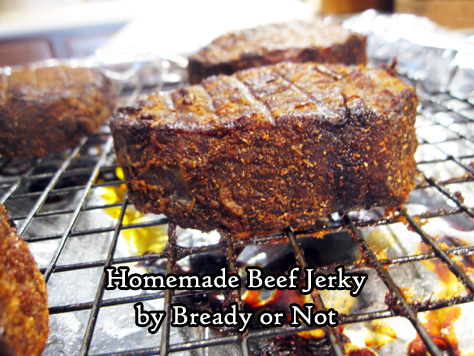
It’s really amazing how easy this recipe is. Cut up roast into chunks. Cover pieces in spices. Marinate for a day in the fridge. Bake for 6 to 7 hours. Done.
I’ve made this recipe a couple times now, and honestly, the weirdest thing is keeping the meat at room temperature after baking.
I mean, I’m used to doing that with store-bought jerky, but it feels weird to do that with home-cooked meat. However, I haven’t sickened or killed myself or various loved one with my homemade jerky, so I take that as a positive.
Most of the eye of round roasts I find on sale tend to be over 2 1/2 pounds. I just use more generous measures of spices for the rub. This isn’t a recipe where everything needs to be exact. Just make sure there’s enough rub to cover everything.
Also, the amount of cayenne looks like a lot, but the heat in this recipe is pleasant, not set-your-mouth-on-fire level. I can testify that myself and others who can’t stand spicy-hot have eaten this jerky without any issues.
And if you want more heat, by all means. Dump in more cayenne!
Modified from Michael Symon’s Beef Jerky recipe in Food Network Magazine, December 2017.

Bready or Not: Homemade Beef Jerky
Ingredients
- 2 - 2 1/2 pounds eye of round roast trimmed of fat
- 1 1/2 Tablespoons kosher salt
- 2 teaspoons white sugar
- 2 teaspoons garlic powder
- 1 teaspoon onion powder
- 1 teaspoon cayenne pepper
- 1 teaspoon chipotle chili powder
- 1/2 teaspoon coriander
- 1/2 teaspoon smoked paprika
Instructions
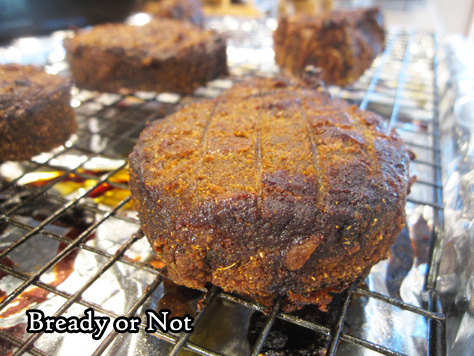
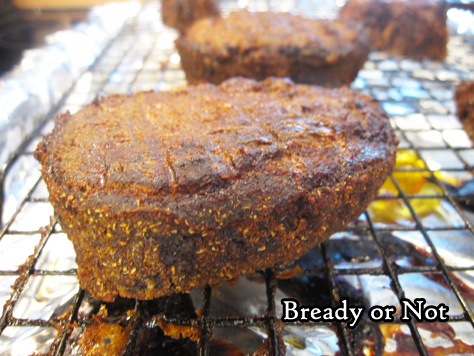
- Slice the beef against the grain into chunks roughly 1 inch by 3 inches long. If the pieces look large, that's fine; they'll shrink a lot as they cook.
- In a mixing bowl, combine all of the spices. Liberally cover the beef pieces, using the entire mix. Place beef in a gallon bag, and keep sealed in the fridge for 24 hours or so.
- Preheat oven at 250-degrees. Line a baking sheet with foil and place a metal rack on top; apply nonstick spray. Set the meat on the rack so that no pieces are touching.
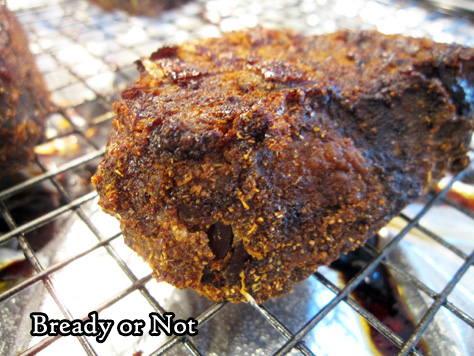
- Bake for 6 to 7 hours, until quite dry. If you want pieces chewier, remove closer to 6 hour point.
- Let cool completely to finish drying. Store in sealed container at room temperature for up to several months.
- OM NOM NOM!
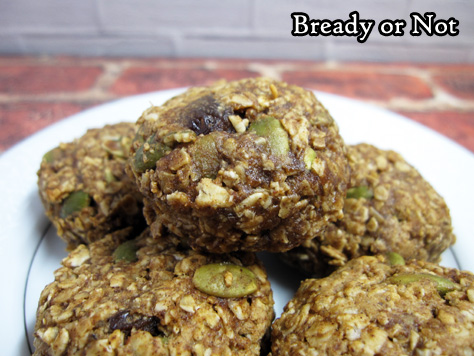
Bready or Not: Healthy Breakfast Cookies [Redux]
Cookies for breakfast. Healthy cookies. No refined sugars. Vegan. Also gluten-free, if you use GF oats.
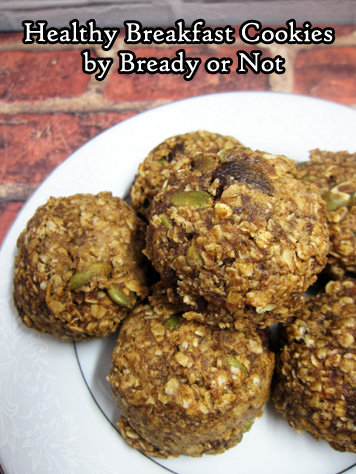
Even better: they taste delicious.
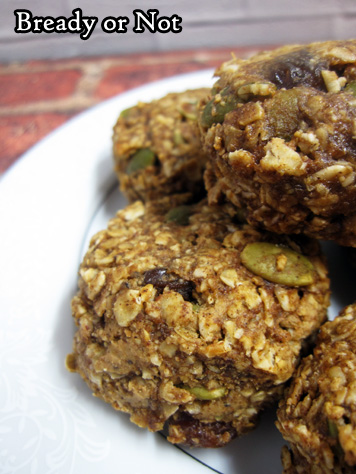
This is one of my favorite breakfast recipes, one I’ve made at least once a month for the past five years. In fact, I posted it on Bready or Not back in 2014. Delicious as the cookies are, I couldn’t finagle the lighting then to do the recipe justice. Now, thanks to my Shotbox, I can.

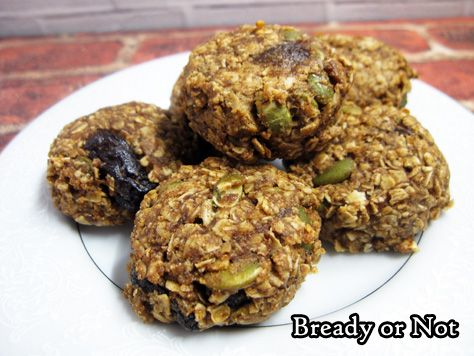
I customize these cookies based on my mood and what I have on hand. I’ve used macadamia nut butter, cashew butter, and almond butter–and combinations thereof. I’ve used apple butter, pumpkin butter, and date butter–and in a pinch, I’ve used applesauce and doubled the cinnamon.
For the dried fruit, I often use a mix of golden raisins and dried cranberries, but I’ve thrown in dried blueberries, too. If you don’t have pepitas, use sunflower kernels or other chopped nuts.
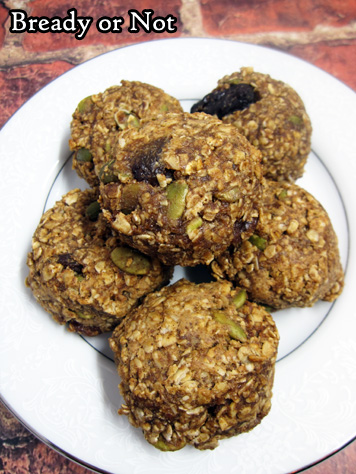
I usually whip up a batch and freeze 2/3 of it right away. The cookies keep perfectly fine in a room temperature sealed container for over a week. Two or three cookies make for a great breakfast prior to exercising!
Did I mention they are also delicious?
Bready or Not: Healthy Breakfast Cookies [Redux]
Ingredients
- 2 cups quick oats not whole or old-fashioned oats
- 3/4 teaspoon salt
- 1 teaspoon ground cinnamon
- 1 cup nut butter
- 1/4 cup pure maple syrup or honey
- 3/4 cup fruit butter apple butter, date butter, etc
- 1 cup dried fruit raisins, cranberries, etc
- 1/2 cup pepitas shelled pumpkin seeds or other seeds or nuts
- 1/4 cup ground flaxseed or wheat germ
Instructions
- Preheat oven to 325-degrees. Prepare cookie sheets with parchment or silicone baking mats, or use seasoned stoneware.
- Combine all of the ingredients into a large bowl.
- Using a tablespoon or tablespoon scoop, drop dollops of dough onto cookie sheet. Note that it won't spread. Use fingers to gently tamp down top and press in stray oats on the sides; it will be a little sticky.
- Bake for 12 to 15 minutes or until the cookies are just set. Cool for several minutes before transitioning them to a rack to finish cooling.
- OM NOM NOM!
Follow me


