


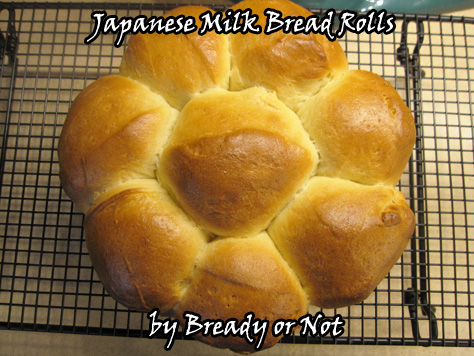
Bready or Not: Japanese Milk Bread Rolls
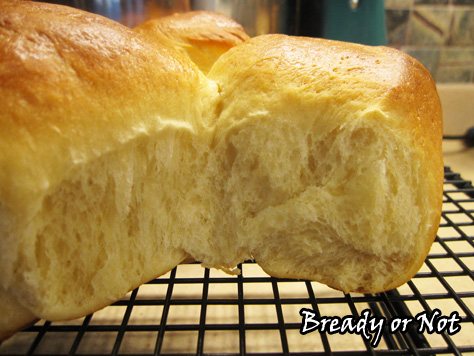
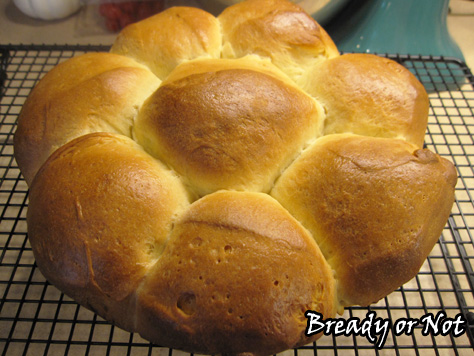
This recipe for Hokkaido-style milk bread rolls makes 8 delicious soft, airy, amazing rolls.
I couldn’t help but be intrigued when I saw this recipe featured in a King Arthur Flour catalog. It relates to the cultural fusion that plays a major role in my latest book, Breath of Earth.
See, yeast breads in Japan were a real life kind of steampunk innovation. European bakeries began to open in major Japanese cities in the 1800s, but they didn’t become more popular until later in the century when bakers began to fuse more Japanese flavors like adzuki paste into rolls. These kinds of sweet bread (kashi-pan) play a small yet vital role in my next book, Call of Fire.
This particular roll isn’t sweet unless you add some jam on your own. These are more of a combination between a standard dinner roll and an egg-based bread like challah.
I usually don’t make breads that involve a pre-ferment stage, but I was pleased with how easy this was to make. I had the dough mix and rise in my bread machine, but you can mix this by whatever method you choose.
This is modified from the recipe at King Arthur Flour. They note there that this can also be made in loaf form. I also have my own recipe for doing a full loaf of Japanese-style Milk Bread (Shokupan). This is my usual load bread that I make about twice a week.
I can tell you, my husband wouldn’t mind if I made these rolls a lot more frequently as well.
Bready or Not: Japanese Milk Bread Rolls
Ingredients
Tangzhong (starter)
- 3 Tablespoons water
- 3 Tablespoons whole milk or half & half
- 2 Tablespoons bread flour
Dough
- 2 1/2 cups bread flour
- 2 Tablespoons nonfat dry milk
- 1/4 cup white sugar
- 1 teaspoon salt
- 1 Tablespoon instant yeast
- 1/2 cup whole milk or half & half
- 1 large egg
- 1/4 cup unsalted butter 4 Tablespoons, melted
- 1 egg optional, or extra milk to use as a wash
Instructions
To make the tangzhong:
- Combine the starter ingredients in a small saucepan on low heat. Whisk until no lumps remain and continue to beat until it's thick and the whisk leaves no lines across the bottom of the pan; this takes 3 to 5 minutes. Pour it into a cup and set it aside to cool to room temperature.
To make the dough:
- Combine the remaining dough ingredients and add the tangzhong. Continue to knead by hand, mixer, or bread machine until a smooth, elastic dough forms. Add more milk or flour if necessary to achieve the right texture.
- Shape the dough into a ball and set it in a lightly greased covered bowl for about 60 to 90 minutes. It should be puffy, not necessarily doubled in size.
- Prepare a small cake pan by lining the bottom with a cut round of parchment paper. Use nonstick spray on the base of the pan so the parchment stays in place, then spray the top of the paper and the sides of the pan.
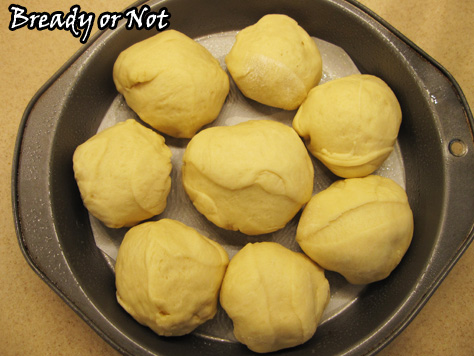
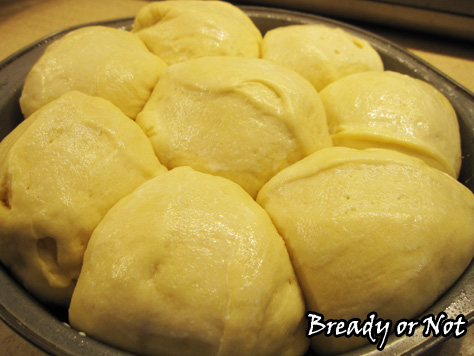
- Gently deflate the dough and divide it into 8 equal pieces. Shape each piece into a ball and place them in the pan. Cover it with plastic wrap and let the rolls rest for 30 minutes to an hour; keep an eye on them in case they rise fast!
- Preheat the oven at 350-degrees. Gently brush the rolls with milk or an egg wash (1 egg beaten with 1 Tablespoon water).
- Bake the rolls for 25 to 30 minutes, until they are golden brown on top. To check for doneness, use a digital thermometer inserted into the center of the middle roll to see if it is at least 190°F. If the rolls must cook longer, cover them with foil if they are very brown.
- Remove rolls from the oven. Let them cool in the pan for 10 minutes, then transfer them to a rack to cool completely.
- OM NOM NOM!
Read More
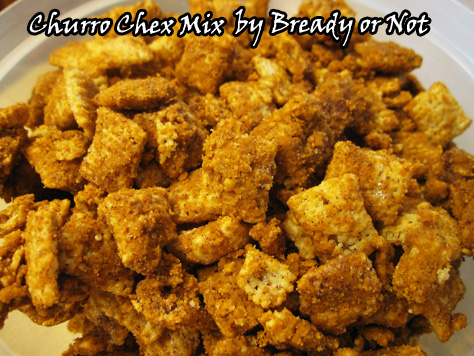
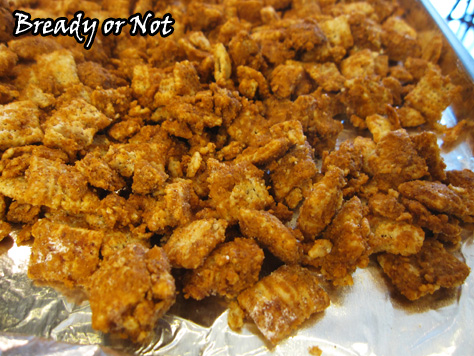
Bready or Not: Churro Chex Mix
Churro Chex Mix is addictive. It is dangerous. It might cause a sugar high that keeps you awake for a full day.
This stuff has made the rounds on lots of food blogs. I looked at about five different recipes, read the comments for more tips, and threw together my own version. I was concerned that some of the recipes featured a lot of Chex that looked, well, naked.
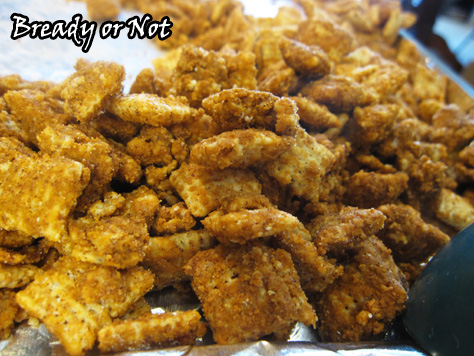
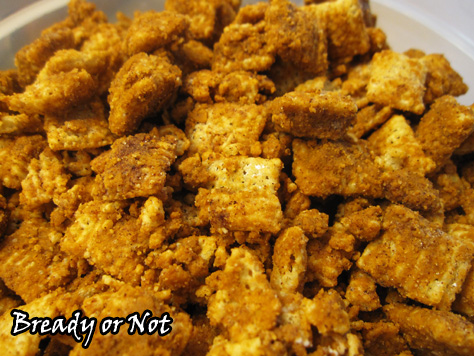
I wanted my mix to be slathered in happy sugar and cinnamon. I soon discovered that the pale pieces still have a lot of sugary-ness. It’s just invisible. Subtle. Ninja-like.
Note that Nestle cinnamon chips melt in a very thick way. It might be necessary to add a lot more butter (because these things weren’t unhealthy enough already) to make it easier to stir the melted goop into the cereal.
Also, depending on the ingredients you use, this can be served-up gluten free! Heck, you could even use Cinnamon Chex or the Cascadian Farms cinnamon cereal and just decrease the amount of added cinnamon.
Just be warned: this makes a LOT. Be ready to share it with a lot of friends!

Bready or Not: Churro Chex Mix
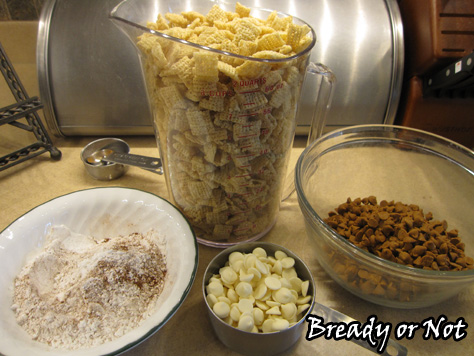
Ingredients
- 9 cups Rice Chex cereal about 1 cup less than full regular box
- 1/4 - 1/2 cup unsalted butter
- 1 bag cinnamon chips
- 1 cup white chocolate chips
- 1/2 cup confectioners' sugar
- 1/4 cup white sugar
- 3 tsp ground cinnamon
Instructions
- Pour Chex cereal into a ginormous bowl. Combine sugars and cinnamon in small bowl so that it's ready to go. Also set out a few large rimmed cookie sheets; line them with aluminum foil for easy clean up.
- In a microwavable bowl, melt the 1/4 cup butter, cinnamon chips, and white chocolate chips. Heat for 30 seconds, stir, then 30 seconds, then stir, continuing in small careful bursts until the chips smooth out. Be careful: the chocolate burns fast! Nestle-brand cinnamon chips tend to melt extra thick, so add another 1/4 cup butter (or more) if needed to make it more fluid.
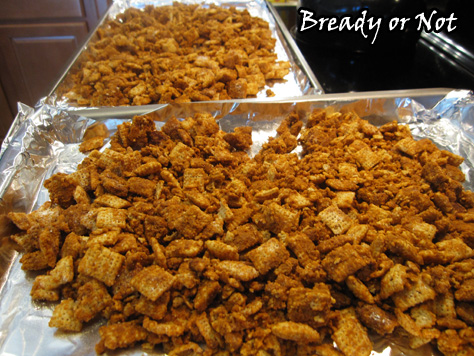
- Pour some melted mix over the cereal. Stir. Add more melted goop. Sprinkle in some sugar mix. Stir. Keep adding more melted mix and sugar mix until it's all gone and things are mostly covered. (Note: it's okay if some Chex still looks kinda naked, because it's still likely covered in sugar!)
- Shift the Chex out onto the cookie sheets and spread it out so it's not too chunky. Let set an hour or so, then throw it in a sealable bag or a few big plastic containers.
- OM NOM NOM!
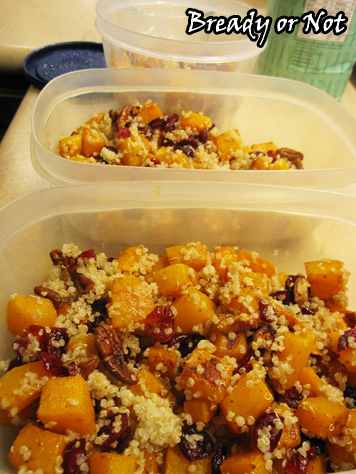
Bready or Not: Butternut Squash and Quinoa Salad
Bready or Not has featured a whole lot of sweets in recent weeks. Let’s switch to something delicious and healthy instead: Butternut Squash and Quinoa Salad.
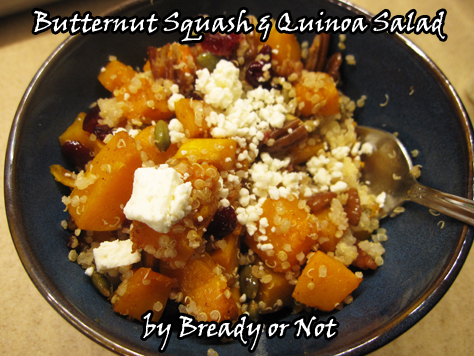
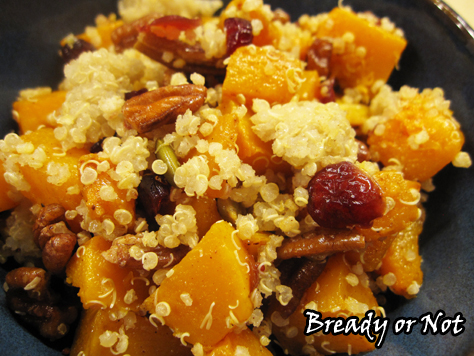
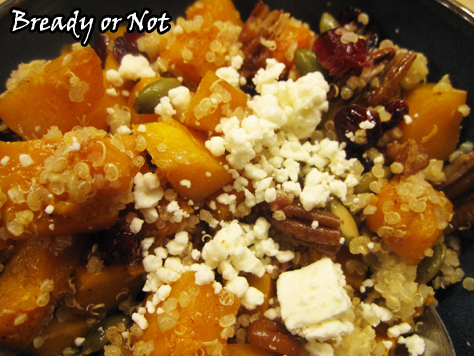
This still has a little bit of sweetness going on. Butternut squash is naturally awesome that way, and a sprinkling of cranberries adds some extra oomph. Add some pecans for crunch and feta because CHEESE, and this creates a bowl of happiness. The quinoa adds protein and kinda enjoys the ride along with all the other flavors.
I cobbled this together from several other recipes. I wanted something that I could invest some time in and then use as a quick-fix dinner for several more days. I parcel it into three or four containers, depending on the size of the squash, and my meals are set! Or, you could use this as a gluten-free main dish or side dish to feed a group.
I can offer a few useful tips, too. I cook quinoa in my Zojirushi rice cooker. One cup of uncooked quinoa makes a LOT once its cooked, more than my salad recipe requires, but cooked quinoa keeps well in the fridge and can also be frozen and thawed weeks later without any issue.
If you’re intimidated by cutting butternut squash, there is a safe and easy way to do it!
Next week’s Bready or Not officially kicks off my October-November tradition of pumpkin and autumn-themed recipes! Time to bust out the stretchy pants.

Bready or Not: Butternut Squash and Quinoa Salad
Ingredients
- 2 1/2 - 3 1/2 pounds butternut squash
- olive oil or avocado oil
- sprinkle pumpkin pie spice
- 1 cup cooked quinoa
- 1/2 cup dried cranberries
- 1/2 cup pecans chopped
- feta cheese
Instructions
- Preheat the oven at 425-F.
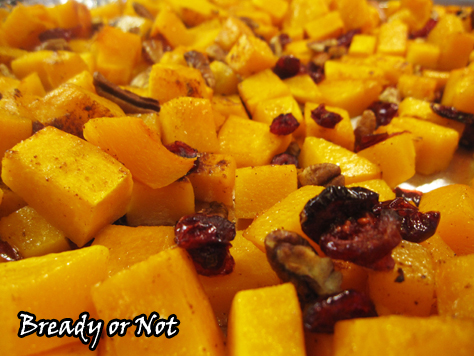
- Line a rimmed cookie sheet with aluminum foil. Spread out the chopped squash and drizzle with oil. Sprinkle spices of choice and some salt. Roast squash for 20 minutes.
- While the squash is roasting, measure out the cranberries and place in a small bowl. Cover the cranberries with water and let them soak. Measure out the pecans.
- When the 20 minutes is up, toss the squash in the pan. Drain the water from the cranberries, discarding water. Add the plumped cranberries and pecans to the squash, and season more, if desired. Cook another 10 minutes or so, until butternut squash is fork tender with roasted coloration.
- Transfer the pan's contents to a large bowl. Gently stir in the quinoa. Serve hot or stash in fridge for later, and heat with microwave. Add sprinkle of feta just before serving.
- OM NOM NOM!
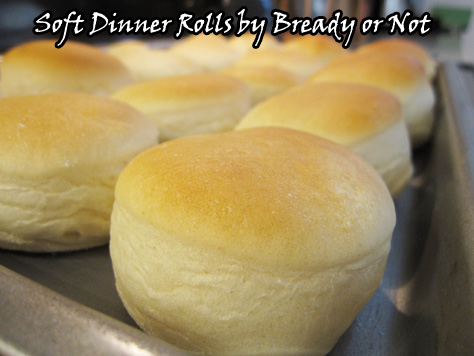
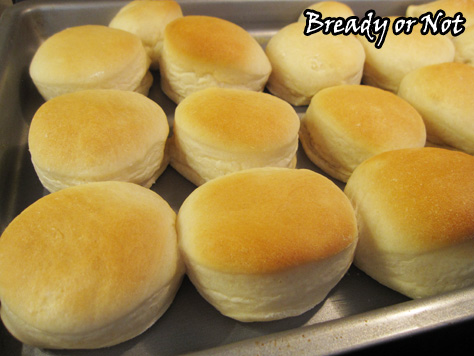
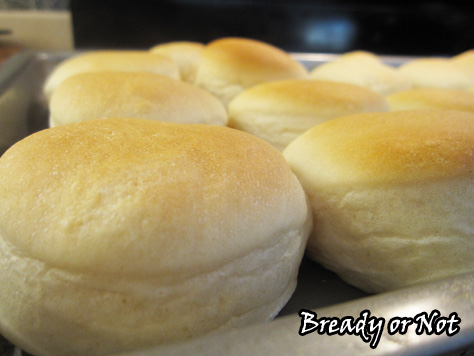
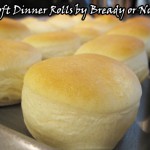
Bready or Not: Soft Dinner Rolls
Back when I first started Bready or Not in 2011, one of my first recipes was for Soft Dinner Rolls. I’m featuring it again today because it’s still a family favorite, and one I make regularly.
I used to be very intimidated by working with yeast. Would the dough rise? How would I know when it was ready? I used box mixes for a while and built up my confidence to handle the stuff from-scratch.
These soft rolls have never failed me. Other doughs are persnickety; this dough is not. The result is soft, and it bakes up into soft, luscious rolls.
These are the rolls I make every year for Thanksgiving and Christmas. I can make them weeks in advance. They thaw fast. They keep for as long as six days in a sealed bag. Most importantly, they reheat and taste as fresh as ever (and can even be reheated another time, too).
If you’re shy about yeast rolls, give these a try! If you’ve already mastered yeast bread, add these to your repertoire–they are worth making again and again.
On the subject of yeast, the only kind I use is SAF Instant Yeast. I store it in a sealed plastic tub in the freezer; the yeast granules don’t freeze, but the cold preserves the yeast.

Bready or Not: Soft Dinner Rolls
Ingredients
- 1 cup warm water 110 degrees (temperature especially important if mixing by hand)
- 1/4 cup vegetable oil
- 2 Tablespoons white sugar
- 3 cups bread flour
- 1 teaspoon kosher salt
- 2 1/4 teaspoons instant yeast or 1 packet bread machine yeast
Instructions
If making by hand
- Mix all ingredients together and knead until soft. Place the dough in a bowl and lightly cover with plastic wrap. Let dough rise 45 minutes to 1 hour; knead down again. Let rise another 45 minutes to 1 hour.
If making in a bread machine
- Add ingredients in the order specified. That often means the liquids first. Set the machine on dough cycle and start; this should run for about 2 hours.
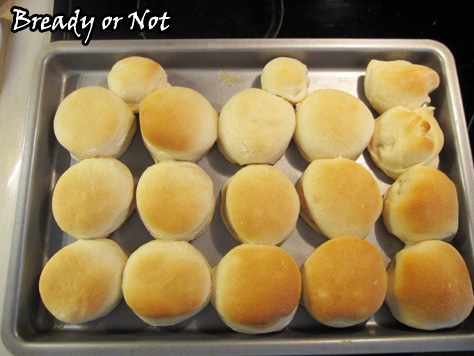
- Prepare a cookie sheet or jelly roll pan by greasing lightly with butter. When the dough is done, lightly flour a mat or flat surface. Gently flatten the dough with hands. It's so soft, a rolling pin isn't necessary. Use a biscuit cutter or other round shape to cut out rolls. Place them spaced out a bit on the pan; it should produce 12 to 15 rolls, depending on the cutter. Lightly cover pan with plastic wrap and let it sit for an hour, or until rolls have doubled in size.
- Preheat oven at 350-degrees. Bake the rolls for 10 to 15 minutes, watching them for desired brownness. Let cool a few minutes before serving.
- Completely cooled rolls can be frozen in gallon freezer bags for several months. Sealed rolls will keep well at room temperature for at least 6 days.
- OM NOM NOM!
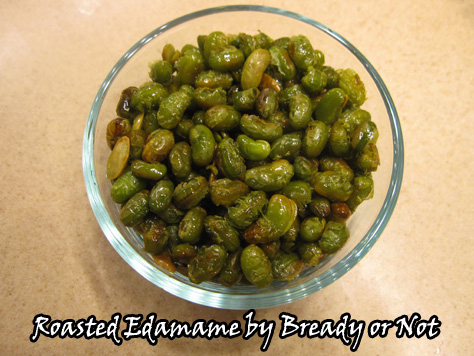
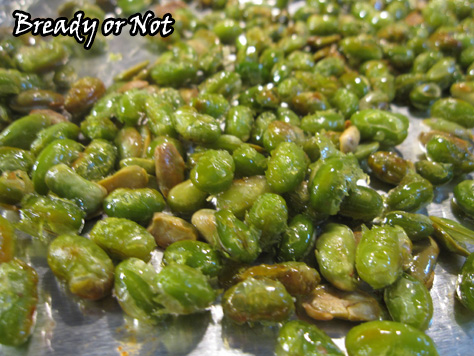
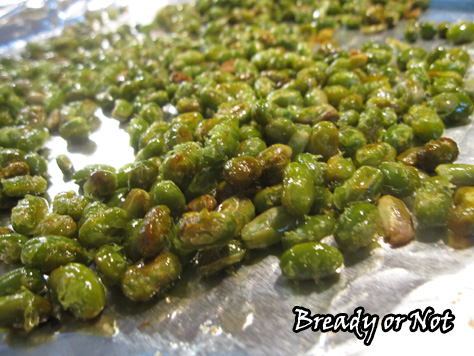
Bready or Not: Roasted Edamame
Roast your own edamame to make a delicious protein addition for salads, noodle dishes, or sandwiches–or as a healthy snack by itself!
Dry edamame is expensive in stores, often sold in small bags. My local Sprouts carried dry edamame in their bin section for an awesome price and I bought it often, but then they remodeled last year and the edamame vanished. Sigh.
So I decided, heck, I’d make my own!

A pound bag of frozen edamame is $2-4 in stores. It takes some planning and minimal work to roast it, and you can make it as crunchy as you like. I like to keep the beans a little chewy.
I do a lot of sweets on here, but this is the kind of food I like to do for myself as a treat. Om nom nom!
Modified from Bams Kitchen.

Bready or Not: Roasted Edamame
Ingredients
- 16 ounces shelled edamame 1 bag, frozen
- olive oil or avocado oil
- sea salt
- pepper
Instructions
- Take the sealed edamame bag out of the freezer and set it on a plate in the fridge to defrost overnight.
- Next day, open up the bag and place the shelled beans in a colander. Rinse and sort through to make sure they are thawed. Set out towels and let the edamame sit out to dry in a single layer; blot the top with another towel. The beans should be completely dry before roasting.
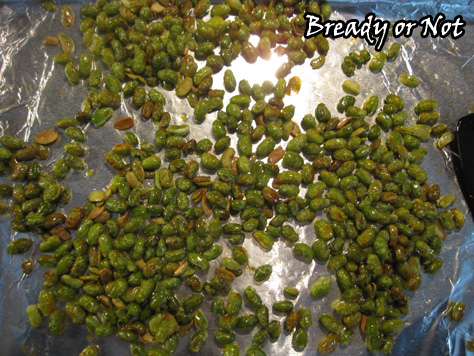
- Preheat oven at 375-degrees. Prepare a rimmed baking sheet with aluminum foil. Place your edamame on the sheet. Drizzle with oil and stir them for complete coverage. Add a sprinkling of salt and pepper.
- Bake for 40 to 50 minutes, with breaks about every 15 minutes to stir the edamame. The longer they cook, the crispier and browner they get, so bake to preferred taste!
- Eat right away, or store in a sealed container in the fridge. Roasted edamame is great as a snack, or in all sorts of dishes!
- OM NOM NOM!
Bready or Not: Chili Lime Mozzarella Sticks
Hot, melted cheese is one of the finest things in life. Add some flavor oomph and you have the perfect yumminess to stuff in your face.
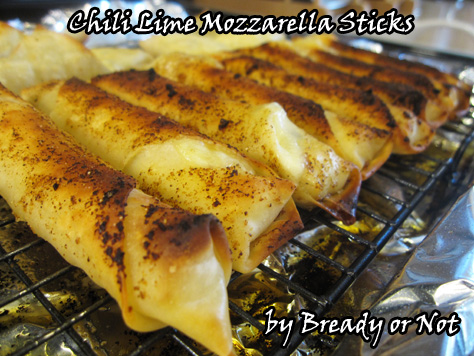
The concept is simple: freeze cheese sticks. Wrap them in egg roll wrappers. Apply seasoning. Bake. Devour.
To boost this to another level, I recommend jalapeno mozzarella sticks. I was a little worried they might be too hot, but it turned out the flavor was very mild. DO NOT BE AFRAID OF THE CHEESE STICK.
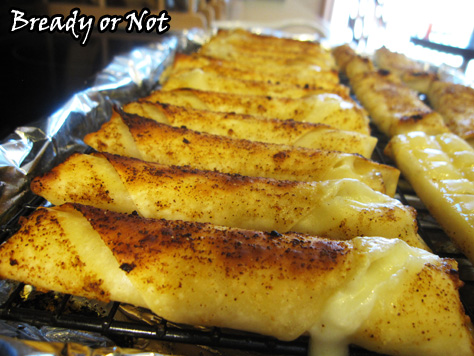
The wrapping process is pretty easy. It gives directions on the back of the egg roll wrap package. However, don’t be like me and forget to brush water on the edges. (I think that’s why my wrappers leaked cheese. This can be categorized as a fantastic problem, because I then had to eat puddles of seasoned cheese off the aluminum foil. Darn.)
Modified from Carlsbad Cravings. First posted by me at the Holy Taco Church.

Bready or Not: Chili Lime Mozzarella Sticks
Ingredients
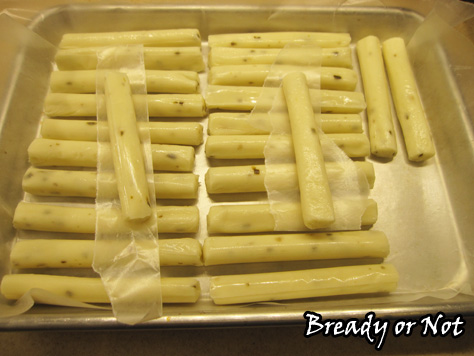
- 24 mozzarella sticks regular or jalapeno
- 20 egg roll wrappers 21-22 come in a pack; count wrappers and perhaps double up on a cheese stick or two
- 1/4 cup water
Chili Lime Olive Oil
- 1 Tablespoon lime juice
- 1/4 cup olive oil
- 1/2 teaspoon chili powder
- 1/2 teaspoon ground cumin
- 1/4 teaspoon onion powder or onion flakes
- 1/2 teaspoon garlic powder
- 1/2 teaspoon kosher salt or sea salt
- 1/4 teaspoon pepper
Instructions
- Unwrap mozzarella sticks and freeze for 1-2 hours. Do this on wax paper so they don't stick.
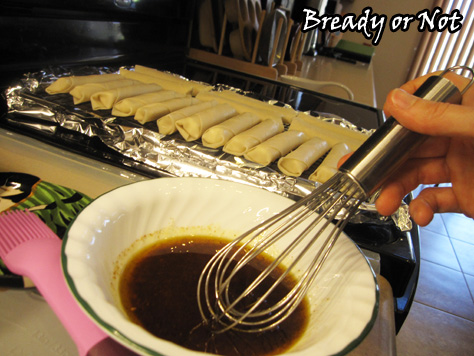
- Whisk together the chili lime olive oil ingredients in a small bowl while the oven preheats to 400 degrees.
- Wrap your sticks. Follow the directions on the package or you can Google it. Be gentle so you don't tear the thin pastry, and do remember to brush water on the edges so that it seals. Note that you likely won't have 24 wrappers in the pack, so count them and be prepared to eat some naked cheese or do some double-wrapped versions.
- Place the wrapped cheese on a baking rack placed on a foil-lined baking sheet. Stir the seasonings again (the spices will settle) and then brush the oil all over the cheese sticks. Use up all that good stuff.
- Bake for 15 minutes at 400-degrees. Adjust the rack and broil for 3-5 minutes, or until golden, then flip them to broil the other side.
- Eat up! They are amazing fresh--dip them in the oil in the pan. Serve with salsa or guac. Also, these things are amazing cold out of the fridge, if you happen to have any leftover.
- OM NOM NOM!
Follow me


