Bready or Not: Slow Cooker Verde Pork Loin
Since March is all about green, let’s start off the month with some colorful meat! This verde pork loin recipe, originally posted at the Holy Taco Church, creates delicious and versatile protein.
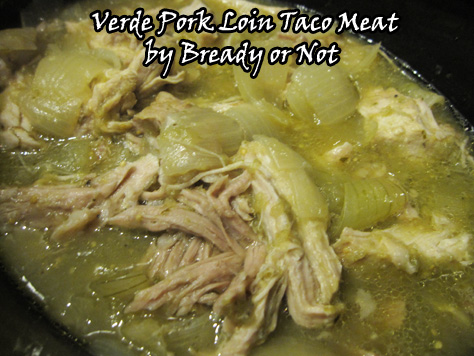
My slow cooker is one of my best friends, a friend that cooks up loads of food to feeds us for days. It works miracle when I’m writing on a deadline. This meat recipe reminds me a lot of posole, that luscious green Mexican stew.
This dish, though, focuses on the meat. This lets you be flexible. You can eat it on a plate with a vegetable side. Or on a salad. Shred it in tacos, burritos, or in a nice oozy quesadilla. Throw it on a Mexican pizza, or load it on nachos.

With good, tasty meat, you can find your bliss in many ways.
Plus, this is great to freeze in a larger dish or in personal portions. Make it last as long as possible!

Bready or Not: Slow Cooker Verde Pork Loin
Ingredients
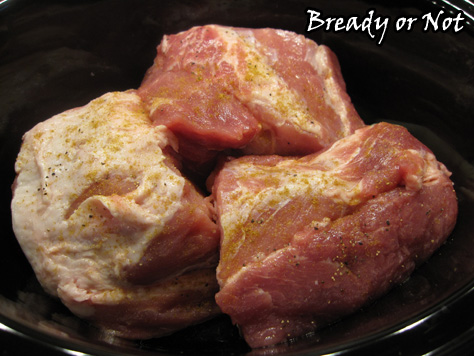
- 3 - 4 pound boneless pork loin shoulder works, though it's much fattier
- 15 - 16 ounce salsa verde jar green salsa
- cumin
- salt
- pepper
- yellow onion or white onion
Instructions
- Slice onion and place it in bottom of crock pot. Trim excess fat from pork and place it atop the onion. Sprinkle with cumin, salt, and pepper. Pour the full jar of salsa over the meat.
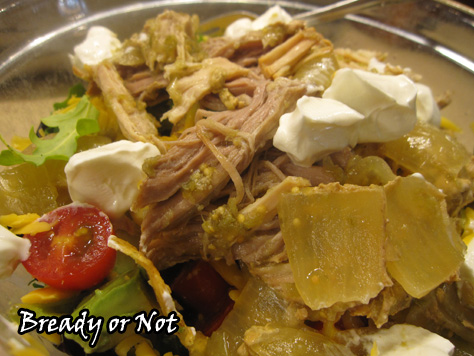
- Cook in crock pot for 8 to 10 hours on low, or 4 to 5 hours on high. About 30 minutes before eating time, shred the pork. Make sure it's all submerged in the sauce and keep on warm setting until meal time.
- This verde pork is awesome in taco shells, tortillas, salads, quesadillas, enchiladas, Mexican pizza, etc. It makes for happy leftovers, too.
- OM NOM NOM!
Read More
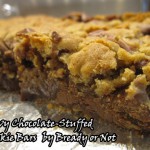
Bready or Not: Chewy Chocolate-Stuffed Cookie Bars
Do you like chocolate chip cookies, the kind that are soft, dense, and cakey? Do you like chocolate? Oh boy. Do I have the recipe for you.
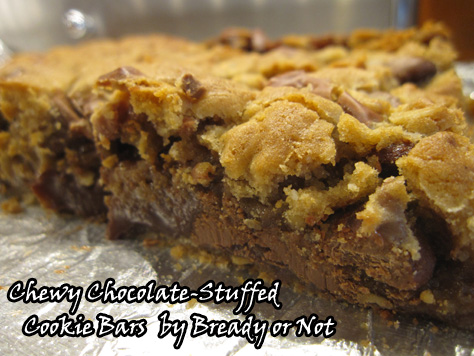
These babies are rich, indulgent, and made to pad thighs. Did I mention they are tasty? Yeah. These are chewy in the best kind of way.
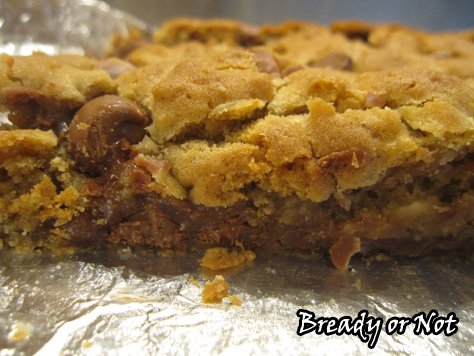
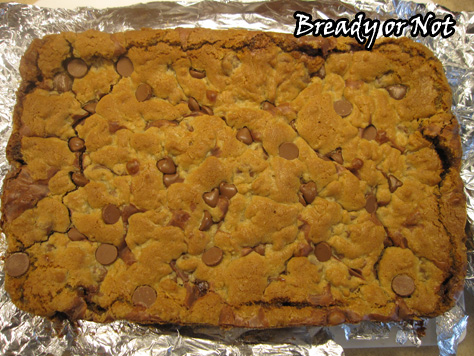
I prefer using milk chocolate chips, but you can tailor these to your taste buds. Go semi-sweet or dark. Mix them all up. Be crazy.
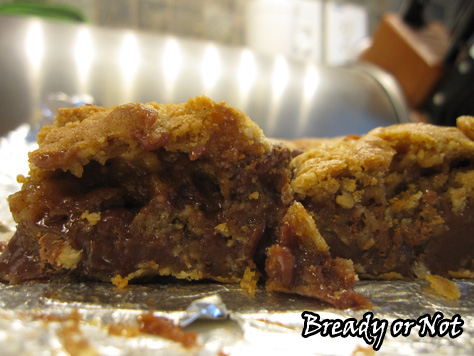
The filling in these bars is rather like a ganache, so it will soften a lot if it’s at room temperature or warmer. I found they kept in the fridge really well in a sealed container.
They keep well in your belly, too.
Modified from Recipe Girl.
Bready or Not: Chewy Chocolate-Stuffed Cookie Bars
Ingredients
CHOCOLATE FILLING:
- 2 cups semi-sweet chocolate chips or milk chocolate chips
- 14 oz sweetened condensed milk
- 2 teaspoons vanilla extract
COOKIES:
- 1 cup unsalted butter 2 sticks, room temperature
- 1 cup light brown sugar packed
- 1/2 cup white sugar
- 2 eggs
- 1 Tablespoon vanilla extract
- 2 cups all-purpose flour
- 1 cup oats quick-cooking or old-fashioned rolled
- 1 teaspoon baking powder
- 1 teaspoon baking soda
- 1 teaspoon kosher salt
- 2 cups semi-sweet chocolate chips or milk chocolate chips
Instructions
For the chocolate filling:
- Place the chocolate chips and condensed milk in a microwave-safe bowl and heat for 40-50 seconds, watching it the whole time--condensed milk can turn to lava if you're not careful! Stir well, and heat again if necessary; the chocolate chips should blend in. Once that happens, add the vanilla extract and stir in. Set aside to cool to room temperature.
For the cookie bars:
- Preheat oven to 350-degrees. Line a 9x13-inch pan with foil, overlapping the sides to make it easy to lift out later. Spray foil with nonstick spray or rub with butter.
- Place the butter and both sugars in a large bowl. Beat until smooth and creamy. Add the eggs and vanilla.
- In a separate bowl, combine the dry ingredients: the flour, oats, baking powder, baking soda and salt. Gradually add to the butter mixture until everything is well incorporated. Stir in the chocolate chips.
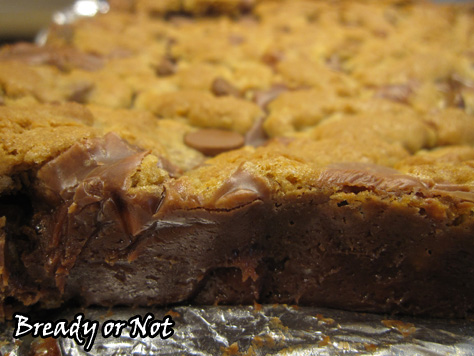
- Place about half the cookie dough in dollops in the ready pan. Gently smooth it out to cover the bottom. Pour the cooled chocolate over the dough. Top that with the remaining dough in dollops; don't worry about covering the whole surface.
- Bake for 20 to 25 minutes, until the top is just golden brown. Cool completely. Use the foil to lift it out of the pan to cut. Store in a sealed container in the fridge, as the middle will soften at room temperature.
- OM NOM NOM!
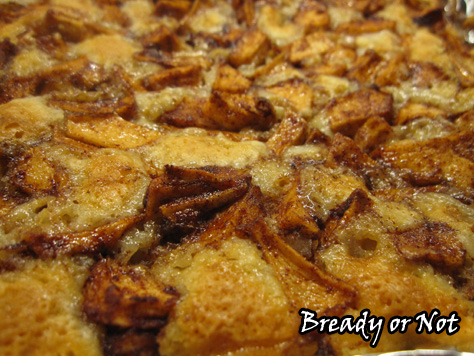
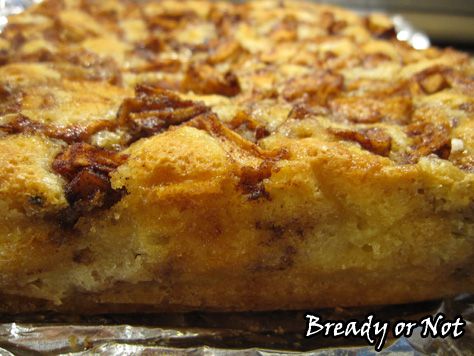
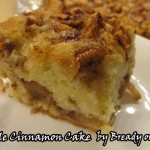
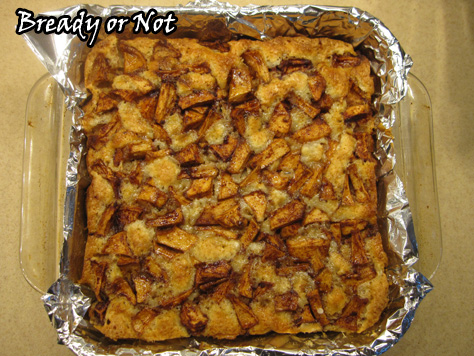
Bready or Not: Apple Cinnamon Cake
I mention every so often that apple pie is probably the favorite thing of both my dad and my husband. This apple cake now rates right up there, too.
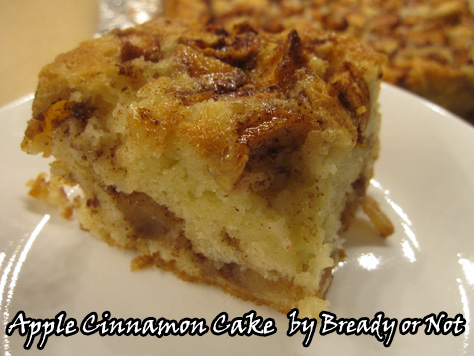
This cake is easy to put together. The most time-consuming thing is peeling and chopping the apples. The cake bakes up dense, soft, and full of cinnamon and apple flavor.
One of the great things about this recipe is that it’s easy to parcel out leftovers–if you have any. Cut the cake into pieces, freeze each separately, wrap in waxed paper, and place in freezer bags or plastic containers. Thaw pieces in fridge, and eat them cold or warm up in the microwave or oven (the latter being the family preference).
This apple cake is great whenever. Serve it for breakfast, snack, or dessert. It’ll make your belly happy any time of day.
Modified from Apple Squares at Julia’s Album.
Bready or Not: Apple Cinnamon Cake
Ingredients
- 3 medium apples peeled, cored, & chopped into small chunks
- 1 teaspoon cinnamon heaping
- 1/4 cup brown sugar packed
- 1 1/4 cup all-purpose flour
- 1 teaspoon baking powder
- 1/8 teaspoon salt
- 1 cup white sugar
- 1/3 cup vegetable oil
- 1/3 cup sour cream or Greek yogurt
- 1 teaspoon vanilla extract
- 2 eggs room temperature
Instructions
- Preheat oven to 350-degrees. Line a 9×9 square pan with foil and apply butter or nonstick spray.
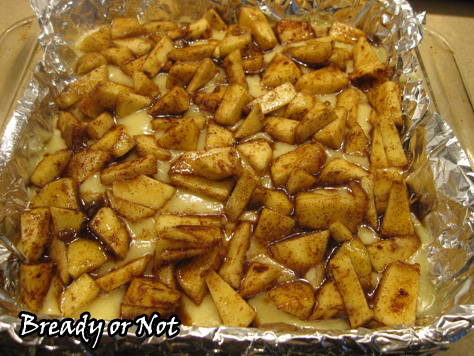
- In a medium bowl, toss peeled and chopped apples with cinnamon and brown sugar.
- In a separate bowl, combine the flour, baking powder, and salt.
- In a larger mixing bowl, whisk together the white sugar, vegetable oil, sour cream/yogurt, and vanilla extract until it's smooth. Add the eggs.
- Add the dry ingredients into the wet ingredients until everything is just mixed.
- Pour half the batter into the ready pan. Sprinkle half the apples evenly over the top. Pour the remaining batter, smooth it out, then add the remaining apples.
- Bake for about an hour. It will pass the toothpick test when done. Cool completely and store covered in the fridge.
- OM NOM NOM!
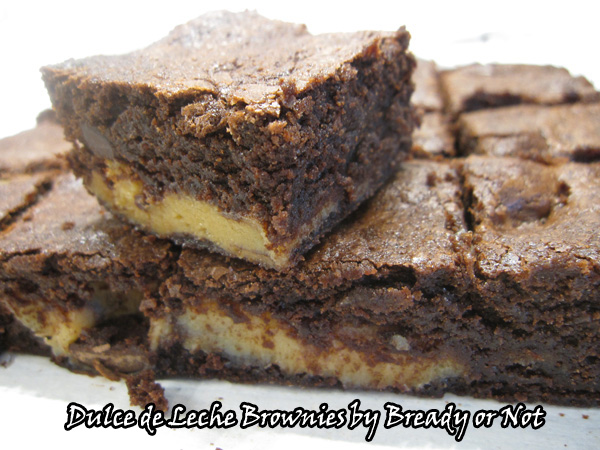
Bready or Not: Dulce de Leche Brownies
Right before Valentine’s Day, I like to share new brownie or chocolate recipes. Today I’m posting a recipe that was originally at the Holy Taco Church: Dulce de Leche Brownies.
This is a dangerous recipe, and I’m not just talking calories. Sweetened condensed milk becomes lava after mere minutes in the microwave. Make this recipe with care.
I have had this recipe for ages–I clipped it off a box of Challenge Butter. Mind you, I live in Arizona, so I can easily buy ready-made canned Dulce de Leche at any store, but I wanted to go hardcore to make this accessible to cooks around the world.
There is a warning in the original recipe to watch the bowl closely. This is legit. After the 3rd cooking burst in the microwave, I found my bowl had runneth over. Sweetened condensed milk everywhere. HOT, sticky stuff. Stuff that burns. Yeah.
I cleaned up the microwave and the outside of the bowl as best I could, and from then on, I did 50-60 second cooking bursts, and even then I stopped it early a few times.
Was it worth the clean-up and risk of 3rd degree burns? HECK YEAH. Brownies?! Hello!
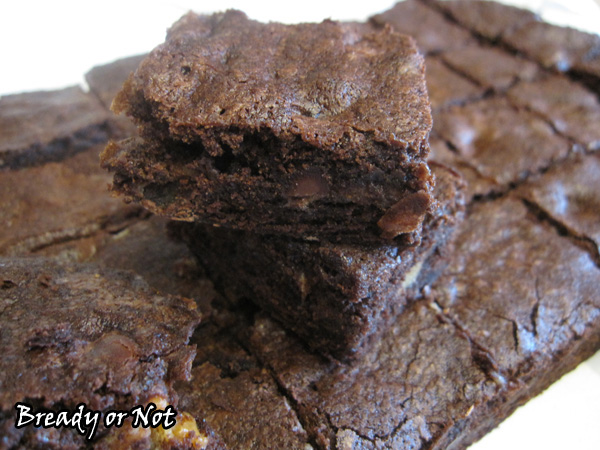
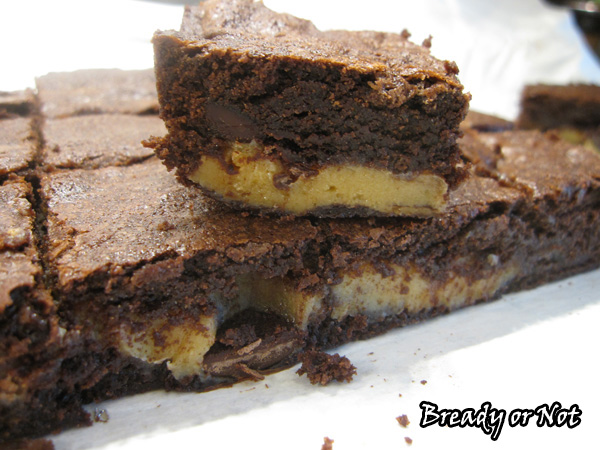
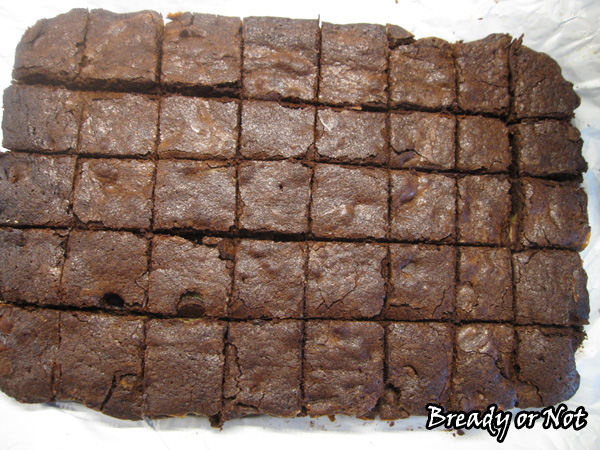
This makes a 9×13 pan of luscious, fudgy brownies. If you like’em cakey, you’ll have to go elsewhere. Sorry. The dulce de leche isn’t a super-thick layer. You can’t even see it in most of the bars, but you taste it. It’s ninja dulce de leche.
Subtle. Sweet. Potentially harmful to your health while preparing and while eating.
Modified from recipe from Challenge Butter.
Bready or Not: Dulce de Leche Brownies
Ingredients
Dulce de Leche
- 14 oz can sweetened condensed milk
- 1 Tablespoon corn syrup
- 2 Tablespoons unsalted butter
Brownies
- 1 cup unsalted butter 2 sticks, softened
- 11/4 cups white sugar
- 1/2 cup brown sugar packed
- 4 eggs room temperature
- 2 teaspoons vanilla extract
- 1 cup all-purpose flour
- 1 teaspoon espresso powder optional but awesome
- 3/4 cup unsweetened cocoa powder sifted
- 1/2 teaspoon salt
- 1 recipe Dulce de Leche above (or use canned Dulce de Leche)
- 1/2 cup chocolate chips
Instructions
To make Dulce de Leche
- (Note that you can buy canned Dulce de Leche on the Hispanic foods aisle in many grocery stores and skip this step! You can also make it in a crock pot or stove--look up these other methods online. Microwave is faster, but has some danger involved.)
- Combine sweetened condensed milk and corn syrup in a LARGE microwave safe bowl. You need the bowl large because the stuff will start to boil like an erupting volcano.
- Microwave on 50% power, stopping and stirring every 2 minutes. Start watching VERY CAREFULLY about the 5 minute point. It will start to boil over very quickly. Start doing 1 minute increments, stirring well in between. At the 10 to 12 minute point, it will thicken and look caramel-colored rather than white. It might look curdled but that goes away when you stir. Add in the butter and stir until it's melted. Set aside.
To Make the Brownies
- Preheat oven to 325-degrees F. Line a 9x13 pan with foil and butter it or spray it with Pam.
- In a large bowl, cream the butter and sugars until fluffy. Beat in eggs and vanilla. Combine flour, espresso powder (if using), cocoa, and salt. Add dry ingredients into creamed mixture; mix until well blended.
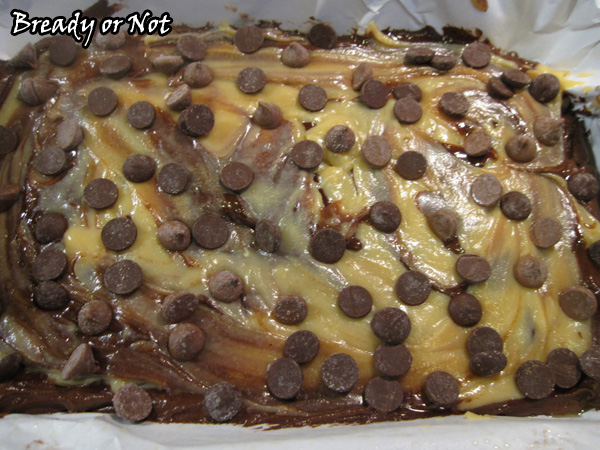
- Spread about 1/2 of mixture in the prepared pan. This will just cover the bottom. Drop spoonfuls of Dulce de Leche evenly over this layer and smooth out. Sprinkle chocolate chips all over. Cover with remaining brownie batter; an offset spatula is great to smooth it to the edges.
- Bake 35 to 40 minutes. Cool and cut into squares.
- OM NOM NOM!
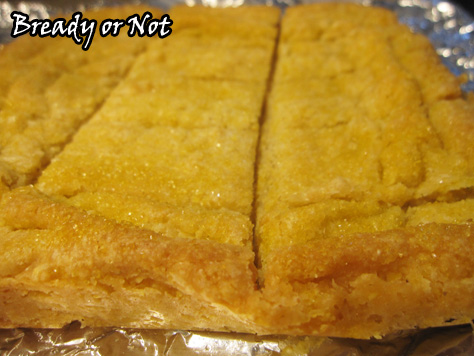
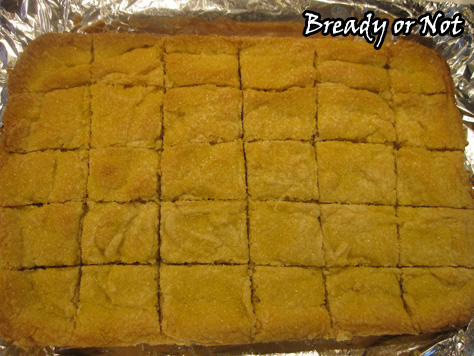
Bready or Not: Lemon Cornmeal Shortbread
If I fed you at WorldCon/Sasquan in August, these are the cookies you ate.

I was pretty happy that people seemed to like them. A lot.
For me, it was the culmination of several weeks of testing existing recipes to create something that was…
1) Delicious. Come on, I have a reputation to uphold here.
2) That would not melt in transit, which eliminated a lot of recipes right away.
3) A cookie that would travel well, i.e. not crumble, but could also keep for days without going hard or stale.
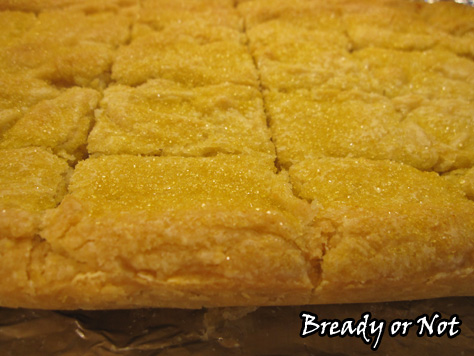
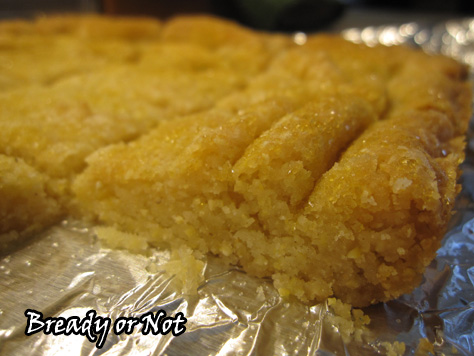
These shortbread cookies ended up perfect. They have the signature buttery-soft texture of shortbread that is complemented by the slight grit of cornmeal. They are firm enough and thick enough to stack in a container, padded with paper towels, and not break.
Then there is #1: the taste. Sweet. Lemony. Fresh.
Convention-tested. Convention-approved.

Bready or Not: Lemon Cornmeal Shortbread
Ingredients
- 1 1/2 cups unsalted butter 3 sticks, room temperature
- 2 cups confectioners' sugar
- 2 lemons zested and juiced
- 1 teaspoon lemon extract
- 2 1/2 cups all-purpose flour
- 1/2 cup yellow cornmeal
- 1/2 teaspoon salt
- turbinado sugar or sparkling sugar
Instructions
- Preheat oven at 325-degrees. Line a 9x13 pan with aluminum foil and apply butter or nonstick spray.
- In a mixer bowl, combine the butter, sugar, lemon zest, and extract. Beat until it's light and creamy, about 2 to 3 minutes. Add lemon juice and stir.
- In a separate bowl, sift together the flour, cornmeal, and salt. Slowly mix into the wet ingredients until it is just mixed. Dump the dough into the ready pan and use an uneven spatula to even it out.
- Use a knife to score the bars, gently cutting through to establish where it will be sliced again after baking. The dough is very sticky; wipe the blade between passes, and dab the excess back into the top. It doesn't need to look neat. Completely sprinkle the top with turbinado sugar or sparkling sugar.
- Bake until the shortbread looks dry and golden, about 35 to 40 minutes. Immediately use a knife to follow the previous lines and slice the shortbread into bars (when cool, the shortbread will likely crumble when cut). Set the whole pan on a rack to cool, eventually lifting them out by the aluminum foil to finish cooling.
- Store in sealed containers at room temperature. This lemon cornmeal shortbread is excellent for travel and shipping as it keeps well for at least six days.
- OM NOM NOM!
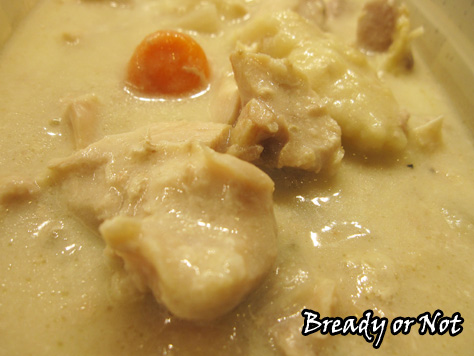
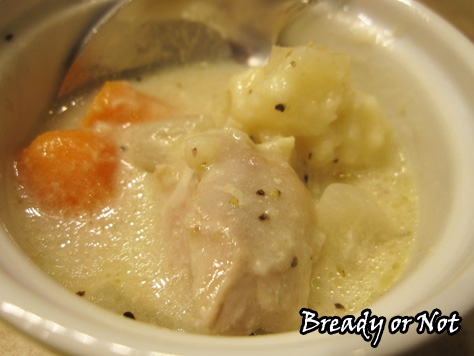
Bready or Not: Slow Cooker Chicken and Dumplings
There are a lot of slow cooker chicken and dumpling recipes out there, but I sought out one that makes everything from scratch. I made it, tweaked it, and loved it… so here it is!
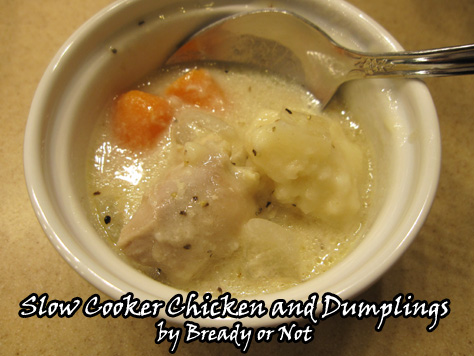
There is just something about chicken and dumplings on a cold winter’s day. It is soul food. The recipe I made for years required me to basically camp by the stove for two hours. I wanted something a lot more convenient.
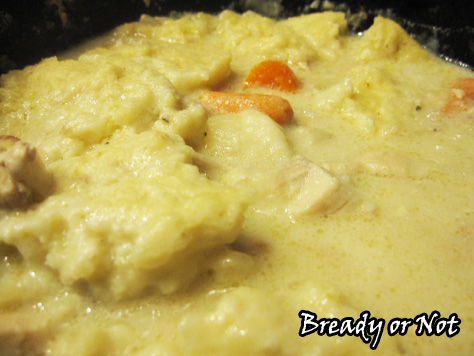
Most of the slow cooker recipes for this use lots of canned stuff and grocery store biscuits. I found a from-scratch recipe on How Sweet Eats and have tweaked it to use less broth, more seasoning, and boneless thighs. I find thighs work a lot better to the crock pot since they are less likely to dry out over the long cooking period.
If you’re in need of something to warm your gullet and your soul, make this. The leftovers are darn good for the next few days, too, with or without the dumplings.
Modified from How Sweet Eats.

Bready or Not: Slow Cooker Chicken and Dumplings
Ingredients
- 1/2 sweet onion diced
- 1 cup baby carrots whole and halved
- 3 garlic cloves minced
- 2 1/2 - 3 pounds boneless chicken thighs cut into halves
- salt and pepper
- 40 ounces low-sodium chicken stock or broth
- 2 Tablespoons unsalted butter
- 2 Tablespoons all-purpose flour
- 1/2 cup half & half or milk
dumplings
- 1 1/8 cups all-purpose flour
- herbs to taste parsley, basil, etc
- 1 1/2 teaspoons baking powder
- 1 teaspoon white sugar
- 1/2 teaspoon salt
- 1/4 teaspoon pepper
- 2 Tablespoons unsalted butter cold, cut into small pieces
- 1/2 cup half & half or milk
Instructions
Start the chicken
- In the bottom of a 5 or 6 quart crockpot, layer the diced onion half, carrots, and garlic. Lay the chicken thighs on top and season them with salt and pepper.
- Heat the butter in a small saucepan over medium heat. Once it's melted, whisk in flour and cook for 2-3 minutes to create a roux. Once it's golden in color, add 2 cups of chicken broth. Mix it well as it rises to a boil; it'll thicken considerably.
- After about 4-5 minutes, pour the sauce over the chicken and vegetables. Add the remaining chicken broth/stock. Put the lid on the slow cooker and cook on LOW for 4 hours.
Add the dumplings
- Change the slow cooker to high heat. Shred or cut up the chicken; it's okay if it's not fully cooked since it has more time to cook. Stir the half & half into the crock pot, and put the cover on again as you make the dumplings.
- In a mixing bowl, combine flour, herbs, sugar, baking powder, salt, and pepper. Use a fork or fingers to crumble in the butter until it's evenly dispersed. Add in the half and half or milk until a sticky dough forms.
- Use a tablespoon to dollop the dough into the crock pot. Cover and cook for another 1 to 1 1/2 hours. The dumplings will expand to cover the top. The dumplings are cooked when they are soft and no longer raw and sticky in the middle.
- Serve immediately. Leftovers are fantastic heated in the microwave. If you need to make more dumplings, use the same recipe again and heat the leftovers and fresh dough on the stovetop.
- OM NOM NOM!