


Bready or Not Original: Soft Muesli Breakfast Cookies
Let’s continue a healthy theme for another week with Soft Muesli Breakfast Cookies!

Think of these like plump little oatmeal cookies. The texture is cakey and thick, and will otherwise vary depending on the muesli you use.
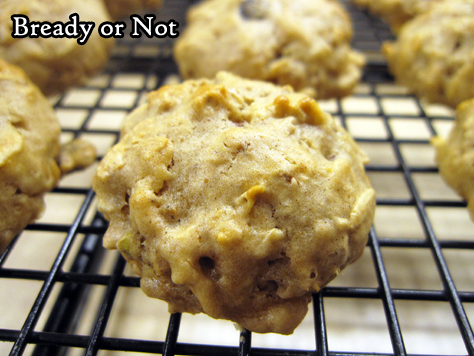
I tested out this recipe using Seven Sundays Vanilla Cherry Coconut Muesli, which was FANTASTIC in these cookies.
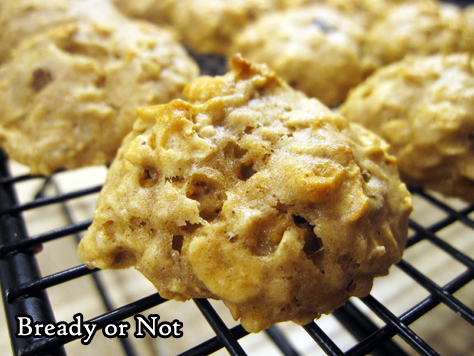
The customization options for this recipe are really endless. Get a new muesli and get baking! Muesli is often on sale at this time of year. Take advantage of that.
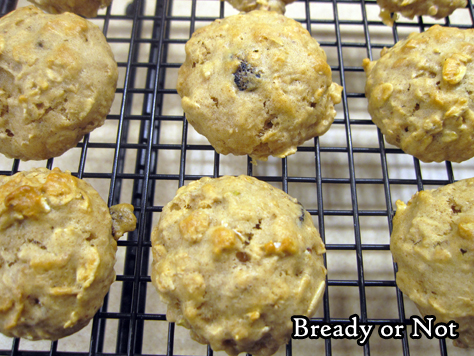
These cookies are slightly tacky because of the applesauce, so be sure to keep waxed paper or parchment between the cookies in their sealed container or they’ll stick together.
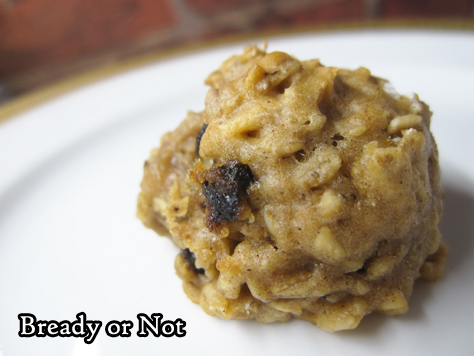
The cookies will keep well for up to a week, too. In fact, take them on the go. Enshroud some in plastic for a kid’s (or your own) snack or lunch.
The recipe makes about 55 cookies if you use a teaspoon scoop, so you’ll have plenty of cookies to enjoy!

Bready or Not Original: Soft Muesli Breakfast Cookies
Ingredients
- 1 1/2 cups all-purpose flour
- 1 teaspoon baking soda
- 1 teaspoon cinnamon
- 1/4 teaspoon salt
- 3/4 cup applesauce individual serving cup size
- 1/2 cup brown sugar packed
- 1/2 cup vanilla Greek yogurt or plain
- 2 Tablespoons vegetable oil or coconut oil
- 1 egg
- 1 teaspoon vanilla extract
- 2 1/2 cups muesli about 11 ounces
Instructions
- Preheat oven to 350-degrees.
- In a medium mixing bowl whisk together the flour, baking soda, cinnamon, and salt. Set aside.
- In a big mixing bowl, beat together the applesauce, brown sugar, yogurt, vegetable oil, egg, and vanilla with a mixer until well combined. Add flour mixture, followed by the muesli.
- Drop cookie dough by teaspoon scoops onto a parchment paper-lined cookie sheet. Bake for 10 to 12 minutes.
- Allow cookies to cool on pan for five minutes, then transfer to a wire rack to cool completely. Store in a sealed container between parchment or waxed paper layers; the applesauce will make the cookies slightly tacky if they touch each other. They'll keep for up to a week at room temperature.
- OM NOM NOM!
Bready or Not: Baked Goat Cheese Salad Rounds [Gluten Free]
Let’s start off the new year with a deliciously cheesy recipe to make a salad extra special: Baked Goat Cheese Salad Rounds!
![Bready or Not: Baked Goat Cheese Salad Rounds [Gluten Free]](https://www.bethcato.com/blog/wp-content/uploads/2018/10/Baked-Goat-Cheese-Salad-Rounds9_sm.jpg)
This recipe is super easy. There are only four ingredients! The work is minimal as it goes in stages.
![Bready or Not: Baked Goat Cheese Salad Rounds [Gluten Free]](https://www.bethcato.com/blog/wp-content/uploads/2018/10/Baked-Goat-Cheese-Salad-Rounds2_sm.jpg)
The end result is a delicious, fancy cheese to add to your salads over the coming weeks. I do large salads with lots of cheese, so I use two rounds. For a small salad–or if you want less cheese (goat cheese IS strong)–do one round.
![Bready or Not: Baked Goat Cheese Salad Rounds [Gluten Free]](https://www.bethcato.com/blog/wp-content/uploads/2018/10/Baked-Goat-Cheese-Salad-Rounds4_sm.jpg)
The nice thing about this is that the recipe has everything portioned and ready in the freezer. In the time it takes to assemble the salad, the cheese rounds are baked and ready for eating.
![Bready or Not: Baked Goat Cheese Salad Rounds [Gluten Free]](https://www.bethcato.com/blog/wp-content/uploads/2018/10/Baked-Goat-Cheese-Salad-Rounds7_sm.jpg)
This is true whether you’re cooking for one, or for a group over for brunch.
![Bready or Not: Baked Goat Cheese Salad Rounds [Gluten Free]](https://www.bethcato.com/blog/wp-content/uploads/2018/10/Baked-Goat-Cheese-Salad-Rounds10_sm.jpg)
I made this recipe using the goat cheese available at Costco, where it is sold in a pack of two 10.5-ounce logs. A glance at Bready or Not of a month ago will show where the other log went–into Swirled Goat Cheese Brownies.
![Bready or Not: Baked Goat Cheese Salad Rounds [Gluten Free]](https://www.bethcato.com/blog/wp-content/uploads/2018/10/Baked-Goat-Cheese-Salad-Rounds11_sm.jpg)
Adapted from a recipe featured in Best of America’s Test Kitchen 2010.
![Bready or Not: Baked Goat Cheese Salad Rounds [Gluten Free]](https://www.bethcato.com/blog/wp-content/uploads/2018/10/Baked-Goat-Cheese-Salad-Rounds9_sm-150x150.jpg)
Bready or Not: Baked Goat Cheese Salad Rounds [Gluten Free]
Ingredients
- 1 cup pecans
- 10 1/2 ounces goat cheese softened
- 1 teaspoon dried Italian herbs
- 2 large eggs room temperature
Instructions
- In a food processor, pulse pecans until finely chopped. Transfer the pecans to another bowl. Add the cheese and herbs to the processor and process until smooth, about 30 seconds. Chill cheese in fridge in a covered bowl until firm, at least an hour.
- Set up a work station. Beat the two eggs in a small bowl. Place next to the bowl of pecan pieces. Lastly, line a small cookie sheet or plate with waxed paper.
- Use tablespoon scoop to doll out about 12 equal dollops of goat cheese onto the waxed paper. Smooth out a ball of cheese between palms, then dip into the egg, allowing excess to run off, then press and roll the ball to coat with pecan. Set back on waxed paper. Repeat with other balls. Use palm or the bottom of a glass to compress the cheese into flat rounds. Place in freezer for several hours, at minimum.
- Once they are set, transfer the rounds to a sealed container for the freezer with waxed paper between the layers. IMPORTANT: They will go straight from the freezer to the oven. Don't thaw, or they'll lose their shape when baking!
- When ready to bake, preheat oven or toaster oven at 475-degrees. Place foil on cookie sheet. Remove from freezer however many cheese rounds desired to cook; two rounds per large salad works well. Spray foil and cheese lightly with cooking spray.
- Bake until the nuts are golden brown and cheese is warmed through, 7 to 10 minutes. Let cool several minutes. Set on a salad of greens tossed with a vinaigrette.
- Frozen cheese rounds will keep well up to a month.
- OM NOM NOM
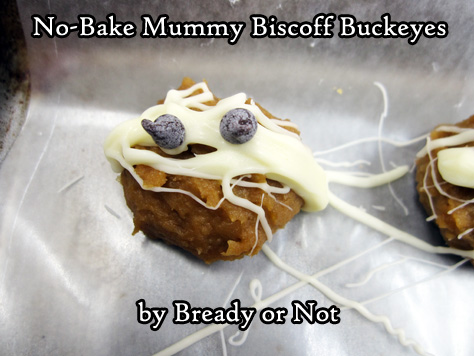
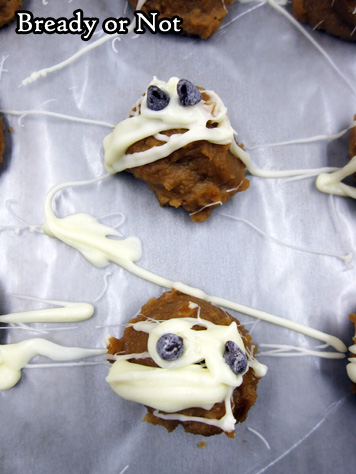
Bready or Not: No-Bake Mummy Biscoff Buckeyes
Here’s a great recipe to make with kids! These No-Bake Mummy Biscoff Buckeyes are quick, cute, and secretly healthy.
Buckeye treats typically include peanut butter and brown chocolate. I switched in Biscoff (aka cookie butter, available by the peanut butter in most American grocery stores these days) but you can use peanut butter instead.
What makes these secretly healthy, you ask, since I made them unhealthier with cookie butter? Well, the base ingredient of this recipe is… CHICKPEAS. Also known as garbanzo beans.
You cannot tell there are beans in this. All you taste is Biscoff and chocolate. They keep in the fridge for up to a week, too; they get a little sweaty, that’s it.
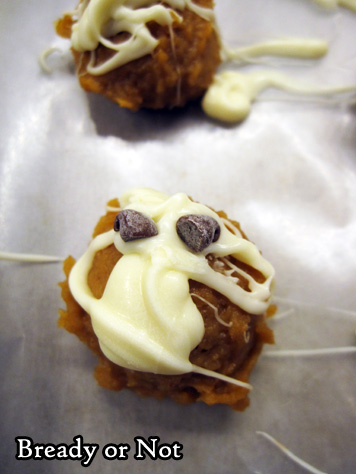
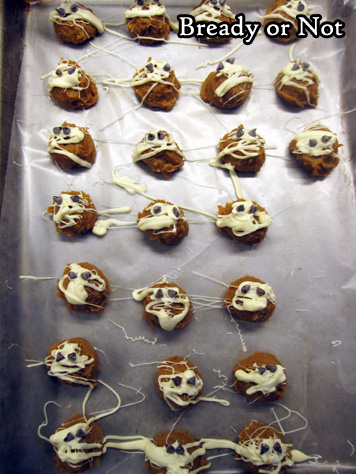
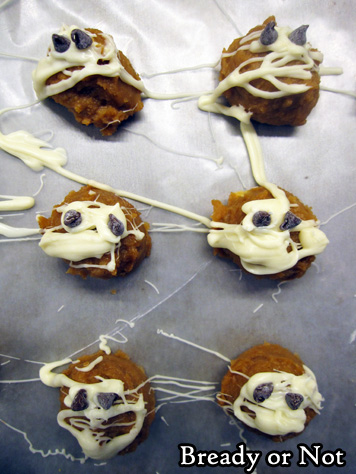
The white chocolate drizzle is pretty fun. There’s no art to it. Just drizzle every which way, then very quickly add the mini chocolate chip eyes. (Hopefully your mini chips won’t have bloomed like mine did! That means the chocolate has a white cast to it. Perfectly fine to eat, it just doesn’t look as pretty. FYI Mummies don’t care about being pretty.)
Modified from Cooking Light October 2017.

Bready or Not: No-Bake Mummy Biscoff Buckeyes
Ingredients
- 15 1/2 ounce chickpeas rinsed and drained
- 1/2 cup cookie butter Biscoff, Speculoos, store brand, etc
- 2 Tablespoons honey
- 1/2 teaspoon vanilla extract
- 1/4 teaspoon kosher salt
- 1/3 cup white chocolate chips
- 2 teaspoons mini chocolate chips
Instructions
- Pulse chickpeas in a food processor until smooth. Add cookie butter, honey, vanilla, and salt, and pulse more. Use a teaspoon scoop to measure out the dough; place on a wax paper-lined baking sheet that will fit in the fridge. Use hands to smooth out each ball. Chill until firm, at least 30 minutes.
- Carefully melt white chocolate in the microwave at 20% power in 15 second bursts, stirring well between each pass, until it's smooth. Dip fork prongs in the chocolate and drizzle back and forth over the buckeyes to create a mummy bandage effect. Immediately place two mini chocolate chips for eyes on each mummy head. If need be, melt white chocolate again to use some dots of it as glue for the eyes.
- Store in the fridge for up to a week, but expect them to sweat and get moister.
- OM NOM NOM!
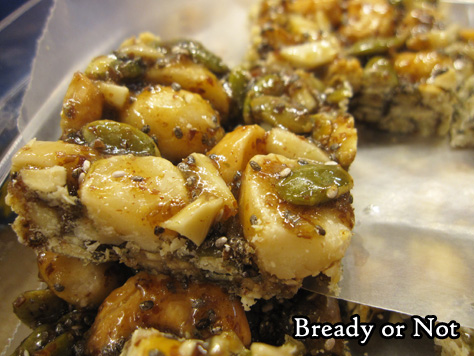
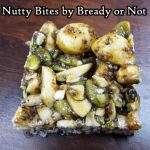
Bready or Not Original: Nutty Bites
I present to you my recipe for Nutty Bites. These are a fantastic snack or breakfast.
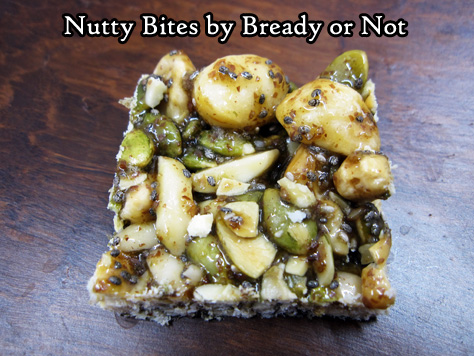
Plus, they are super-healthy, loaded with nuts and seeds, totally gluten-free, with honey as the sweetener and binding agent.
This is an easy recipe to customize, too. Keep the amounts of nuts and seeds the same, but switch in peanuts, hazelnuts, walnuts, wheat germ, sunflower kernels… whatever you like!
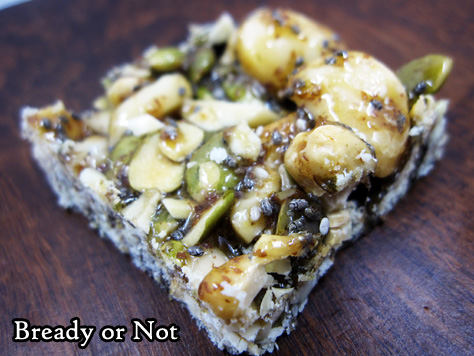
You can toast the nuts first, if you choose. I actually preferred it untoasted. Do note that some smaller add-ins like pepitas can burn quickly, and burned pepitas don’t taste that great. (Voice of experience here.)
I can report that these keep well in the freezer for at least a month, too. Just make sure to have something like waxed paper between the layers–and even then, in a few spots with heavy honey, the bars might stick.
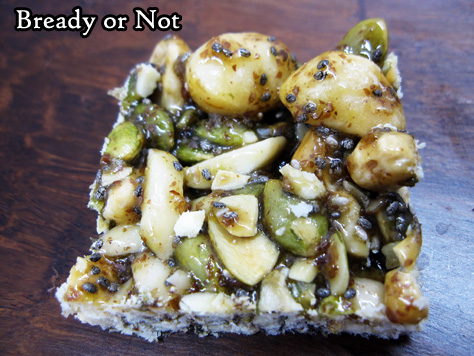
Oh, and did I mention that this is entirely made on stovetop? No need to heat up the house by turning on the oven! Whip out your candy thermometer and you’ll have Nutty Bites ready in no time flat.
Bready or Not Original: Nutty Bites
Ingredients
- 1/2 cup macadamia nuts
- 1/2 cup pecans
- 1/2 cup almonds
- 1/2 cup pepitas
- 1/4 cup chia seeds
- 1/4 cup ground flaxseed
- 3/4 cup honey
- 1/4 cup water
- sprinkle salt
Instructions
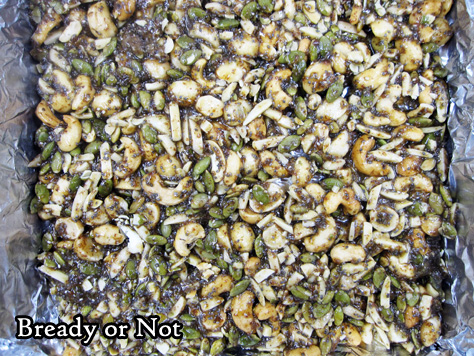
- Mix the nuts and seeds together in a large glass or metal bowl. Prepare an 8x8 pan with parchment paper or aluminum foil, and grease well.
- Heat the honey and water in a medium saucepan on medium-high. Use a candy thermometer to track the temperature as it rises to 275-degrees (soft crack stage). Stay close to the pan at all times! Once the honey starts boiling, it will bubble excessively, so keep stirring and use great caution.
- As soon as it reaches 275-degrees, pour the honey mix over the nuts and seeds. Stir to coat. It will harden quickly, so move fast! Pour everything into the ready pan and press out evenly.
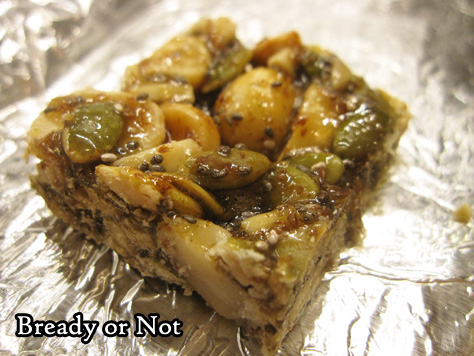
- Let set out for an hour. Use a knife or bench knife to chop into squares. Store at room temperature in a sealed container between wax paper layers; they can also be frozen.
- OM NOM NOM!
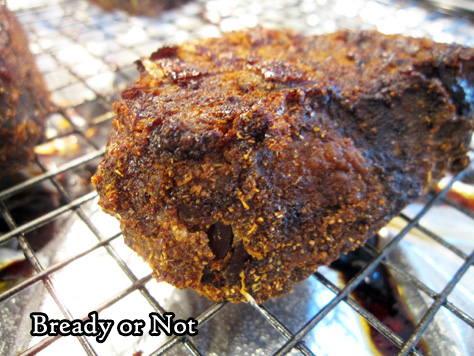
Bready or Not: Homemade Beef Jerky
Beef jerky is expensive to buy. If you can catch a good sale on an eye of round roast, this recipe makes cheap and delicious Homemade Beef Jerky.
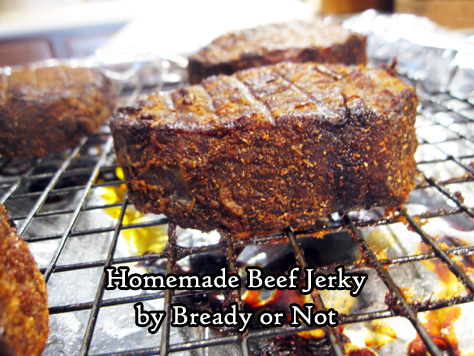
It’s really amazing how easy this recipe is. Cut up roast into chunks. Cover pieces in spices. Marinate for a day in the fridge. Bake for 6 to 7 hours. Done.
I’ve made this recipe a couple times now, and honestly, the weirdest thing is keeping the meat at room temperature after baking.
I mean, I’m used to doing that with store-bought jerky, but it feels weird to do that with home-cooked meat. However, I haven’t sickened or killed myself or various loved one with my homemade jerky, so I take that as a positive.
Most of the eye of round roasts I find on sale tend to be over 2 1/2 pounds. I just use more generous measures of spices for the rub. This isn’t a recipe where everything needs to be exact. Just make sure there’s enough rub to cover everything.
Also, the amount of cayenne looks like a lot, but the heat in this recipe is pleasant, not set-your-mouth-on-fire level. I can testify that myself and others who can’t stand spicy-hot have eaten this jerky without any issues.
And if you want more heat, by all means. Dump in more cayenne!
Modified from Michael Symon’s Beef Jerky recipe in Food Network Magazine, December 2017.

Bready or Not: Homemade Beef Jerky
Ingredients
- 2 - 2 1/2 pounds eye of round roast trimmed of fat
- 1 1/2 Tablespoons kosher salt
- 2 teaspoons white sugar
- 2 teaspoons garlic powder
- 1 teaspoon onion powder
- 1 teaspoon cayenne pepper
- 1 teaspoon chipotle chili powder
- 1/2 teaspoon coriander
- 1/2 teaspoon smoked paprika
Instructions
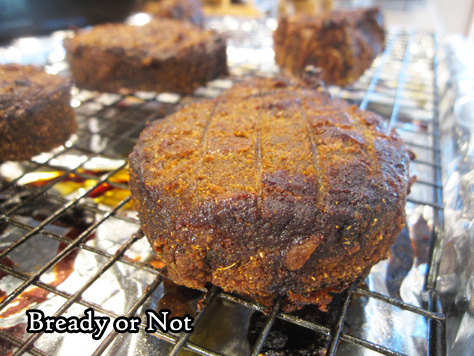
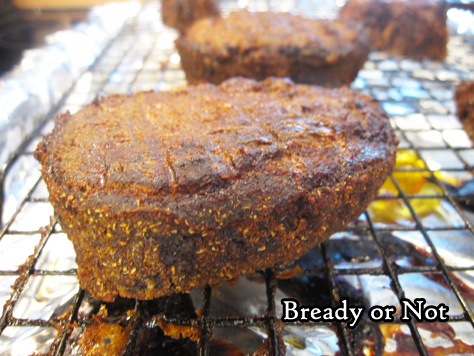
- Slice the beef against the grain into chunks roughly 1 inch by 3 inches long. If the pieces look large, that's fine; they'll shrink a lot as they cook.
- In a mixing bowl, combine all of the spices. Liberally cover the beef pieces, using the entire mix. Place beef in a gallon bag, and keep sealed in the fridge for 24 hours or so.
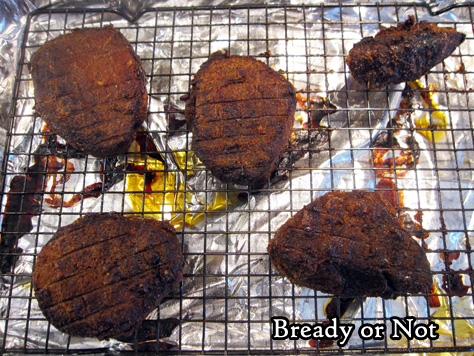
- Preheat oven at 250-degrees. Line a baking sheet with foil and place a metal rack on top; apply nonstick spray. Set the meat on the rack so that no pieces are touching.
- Bake for 6 to 7 hours, until quite dry. If you want pieces chewier, remove closer to 6 hour point.
- Let cool completely to finish drying. Store in sealed container at room temperature for up to several months.
- OM NOM NOM!
Bready or Not Guest Recipe from Author Wendy Nikel: The Grandmother Paradox Cherry Cupcakes
Today I welcome Wendy Nikel! Her novella The Grandmother Paradox is out TODAY from World Weaver Press. This is the sequel to The Continuum. I’ve read both, and I can testify they are fun, fast reads that reminded me of old favorite shows like Quantum Leap and Sliders. Find out more about her new release below, and grab a recipe for some cupcakes that are loaded with cocoa and cherries!

When Dr. Wells, the head of the Place in Time Travel Agency, learns that someone’s trying to track down the ancestors of his star employee, there are few people he can turn to without revealing her secrets. But who better to jump down the timeline and rescue Elise from being snuffed out of existence generations before she’s born than the very person whose life she saved a hundred years in the future?
But Juliette Argent isn’t an easy woman to protect. The assistant to a traveling magician, she’s bold, fearless, and has a fascination with time travel, of all things. Can the former secret agent Chandler, with his knowledge of what’s to come, keep her safe from harm and keep his purpose there a secret? Or will his presence there only entangle the timeline more?
THE GRANDMOTHER PARADOX Cherry Cupcakes
by Wendy Nikel
Today is release day for THE GRANDMOTHER PARADOX, the second time travel novella in the Place in Time series. Which means, once again, it’s time to celebrate with cupcakes!
In this novella, which can be read as a sequel or as a standalone story, Chandler – a man from our present who’s been living in the future – is sent back to the year 1893 to protect the great-great-grandmother of the woman who saved his life. There, he joins up with a traveling magic show touring Michigan before heading down to the Chicago World’s Fair.
One of the many wonderful things that Michigan is known for is its cherries, which made cherry cupcakes an easy choice for this book’s recipe. Substituting fats like butter and oils with fruit in baking also makes for a healthier cake, which is something I’ve had to keep in mind since I’m still recovering from having my gallbladder removed. Fortunately, I happen to have a cherry tree in my backyard filled with sweet cherries just ripe for the picking.
THE CUPCAKES:


Bready or Not Guest Recipe: THE GRANDMOTHER PARADOX Cherry Cupcakes by Wendy Nikel
Ingredients
Cupcake Ingredients:
- 1 1/2 cups all-purpose flour
- 1/2 cup cocoa powder
- 2 teaspoons baking powder
- 1/2 teaspoon baking soda
- 1/2 teaspoon salt
- 2 egg whites
- 1 Tablespoon vanilla extract
- 1/4 cup honey
- 1/4 cup white sugar
- 1/4 cup applesauce
- 1/4 cup buttermilk
- 1 cup cherries pitted & pureed
Frosting ingredients:
- 8 oz cream cheese
- 1 cup confectioners' sugar
- 1-2 Tablespoons milk
- 1 box cherry-flavored instant gelatin mix
Instructions
- Preheat oven to 325 degrees F
- Sift together flour, cocoa, baking soda, baking powder, and salt.
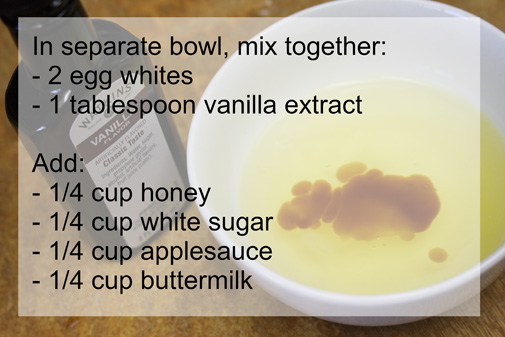
- In separate bowl, mix egg whites and vanilla.
- Add honey, sugar, applesauce, and buttermilk.
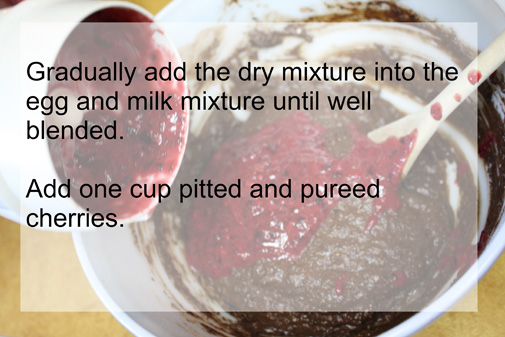
- Gradually add the dry mixture into the egg and milk mixture until well blended.
- Add cherries
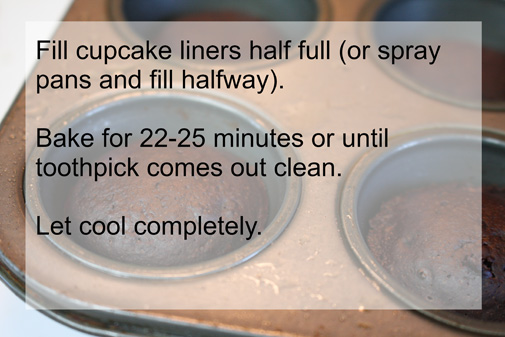
- Fill cupcake liners half full and bake for 22-25 minutes. Let cool.
- After cupcakes are cool, frost.
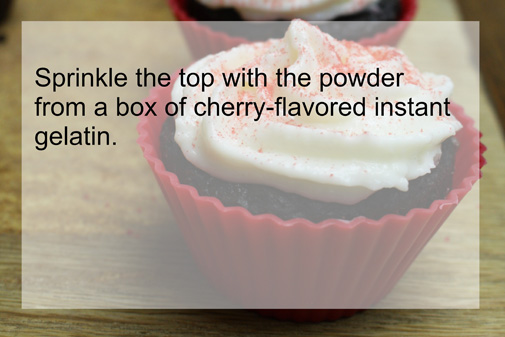
- Sprinkle gelatin mix on the top and enjoy!
THE CONTINUUM (book #1) out NOW
paperback via World Weaver Press $9.99
eBook via iTunes
eBook via Barnes & Noble
eBook via Amazon
eBook via Kobo
THE GRANDMOTHER PARADOX (book #2) out TODAY
paperback via World Weaver Press $8.95
eBook via iTunes
eBook via Barnes & Noble
eBook via Amazon
eBook via Kobo
Wendy Nikel is a speculative fiction author whose short stories have appeared in Fantastic Stories of the Imagination, Daily Science Fiction, AE Sci-Fi, Nature: Futures, and various anthologies and e-zines. She is a member of SFWA and Codex Writers Group and is a managing editor at Flash Fiction Online.
Read MoreFollow me


