


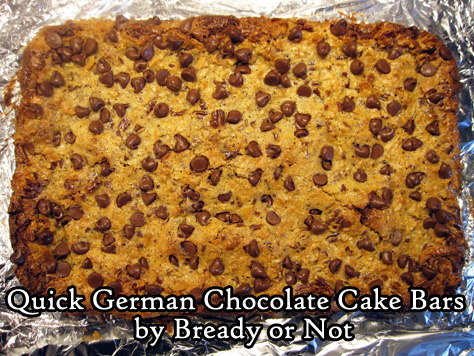
Bready or Not Original: Quick German Chocolate Cake Bars
Don’t scoff at cake mix. These Quick German Chocolate Cake Bars are so tasty, no one will guess that a box mix was involved.
I love from-scratch baked goodies, but cake mix has its uses, especially when there is a time crunch. The ‘chemical’ flavor of these mixes can be eliminated with some simple doctoring techniques.
I created this recipe because my husband had a co-worker who requested German Chocolate Cake. There was no way an actual cake was going to be easily ported to his work, and since 2020, I’ve been individually packaging all the goodies that he takes.
That meant a bar recipe was the way to go. The use of cake mix was a necessity as I had little time for fiddly recipes that week. I needed something I could throw together, fast.
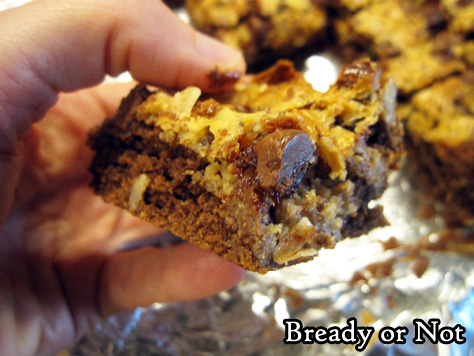
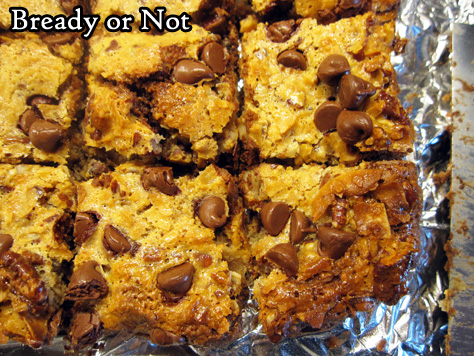
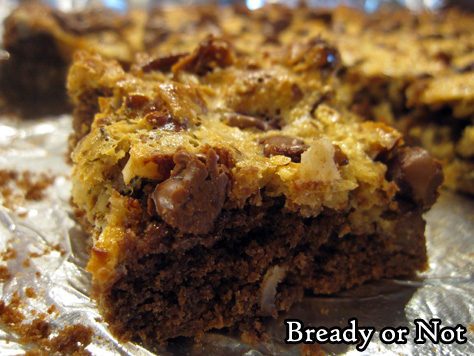
These things turned out to be delicious with a great mix of textures from the cakey base to the chewy coconut to the soft chocolate chips on top.. The bars were quite cohesive and stayed together well when sliced and individually wrapped, too!
Bready or Not Original: Quick German Chocolate Cake Bars
Equipment
- 9×13 pan
- aluminum foil
Ingredients
crust
- 15 ounce German Chocolate Cake Mix such as Betty Crocker brand
- 1/2 teaspoon espresso powder optional
- 1/2 cup unsalted butter 1 stick, melted
- 1 large egg room temperature
filling
- 14 ounce sweetened condensed milk
- 1 teaspoon vanilla extract
- 1 large egg room temperature
- 1 cup pecan pieces
- 1 cup unsweetened coconut either shredded or flaked
- 1/2 cup milk chocolate chips
Instructions
- Preheat oven at 350-degrees. Line a 9×13 pan with foil and apply nonstick spray or butter.
- In a big bowl, mix together the cake mix, espresso powder (if using), butter, and egg. Press the dough into the bottom of the pan and even out. Bake for 7 minutes. While that’s cooking, prepare the filling.
- In the same big bowl (no need to wash it), mix together the sweetened condensed mix, vanilla, egg, pecans, and coconut. Once the crust’s first bake is done, bring it out of the oven. Pour the filling over it and even out. Sprinkle chocolate chips on top.
- Bake for an additional 24 to 30 minutes, until the top is golden brown. Remove from oven and cool completely, speeding the process in the fridge, if desired. Use foil to lift bars onto a cutting board to divide into slices. Store covered or individually wrapped at room temperature.
OM NOM NOM!
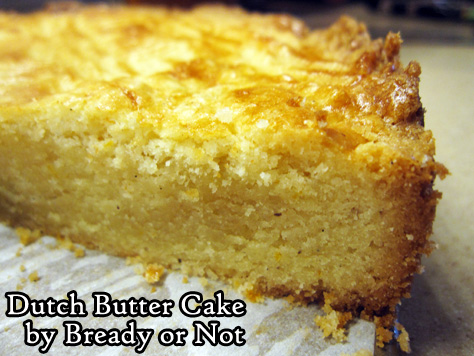
Bready or Not: Dutch Butter Cake (Boterkoek)
If you want a cake that is simple yet indulgent, this Dutch Butter Cake is for you. It’s a single-layer cake that is straightforward to make.
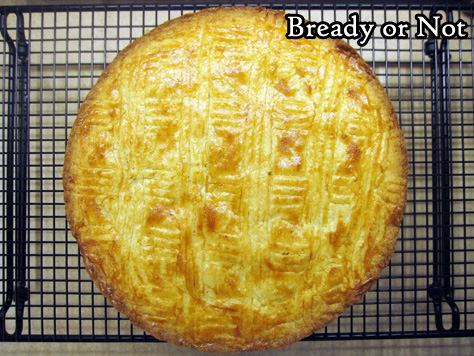
Really, the fussiest thing about this recipe is doing the crosshatch pattern on the top, and it’s not that bad. Look at my pictures–or others online–for examples of what to do.
The prettiness of the cake is what initially drew me in, and then when I saw it was called a Butter Cake, I knew I had to make it. I mean, butter. I’m of Southeastern American stock on both sides. I was raised with the philosophy that butter makes everything better except for things like sucking chest wounds.
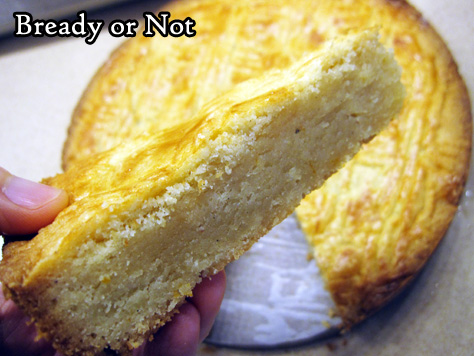
This cake bakes up with a light, tender crumb. The fresh orange zest shines through along with the butter and vanilla. It’s rich even as it’s not heavily sweet.

Modified from Bake from Scratch March/April 2020.
Bready or Not: Dutch Butter Cake (Boterkoek)
Equipment
- 9-inch springform pan
- parchment paper
- plastic wrap
- pastry brush
Ingredients
- 1 1/2 cups unsalted butter 3 sticks, softened
- 1 1/4 cups white sugar
- 1/2 cup brown sugar packed
- 1 orange zested
- 2 large eggs divided
- 1 1/2 teaspoon vanilla bean paste
- 2 1/2 cups all-purpose flour
- 1/2 cup unbleached cake flour
- 1 teaspoon kosher salt
- 1/4 teaspoon ground nutmeg
Instructions
- Preheat oven 350-degrees.
- Cut a piece of parchment to fit in the bottom of a 9-inch springform pan. Apply nonstick spray or butter over the inside of the pan, place the parchment inside, then grease it as well. Set aside.
- In a stand mixer, beat the butter, sugars, and orange zest together. Scrape the bottom of the bowl, then beat on medium until fluffy, about 2 to 3 minutes. Add 1 egg. Crack the 2nd egg, placing the yolk with the other ingredients and setting aside the white for later use. Add vanilla bean paste to other ingredients and combine.
- In a separate bowl, stir together flours, salt, and nutmeg. Gradually add dry ingredients into the butter batter to create a thick dough. Scoop it into the prepared pan.
- Use a piece of plastic wrap to press the dough into an even layer. Discard plastic wrap. Lightly beat the reserved egg white. Use a pastry brush to gently apply the egg white across the top of the cake. Use the tines of a fork to make a crosshatch pattern across the top.
- Bake for 25 minutes. Rotate the pan. Continue baking until the surface is golden brown and the middle passes the toothpick test, which should be after an additional 5 to 10 minutes. Let cake cool in pan for 10 minutes, then release the side latch to remove the ring.
- Let cake cool completely on a wire rack. Slice and enjoy. Cake keeps well covered at room temperature for at least 3 days. It can also be cut into slices and frozen for later enjoyment.
OM NOM NOM!
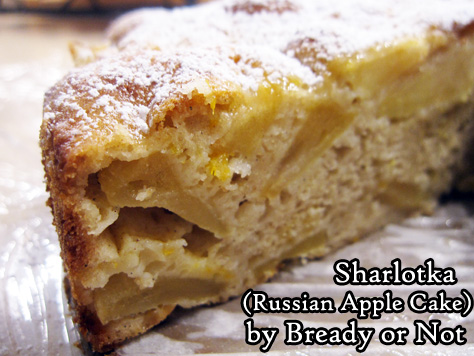
Bready or Not: Sharlotka (Apple Cake)
As you might have noticed, I’ve been experimenting with many different kinds of apple cakes over the past while. This Sharlotka has a Russian name but British origins, because that’s the way of the world.
I modified this from a recipe in Bake from Scratch’s October 2020 issue. There, they say the first Sharlotka was a very different kind of cake that was served for Czar Alexander during a London visit–and made by a French chef. Because of course.
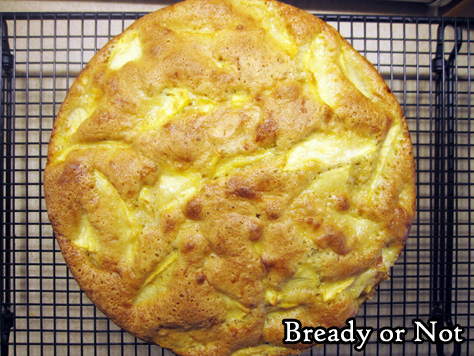
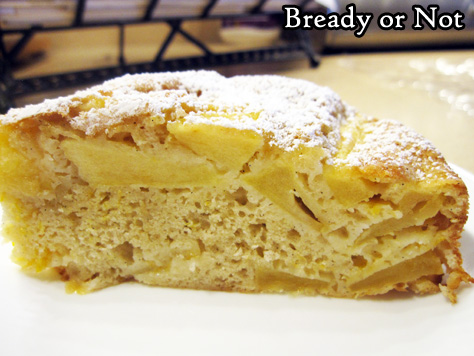
The cake that evolved after that became more of a basic apple cake. The batter is minimal, and beaten for a prolonged time to increase volume. It’s pretty much there to act like adhesive for the mélange of apples.
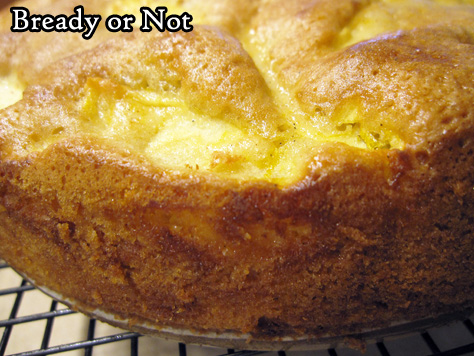
The resulting cake is light and airy. The flavor of the apples really shines through.
This cake is great for a breakfast, snack, or dessert. Eat it on its own, or with some ice cream.
Bready or Not: Sharlotka (Apple Cake)
Equipment
- 9-inch springform pan
- parchment paper
- fine mesh sieve
- offset spatula
Ingredients
- 4 medium apples such as Granny Smith, Ambrosia, Fuji, or Golden Delicious; go for a mix!
- 1 cup plus 1 Tablespoon white sugar divided
- 1 large orange or 1 large lemon zested and juiced
- 4 large eggs room temperature
- 1 1/2 teaspoons vanilla extract or vanilla bean paste
- 3/4 teaspoon kosher salt
- 1 1/4 cups all-purpose flour
- 1 1/2 teaspoons baking powder
- 1/2 teaspoon ground cinnamon
- 1/4 teaspoon ground cardamom
- confectioners’ sugar for dusting
Instructions
- Preheat oven at 350-degrees. Cut parchment to fit the bottom of the springform pan. Grease the pan, then place in parchment round, then spray that as well.
- Peel and thinly slice the apples. In a big bowl, coat the apples with 1 Tablespoon white sugar, the citrus zest, and 2 teaspoons of fresh juice. Set aside.
- In the bowl of a stand mixer with a whisk attachment, beat eggs, vanilla, salt, and remaining 1 cup of sugar at medium high speed for about 7 minutes. It should turn thick and pale, the batter forming ribbons when the whisk is lifted up. Remove bowl from mixer.
- In a medium bowl, combine flour, baking powder, cinnamon, and cardamom. Use a fine-mesh sieve to sift the dry ingredients into the egg mix. Gently fold the flour in until it’s just combined and there are no white streaks.
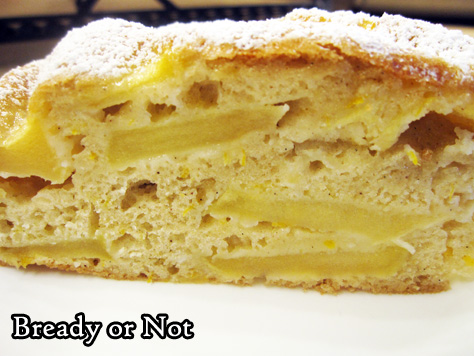
- Place half the apples in the prepared pan. Pour half the batter over them. Use an offset spatula to work the batter into nooks and crannies. Scatter the rest of the apples on top, followed by the rest of the batter. Again, use the spatula to spread the small amount of batter. For a couple minutes, thump the pan on the counter and tap the sides every now and then to cause bubbles to rise, smoothing batter again after.
- Bake cake. Check it at 30 minutes to see if it is getting too brown; if so, cover it with foil. Continue baking 10 more minutes (40 total) then test the middle with a toothpick. If it comes out clean, the cake is done. Let it cool on a rack for 15 minutes before carefully releasing the sides of the pan.
- Serve the cake warm, at room temperature, or cold from the fridge. Add a dusting of confectioners’ sugar on top for serving; if keeping cake for later, add fresh sugar each time, as it will gradually be absorbed. Store covered in the fridge or at room temperature.
OM NOM NOM!
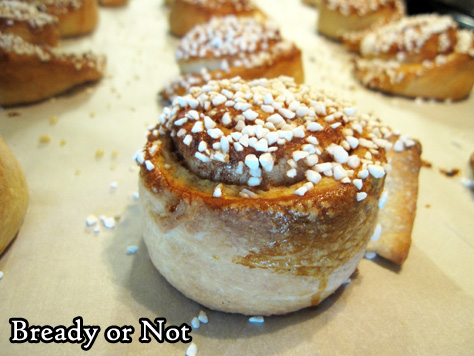
Bready or Not: Swedish Cinnamon Rolls in the Bread Machine
Cinnamon Rolls in most any form are awesome. This version, with a top of crusted Swedish Pearl Sugar, is wonderfully crunchy and not as hardcore-sweet as frosting variations.
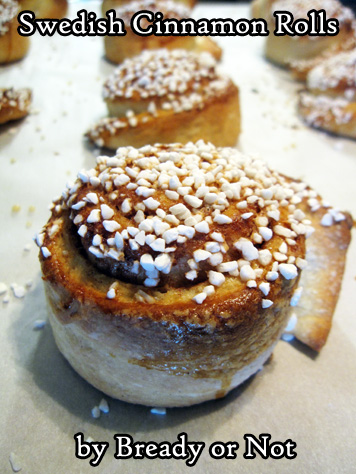
First of all, I know people are already asking: what is Swedish Pearl Sugar? It’s sugar that consists of large granules that hold their shape while baking at moderate temperatures. No, you cannot substitute with regular sugar or even turbinado sugar. Pearl Sugar is unique.
I like Lars’ Own brand. I get it off of Amazon, and you can, too. [affiliate link] I have a number of other recipes on Bready or Not that utilize Pearl Sugar as well. I can help you use up that bag!
So, enough about the sugar. The recipe here is written for the bread machine, but of course, modify to make it in a stand mixer or by hand. This is an enriched dough, meaning it has eggs and butter, so expect it to have a yellow tint.
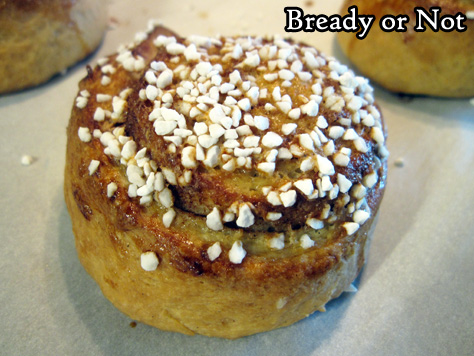
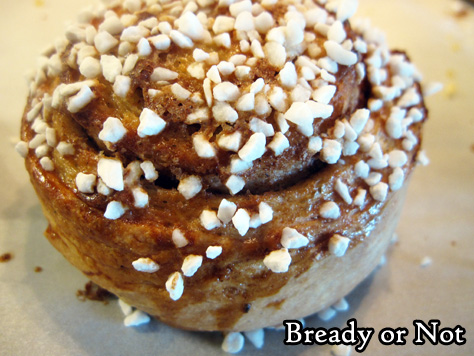
The baked-up rolls are divine little swirls that are incredibly fun to unspool. The Pearl Sugar adds a satisfying crunch in contrast to the soft, buttery bread.
This is a great recipe for a special breakfast or dessert–but do keep in mind that they are best eaten within a day. After that, they get stodgy, but they are still edible. I highly recommend freezing some rolls very soon after baking, as they will thaw later as if they were just made!
Bready or Not: Swedish Cinnamon Rolls in the Bread Machine
Equipment
- bread machine
- large baking sheet
- parchment paper
Ingredients
Dough
- 1 1/2 sticks unsalted butter 3/4 cup
- 1 cup milk
- 1/4 teaspoon sea salt
- 1/4 cup white sugar
- 3 cups all-purpose flour
- 1 teaspoon cardamom
- 2 1/4 teaspoons dry yeast one packet
Filling
- 2 Tablespoons unsalted butter softened
- 3 Tablespoons white sugar
- 1/2 Tablespoon ground cinnamon
Glaze
- 1 egg room temperature, lightly beaten
- 1/4 cup Swedish pearl sugar
Instructions
- Melt butter on the stove top or in the microwave. Add milk and heat until they are lukewarm. Place in bread machine. Add sugar, salt, flour, cardamom, and yeast. Begin dough cycle on machine. Check on dough as it mixes, adding more flour or milk, if needed. Let it complete its first rise.
- Line a large baking sheet with parchment paper.
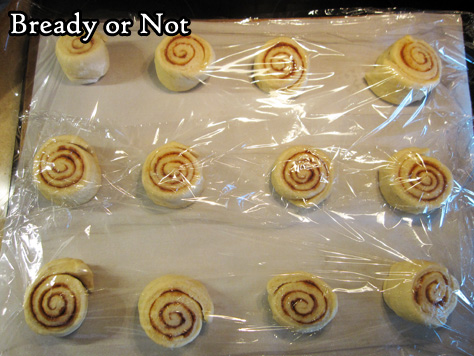
- Lightly flour a surface. Dump out dough and roll it out into a rectangle about 1/3″ thick. Spread softened butter all over the surface. Stir together the sugar and cinnamon, then sprinkle it over the butter. Roll the dough up to form a long log.
- Use a sharp knife or a piece of unwaxed dental floss to slice up 12 individual rolls. Set spaced out on prepared pan. Cover with plastic wrap or a towel to rise for 30 minutes. In the meantime, preheat oven at 425-degrees.
- Brush beaten egg atop rolls. Sprinkle them with pearl sugar. Bake for 12-15 minutes, until golden brown. A digital thermometer in the middle of a center roll should read over 190-degrees. Cool for at least 15 minutes before eating.
- Swedish Cinnamon Rolls are best eaten within a day. If promptly frozen, they will keep for a prolonged period–just eat them soon after thawing.
OM NOM NOM!
BOOK DEAL: A Thousand Recipes for Revenge, from 47North Summer 2023!

Here we go. Summer 2023. New book, A Thousand Recipes for Revenge, published by Amazon’s 47North imprint. The sequel out a year later. These will be in print, audio, ebook, the whole shebang.
I’ll share more info in the coming months!
#SFWAPro
Read MoreFollow me


