


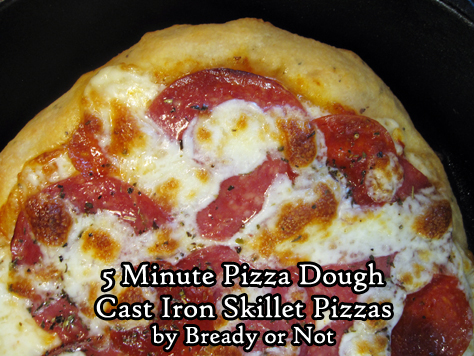
Bready or Not: 5 Minute Artisan Pizza Dough and Cast Iron Pan Pizzas
Today’s Bready or Not is a 2-for-1 deal: a recipe for fast and easy pizza dough, followed by the process I use for divvying up that dough to make small but thick cast iron pan pizzas.
The basic dough recipe is modified from the great book Artisan Bread in 5 Minutes a Day. [Affiliate link] Yes, this dough really comes together in 5 minutes. It also keeps for up to 2 weeks AND can be frozen.
The method for making mini pizzas in a skillet is one I practiced a few times several years ago, then made a LOT during 2020 as my husband was working from home more often. I perfected it to the point where I had to write it down–and share here.
The pan pizza recipe is pretty much an outline to show the timing on the shaping, rise, and crust-cooking, but the ingredients are all up to you!
Bready or Not: 5 Minute Artisan Pizza Dough
Ingredients
- 1 1/3 cups warm water
- 2 Tablespoons olive oil
- 1/2 Tablespoon white sugar
- 3 1/4 cups all-purpose flour
- 3/4 Tablespoon kosher salt
- 2 teaspoons pizza seasoning or Italian seasoning, optional
- 2 1/4 teaspoons active yeast or one packet store-bought active yeast
Instructions
- Place the water, olive oil, and sugar in a big mixing bowl, stand mixer, or food processor. Add the flour, salt, and seasoning, if using. Start mixing together, then sprinkle in the yeast. Mix until just combined.
- Keep in same bowl, if desired, or transfer to another bowl that is greased. Loosely cover top with plastic wrap or towel and let dough rise at room temperature until it flattens out on top, about two hours.
- Dough can be used now but is much easier to handle when cold. Refrigerate in a non-airtight container and use within two weeks. Dough can also be frozen in freezer bags, for up to a month, and defrosted later in the fridge.
OM NOM NOM!
Bready or Not Original: Cast Iron Pan Pizzas
Equipment
- 10-inch cast iron skillet
Ingredients
- handful pizza dough
- olive oil
- desired toppings and seasonings
Instructions
- Preheat oven at 450-degrees. Add about a tablespoon of olive oil to a cast iron skillet and place the pan in the oven to heat up.
- Grab a good handful of pizza dough, or as much as desired to bake today. Oil a small space of counter or table as well as hands, and gently stretch and press out the dough to a rough circle. If it tears, patch with other pieces of dough as best possible. Let dough rest for about 20 minutes.
- By this time, the oven should have preheated. Use a potholder to pull out the skillet. Carefully swirl the hot oil in the pan to coat the bottom and set pan down on a safe surface. Carefully, again, place the dough in the pan.
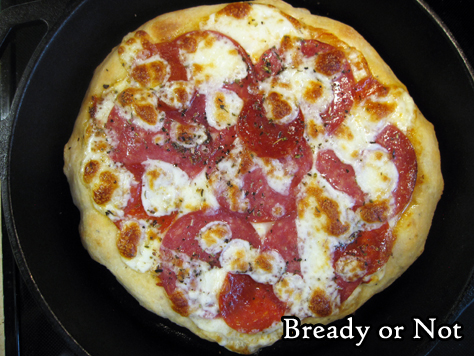
- Bake crust for 6 to 10 minutes, until it is set. Pull out of oven and add desired toppings.
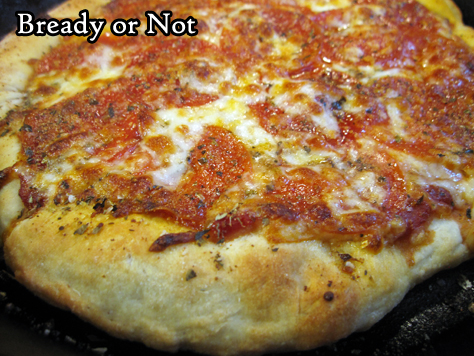
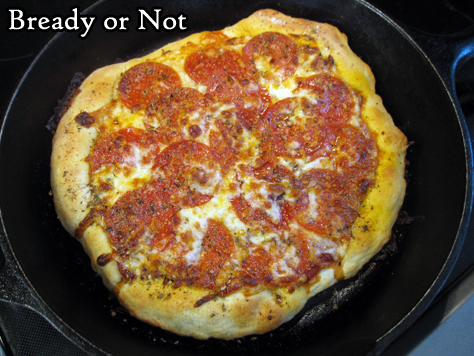
- Put pizza in oven for another 6 to 10 minutes, until crust is golden and toppings are cooked to desired level. Let pizza cool for about 10 minutes, then slide onto a plate or other surface to slice and eat.
- OM NOM NOM!
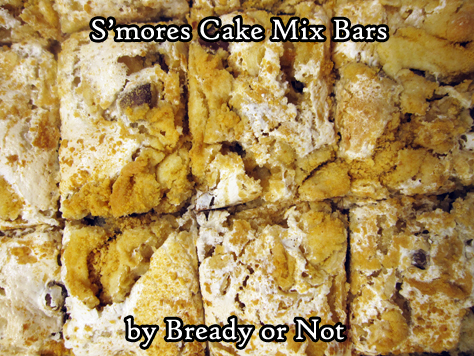
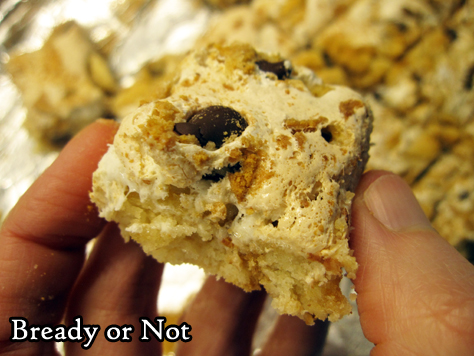
Bready or Not Original: S’mores Cake Mix Bars
Cake mix is fantastic ingredient to keep in the pantry for a quick-fix dessert. It’s easy to doctor into something extraordinary, such as with these S’mores Cake Mix Bars.
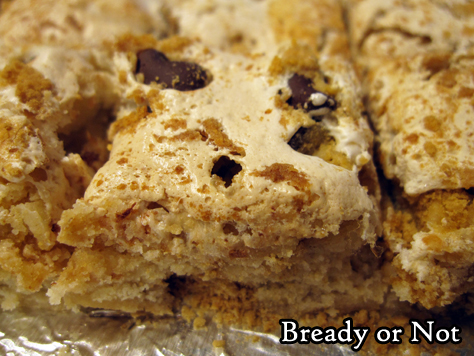
This is a treat that doesn’t taste like cake mix at the end. It’s just sweet and wonderful, courtesy of the lovely combination of ingredients.
I used ready-made graham crackers crumbs here, but really, you could probably use various kind of vanilla cookies, smashed, to mix in. Vanilla wafers or even Golden Oreos would be good substitutes.
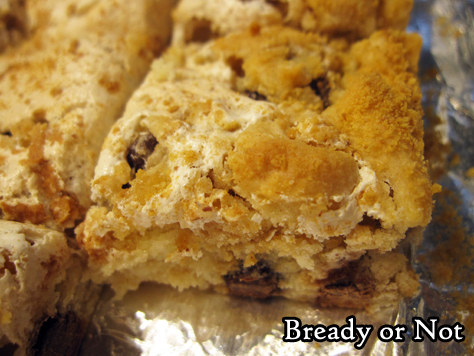
I love bar recipes like this where ingredients are swirled together at the end. There is something visually delightful about that marbled look.
Be sure that when these bars are sliced, they are stores with waxed paper between the layers. Marshmallow makes things a bit sticky! And delicious.
Bready or Not Original: S’mores Cake Mix Bars
Equipment
- 9×13 pan
- waxed paper
Ingredients
- 1 box white cake mix or yellow cake mix or French Vanilla
- 1/2 cup unsalted butter 1 stick, melted
- 1 teaspoon vanilla extract
- 2 eggs room temperature
- 1 cup semisweet chocolate chips
- 7 ounce marshmallow fluff jar
- 1/2 cup graham cracker crumbs
Instructions
- Preheat oven at 350-degrees. Line a 9×13 casserole pan with foil and apply nonstick spray or butter.
- In a large bowl, mix together the cake mix, butter, vanilla extract, and eggs until no dry crumbs remain. Fold in the chocolate chips.
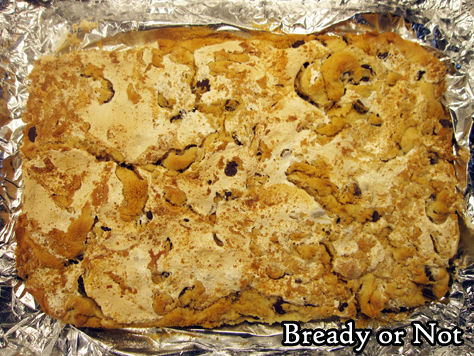
- Pour batter into the prepared pan and even out surface. Add the graham cracker crumbs in little piles scattered across the top. Use a butter knife to partially swirl the crumbs into the dough. Add dollops of marshmallow fluff across the top. Again, swirl the marshmallow into the dough, coating it with graham crackers in the process. Don’t combine everything too much–there should still be visible swirls and varied textures.
- Bake at 350-degrees for 20 to 25 minutes, until edges are golden and contents look set.
- Completely cool at room temperature or speed process in the fridge. Use foil to lift the contents onto a cutting board. Slice into bars. Store in a sealed container with waxed paper between the stacked layers.
OM NOM NOM!
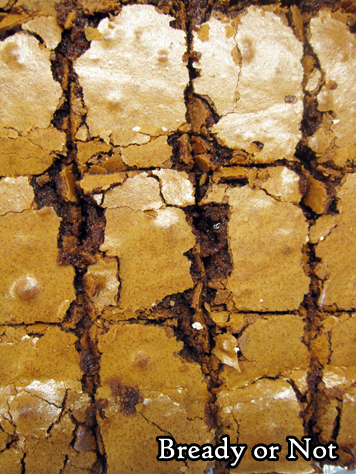
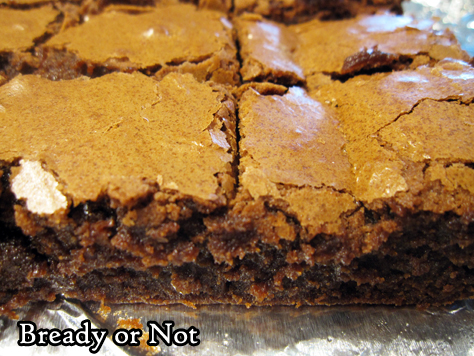
Bready or Not Original: Classic Brownies
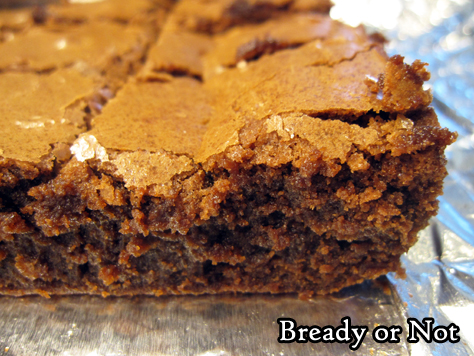
Each year around Valentine’s Day, I like to share a chocolatey recipe. For this year, we’re going for Classic Brownies.
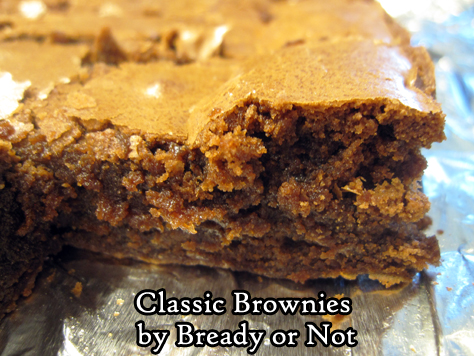
This straightforward recipe makes a 13×9 pan of luscious, moist brownies. They have a rich middle and a crackly top.
Yes, they might crumble a little, but they are by no means dry. Not unless they are overbaked.
These brownies are great on their own but would be out-of-this-world paired with some ice cream or fruit, or both of those at once.
Store these at room temperature for a few days at most, or freeze them for several months.
Bready or Not Original: Classic Brownies
Equipment
- 13×9 pan
Ingredients
- 8 ounces semisweet chocolate chips
- 1 cup unsalted butter 2 sticks
- 2 cups all-purpose flour
- 1/4 cup unsweetened Dutch-process cocoa powder sifted
- 2 1/2 cups white sugar
- 1 Tablespoon espresso powder or instant coffee granules
- 2 teaspoons ground cinnamon
- 6 eggs room temperature
- 2 teaspoons vanilla extract
Instructions
- Preheat oven at 325-degrees. Line a 13×9 pan with foil and apply nonstick spray or butter.
- In a medium microwave-safe bowl, microwave the chocolate and butter in very short bursts, stirring well between each pass, until it is melted and smooth. Set aside to cool.
- In a small bowl, combine the flour and cocoa.
- In a large bowl, combine the sugar, espresso powder, and cinnamon. Pour in the chocolate mixture. Beat until just combined. Add eggs, one at a time, followed by the vanilla. Gradually stir in the flour-cocoa mix. Spread the batter in the prepared pan.
- Bake for 35 to 42 minutes, until the edges start to pull away from the sides of the pan and the very middle passes the toothpick test. Set on rack to completely cool.
- Use the foil to lift the brownies onto a cutting board. Cut into bars. Store in a sealed container at room temperature. Brownies can also be layered in wax paper and frozen for later enjoyment.
OM NOM NOM!
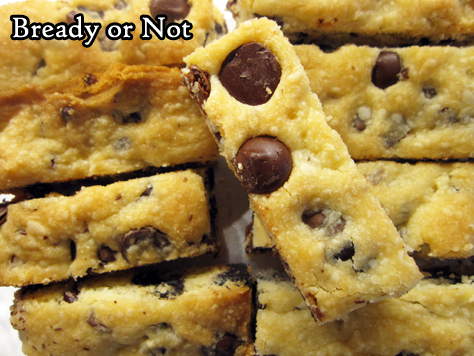
Bready or Not Original: Chocolate Chip Shortbread with Cocoa Nibs
A classic shortbread gets deeper coffee flavors in this new take featuring cocoa nibs.
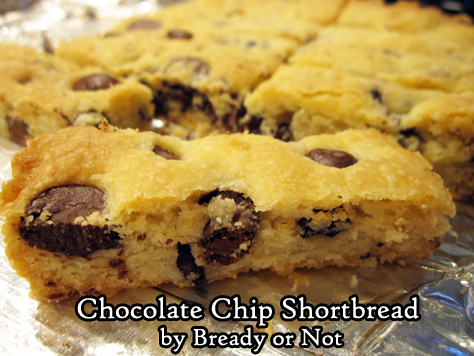
Cocoa nibs are strong stuff. You don’t need a lot to add some oomph. Here, two tablespoons is enough to do the trick.
Use whatever chocolate chips you have around for this recipe. Going dark will be a closer match for the nibs. Therefore, I prefer semisweet or milk chocolate, or a combination thereof.
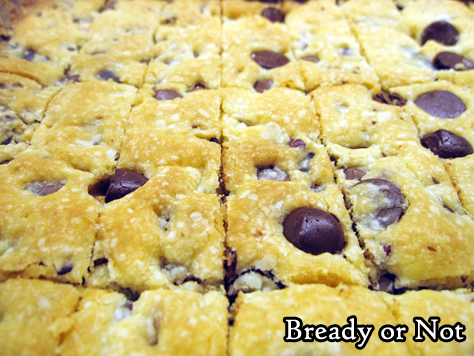
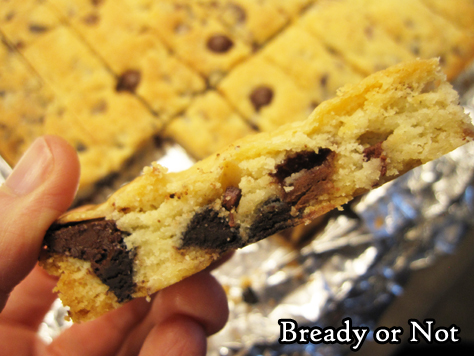
The resulting shortbread is firm enough to hold up when it is cut into finger-sized pieces, but it is wonderfully soft and chewy to eat.
Eat this for a snack or dessert, or do the proper UK thing and serve it with some hot tea!
Bready or Not Original: Chocolate Chip Shortbread with Cocoa Nibs
Equipment
- 9×9 pan
Ingredients
- 1 cup unsalted butter 2 sticks, room temperature
- 1 teaspoon vanilla extract
- 1/4 teaspoon salt
- 3/4 cup confectioners’ sugar
- 2 cups all-purpose flour
- 3/4 cup chocolate chips
- 2 Tablespoons cocoa nibs
Instructions
- Preheat oven at 350-degrees. Line a 9×9 pan with foil and apply nonstick spray.
- In a big bowl, beat butter, vanilla, and salt until it is smooth and creamy. Slowly beat in the confectioners’ sugar followed by the flour. Fold in the chocolate chips and cocoa nibs.
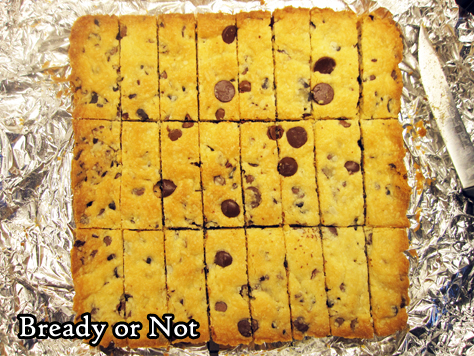
- Dump dough into the prepared pan. Lightly flour hands and pat dough flat and smooth. Score through the dough with a floured knife to make rectangular wedges, then prick surface all over with a floured fork.
- Bake for 30 to 33 minutes, until shortbread is set and the edges are browned. Let set in pan for 20 minutes, then use the foil to lift contents onto a rack to completely cool. Move them to a cutting board and slice into pieces along original score marks.
- Store in a sealed container at room temperature.
