


Bready or Not Original: Bread Machine Beer Bread Rolls
Your home bread machine makes delicious carbs super-easy with these Bread Machine Beer Bread Rolls!
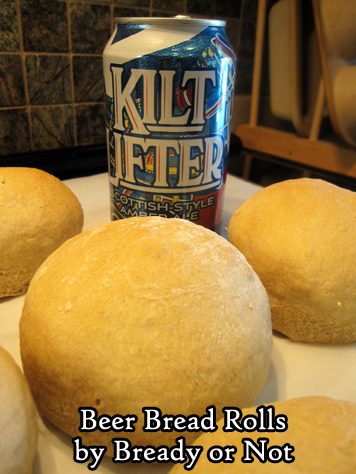
First things first: the type of beer. You could try this with any number of beers, but I suggest a darker one. I’ve tried this with Kiltlifter (a major local beer in Arizona) and also Guinness. Guinness definitely created rolls that were darker with a deeper flavor. I have not tried this with a nonalcoholic beer.
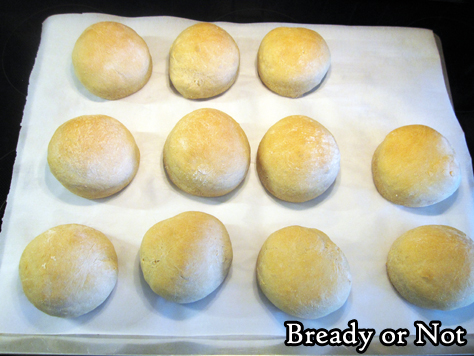
Really, choose a beer that will go well with the meal. Don’t worry about alcohol amounts in the final product, either. It’ll burn off in the baking process. Also, you don’t have to like beer to like these rolls. I do not like beer (seriously, I really do not like beer) but I do enjoy the hoppy flavor it imbues in this bread!
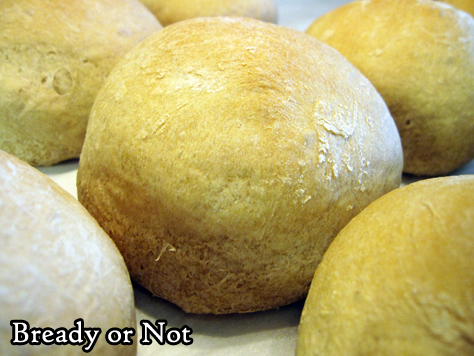
A food scale will be an immense help in creating like-sized rolls. I’ve used this recipe to make medium-sized rolls, good for a butter-lacquered side dish, as well as big rolls suitable for BBQ-sauce shredded pork or other heaped-on fixings.
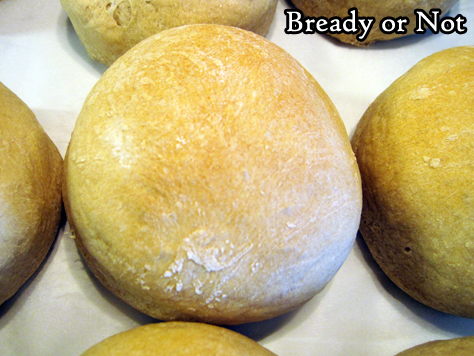
The rolls are fantastic fresh and will keep fine for a few days, and they are great to freeze. If you freeze them soon after they come out from the oven, they will taste just that fresh when you later thaw them!
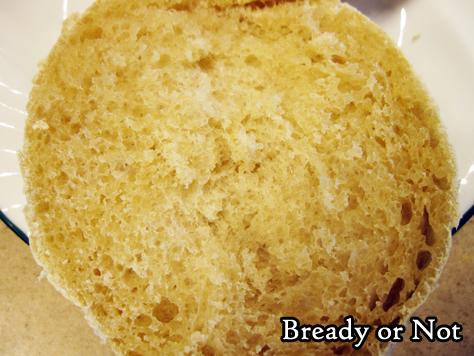
Bready or Not Original: Bread Machine Beer Bread Rolls
Equipment
- bread machine
- food thermometer
- food scale
Ingredients
- 12 ounces dark beer such as Kiltlifter or Guinness
- 1/2 cup water
- 1 1/2 teaspoons sea salt
- 4 to 4 1/2 cups bread flour plus more for dusting
- 1 1/2 teaspoons instant dry yeast
Instructions
- This may be a travesty for some, but place the beer and water in a large microwave-safe dish. Give the liquid a brief zap in the microwave to raise the temperature to 100 to 110-degrees. Place in the pan of the bread machine. Add the salt, 4 cups bread flour, and yeast. Start the machine on the dough setting.
- Check on the dough as it begins mixing. If your bread machine allows, as the cycle is on-going, add more flour if the dough looks too loose, or add a touch more water if it is too dense and lumpy.
- When the cycle is done, weight the dough and do the math to divide into rolls of desired size. Prepare a large baking sheet with parchment paper. Divide the dough with the help of the food scale, shaping and smoothing each piece into a roll. Set spaced out on sheet.
- Cover dough balls with plastic wrap or towels and set in a place to rise, 30 minutes to an hour.
- Preheat oven at 350-degrees. Remove cover from dough and baking sheet. For medium rolls, bake for around 24 minutes; for larger rolls, bake for about 28 minutes. Check for doneness by tapping rolls and listening for a hollow sound, or plunge the food thermometer into a discreet place to verify the temperature in the middle if above 190-degrees.
- Cool at least 20 minutes before eating. Rolls will keep in a sealed bag at room temperature for up to 2 days, and can also be frozen to enjoy much later.
OM NOM NOM!
Bready or Not: Irish Coffee Coffee Cake
Irish Coffee Coffee Cake! Yes, the word “Coffee” is intentionally in this recipe’s name twice. That’s because it’s a coffee cake that includes coffee, and also a nip of whiskey, because why not?
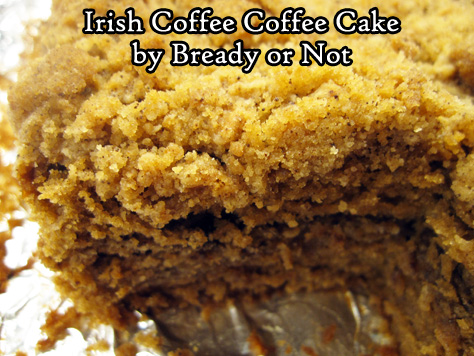
I can tell you why the whiskey should be there–because it adds a fresh zip of flavor to an already delicious cake.
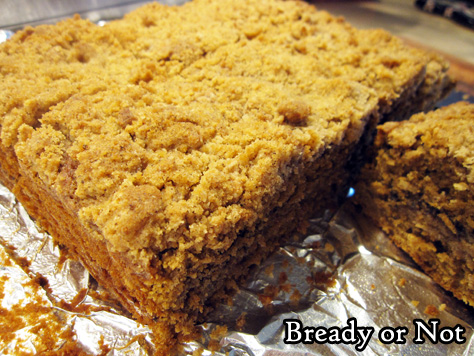
This is a recipe that take some effort. It dirties a lot of dishes. However, it’s also a special cake that looks and tastes like it required that extra effort.
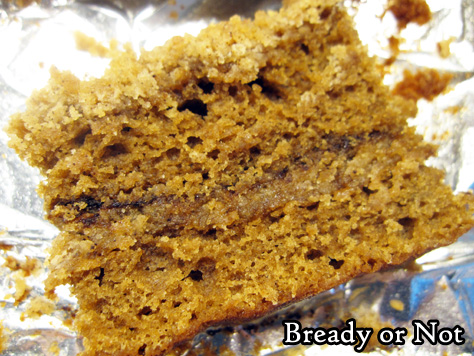
Really, this is a cake to make to impress guests or for a brunch or a birthday or holiday event. I’m posting it over a week in advance of St. Patrick’s Day so that some folks can perhaps throw it together this weekend! Note that this cake freezes very well, too.
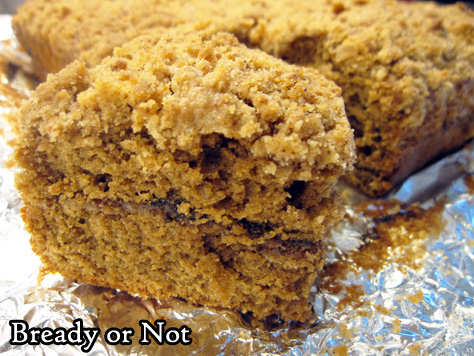
When I do recipes that include alcohol, I inevitably get asked: what did you use? Also, I don’t drink, can I omit the alcohol? To the first question, I used Green Spot whiskey, which is my personal favorite. As to the second, I haven’t tried the recipe without whiskey, but I imagine it would be just fine, especially if you like a strong coffee flavor.
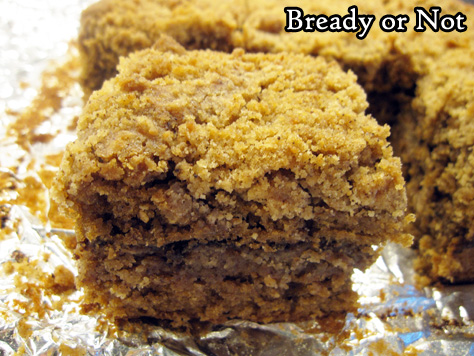
Baking the cake as described below, the result is a lofty, spongy cake with a zing of whiskey and a deep coffee flavor. The moist crumb is a lovely contrast to the crumble layers through the middle and on top.
Modified from Bake from Scratch Jan/Feb 2019 issue.
Bready or Not: Irish Coffee Coffee Cake
Equipment
- 9-inch square pan
- food processor
- offset spatula
Ingredients
Irish Whiskey Streusel
- 1 3/4 cups all-purpose flour
- 1 cup brown sugar packed
- 2 teaspoons espresso powder
- 1 1/4 teaspoons ground cinnamon
- 1/2 teaspoon kosher salt
- 1/2 cup plus 2 Tablespoons cold unsalted butter cubed
- 1 Tablespoon Irish whiskey
Coffee Cake
- 1/2 cup unsalted butter 1 cube, softened
- 1 cup white sugar
- 2 large eggs room temperature
- 2 cups all-purpose flour
- 1 1/4 teaspoons baking powder
- 1/2 teaspoon baking soda
- 1/2 teaspoon kosher salt
- 2/3 cup whole buttermilk or soured milk, see note
- 1/3 cup Irish whiskey
- 2 Tablespoons espresso powder
- 2 teaspoon vanilla extract
Instructions
- In a food processor, pulse together the flour, brown sugar, espresso powder, and salt. Drop in the butter and whiskey, and pulse again until it forms pea-sized crumbs. Chill mix in fridge. Note that the streusel can be made a day ahead of the rest of the cake.
- Preheat oven at 350-degrees. Line a 9-inch square pan with foil to extend up all four sides. Apply nonstick spray.
- In a large bowl, beat butter and white sugar until fluffy. Add eggs one at a time.
- In another bowl, mix together flour, baking powder, baking soda, and salt. In a different bowl, combine the buttermilk/soured milk, whiskey, espresso powder, and vanilla, stirring gently until the espresso powder is dissolved and not clumpy.
- Gradually mix the dry ingredients and the wet ingredients into the butter and sugar, alternating back and forth, until everything is combined.
- Spoon about half the batter into the prepared pan; batter will be thick, and an offset spatula will make it easier to even out. Sprinkle half the streusel mix over the batter. Dollop on the remaining batter and even out again. Crumble the rest of the streusel over the top.
- Bake about 40 to 45 minutes, until the middle of the cake passes the toothpick test. Cool completely in pan. Use the foil to lift it onto a cutting board to slice.
- Cake pieces keep well in sealed container at room temperature for at least 3 days. Pieces can also be wrapped up and frozen for later enjoyment.
OM NOM NOM!
Notes
Bready or Not: Chocolate Whiskey Cake
This Chocolate Whiskey Cake is dense, moist, and delicious–the perfect cake for chocoholics.
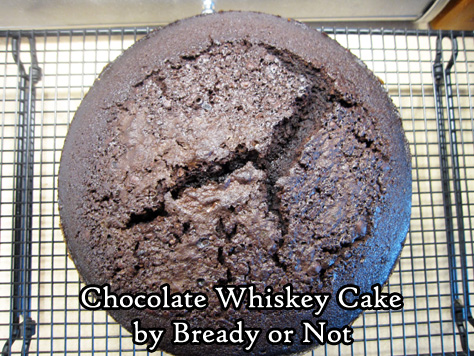
This is the first entry in a special sequence of deliciousness, too–three weeks in a row with Ireland-inspired recipes. Look for Irish Apple Cake and Irish Coffee Coffee Cake in the coming weeks!
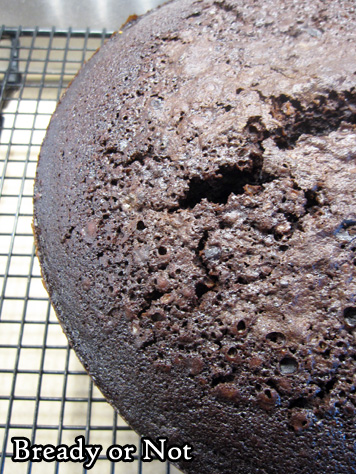
This is the kind of cake that doesn’t need frosting; that would actually be overkill. If desired, add a sprinkle of confectioners’ sugar on top, but that’s more about adding some color contrast than flavor.
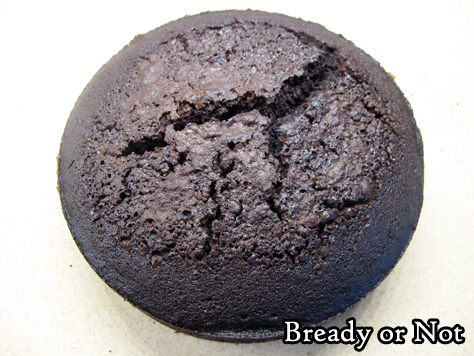
So, what IS the flavor here? Chocolate. Coffee. And yes, whiskey–that adds a refreshing waft. I used Green Spot Irish Whiskey, my favorite, and one I’m fortunate enough to find sometimes at Costco around St. Patrick’s Day! Total Wine carries it year-round, too.
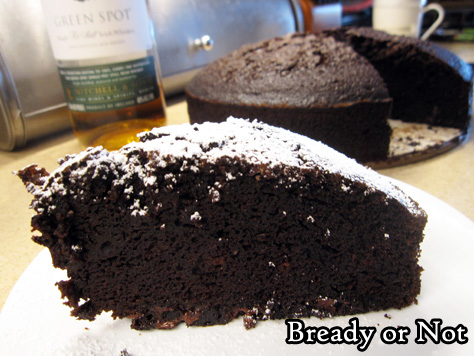
Eat this cake within a day or two, or wrap up pieces and freeze for later! It thaws, no problem at all.
I modified this a lot from an original take at NYT Cooking.
Bready or Not: Chocolate Whiskey Cake
Equipment
- 9-inch springform pan
- parchment paper
- food scale
Ingredients
- 12 Tablespoons unsalted butter
- 3/4 cup cocoa powder sifted
- 1 1/2 cups brewed strong coffee
- 1/2 cup Irish whiskey
- 1 cup white sugar
- 156 grams light brown sugar note this is weighed, not packed
- 2 Tablespoons cocoa powder sifted
- 2 cups all-purpose flour
- 1 1/2 teaspoons baking soda
- 3/4 teaspoon fine sea salt
- 1/4 teaspoon black pepper
- 1/8 teaspoon ground cloves
- 3 large eggs room temperature
- 2 teaspoons vanilla extract
- 1 cup chopped dark chocolate or chocolate chips
- Confectioners' sugar for serving, optional
Instructions
- In a large pot on low heat, warm the butter, 3/4 cup cocoa powder, coffee, and Irish whiskey. Once the butter is melted, stir in the sugars until they are dissolved. Remove from heat to cool, 30 minutes at minimum.
- Preheat oven at 325-degrees. Cut a piece of parchment to fit the bottom of the springform pan. Apply nonstick spray to pan, place parchment inside, then spray again. Dust the interior with the remaining 2 Tablespoons cocoa powder to coat.
- In a big bowl, combine flour, baking soda, salt, pepper, and cloves. In a different bowl, whisk together eggs and vanilla. Gradually stir the egg mixture into the butter-cocoa pot. Add the dry ingredients to just combine, then fold in the chopped chocolate.
- Pour batter into the prepared pan. Bake cake for 65 to 70 minutes, until the middle just passes the toothpick test. Let cool for about 20 minutes, then release sides of pan to let the cake cool completely.
- Slice into wedges to serve. Add confectioners’ sugar sprinkled on top, if desired. Keep cake covered at room temperature up to 2 days. Remaining pieces can be sliced and individually wrapped and frozen for later enjoyment.
OM NOM NOM!
Bready or Not Original: Rum Bundt Cake
This Rum Bundt Cake is luscious–soft and moist, with rum baked-in and soaked-in. It’s perfect for an indulgent New Year’s Eve treat, or make it any time of year!
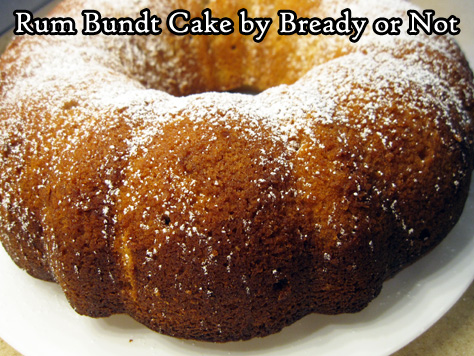
The most basic form of this recipe came to me on a postcard sent by my mother-in-law’s husband. He travels a lot, and sent me a card from the Virgin Islands that included a rum bundt cake recipe on the front.
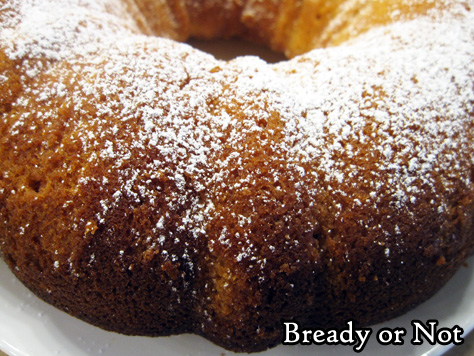
The thing was, the recipe was squeezed into limited space and quite basic. The baking temperature was low and strange, too–no way was an enriched bundt cake baking at 300-degrees in 45 minutes.
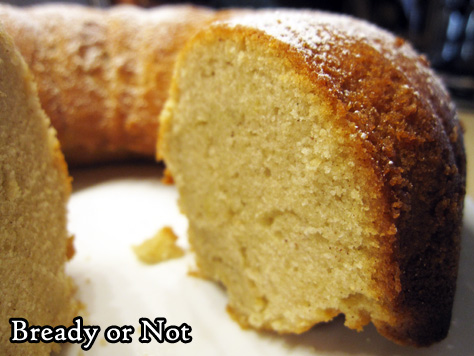
So, I rewrote the recipe. I also added more rum. I used the return-to-pan soaking method I learned from Bake Off years ago to make sure this baby was really rummy. That liquid gold shouldn’t drip off. No, it needs to be used to bathe a cake.
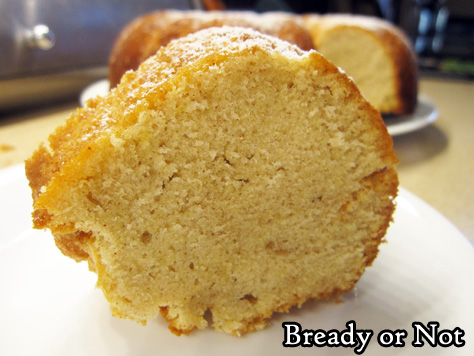
The end result is fragrant with rum. The outside is crisp while the crumb is tender and moist without being soggy. It’s not a super-sweet cake, either, but it is definitely lush.
Modified greatly from a souvenir postcard.
Bready or Not Original: Rum Bundt Cake
Equipment
- large bundt pan
- pastry brush
- chopstick
Ingredients
Cake
- 1 cup unsalted butter 2 sticks, room temperature
- 2 cups white sugar
- 6 large eggs room temperature
- 2 cups all-purpose flour
- 1 teaspoon cinnamon
- 2 teaspoons vanilla extract
- pinch salt
- 1/4 cup rum
Rum soak:
- 1/4 cup rum divided
- confectioners’ sugar
Instructions
- Preheat oven at 350-degrees. Heavily grease or use nonstick spray in a large bundt pan.
- In a mixer, blend together butter and sugar. Add eggs one at a time. Follow up with the flour, cinnamon, vanilla, salt, and rum.
- Pour batter into pan. Bake for about 45 minutes, until the middle passes the toothpick test. Let cool for about 20 minutes, then invert cake onto a cooling rack. Don’t wash the pan!
- After the cake is completely cool, tip it back into the pan. Stab the top (the future base) all over with a chopstick or similar tool. Drizzle 2 Tablespoons of rum over the surface. Let it sit a few minutes. Invert the cake onto a plate. Again, stab the surface all over with something like a chopstick. Brush the remaining 2 Tablespoons rum over the top and sides, mopping up any droplets to brush on again. Let set a few minutes.
- Before serving, sprinkle on confectioners’ sugar. Slice and enjoy! Keep covered in fridge or at room temperature. Cake can be frozen in individual slices for later enjoyment, too.
OM NOM NOM!
Bready or Not Original: Pancetta Risotto
This Pancetta Risotto is a fantastic meal for two people, or a delicious side for a group. It’s time-consuming but very straightforward to make.
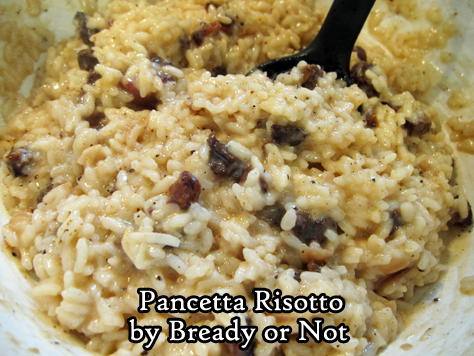
I confess, I spent years being intimidated by the very idea of a risotto. I would see it done on cooking shows. So much stirring! When I finally got up the gumption to give it a try, I found risotto wasn’t hard at all. It really is about lots of stirring.
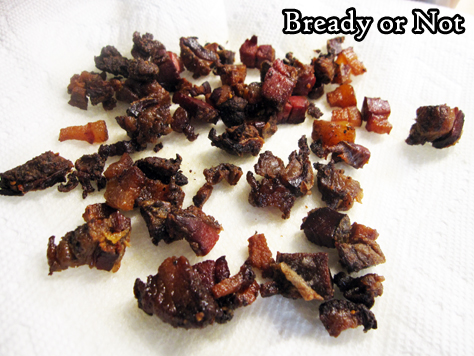
This recipe here is my fancy occasion recipe, especially when I have some good pancetta on hand, such as the kind carried by Smoking Goose Meatery out of Indianapolis.
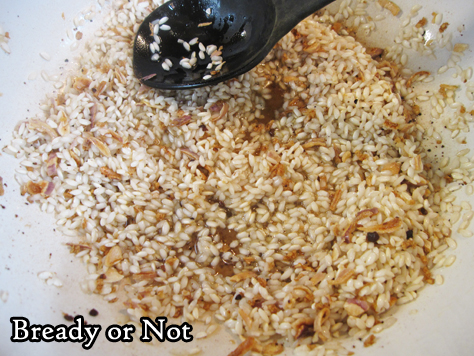
As for the wine, I’ve tried this with fancier Sauvignon Blanc from Total Wine (Cloudy Bay from New Zealand) as well as a $6 Trader Joe’s Coastal Sauvignon Blanc. Both versions turned out great! You don’t need to go all-out, but get something that is (hopefully) drinkable with the finished meal.
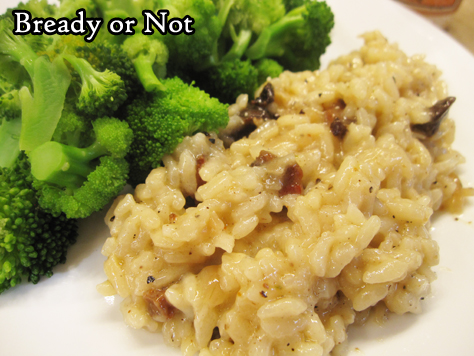
Bready or Not Original: Pancetta Risotto
Equipment
- large stock pot
- medium saucepan
Ingredients
- 8 oz pancetta diced
- 1 Tablespoon dried shallots or fresh shallot, finely minced
- 3 cloves garlic minced
- 1 1/4 cups Arborio rice
- 1 cup dry white wine Sauvignon Blanc works well
- 4 cups chicken broth or chicken stock, equal to a 32 oz box or 2 cans
- 1/2 cup shredded Parmesan or Pecorino Romano or Grana Padano, plus more to top rice
- salt and pepper to taste
Instructions
- In a large stock pot, cook the pancetta for 10 to 12 minutes, until it starts to turn brown and crispy. At the same time, on another stove burner, use a medium sauce pan to bring the chicken broth to a very low simmer.
- Use a slotted spoon to transfer pancetta to a paper towel-lined plate; set aside. Add dry shallots and garlic to the fat in the big pot. Sauté for two minutes. Add the Arborio rice and a pinch of salt. Sauté another 2 minutes, until the rice looks glossy with translucent edges.
- Add the white wine and stir until it is absorbed. Add chicken broth in 1/2 cup increments, stirring well after each addition until it is absorbed. After about 12 to 15 minutes, when most of the broth has been added, begin to taste the rice. The goal is a chewy, al dente consistency. Add more broth as needed, and remember to turn off the burner for the broth pot when it is empty.
- When the rice is creamy and al dente, stir in the pancetta and cheese. Taste the risotto again, adding more salt and pepper as needed. Serve with the remaining white wine.
OM NOM NOM!
Bready or Not: Cheddar Beer Bread Rolls
These Cheddar Beer Bread Rolls taste as good as they look. Seriously.
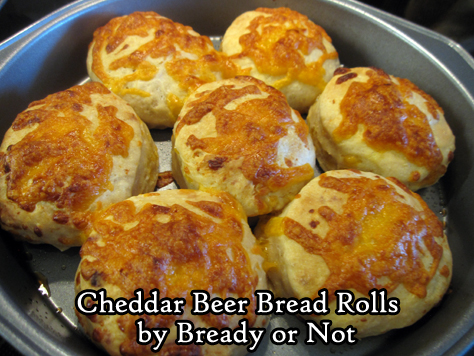
When the pandemic sent everything topsy-turvy in spring 2020, my husband ended up working from home more often. That meant I needed to feed him more often.
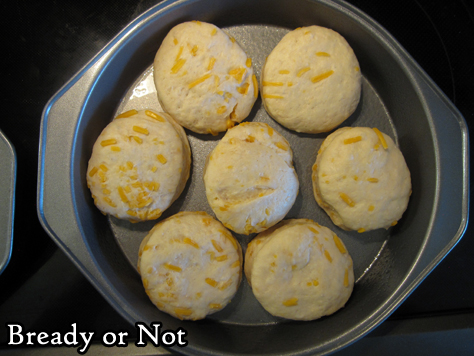
So, like so many people, I started baking more bread. These rolls were among the first of my experiments, and they were a major hit.
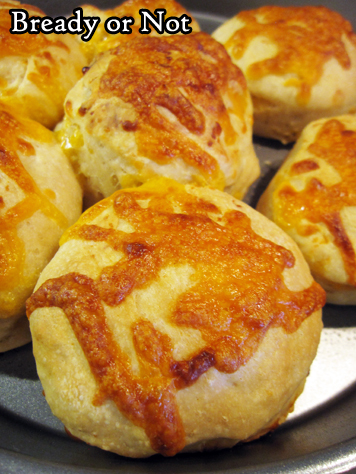
The original recipe from New York Times Cooking made a huge batch of rolls. I needed enough rolls to feed one guy, with a extras frozen for later.
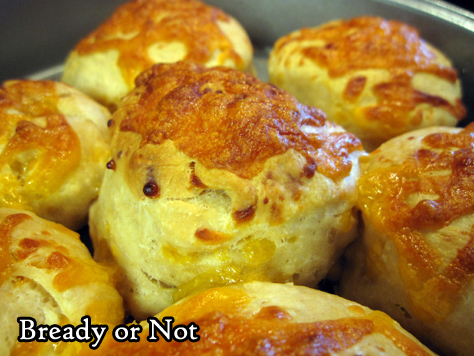
I rewrote the recipe to delicious results. I used a Guilt Lifter beer to make these, which lent a refreshing hoppy flavor. A heavier and darker beer will create heavier and darker flavor. Try different beers to suit your tastes and match your meal.
Bready or Not: Cheddar Beer Bread Rolls
Equipment
- 2 8-or 9-inch cake pans
- 2.5-inch round cutter
- plastic wrap
- basting brush
Ingredients
- 2 Tablespoons unsalted butter divided
- 3 cups all-purpose flour or bread flour
- 1/2 Tablespoons instant yeast
- 1 teaspoon coarse kosher salt
- 2 Tablespoons honey
- 1 cup beer room temperature
- 1 cup shredded cheese 120 grams
Instructions
- Divide the two tablespoons of butter in half, separating them to soften at room temperature.
- In a stand mixer with a bread hook attachment, stir together the flour, yeast, and salt. Follow up with 1 tablespoon of softened butter, honey, and beer. Mix on low speed for 4 minutes, scraping the bowl as needed. Increase the speed to medium for another 2 minutes, pulling the dough from the hook a few times. Add about half the cheese, reserving the rest to go on top later. Mix the cheese until it's distributed through the dough.
- Lightly grease a large bowl. Transfer the dough there and cover with plastic wrap or a towel to let it rise until it's about doubled in size, about an hour.
- Grease the two cake pans. Prepare a lightly floured surface and tip the dough onto it. Pat the dough out into a thick, even layer. Use the cutter to slice out rolls. Place them not quite touching in the pans. Reform scraps as much as possible to shape into more rolls. The rolls likely won't quite fill both pans.
- Cover pans with plastic wrap and set in a warm place to rise again for 35 to 45 minutes. They may not increase a lot in size, but they should look puffy.
- Preheat oven at 400-degrees.
- Pull out remaining pat of butter and cheese. Brush the soft butter over the rolls, and follow up with a sprinkling of cheese. Try to keep the cheese from touching the edge of the pan, where it could burn.
- Place both pans in the oven and bake until the rolls are browned and cheese is melted, 15 to 20 minutes. A digital thermometer in a center roll should read 190-degrees at minimum.
- Let cool for at least 10 minutes before (carefully) pulling apart and serving.
- Rolls can keep in a sealed bag at room temperature for up to 2 days. They can also be frozen and thawed for later enjoyment. They taste best hot. For best results, wrap them in foil and bake at 400 for about 10 minutes to warm them through.
OM NOM NOM!
Follow me


