


Bready or Not Original: Classic Brownies
Each year around Valentine’s Day, I like to share a chocolatey recipe. For this year, we’re going for Classic Brownies.
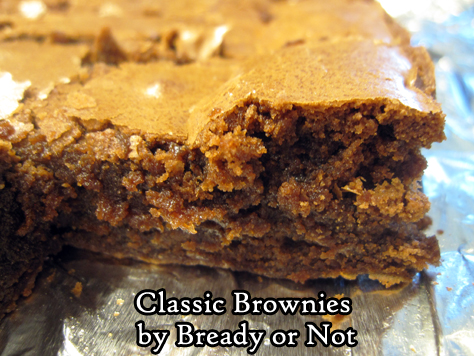
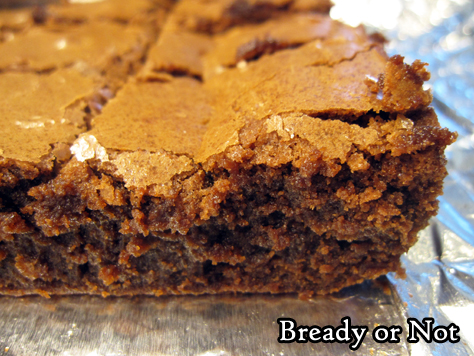
This straightforward recipe makes a 13×9 pan of luscious, moist brownies. They have a rich middle and a crackly top.
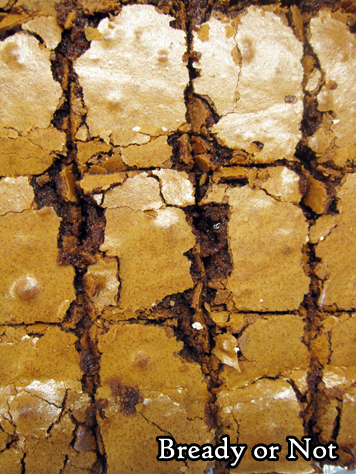
Yes, they might crumble a little, but they are by no means dry. Not unless they are overbaked.
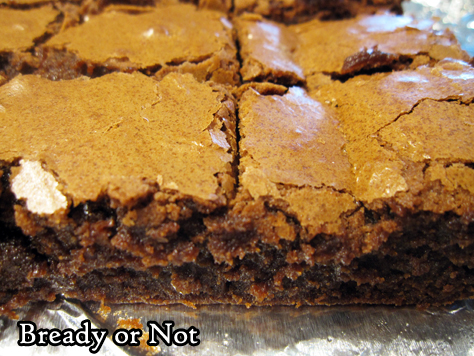
These brownies are great on their own but would be out-of-this-world paired with some ice cream or fruit, or both of those at once.
Store these at room temperature for a few days at most, or freeze them for several months.
Bready or Not Original: Classic Brownies
Equipment
- 13×9 pan
Ingredients
- 8 ounces semisweet chocolate chips
- 1 cup unsalted butter 2 sticks
- 2 cups all-purpose flour
- 1/4 cup unsweetened Dutch-process cocoa powder sifted
- 2 1/2 cups white sugar
- 1 Tablespoon espresso powder or instant coffee granules
- 2 teaspoons ground cinnamon
- 6 eggs room temperature
- 2 teaspoons vanilla extract
Instructions
- Preheat oven at 325-degrees. Line a 13×9 pan with foil and apply nonstick spray or butter.
- In a medium microwave-safe bowl, microwave the chocolate and butter in very short bursts, stirring well between each pass, until it is melted and smooth. Set aside to cool.
- In a small bowl, combine the flour and cocoa.
- In a large bowl, combine the sugar, espresso powder, and cinnamon. Pour in the chocolate mixture. Beat until just combined. Add eggs, one at a time, followed by the vanilla. Gradually stir in the flour-cocoa mix. Spread the batter in the prepared pan.
- Bake for 35 to 42 minutes, until the edges start to pull away from the sides of the pan and the very middle passes the toothpick test. Set on rack to completely cool.
- Use the foil to lift the brownies onto a cutting board. Cut into bars. Store in a sealed container at room temperature. Brownies can also be layered in wax paper and frozen for later enjoyment.
OM NOM NOM!
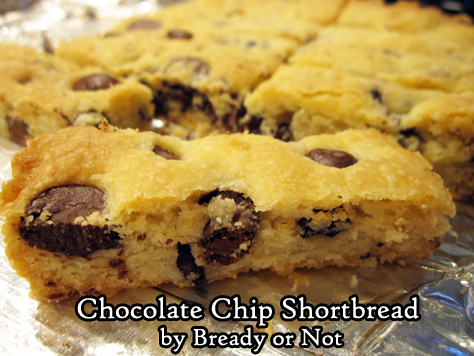
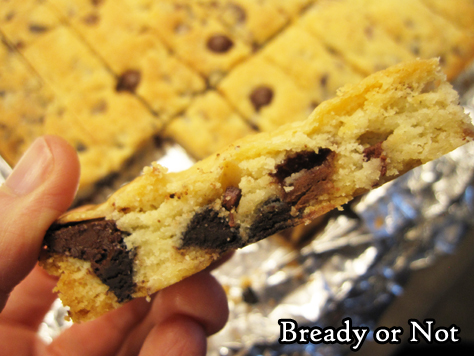
Bready or Not Original: Chocolate Chip Shortbread with Cocoa Nibs
A classic shortbread gets deeper coffee flavors in this new take featuring cocoa nibs.
Cocoa nibs are strong stuff. You don’t need a lot to add some oomph. Here, two tablespoons is enough to do the trick.
Use whatever chocolate chips you have around for this recipe. Going dark will be a closer match for the nibs. Therefore, I prefer semisweet or milk chocolate, or a combination thereof.
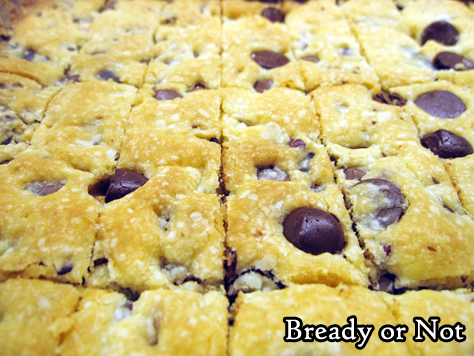
The resulting shortbread is firm enough to hold up when it is cut into finger-sized pieces, but it is wonderfully soft and chewy to eat.
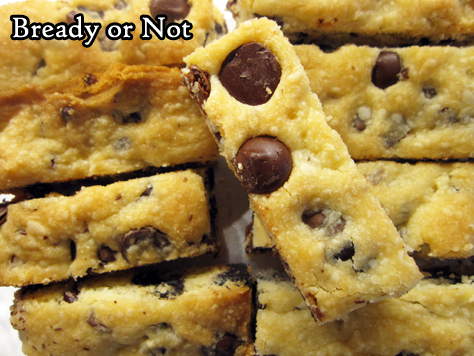
Eat this for a snack or dessert, or do the proper UK thing and serve it with some hot tea!
Bready or Not Original: Chocolate Chip Shortbread with Cocoa Nibs
Equipment
- 9×9 pan
Ingredients
- 1 cup unsalted butter 2 sticks, room temperature
- 1 teaspoon vanilla extract
- 1/4 teaspoon salt
- 3/4 cup confectioners’ sugar
- 2 cups all-purpose flour
- 3/4 cup chocolate chips
- 2 Tablespoons cocoa nibs
Instructions
- Preheat oven at 350-degrees. Line a 9×9 pan with foil and apply nonstick spray.
- In a big bowl, beat butter, vanilla, and salt until it is smooth and creamy. Slowly beat in the confectioners’ sugar followed by the flour. Fold in the chocolate chips and cocoa nibs.
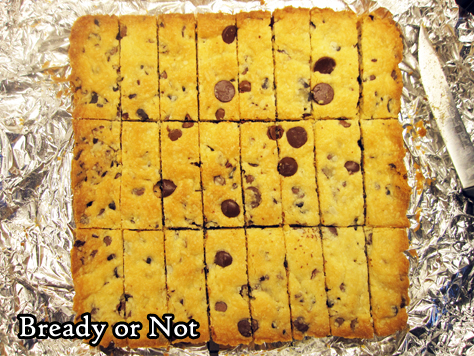
- Dump dough into the prepared pan. Lightly flour hands and pat dough flat and smooth. Score through the dough with a floured knife to make rectangular wedges, then prick surface all over with a floured fork.
- Bake for 30 to 33 minutes, until shortbread is set and the edges are browned. Let set in pan for 20 minutes, then use the foil to lift contents onto a rack to completely cool. Move them to a cutting board and slice into pieces along original score marks.
- Store in a sealed container at room temperature.
OM NOM NOM!
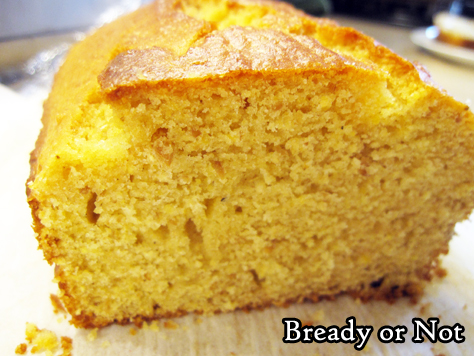
Bready or Not Original: Honey Cornbread Loaf
Cornbread is good ol’ basic American comfort food, perfect to warm up bellies at this time of year.
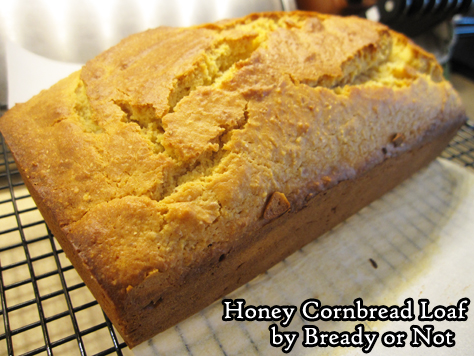
Sometimes, though, you don’t want a huge batch of cornbread. Just enough for a meal or two, maybe. That’s where this recipe comes in.
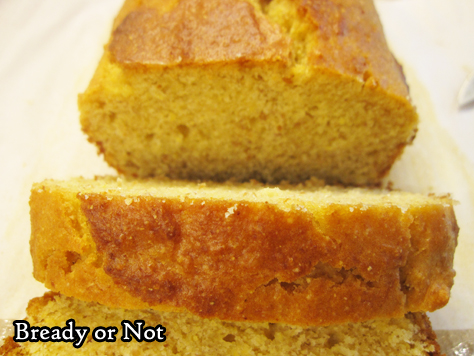
It makes a 9×5 loaf pan of delicious cornbread. Leftovers keep well wrapped up at room temperature, and the bread can also be frozen to eat later.
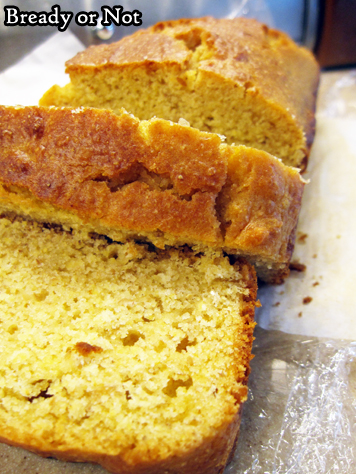
This cornbread is soft with a strong cornbread flavor highlighted with a touch of sweetness. Heat it up, add some butter, and you’re set.
Eat it by itself for a warming snack. Make it to go along with chili or soup or a roast. However you eat it, it’ll be yummy.
Bready or Not Original: Honey Cornbread Loaf
Equipment
- 9x5x3 loaf pan
Ingredients
- 1 1/2 cups cornmeal
- 1/4 cup all-purpose flour
- 1/4 cup golden flax meal
- 1 1/2 teaspoons baking powder
- 1/2 teaspoon salt
- 1/2 cup vegetable oil
- 1/2 cup sour cream or substitute plain yogurt or crème fraiche
- 1/4 cup honey
- 2 large eggs room temperature
Instructions
- Preheat oven at 350-degrees. Line a 9×5-3 loaf pan with a parchment paper sling along the long side, with enough paper sticking up on each side to grip it.
- In a medium bowl, stir together cornmeal, flour, flaxseed meal, baking powder, and salt.
- In a big bowl, beat together oil, sour cream, honey, and eggs. Add in the dry ingredients until just mixed. Pour batter into the pan.
- Bake for 30 to 35 minutes, until the middle passes the toothpick test. Let cool at least 10 minutes before using paper sling to set cornbread on cutting board.
- Cornbread keeps well for days well-wrapped at room temperature. It can also be frozen for later enjoyment.
OM NOM NOM!
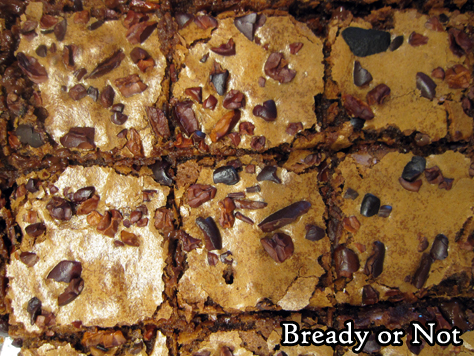
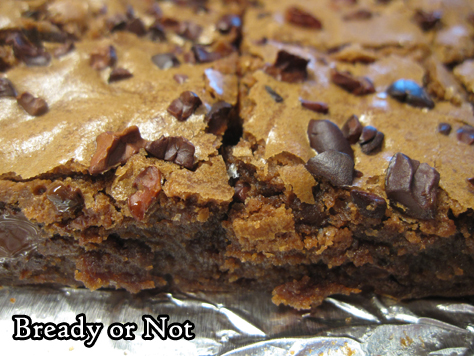
Bready or Not Original: Cocoa Nib Brownies
Cocoa nibs add chocolate flavor and a crunch to baked goods, and they are fantastic atop these Cocoa Nib Brownies!

Cocoa nibs are strongly flavored like dark chocolate. You don’t need a lot of them to add a boost to these brownies.
The original version of this recipe involved melting the chocolate and butter on the stovetop. Ain’t nobody got time for that. I ended up reworking the entire recipe.
I’m all about using the microwave whenever I can. Fast to heat up, convenient to stick the bowl in the dishwasher afterward!

Of course, you can go back to the stove top method if you want. Either way, you get a delicious, chewy brownie packed with chocolate flavor plus a crunch.
Bready or Not Original: Cocoa Nib Brownies
Equipment
- 9×13 dish
- big microwave-safe bowl
- uneven spatula
Ingredients
- 1 cup unsalted butter 2 sticks
- 10 ounces bittersweet chocolate chips
- 1 3/4 cups white sugar
- 4 large eggs room temperature
- 1 1/2 teaspoons vanilla extract
- 1 1/4 cups all-purpose flour
- 1/4 teaspoon kosher salt
- 1/4 cup cocoa nibs plus 1 Tb
Instructions
- Preheat oven at 350-degrees. Line a 9×13 pan with foil and apply nonstick spray or butter.
- In a big microwave-safe bowl, in short bursts melt together the butter and 1 1/4 cups of the bittersweet chocolate chips, stirring well between each pass, until everything is melted together and smooth.
- Whisk sugar into the chocolate. It’s okay if it still looks somewhat grainy. Beat in the eggs and vanilla, following up with the flour and salt. Once no streaks of white remain, fold in the last 3/4 cups of chocolate chips.
- Pour batter into the pan and use an uneven spatula to spread it to corners. Sprinkle the cocoa nibs evenly all over the stop.
- Bake for 25 to 28 minutes, until a toothpick stuck in the center comes out clean. Set out to cool completely. Use the foil to lift the contents onto a cutting board, and slice into pieces. Store in a sealed container at room temperature for up to 3 days.
OM NOM NOM!
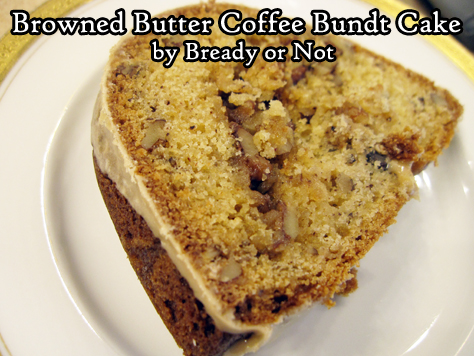
Bready or Not Original: Browned Butter Coffee Bundt Cake
This Browed Butter Coffee Bundt Cake is moist, delicious, and packed with a flavors that will get your day off to a good start.
And by a good start, of course, that includes CAFFEINE. Espresso powder is included in the icing!
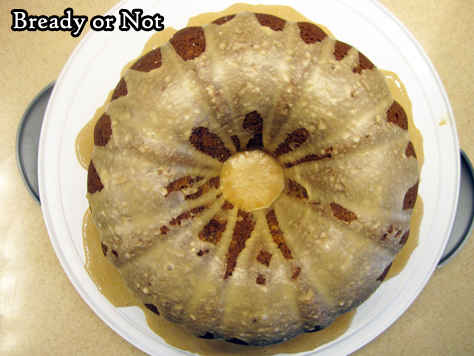
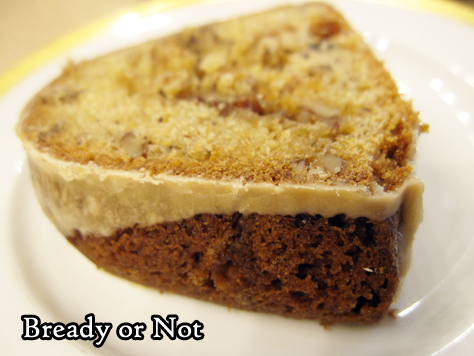
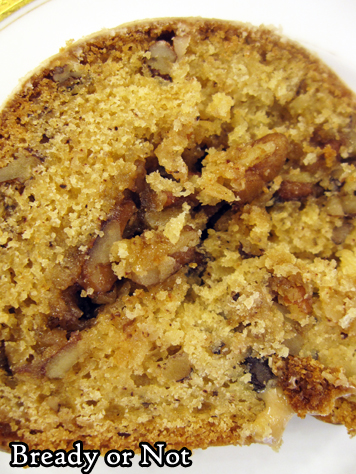
What I love about this cake is that it has all the luscious flavors of a coffee cake without the crumbly mess of the topping. In this cake, that crunchy, extra-sugary layer is in the center!
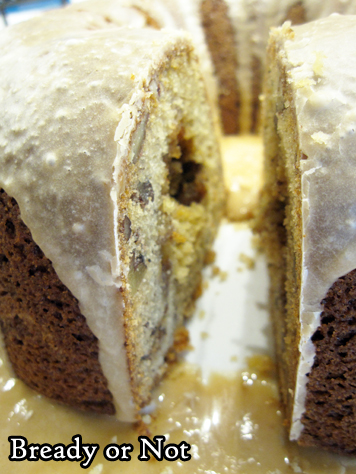
This is a great cake for a breakfast or brunch, and it’s a fantastic one to cut into individual slices, wrap up, and freeze for later.
If 2021 is anything like 2020, it’s a very good idea to have a stash of quick-thaw cake in the freezer.
Modified from Fall Baking Magazine 2013.
Bready or Not Original: Browned Butter Coffee Bundt Cake
Equipment
- large bundt cake pan
Ingredients
Bundt cake
- 3/4 cup unsalted butter 1 1/2 sticks
- nonstick spray with flour
- 2 cups pecan pieces finely chopped, divided
- 2 cups brown sugar packed, divided
- 2 teaspoons all-purpose flour
- 3 cups all-purpose flour
- 1 1/2 teaspoons baking powder
- 1 1/2 teaspoons baking soda
- 3/4 teaspoon salt
- 3 large eggs room temperature
- 1 teaspoon vanilla extract
- 1 1/2 cups vanilla yogurt or plain yogurt, crème fraiche, or sour cream
Coffee icing
- 4 teaspoons milk or half & half, or more as needed
- 1/2 teaspoon espresso powder
- 2 cups confectioners’ sugar or more as needed
Instructions
- First of all, brown the butter. (Note that this can be done a day ahead of time with the butter stashed in the fridge; set at room temperature to soften again or briefly and carefully, zap in microwave before mixing into recipe.) In a medium saucepan, melt the butter on medium-low heat for 5 to 6 minutes, until it becomes brown and embodied by a nutty fragrance. Remove from heat and cool for a while, then transfer to a small bowl. Cover and chill in the fridge for 2 hours, at minimum, to make firm.
- Preheat oven at 325-degrees. Apply nonstick spray with flour to coat inside of a large bundt pan. Soften the browned butter a bit.
- Prepare the filling. In a small bowl, mix together 3/4 cups of chopped pecans, 1/2 cup brown sugar, and 2 teaspoons of flour. Add 3 Tablespoons of the browned butter and work it in with a fork until it makes a crumbly mix.
- In another bowl, mix together the 3 cups flour, baking powder, baking soda, and salt. Set aside.
- In a big mixing bowl, beat together the remaining browned butter with the rest of the brown sugar. Add the eggs, one at a time, followed by the vanilla. Take turns mixing in the dry ingredients and the yogurt until just combined. Fold in the remaining 1 1/4 cups pecans.
- Pour about half the batter into the prepared pan and even it out. Sprinkle filling over it all the way around. Pour in the rest of the batter and spread it even again.
- Bake for 50 to 60 minutes, until it passes the toothpick test in the middle. Let cool for about 20 minutes, then invert it onto a rack to completely cool.
- Make the coffee icing. Stir together the milk, espresso powder, and confectioners’ sugar, adding more milk or sugar as needed to make an icing of a good consistency. Drizzle over cake.
- Store at room temperature. Can be sliced and frozen for later enjoyment.
