


Some bread recipes make a lot of bread. While bread freezes well, not everyone has the space or wants the bread for later. If you just want a small, special round of bread to be shared by 2 or 3 people, this is the bread for you.
This round is rustic, simple, and delicious. It doesn’t require kneading, and therefore doesn’t even ask for a electronic mixer for ease. You don’t even need bread flour. All-purpose does the job just fine.
I first tried this recipe when most of my kitchen was packed up for the move. I didn’t have all of my usual implements or ingredients, but I could make this, and wow, was it good.
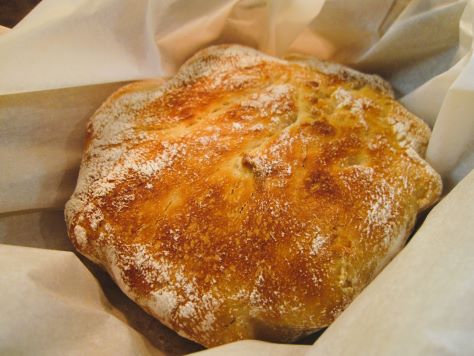
I’ve tried this in my small cast iron skillet and in a Pampered Chef covered stoneware dish. Both worked well, but I actually preferred the rise and extra crustiness that came with using the cast iron. These pictures actually depict the stoneware-baked bread, and I daresay, they still don’t look too bad.
Bready or Not Original: Small Batch Crusty Bread
Equipment
- digital thermometer
- cotton towel or napkin
- small cast iron skillet or small stoneware dish
- parchment paper
Ingredients
- 1 teaspoon active dry yeast
- 1 teaspoon honey
- 2/3 cups warm water 100-110 degrees
- 1 teaspoon kosher salt
- 1 to 1 2/3 cups all-purpose flour plus more for dusting
Instructions
- In a large bowl, stir together the yeast, honey, and warm water. Let it sit about 5 to 10 minutes. The yeast should activate and begin to bloom near the top of the water.
- Add flour. Using a sturdy spoon, stir until everything starts to come together, then add the kosher salt. Continue mixing until no dry flour remains in the bowl. The dough should be shaggy and somewhat sticky. Cover the bowl with a towel or plastic wrap and stash it in a warm spot in the kitchen to rise for an hour. It should double in size.
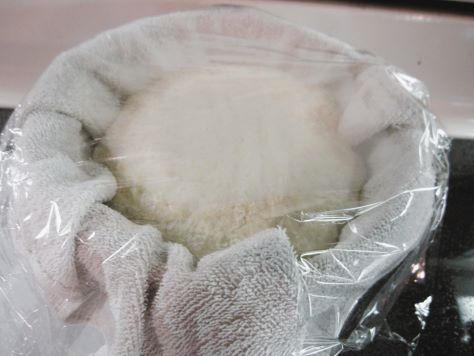
- Set out a small bowl and layer a cotton towel inside. Generously flour the towel. Lightly flour a work surface. Tip the dough onto the work surface. Be gentle as to not lose the bubbles. Shape the dough with cupping and tucking motions, drawing the round to be tighter by tucking the rough bits underneath. Place the formed round in the floured-towel bowl with the seam underneath. Cover with a towel or plastic wrap to rise for 30 minutes.
- Begin preheating the oven at 450-degrees. Place the small cast iron or stoneware inside the oven to heat up as well–and please remember to use potholders when handling it throughout the baking process!
- Pull out a piece of parchment paper. Tip the risen bread onto the parchment, gently tugging it free with the towel if it sticks in spots. Pull the hot pan from the oven. Use the parchment as a sling to set the parchment and bread inside the pan as levelly as possible.
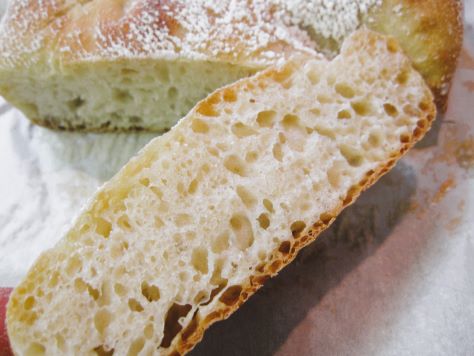
- Bake for 22 to 25 minutes. The bread should be browned and sound hollow if tapped on the bottom. Let cool about 10 to 15 minutes so that it can be handled to be sliced and enjoyed. If there are any leftovers, store them in a sealed bag at room temperature or to freeze for later. Freshly-made bread is best eaten within a day.
