


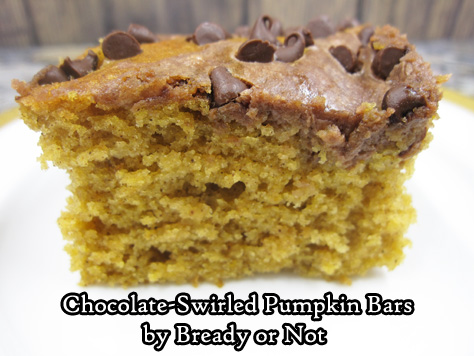
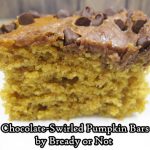
Bready or Not: Chocolate-Swirled Pumpkin Bars
Chocolate-Swirled Pumpkin Bars. Because I will never feature enough iterations of this perfect pairing.
Yeah, every year I do a new take (or a couple) on this lovely Voltron-saving-the-galaxy team-up between pumpkin and chocolate. You know why? Because it’s AWESOME. Like Voltron. With a lot less death and destruction.
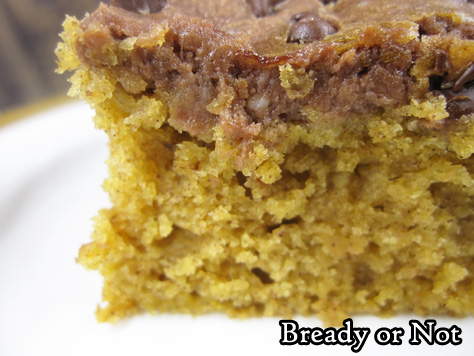
This recipe gets extra oomph from cream cheese, but by no means do these taste like cheesecake bars. Here, the cream cheese adds umami richness rather than straight-out cream cheese flavor.

I was amazed by how thick these bars ended up. Really, these are more akin to cake than standard blondies or brownies.
Bake these up and brighten someone’s day. You don’t need to summon up Voltron to save a person’s world. Sometimes, baked goods can do the trick.
Need more pumpkin X chocolate OTP? Check out past posts on Bready or Not!
Pumpkin Chocolate Chip Bars
Pumpkin Nutella Swirl Muffins
Triple Chocolate Pumpkin Bundt Cake
Chocolate Chip Pumpkin Shortbread
Pumpkin Chocolate Chip Bread (2 loaves)
Bready or Not: Chocolate-Swirled Pumpkin Bars
Equipment
- 15x10-x1 jelly roll pan
Ingredients
Pumpkin base layer
- 2 cups all-purpose flour
- 1 1/2 cups white sugar
- 2 teaspoons baking powder
- 2 teaspoons ground cinnamon
- 1 teaspoon baking soda
- 1/2 teaspoon salt
- 1/4 teaspoon ground cloves
- 4 eggs
- 15 ounces pumpkin puree
- 1 cup vegetable oil
Chocolate swirl
- 8 ounces cream cheese softened
- 1/3 cup white sugar
- 1 egg
- 1 Tablespoon milk
- 1/2 cup semi-sweet chocolate chips
Topping
- 1/2 cup semi-sweet chocolate chips
Instructions
Prepare the base layer
- Preheat oven at 350-degrees. Line a jelly roll pan (15x10x1) with aluminum foil, making sure the edges are covered. Add nonstick spray or grease.
- In a large bowl, stir together the flour, sugar, baking powder, cinnamon, baking soda, salt, and cloves. Add the four eggs, the pumpkin, and oil. Pour into the prepared pan.
Start the chocolate swirl
- Microwave 1/2 cup of chocolate chips, zapping in short increments and stirring well between each pass, until it is melted. Set aside.
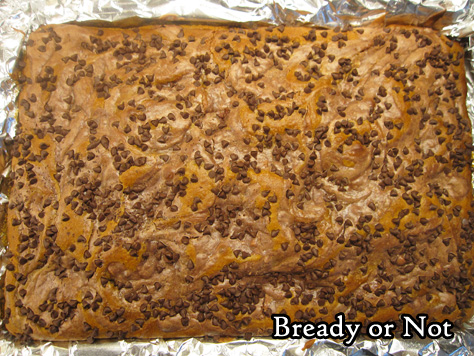
- In a mixing bowl, beat the cream cheese with the sugar; it's okay if it's still a little lumpy. Follow up with the one egg, milk, and melted chocolate. Dollop the chocolate mixture atop the pumpkin batter. Use a narrow spatula or butter knife to swirl layers together in a marbled effect. Sprinkle the remaining chocolate chips on top.
- Bake 25 to 30 minutes, until it looks puffed and the middle passes the toothpick test. Cool on a rack for at least an hour, then chill in fridge before cutting. This will make it easier to cut.
- Use foil to lift onto a cutting board. Slice into bars then store chilled in a sealed container with waxed paper between stacked layers.
OM NOM NOM!
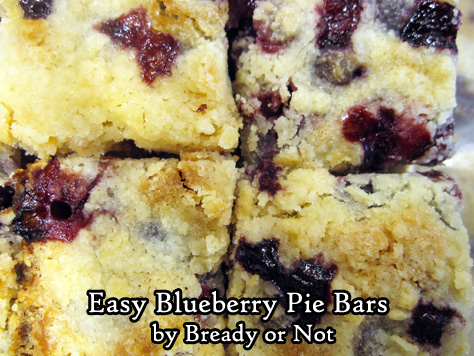
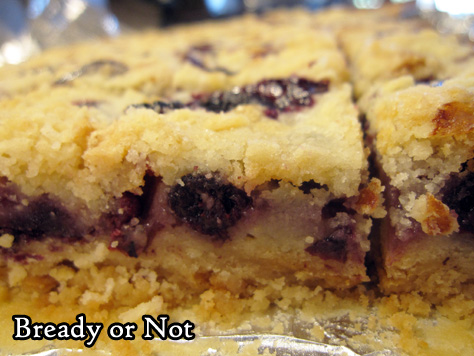
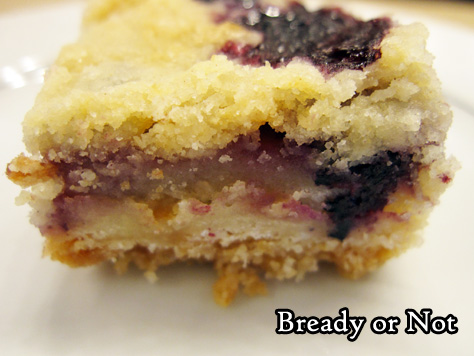
Bready or Not Original: Easy Blueberry Pie Bars
These Easy Blueberry Pie Bars taste like blueberry cobbler in a tidier, more compact form. They are DELICIOUS.
Yeah, yeah, I share a lot of good recipes on here, but these are seriously amazing.
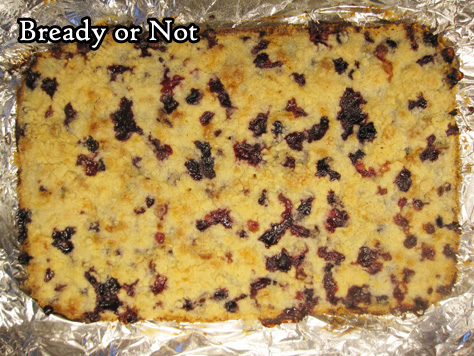
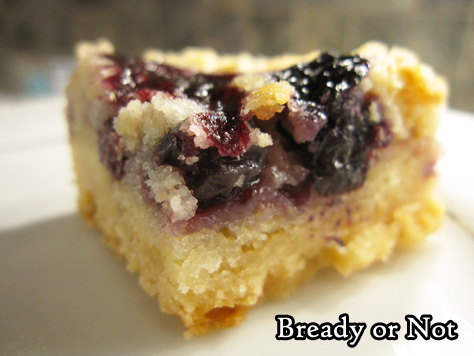
The recipe is pretty straightforward, too. Make the shortbread crust. Press it down. Bake. Mix up the middle ingredients, folding in the blueberries last. Sprinkle reserved crust on top. Bake. Enjoy.
I like that this recipe only requires a pint of blueberries, too. During the summer, I can often find a little 12 ounce clamshell container on sale for under a buck!
These bars keep well for as long as three days, maybe longer, in a sealed container in the fridge. They make for a great dessert, but they’d be great for breakfast, too.
Bready or Not Original: Easy Blueberry Pie Bars
Ingredients
Crust
- 2 cups all-purpose flour
- 3/4 cup white sugar
- 1/8 teaspoon salt
- 1 cup unsalted butter 2 sticks
Filling
- 2 eggs room temperature
- 1 cup white sugar
- 1/3 cup all-purpose flour
- 1/8 teaspoon salt
- 1/2 cup sour cream or plain or vanilla Greek yogurt
- 1 teaspoon vanilla extract
- 1 pint fresh blueberries 12 ounces
Instructions
- Preheat oven at 350-degrees.Line a 9x13 pan with foil and apply nonstick spray.
- Place flour, sugar, and salt in a large bowl. Add the butter, and use a knife and fork to chop it into crumbles. Measure out 1 cup of this crumb mixture; set aside.
- Place the rest of the crust mix into the baking dish. Distribute evenly, then compress into a thin layer; a piece of wax paper and a heavy glass work well for this.
- Bake for 15 minutes. In the meantime, make the filling.
- Beat eggs, then add in the sugar, flour, salt, sour cream/yogurt, and vanilla. Gently fold in the blueberries.
- Pour the filling over the prebaked crust. Spread out evenly. Sprinkle the reserved crust mixture over the top.
- Bake 55 to 60 minutes, until top is golden brown and passes the toothpick test.
- Cool at room temperature, then chill in fridge to set more firmly. Use foil to lift onto a cutting board to slice into bars. Store in sealed container in fridge with waxed paper or parchment paper between layers. Keeps for at least 3 days.
- OM NOM NOM!
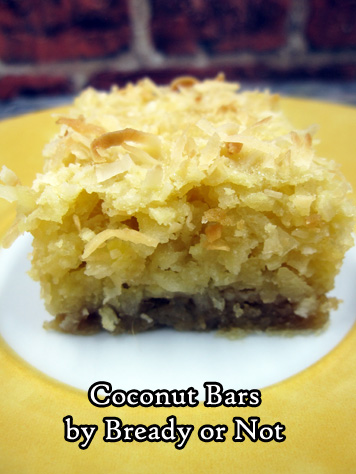
Bready or Not: Coconut Bars
These Coconut Bars are easy to make and absolutely delicious!
I say that, and I don’t typically like coconut. As a kid, I hated all candy bars with coconut. To me, the texture was the problem. It was chewy and dry in a horrible way.
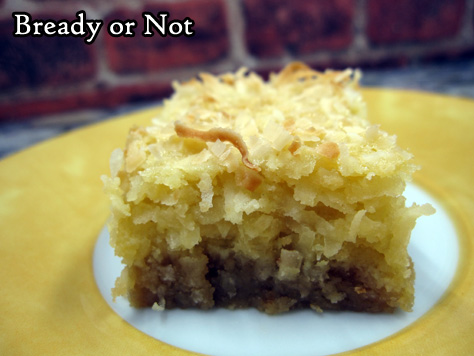
In contrast, these bars are chewy in a fantastic way. The shortbread base pairs well with the coconut top.
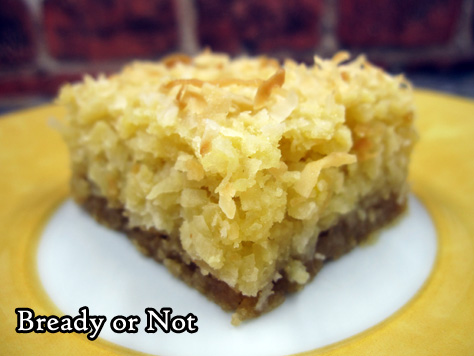
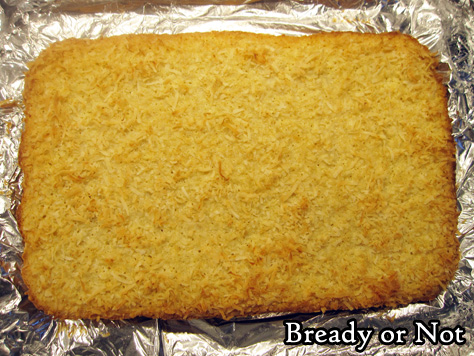
They even look pretty, don’t they? That’s because the recipe holds back a quarter of the coconut to go on top. That way it ends up crisping up in a lovely way.

I modified this recipe from Taste of Home Magazine, December 2015, where the original notes describe it as an American take on the Filipino coconut cake called bibingka. I don’t think I’ve ever tried that–if I have, it was like 20 years ago–so I can’t vouch as to how close it is.
But what I can say is that this is a fantastic recipe by its own merits. This is the kind of recipe that would be bright and pleasant at the holidays, and also perfect for a summer cook-out.
Bready or Not: Coconut Bars
Ingredients
Crust:
- 2 cups all-purpose flour
- 1 cup brown sugar packed
- 1/2 teaspoon salt
- 1 cup unsalted butter melted
Filling:
- 3 large eggs
- 14 oz sweetened condensed milk can
- 1/2 cup all-purpose flour
- 1/4 cup brown sugar packed
- 1/4 cup unsalted butter melted
- 3 teaspoons vanilla extract
- 1/2 teaspoon salt
- 4 cups flaked coconut divided
Instructions
- Preheat oven at 350-degrees. Line a 13x9 pan with foil and apply nonstick spray.
- In a big bowl, mix together the flour, brown sugar, and salt, followed by the melted butter. Sprinkle into the prepared pan and compress it to form an uneven layer. Bake for 12 to 15 minutes, until light brown. Cool on a wire rack for at least 10 minutes.
- Reduce oven temperature to 325-degrees.
- In a big bowl, whisk together the eggs, sweetened condensed milk, flour, brown sugar, butter, vanilla extract, and salt. Stir in 3 cups of coconut. Pour atop the crust. Sprinkle the remaining 1 cup coconut over the top.
- Bake for 25 to 30 minutes, until the coconut is turning golden brown.
- Cool completely at room temperature. Lift onto cutting board using foil; slice contents into bars.
- OM NOM NOM!
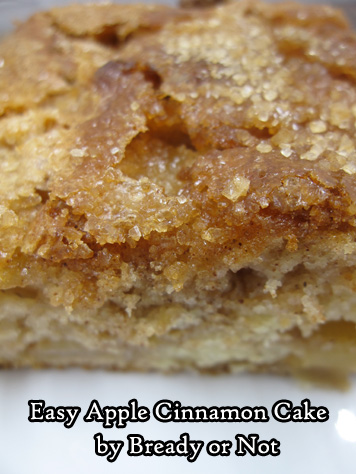
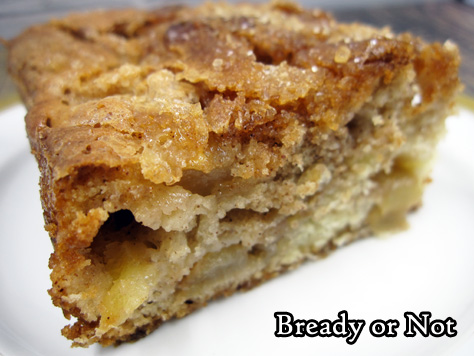
Bready or Not Original: Easy Apple Cinnamon Cake
Easy Apple Cake! This delicious cake is great to bake up, slice, and store in the fridge or freezer to enjoy for weeks to come.
If this recipe looks familiar, it’s because this is a rewrite of a recipe I posted back in 2016. The original version asked the baker to arrange the apple pieces in the middle and again on top.
After making this cake many, many times, I realized that was an unnecessarily fussy step. Ain’t nobody got time for that!
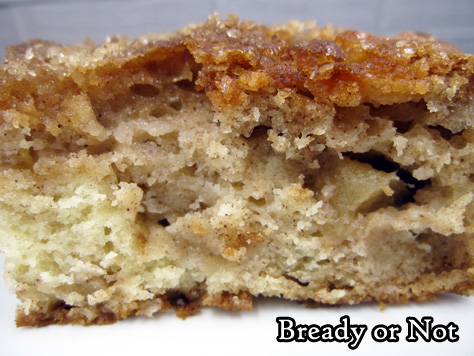
I started folding all of the apple chunks into the batter, and this saved a lot of time. The apples were perfectly distributed and the taste was the exact same.
This cake remains a very favorite for both my husband and my dad. They’ll eat it for breakfast, snack, or dessert.
When I travel back home to California, I always make this cake for my dad. Since my mom doesn’t stock baking ingredients, I measure up my own (one sandwich baggy with brown sugar and cinnamon; another with flour, baking soda, and salt; one more with white sugar) and whip him up a cake in no time!
Bready or Not Original: Easy Apple Cinnamon Cake
Ingredients
- 3 medium apples peeled, cored, & chopped into small chunks
- 1 teaspoon cinnamon heaping
- 1/4 cup brown sugar packed
- 1 1/4 cup all-purpose flour
- 1 teaspoon baking powder
- 1/8 teaspoon salt
- 1 cup white sugar
- 1/3 cup vegetable oil
- 1/3 cup sour cream or Greek yogurt
- 1 teaspoon vanilla extract
- 2 eggs room temperature
- turbinado or maple sugar for topping optional
Instructions
- Preheat oven to 350-degrees. Line a 9×9 square pan with foil and apply butter or nonstick spray.
- In a medium bowl, toss peeled and chopped apples with cinnamon and brown sugar.
- In a separate bowl, combine the flour, baking powder, and salt.
- In a larger mixing bowl, whisk together the white sugar, vegetable oil, sour cream/yogurt, and vanilla extract until it's smooth. Add the eggs.
- Add the dry ingredients into the wet ingredients until everything is just mixed. Fold in the apple chunks.
- Pour batter into the prepared pan. Sprinkle turbinado or maple sugar over top, if desired.
- Bake 1 hour, until it passes the toothpick test in middle. Cool completely, chilling in fridge if desired. Use foil to list contents onto a cutting board. Cut into pieces.
- These are great individually plastic wrapped and stored at room temperature or in the fridge; bars can be frozen and keep well for months. Eat from the fridge, or at room temperature, or warm in the microwave or oven. However you eat it, it'll be delicious!
- OM NOM NOM!
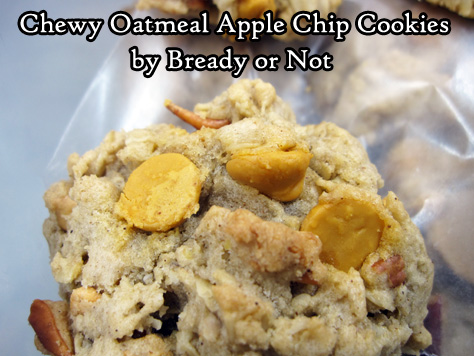
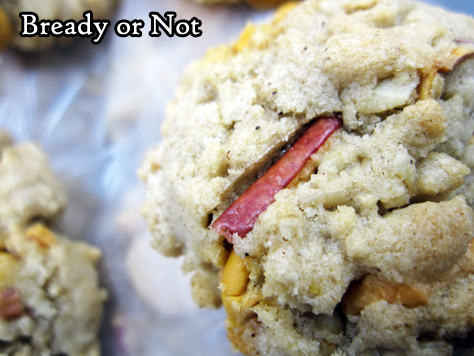
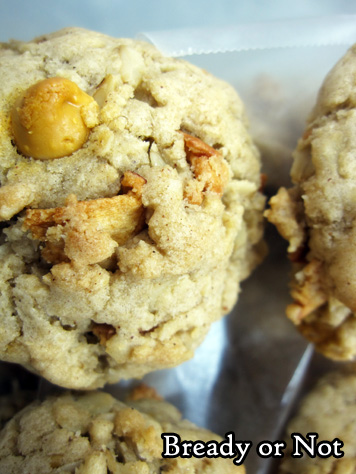
Bready or Not Original: Chewy Oatmeal Apple Chip Cookies
Apple Chips are delicious to eat out of the bag, but they can also be used to make delicious baked goods like these Chewy Oatmeal Apple Chip Cookies!
If you recall last month, I shared a new recipe for Apple Chip Blondies as I searched for ways to utilize a Costco-bought gigantic bag of apple chips. I decided to find a way to use them in cookies as well.

This ended up being tricky. I tried one recipe, and while the result was tasty, the cookies were crumbly and turned hard within a few hours. That would not do.
I turned to one of my own old recipes for Chewy Oatmeal Raisin Cookies (which I need to bake again to post here, as I posted before on my old LiveJournal). I modified it to use apple chips instead of raisins, and to use one of my new favorite grocery store finds, caramel chips.
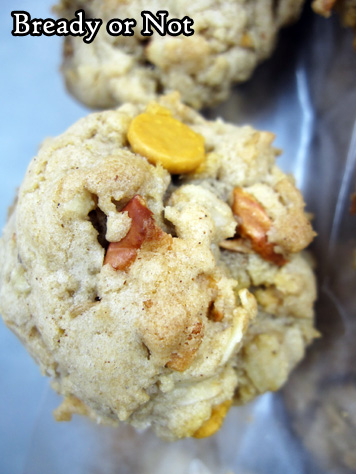
These cookies worked in the best kind of way. The apple chips soften, but remain chewier than raisins. The cookies themselves are chewy and stay chewy in a sealed container. The caramel chips–well, like liquid caramel, they pair perfectly with apples. The caramel flavor is at the forefront, followed by the sublime taste of the apple chips.
Bready or Not Original: Chewy Oatmeal Apple Chip Cookies
Ingredients
- 2 cups all-purpose flour
- 1/2 teaspoon baking soda
- 1/2 teaspoon salt
- 3/4 cup butter melted
- 1 cup brown sugar packed
- 1/2 cup white sugar
- 1 teaspoon cinnamon
- 1 Tablespoon pure vanilla extract
- 1 egg
- 1 egg yolk
- 1 1/2 cups old-fashioned rolled oats
- 1 cup caramel chips
- 1 cup apple chips broken small
Instructions
- Preheat oven to 325-degrees. Line cookie sheets with parchment paper or silpat, or use seasoned stoneware.
- Melt butter and let cool slightly.
- Mix flour, baking soda and salt; set aside.
- In a medium bowl, cream together the melted butter, brown sugar and white sugar until well blended. Beat in the cinnamon, vanilla, egg, and egg yolk for 2 to 3 minutes until light and creamy. Mix in the flour mixture. Add the oats, caramel chips, and apple chip pieces. Mix until just blended.
- Using a tablespoon scoop, place dough balls on pan. Bake for 10 to 13 minutes, until the edges are slightly brown and the middle is still soft. Let the cookies rest on the cookie sheet for 5 to 10 minutes before transferring to a cooling rack.
- OM NOM NOM!
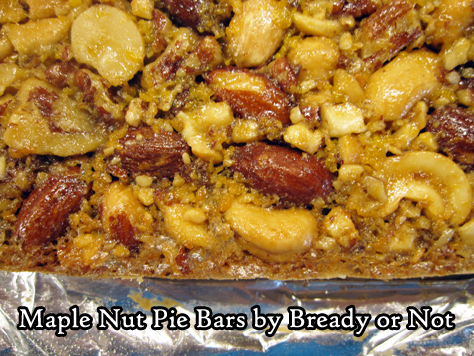
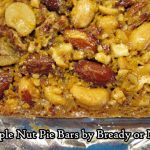
Bready or Not: Maple Nut Pie Bars
Bready or Not returns to the theme of maple goodness with these delicious Maple Nut Pie Bars.
These are like pecan pie, but BETTER because they are portable and easily shared. And really, I love the variety of nuts.
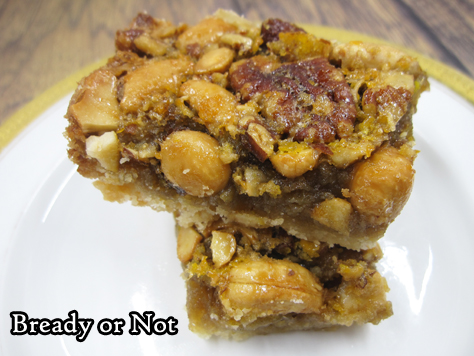
That ‘easily shared’ bit is important, as this recipe bakes up an entire 13×9-inch dish of goodness. That’s quite a bounty to keep to oneself.
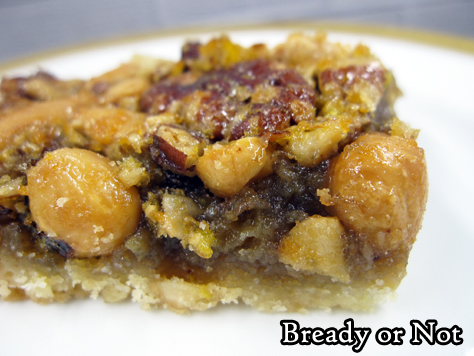
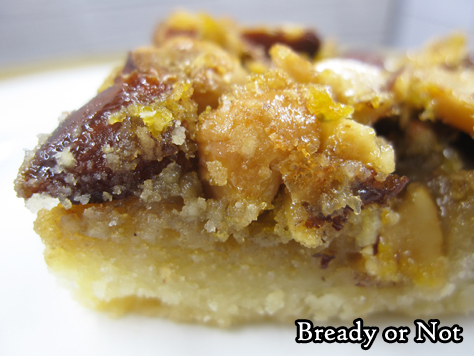
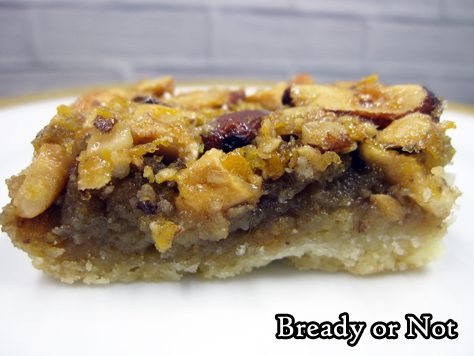
Each bar is exquisite, too: a shortbread base covered with sweetened mixed nuts. The variety of tastes and textures is perfection.
Store these in the fridge when all is done, and note that you can also freeze them for later. Make the goodness last even longer!
Modified from Brownies & Bars Magazine.
Bready or Not: Maple Nut Pie Bars
Ingredients
- 1 1/2 cups all-purpose flour
- 2/3 cup confectioners' sugar
- 1/4 teaspoon salt
- 2/3 cup unsalted butter room temperature
- 3 eggs room temperature
- 1 1/4 cups mixed nuts chopped
- 3/4 cup brown sugar packed
- 3/4 cup pure maple syrup
- 3 Tablespoons unsalted butter melted
- 1/2 teaspoon maple flavor or substitute 1 teaspoon vanilla extract
Instructions
- Preheat oven at 350-degrees. Line a 13x9 pan with foil and grease with nonstick spray or butter. Set aside.
- In a medium bowl, stir together the flour, powdered sugar, and salt. Use a pastry blender or a knife and fork to cut in the butter until it resembles small crumbs. Evenly press into the bottom of the pan. Bake for about 20 minutes, until light brown.
- As that bakes, make the filling. In a medium bowl, lightly stir the eggs. Add the mixed nuts, brown sugar, maple syrup, melted butter, and maple flavoring. Spread over the hot crust.
- Bake for another 18 to 20 minutes, until top is golden and set. Cool in pan for several hours. Lift contents onto a cutting board using the foil and slice into bars.
- Store with waxed paper between layers in a sealed container in fridge. Bars can also be frozen for later enjoyment.
- OM NOM NOM!
