


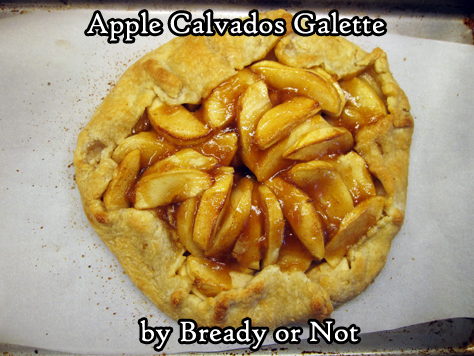
Bready or Not Original: Apple Calvados Galette
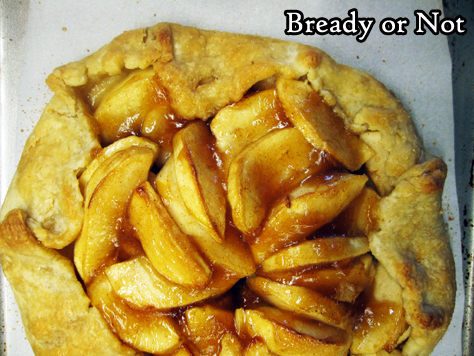
This Apple Calvados Galette is a perfect dessert for one or two people. Plus, it’s rustic and pretty to behold!
Calvados is an apple brandy made in Normandy. The price point of it can vary quite a bit. Feel free to use another kind of apple brandy in the recipe.
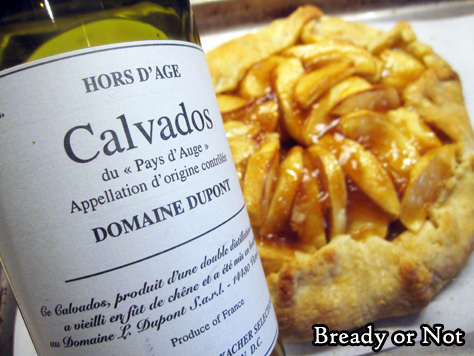
The delicious, original aspect of this treat is that you use the calvados to make a quick stovetop jelly that you then coat the apples with at the end of the bake time.
The alcohol flavor doesn’t linger. What you get is a concentrated sweet flavor of apples, right atop the fresh apples.
The baked galette keeps for days wrapped up in foil in the fridge. A quarter slice is the perfect amount for breakfast or dessert, and it’s not anywhere near as bready and dense as a full piece of pie.
Bready or Not Original: Apple Calvados Galette
Equipment
- baking sheet
- parchment paper
- basting brush
Ingredients
Galette
- 1 single-layer pie dough store-bought or homemade
- 4 medium apples such as Gala, Fuji, and Ambrosia
- 1 Tablespoon lemon juice
- 1/3 cup calvados or other apple brandy
- 1 Tablespoon cornstarch
- 3 Tablespoons brown sugar packed
- 1/2 teaspoon ground cinnamon
Glaze
- 1 Tablespoon pure maple syrup
- 1 Tablespoon maple sugar or turbinado sugar
Instructions
- Preheat oven at 400-degrees. Line a baking sheet with parchment paper.
- On a lightly floured surface, roll out the pie crust to about a 10-inch diameter circle. Transfer it to the baking sheet and set in fridge while the other ingredients are prepared.
- Peel, core, and thinly slice the apples, placing them in a large bowl. Pour in the lemon juice, calvados, cornstarch, brown sugar, and cinnamon. Toss the apples to coat them completely.
- Pull out the chilled crust. Begin to arrange apple slices in the middle, fanning them out and stacking them, but leaving a 2-inch border of dough around the outside. DO NOT DISCARD THE LIQUID IN THE BOWL! Once the apples are arranged, fold the dough over to partially cover the apples.
- Start baking the galette for 15 minutes. While that is cooking, pour the leftover liquid into a small pot on medium-high. Stay close to the stove and stir liquid often. As soon as it gels, which is right at right about boiling temperature, remove it from heat. Set aside.
- Reduce oven temperature to 350-degrees. Bake galette for another 20 minutes.
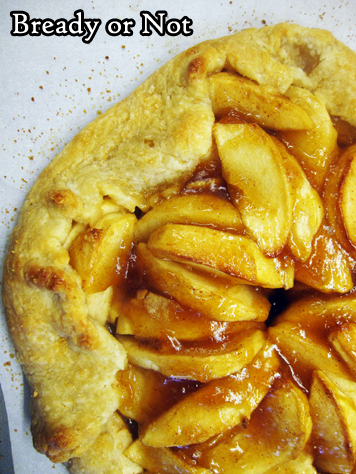
- Pull out the galette. Drizzle the gel over the exposed apples in the middle of the galette then use basting brush to coat every nook and cranny. Measure out maple syrup. Use same brush (no need to wash it) to coat the top crust, then sprinkle maple sugar or coarse sugar over it to add a crystalline crunch.
- Bake for another 10 to 15 minutes, until apples in middle are fork-tender.
- Let cool slightly before cutting–a pizza cutter is ideal. Leftovers can be kept wrapped up in foil in the fridge for days.
*OM NOM NOM!*
Bready or Not Original: Pumpkin Pie Biscotti
The 2020 pumpkin theme ends with a perfect fall treat: Pumpkin Pie Biscotti.
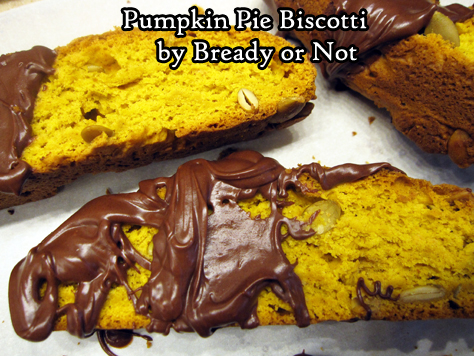
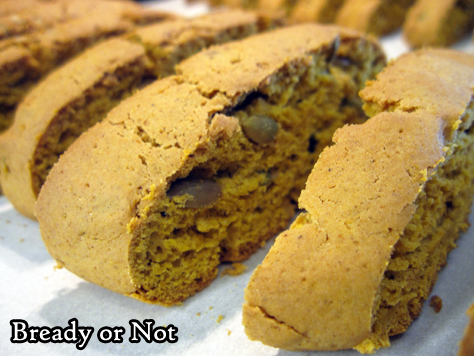
These things are dangerously good, and yes, they really do taste like pumpkin pie–in crisp, crunchy form.
I always keep pumpkin kernels around. I always use them in my Healthy Breakfast Cookies and in other things I make for myself, including salads. Use unsalted ones, if you can, or reduce the salt in the recipe.
Like all biscotti, these are great not simply because they are delicious, but because they should keep quite well if kept in a sealed container.
Enjoy these twice-baked treats with your hot drink of preference and feel appropriately autumnal.
Bready or Not Original: Pumpkin Pie Biscotti
Ingredients
- 4 Tablespoons unsalted butter half stick, softened
- 2/3 cup white sugar
- 1 1/4 teaspoons pumpkin pie spice
- 3/4 teaspoon ground cinnamon
- 1 1/2 teaspoons baking powder
- 1/2 teaspoon salt
- 1 large egg room temperature
- 1/2 cup pure pumpkin puree
- 2 cups all-purpose flour
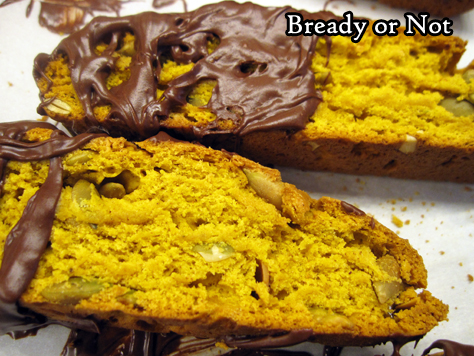
- 1/2 cup unsalted pumpkin kernels also called pepitas
- 3/4 cup semisweet chocolate
Instructions
- Preheat oven at 350-degrees. Line a large baking sheet with parchment paper.
- In a large mixing bowl, blend the butter, sugar, pumpkin pie spice, cinnamon, baking powder, and salt, until smooth and creamy. Mix in the egg and pumpkin puree. Gradually mix in the flour followed by the pumpkin kernels.
- Divide dough in half. Place each piece spaced out on parchment. Dough will be very sticky, so shape with plastic spatula or greased or floured hands into 1-inch high flat rectangular logs.
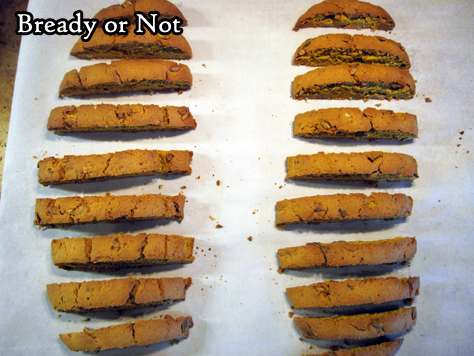
- Bake biscotti for 25 minutes. Remove from oven and let set for 5 minutes. Use a long bread knife and slice down--don't saw--into long, even cookies. Space out cookies upright, if possible, or lay on sides.
- Bake for another 25 minutes; if cookies are laying on sides, flip them to other side halfway through. Set out on stove or counter to cool and dry for several hours.
- Melt chocolate in microwave or using a double-boiler on the stove. Drizzle chocolate over the ends of the biscotti and set again on parchment to set.
- Store biscotti in sealed containers at room temperature for days or weeks.
OM NOM NOM!
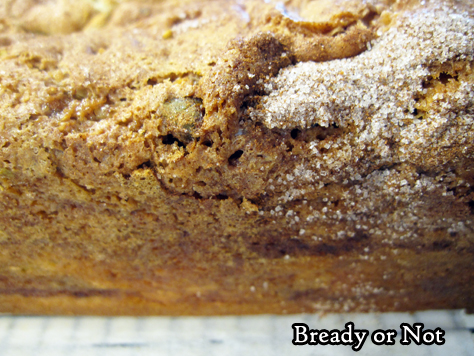
Bready or Not Original: Snickerdoodle Swirl Loaf
This Snickerdoodle Loaf Cake is proof, yet again, that snickerdoodles are awesome in any form.

I made this based on a recipe in Bake from Scratch and had to modify it significantly to make it more snickerdoodly (that is totally a word) and work overall.
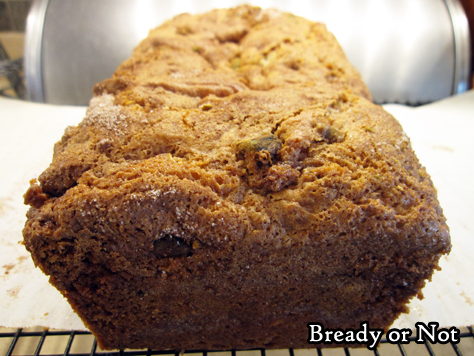
The foremost issue on my first bake is that, despite the toothpick test, my loaf wasn’t fully baked. It ended up collapsing as it cooled. I had to gut the middle of the cake, but the majority of it was edible.
Not only was it edible, but my husband loved it. Therefore, he was happy when I baked it again, with more modifications–including a longer bake time.
This cake is a great keeper, too. It tasted great for a full five days. It might last even longer than that.
I guess I’d need to bake it again to test that theory. Oh darn.
Bready or Not Original: Snickerdoodle Swirl Loaf
Equipment
- 9x5 loaf pan
- parchment paper
Ingredients
- 2 cups all-purpose flour
- 3 teaspoons baking powder
- 1/2 teaspoon cream of tartar
- 1 1/2 cups white sugar divided
- 1 1/2 teaspoons kosher salt
- 1 cup whole milk or half & half
- 1 teaspoon vanilla extract
- 1/4 cup vegetable oil
- 1 large egg
- 1 Tablespoon ground cinnamon
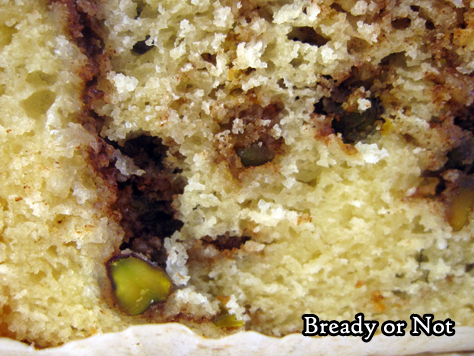
- 1/2 cup pecans or pistachios, divided, optional
Instructions
- Preheat oven at 350-degrees. Cut parchment paper to fit long-ways in a loaf pan, sticking up on either side as a sling. Apply nonstick spray into pan, place paper, then spray again. Set aside.
- In a big bowl, stir together flour, baking powder, cream of tartar, 1 cup white sugar, and salt. Gradually mix in the milk, vanilla extract, oil, and egg, until just combined.
- In a small bowl, combine the remaining 1/2 cup sugar with the cinnamon.
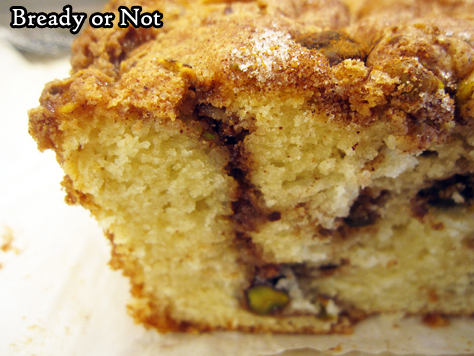
- Spread about half the batter in the loaf pan. Sprinkle half the cinnamon-sugar on top, followed by about half the nuts (if using). Add rest of the batter. Use a knife to swirl batter, bringing the blade up and down a bit, to marble the layers together. Sprinkle rest of the cinnamon-sugar across the top followed by the nuts (if using). Swirl the batter again.
- Bake for 55 to 65 minutes, until a toothpick stuck deep in the middle comes out clean. About halfway through the bake, add foil over the top to prevent overbrowning.
- Let cool in pan for 10 minutes, then use parchment sling to lift loaf onto a rack to fully cool.
- Well-wrapped loaf keeps at room temperature as long as 5 days. Slices can also be frozen for later enjoyment.
OM NOM NOM!
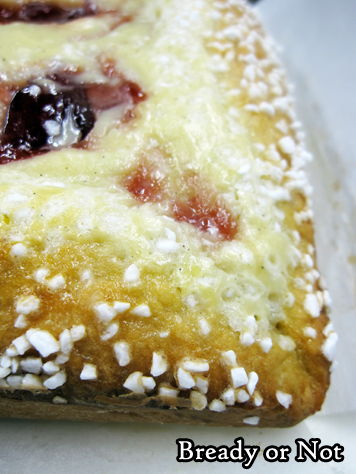
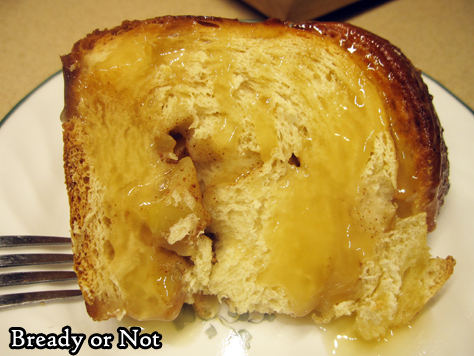
Bready or Not: Jam and Cream Brioche Tart
This Jam and Cream Brioche Tart is probably among the most extraordinary things I’ve ever baked, and that is saying something.
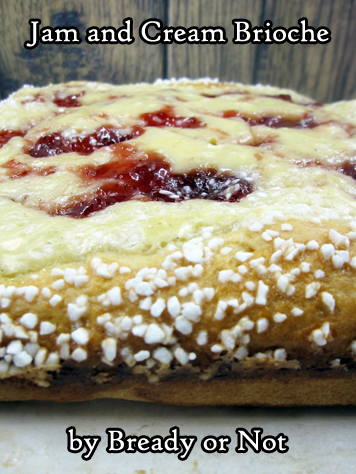
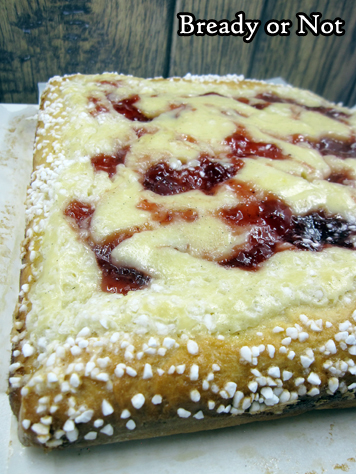
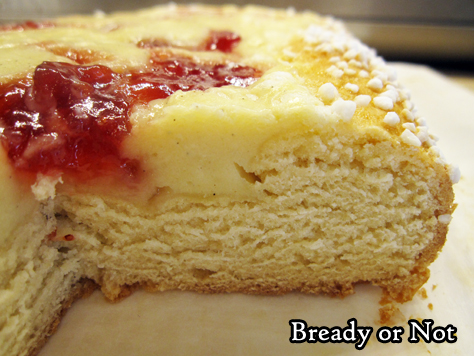
First of all, the end result is gorgeous. Golden, thick crust freckled by pearl sugar. Marbled cream cheese and contrasting jam, with flecks of vanilla bean throughout.
The tart is as delicious as it looks, too. The enriched dough is sweet and soft, providing a luscious base for the different kind of sweet-and-soft offered by the filling.
This is a showstopper of a dessert or breakfast.
The only unusual ingredient involved is the Swedish pearl sugar. I bought it on Amazon. I consider it a worthwhile investment, as there are a number of other pastry recipes I want to try that also use it. Plus, heck, you could even throw them on waffles or fruit or whatever.
Another not-quite-so-obscure ingredients I suggest you use is vanilla bean paste. This is VERY useful if you’re making fancy desserts because you get the flecks of vanilla beans without the high cost of using actual vanilla beans.
In a cream cheese filling or frosting, those flecks really stand out, and they add a lot to the WOW factor. Which this tart already has, many times over.
Recipe modified from Bake from Scratch, Sep/Oct 2019.
Bready or Not: Jam and Cream Brioche Tart
Equipment
- 9x9-inch pan
- parchment paper
Ingredients
For Brioche
- 1/3 cup plus 1 tablespoon whole milk or half & half
- 2 3/4 cups all-purpose flour
- 3 Tablespoons white sugar
- 2 1/4 teaspoons instant yeast
- 1 1/2 teaspoons kosher salt
- 3 large eggs room temperature and divided
- 1 teaspoon vanilla extract
- 6 tablespoons unsalted butter softened
For Cream Cheese Filling
- 2 tablespoons unsalted butter softened
- 1/3 cup white sugar
- 1 teaspoon vanilla bean paste or substitute vanilla extract
- 1/4 teaspoon kosher salt
- 8 ounces cream cheese softened
- 1 large egg room temperature
- 3 Tablespoons all-purpose flour
To Finish
- 2 Tablespoons fruit preserves use good quality stuff with nice chunks
- 1 Tablespoon water
- 1 1/2 Tablespoons Swedish pearl sugar
Instructions
- Using the microwave and a safe dish, heat the milk to between 120 and 130 degrees. Set aside.
- In the bowl of a stand mixer with a paddle attachment, beat the flour, white sugar, yeast, and salt at very low speed until combined, about 30 seconds.
- Slowly add the warm milk to incorporate. Add 2 of the eggs along with the vanilla, and beat for about 1 minute. Switch to the dough hook attachment. Beat at low speed until smooth and elastic, about 8 minutes.
- Add butter, about 1 tablespoon at a time, letting each piece incorporate before adding the next, about 8 minutes total. (If it refuses to incorporate, switch back to the paddle for this stage.) Beat until a smooth and elastic dough forms, about 6 minutes.
- Lightly flour a stretch of counter or tabletop and dump the dough there. Knead it for a minute or so and form it into a smooth round.
- Apply cooking spray inside a large bowl. Place the dough inside and give it a spray, too, to prevent sticking. Cover with a towel or plastic wrap in a warm spot to rise until doubled, 30 to 45 minutes.
- Cut parchment paper to line pan going up all four sides. Apply nonstick spray to pan, then lay both strips inside the pan and spray the top-most sides.
- On a lightly floured surface, roll the dough into an 11-inch square. Score a 9-inch square in center of dough (using the pan as a reference, if needed). Fold outside 2 inches over score mark, creating a crust around edges.
- Place dough in the prepared pan, making sure it is even and fills corners of pan. Cover and let rise until puffed, 20 to 30 minutes.
- Meanwhile, prepare the cream cheese filling. Beat together the butter, sugar, vanilla bean paste (or extract), and salt until well combined. Gradually add cream cheese, beating until smooth. Add egg to incorporate, followed by the flour.
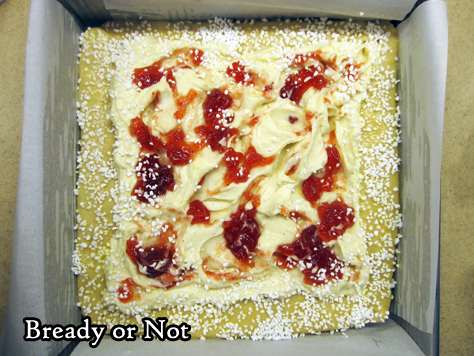
- Preheat oven to 325-degrees. Using your fingertips to dimple the center of dough back down, leaving outside crust as is. Pour the cream cheese mix into the center of dough. Make small indentations in the cream cheese then add dollops of the preserves. Use a knife to swirl the fruit in a bit more.
- In a small bowl, whisk together the 1 tablespoon water and remaining egg. Brush the crust with the egg wash, then finish by sprinkling the pearl sugar all over the edge.
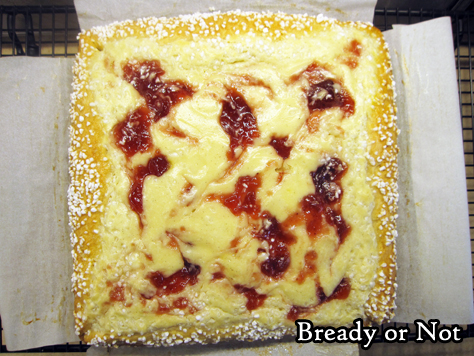
- Bake until the crust is golden brown with the filling set around outside edges, about 35 to 40 minutes. (If desired, check the temp: an instant-read thermometer inserted in center of filling should register 175°F.)
- Let cool in pan for 10 minutes then use the parchment sling to lift up the tart onto a serving plate or rack. Eat fresh, or let cool.
- Tart keeps for days well-wrapped in fridge. Eat slices cold, or make pieces even more delicious with a short zap in the microwave.
OM NOM NOM!
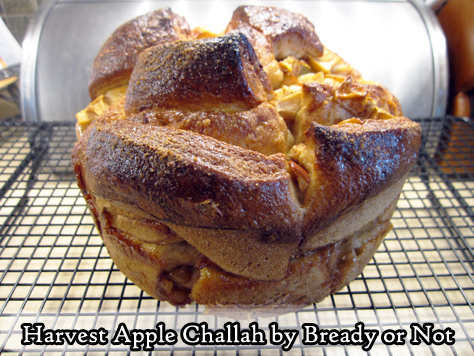
Bready or Not: Harvest Apple Challah
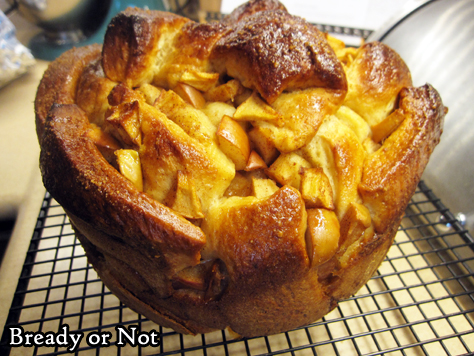
Welcome autumn with this big beautiful Harvest Apple Challah, packed with fruit and spice.
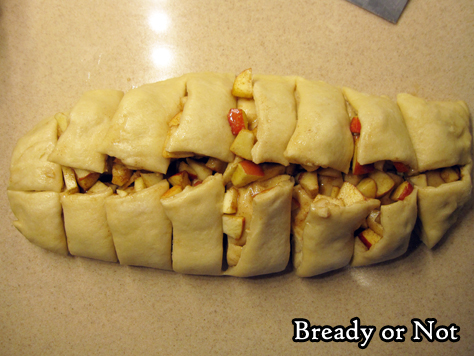
This recipe might look intimidating, but let me assure you, it’s not. The cutting stage is supposed to be messy.
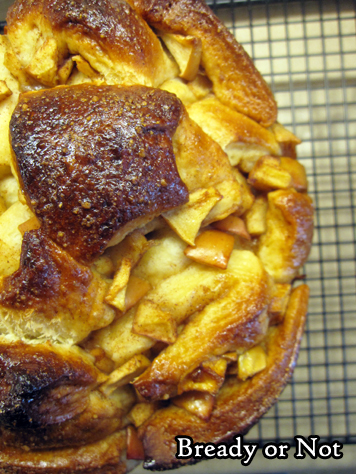
Take comfort that this is not a loaf that is supposed to look tidy. The end goal is rustic–and delicious.
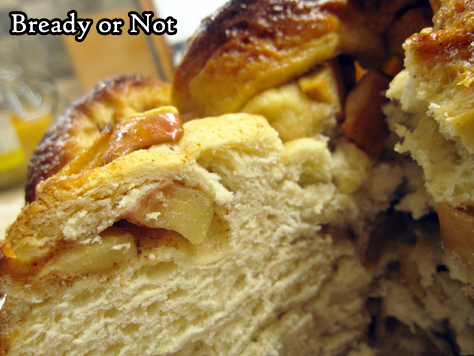
Challah is an enriched dough. Eggs and honey add extra richness plus soft texture.
The final result is best served warm with an additional dollop or drizzle of honey. Use the good stuff here! I found that using the toaster oven for 5 to 7 minutes was about perfect for thick slices of bread.
I also found that this bread was great to freeze in slices. Pull out frozen pieces to thaw overnight, and breakfast is quick, convenient, and delicious the next morning!
Modified from a recipe at King Arthur Flour.
Bready or Not: Harvest Apple Challah
Equipment
- deep 9-inch round cake pan or casserole dish
- bench knife
- kitchen thermometer
Ingredients
Dough
- 1/2 cup lukewarm water
- 6 Tablespoons vegetable oil
- 1/4 cup honey
- 2 large eggs room temperature
- 4 cups all-purpose flour
- 1 1/2 teaspoons salt
- 1 Tablespoon instant yeast or active yeast
Filling
- 2 medium apples
- 1/2 teaspoon cinnamon
- 1/4 cup white sugar
Topping
- 1 large egg
- coarse sugar optional
- honey for serving optional
Instructions
Make the dough
- Mix together the dough ingredients by hand or using a mixer with dough hook, until well-incorporated and not stiff. Place dough in a greased bowl to let rise about 2 hours, or until puffy; if poked with a finger, the dent in the dough should remain and not bounce back.
- Prepare a deep round cake pan or casserole dish (at least 4 inches) by greasing thoroughly.
- Also lightly grease a large stretch of counter top or table. Gently deflate dough and transfer to the surface, and flatten dough to an 8x10-inch rectangle.
Prepare the filling
- Core the apples but leave on the peels. Chop apples into chunks about 1/2 to 3/4-inch in size. Should equal about 3 cups total. Toss pieces in cinnamon and sugar.
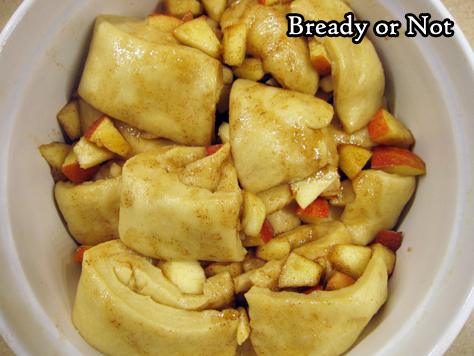
Assemble the bread
- Spread half the apples in the center of the dough. Fold one short edge over the apples to cover them, and press down the edge to seal them inside.
- Place the remaining apples on top of the existing apple-dough mound. Cover these apples with the other flap of dough, patting again to seal. It's okay if it is bulging and messy!
- Use a bench knife or paring knife to cut the dough down the middle, long-ways. Then cut again along the long side, edge to edge, to create a series of broad, messy stacks of dough with apples overflowing onto the surface.
- Start transferring pieces of dough and scattered apples into the prepared pan, forming a bottom layer, then keep stacking more dough and fruit on top until everything is in the pan.
- Cover loosely with plastic wrap, and let rise for another hour, until it is puffed again.
- Preheat oven at 325-degrees, with a rack in the lower third of the oven.
- Uncover the dough. Brush the top with an egg beaten with a tablespoon of water. If desired, sprinkle coarse sugar all over the top.
- Bake for 55 to 65 minutes, until the top is deep brown. As the dough is so thick, if a kitchen thermometer is available, use it to test the middle; bread should be at least 190-degrees.
- Set pan of bread on a rack to cool for 10 minutes. Carefully remove bread from pan.
- Serve challah warm, ideally with extra honey drizzled on top. Store covered at room temperature up to 4 days. Bread can also be sliced and frozen.
OM NOM NOM!
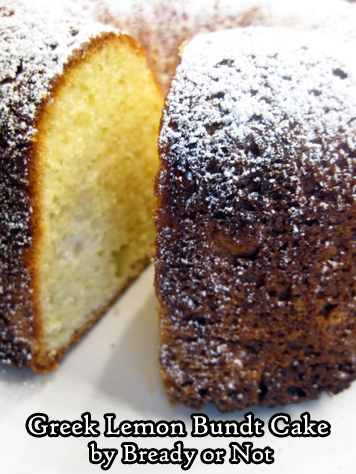
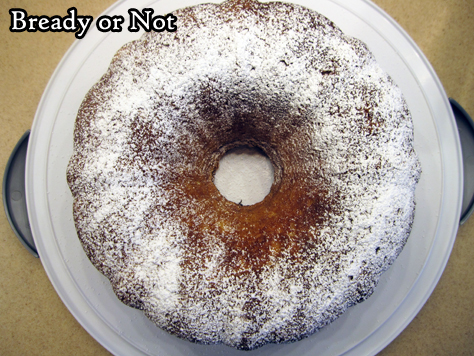
Bready or Not Original: Greek Yogurt Lemon Bundt Cake
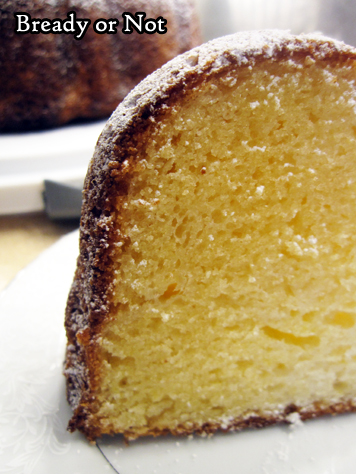
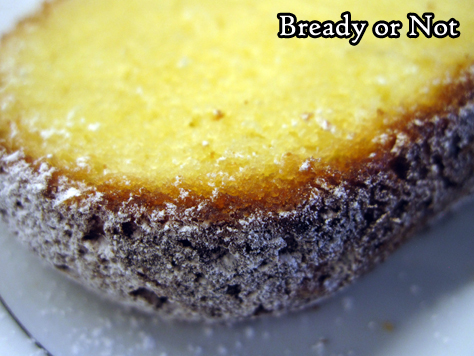
This Greek Yogurt Lemon Bundt Cake bakes up fluffy and light, with a fresh tang of lemon.
I’m not going to lie: this cake is going to dirty a lot of dishes, including two large bowls. The extra work makes for delicious results, though.
The texture of this cake is what makes it special. The Greek yogurt adds moisture, while the six eggs–with whites separated and beat to stiff peaks–adds a lot of loft.
My batter bowl ended up being full to the top and tricky to mix. I was worried that my bundt pan would overflow during baking and kept an eye on it, but it ended up being fine. Even so–be wary of your own pan.
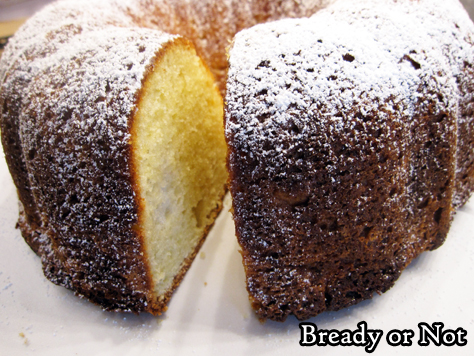
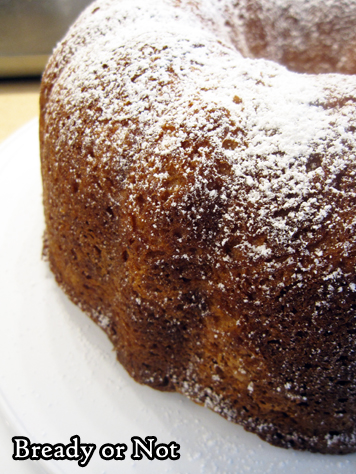
The baked cake is fancy and simple all at once. This needs no glaze. A sprinkling of confectioners’ sugar makes the cake prettier without adding any heavy sweetness.
This cake is great for travel, either sliced or whole, because there’s nothing about it that can melt or ooze. I imagine it freezes well in slices, too, but I didn’t try that with this particular cake.
Bready or Not Original: Greek Yogurt Lemon Bundt Cake
Equipment
- 10-cup minimum bundt pan or tube pan
Ingredients
- 3 cups cake flour or substitute 3 cups all-purpose flour with 6 Tablespoons removed
- 1 teaspoon baking soda
- 1/4 teaspoon salt
- 6 large eggs room temperature, separated
- 2 cups white sugar
- 1 cup unsalted butter (2 sticks) room temperature
- 2 medium lemons finely grated and juiced
- 1 cup Greek yogurt plain or vanilla
- confectioners' sugar optional, to dust over finished cake
Instructions
- Preheat oven at 350-degrees. Grease and flour the bundt or tube pan.
- In a bowl, stir together the flour, baking soda, and salt. Set aside.
- In a large bowl, beat egg whites until soft peaks form. Slowly add in 1/2 cup of the white sugar and continue beating until stiff, glossy peaks form. Their mass will increase immensely.
- In another large bowl, beat together the butter, remaining 1 1/2 cups white sugar, egg yolks, 1 Tablespoon lemon zest, and 3 Tablespoons lemon juice. If using electric mixer, beat on medium until everything is creamy and pale yellow, which takes about 3 to 5 minutes.
- Add the dry mixture to the yolk bowl, alternating with the addition of the Greek yogurt, until both are incorporated. Gently fold in the egg whites; this will create an enormous amount of airy batter.
- Pour and scoop into prepared pan. Bake for 50 to 60 minutes; if the pan is full to the top, keep an eye on it in case it overflows. Cook until the middle passes the toothpick test. Let cool for 10 minutes, then invert cake onto a wire rack to completely cool.
- Store beneath a cake dome or otherwise covered, at room temperature. Before serving, dust with confectioners' sugar, if desired.
