


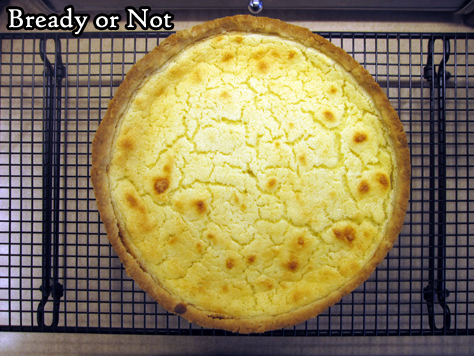
Bready or Not: Irish Lemon Pudding Tart
St. Patrick’s Day nears. Let’s celebrate with a scrumptious Irish Lemon Pudding Tart!
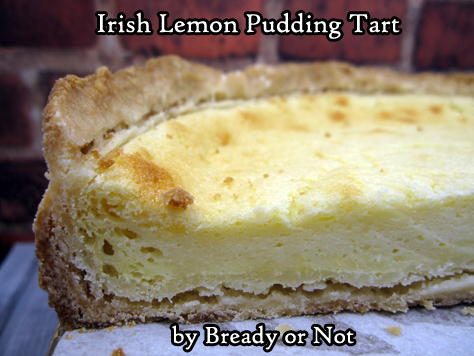
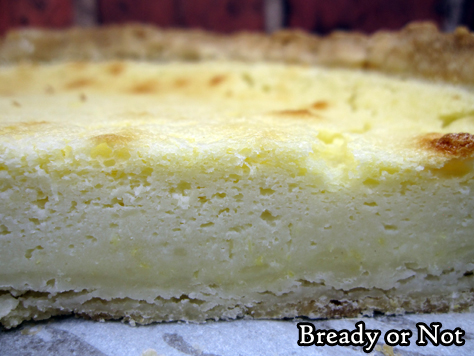
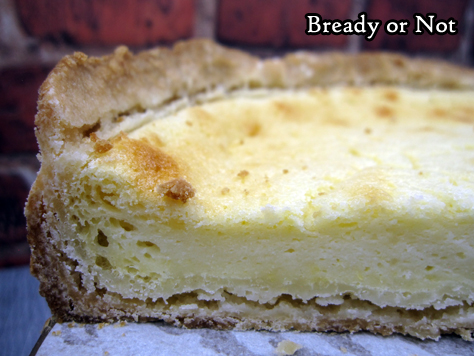
Mind you, this is “pudding” in more of a British/Irish sense, meaning a dessert. Don’t expect this to have the texture of American Jell-O pudding.
No, this is delightfully fluffy because egg whites are beaten stiff and folded in right at the end, adding loft light texture.
Make no mistake: this tart takes work. It dirties a lot of bowls.
But wow, does it taste like something special. I certainly can’t find anything like this in stores around the southwest US.
Even better, this tart keeps very well in the fridge for at least a week. Just keep it covered by foil.
This isn’t a super-sweet dessert. The fresh lemon flavor is at the forefront. Really, this is a perfect spring or summer dessert. Or breakfast. Or snack.
Bready or Not: Irish Lemon Pudding Tart
Equipment
- 9-inch springform pan
- parchment paper
Ingredients
Crust:
- 1/2 cup unsalted butter 1 stick
- 1 1/4 cups all-purpose flour
- 3 Tablespoons white sugar
- 1/4 teaspoon salt
Pudding:
- 2 eggs whites and yolks, divided
- 2 Tablespoons unsalted butter softened
- 1/4 cup white sugar
- 2 large lemons zested and juiced
- 1/2 cup all-purpose flour
- 1 1/4 cups milk or substitute 1 cup half & half plus 1/4 cup water
- 1 teaspoon lemon extract
Instructions
Make the crust:
- Cut parchment paper to fit inside springform pan. Apply nonstick spray; place parchment circle inside, then spray again to coat the entire inside of pan.
- Melt butter in microwave or on stovetop.
- In a large bowl, stir together flour, sugar, and salt. Pour in the butter. Use hands to knead ingredients together until they can form a ball. Flatten out handfuls and place in prepared pan, forming an even layer across the bottom and up about 2/3 of the height of the pan walls. Cover with plastic wrap and chill about 30 minutes.
- Preheat oven at 350-degrees.
- Take pan out of fridge. Use a fork to prick bottom and sides of crust all over. Bake for 10 minutes, then set aside to prepare filling.
Make the pudding:
- Place the egg whites in a bowl that can accommodate a hand mixer. Set aside.
- In a large bowl, beat together butter and sugar. Add egg yolks and beat until fluffy. Add lemon zest, juice, and lemon extract. Beat until smooth; add flour, and mix until just blended. Pour in milk and incorporate. Batter will look thin with bubbles at the edges of the bowl.
- Return to the egg white bowl. Use a hand mixer to beat until stiff peaks form.
- Fold whites until batter without losing too much volume. It's okay if there are still some lumps. Pour batter into crust.
- Bake for 35 to 40 minutes, until middle is set and passes toothpick test. Let cool completely.
- Unlock sides of springform pan. Store on base disc of pan, or move to another dish, if desired. Keep draped by foil in fridge for up to a week. Serve cold or slightly warmed.
OM NOM NOM!
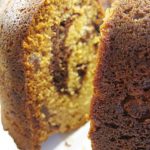
Bready or Not: Chocolate Cherry Bundt Cake
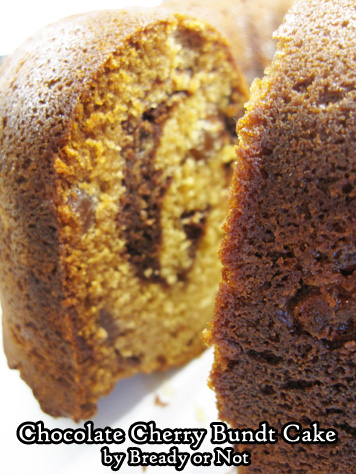
Chocolate and cherries team up to delicious results in this delicious Chocolate Cherry Bundt Cake!
I first encountered this lovely combo in the Queen Anne Cordial Cherries my parents would buy around Christmas. The combo is pretty amazing in cake form, too.
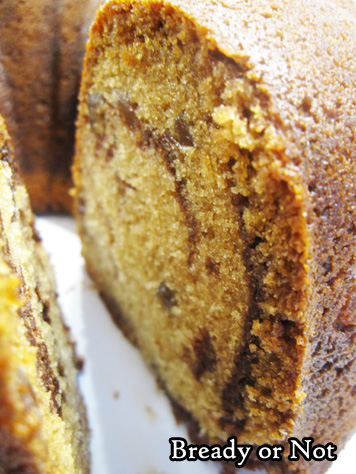
You use both cherries and cherry juice in this recipe. That infuses the crumb with cherry flavor, even if your bite lacks cherry chunks.
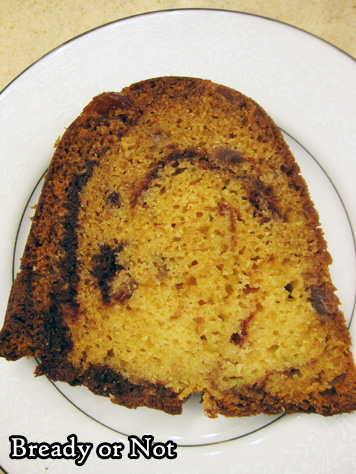
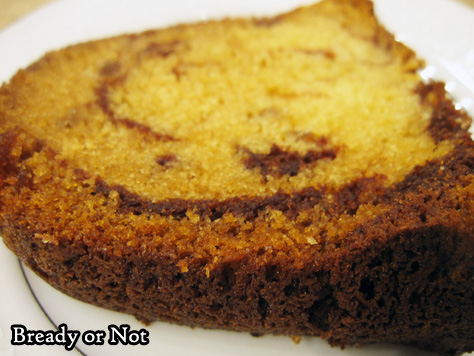
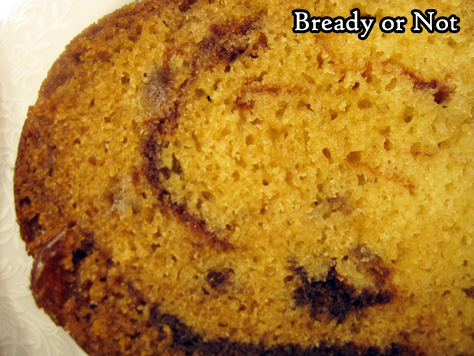
Chocolate is swirled throughout. Make sure you don’t swirl it too much–you want distinct layers of chocolate, not only for the flavor, but the lovely appearance.
This is a special kind of bundt cake, perfect for a birthday, brunch, special dessert, breakfast, and–of course–Valentine’s Day.
Bake up this beautiful thing and indulge. Plus, it can always be sliced up and frozen for later!
Bready or Not: Chocolate Cherry Bundt Cake
Equipment
- large bundt pan
Ingredients
- 13 1/2 ounces maraschino cherries with juice
- 3 3/4 cup all-purpose flour
- 2 1/4 teaspoons baking soda
- 1 cup unsalted butter 2 sticks, room temperature
- 2 cups white sugar
- 3 large eggs room temperature
- 1/4 cup water
- 2 teaspoons almond extract
- 1 1/2 cups sour cream or plain or vanilla Greek yogurt
- 1/2 cup semisweet chocolate chips
Instructions
- Drain juice from cherries into another bowl; reserve 1/2 cup of juice. Remove stems from cherries and roughly chop up the fruit. Set aside.
- Preheat oven at 350-degrees. Grease and flour a large bundt pan.
- In a medium bowl, stir together the flour and baking soda. Set aside.
- In a large bowl, beat together the butter and sugar until light and fluffy. Add in eggs one at a time. Pour in the cherry juice, water, and almond extract. Start adding the flour mix and the sour cream in small amounts, going back and forth until everything is just incorporated. Fold the cherries into the batter.
- In a microwave safe dish, heat the chocolate chips in short bursts until they can be stirred smooth.
- Spoon some cherry batter into the base of the bundt pan. Add dollops of chocolate, then more batter. Keep going back and forth until all of the batter and chocolate is in the pan. Drag a butter knife through--without touching the metal--to swirl everything together a bit more, then smooth the top.
- Bake for about 1 hour, until an inserted knife comes out clean. Set on a rack to cool for 20 minutes, then invert the cake and remove the pan so it can completely cool.
- Store covered at room temperature. Slices can also be frozen for later enjoyment.
- OM NOM NOM!
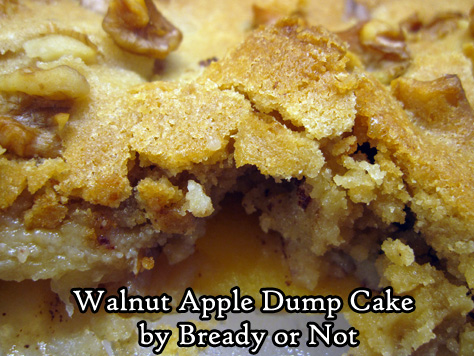
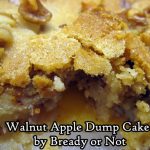
Bready or Not Original: Walnut Apple Dump Cake
Bready or Not is being gifted a day early this year since Wednesday falls on Christmas Day!
‘Dump cake’ is not the most appetizing of terms, but I assure you, this Walnut Apple Dump Cake is delicious. It’s also quick and easy to throw together if you need something for breakfast or dessert on Christmas Day or on New Year’s a week away.
Dump cake is the broad term that encompasses regional dishes like crisps, cobblers, brown betties, etcetera. It means the fruit is dropped into a dish and some kind of bready topping (flour, oats, granola, dumplings) is baked over it.
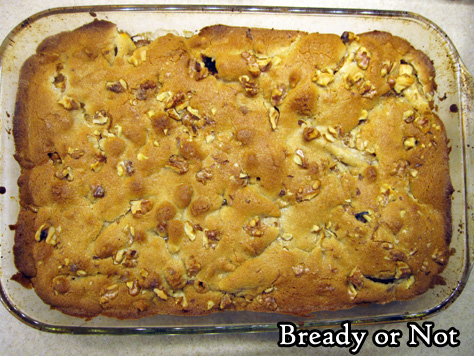
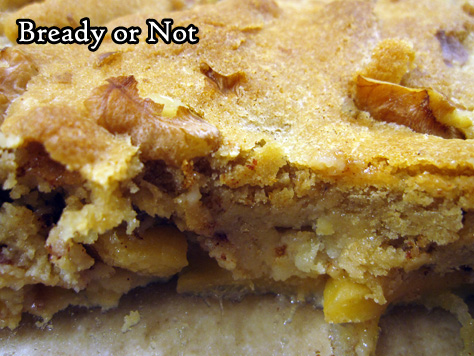
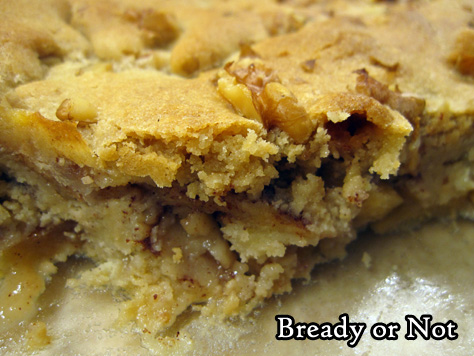
In this case, the topping is a thin, golden cake. It’s enough to encase the apples and lock in moisture and flavor–plus add in some chewiness and crunch. The walnuts especially add to the latter.
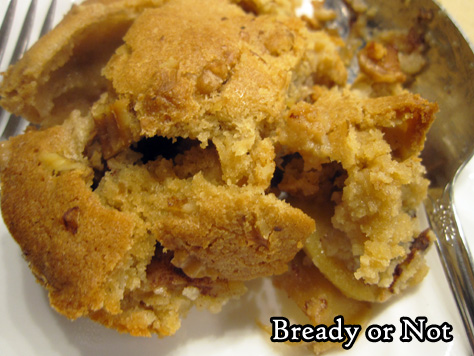
This is not a cake to be tidily cut into pieces. This is a cake that is scooped out onto a plate or bowl. Hence, I advise NOT using foil to line the pan as I do with most other casserole dish-style recipes. The spoon will just tear up the foil. Plus, the dish will clean up pretty easily afterward.
I also advise that you eat this along with vanilla ice cream. It really does make for the perfect pairing, especially if you’re eating the cake warm.
Bready or Not Original: Walnut Apple Dump Cake
Equipment
- 9x13 pan
Ingredients
- 6 medium apples like Granny Smith or Pink Lady, or a mix
- 2 1/4 cups brown sugar packed, divided
- 2 teaspoons ground cinnamon
- 1 cup unsalted butter 2 sticks
- 2 large eggs
- 1 teaspoon vanilla extract
- 2 cups all-purpose flour
- 1 cup walnuts chopped, divided
Instructions
- Preheat oven at 350-degrees. Use nonstick spray or grease with butter the inside of a 13x9 pan (note: don't line with foil).
- Peel and slice apples and place in pan. Sprinkle 1/4 cup brown sugar and cinnamon over apples.
- In a large bowl, cream together butter and remaining brown sugar. Add eggs and vanilla extract. Follow up with flour and 1/2 cup of walnuts.
- Drop dollops of dough all over apples, covering as much as possible. Sprinkle remaining walnuts over top.
- Bake for about 40 minutes. Top should be golden and apples tender when poked with a fork.
- Serve warm, at room temperature, or cold. Store covered in foil, in fridge or on counter top, for up to three days. Fantastic with ice cream!
OM NOM NOM!
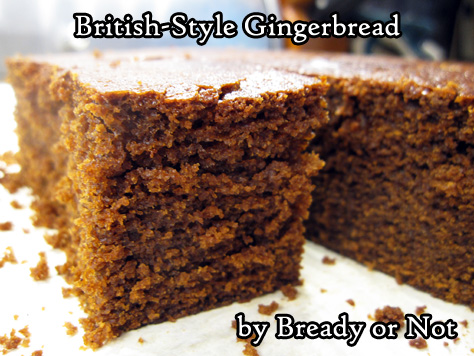
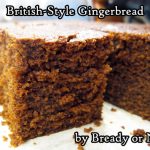
Bready or Not: British-Style Gingerbread
I adore famed British baker Mary Berry, one of the original judges on the Great British Bake Off. This British-Style Gingerbread recipe is modified from her cookbook Cooking with Mary Berry.
She has published a ton of cookbooks in the UK, but this particular cookbook has the measurements translated to American standards! Click on the picture below to order a copy for yourself–but maybe try my take on one of her recipes first, as it’s a great example of what you’ll find.

I’ve eaten and baked a number of American-style gingerbread recipe. This one is different in a lot of ways. First of all, the cooking method. It’s prepared on the stovetop, then baked.
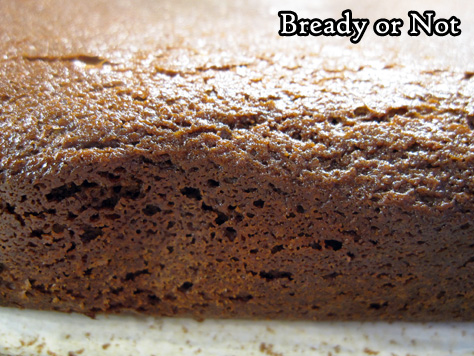
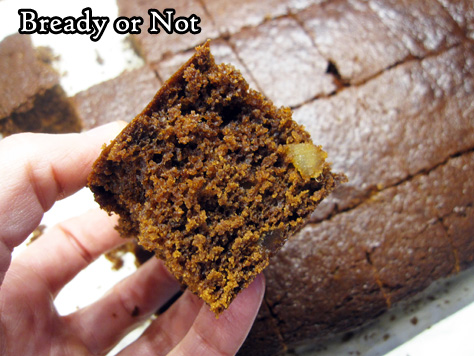
The end result is tall, spongy, and cakey, with a solid ginger kick. And like chocolate recipes, this gingerbread actually improves after a day, as the flavors become deeper and more complex. Almost coffee-like, though it contains no coffee.
Oh yeah, and it’s REALLY REALLY GOOD.
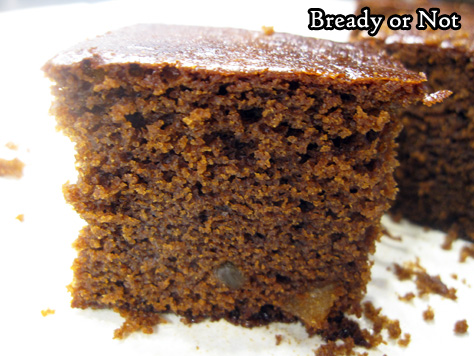
The sporadic candied ginger pieces throughout add vivid pops of flavor, in an already ginger-filled cake.
This would be especially good paired with tea, coffee, or a good, stout beer (Guinness, in particular, comes to mind).
Bready or Not: British-Style Gingerbread
Equipment
- 9x13 casserole pan
Ingredients
- 1 cup unsalted butter 2 sticks
- 1 cup brown sugar light or dark, packed
- 1 cup molasses
- 3 cups all-purpose flour
- 5 teaspoons ground ginger
- 2 teaspoons ground cinnamon
- 2 large eggs
- 3 pieces candied ginger coarsely chopped
- 1 1/4 cups milk
- 2 teaspoons baking soda
Instructions
- Preheat oven at 325-degrees. Line baking pan with aluminum and apply butter or nonstick spray.
- In a large pot, warm the butter, sugar, and molasses until it is combined and smooth. Set aside to cool.
- Mix the flour and spices into the big pot, followed by the eggs and the candied ginger pieces.
- In a small saucepan, warm the milk--don't boil! Add the baking soda. Pour into the gingerbread mixture and mix together.
- Pour everything into the prepared pan. Bake for 1 hour. When done, it will be spongy to the touch and pass the toothpick test in the middle.
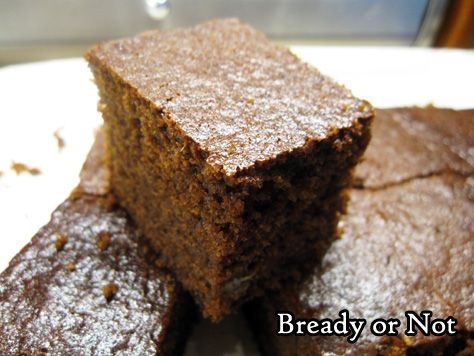
- Let cool in pan, either at room temperature or in the fridge. Once cool, use the foil to lift onto a cutting board and slice into bars.
- Store in a covered dish with waxed paper or parchment between the layers. Flavor will grow deeper and more complex over the next day.
OM NOM NOM!
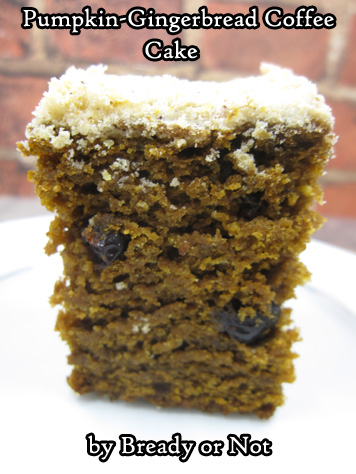
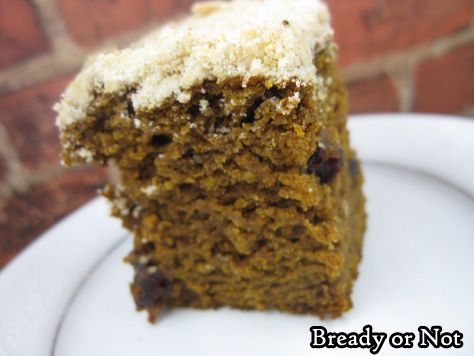
Bready or Not Original: Pumpkin-Gingerbread Coffee Cake
Wake up to lovely autumn flavors with this Pumpkin Gingerbread Coffee Cake!
It’s beautiful to behold, and beautiful upon the tongue, too.
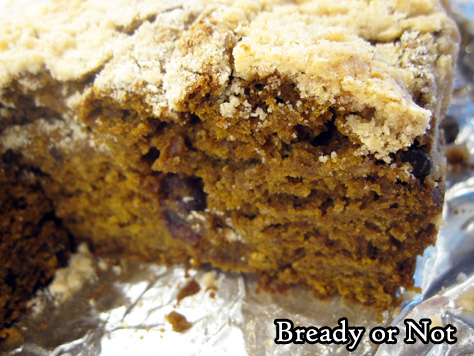
This isn’t a straightforward pumpkin cake. The gingerbread flavor is what comes across foremost–that molasses with a warm combination of spices–with the pumpkin flavor underlying it all.
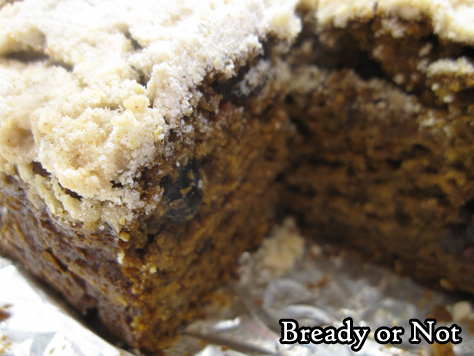
The pumpkin, of course, also permeates the cake with a moist, tender crumb. The crumb topping has all of the spices and acts in lovely contrast (in coloration and flavor) to the cake beneath.
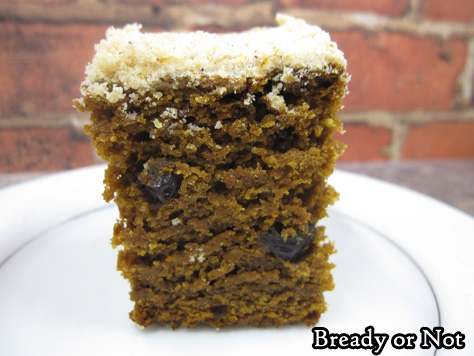
Oh yes, and the dried cranberries sprinkled throughout add little nuggets of tartness with a different kind of chewy texture. I bet this would be great with dried blueberries or cherries, too.
This cake would be incredible for a dessert, snack, and especially as a breakfast–especially on a special occasion like Halloween and Thanksgiving morning.
Greatly modified from original recipe in Fall Baking 2016 by Better Homes & Gardens.
Bready or Not Original: Pumpkin-Gingerbread Coffee Cake
Equipment
- 9x9 or 8x8 square pan
Ingredients
- 2 cups all-purpose flour
- 1/2 cup white whole wheat flour or whole wheat flour
- 1/2 cup yellow cornmeal
- 1 cup white sugar
- 2 teaspoons ground ginger
- 1 teaspoon ground cinnamon
- 1 teaspoon ground nutmeg
- 1/4 teaspoon black pepper
- 3/4 cup unsalted butter 1 1/2 sticks, softened
- 15 ounces pumpkin puree
- 2 eggs room temperature
- 1/2 cup molasses
- 1/3 cup buttermilk or sour milk
- 1 1/2 teaspoons baking soda
- 1 cup dried cranberries
Instructions
- Preheat oven at 350-degrees. Line pan with foil and apply butter or nonstick spray.
- In a large bowl, combine both flours, cornmeal, sugar, ginger, cinnamon, nutmeg, and pepper. Cut in the butter to form coarse crumbs. Measure out 1 cup of the mixture; set aside to use as topping.
- In another bowl, mix together the pumpkin, eggs, molasses, and baking soda. Stir together the dry and wet ingredients, then fold in the dried cranberries.
- Spread batter in prepared pan. Sprinkle reserved crumb topping over entire surface.
- Bake for 55 to 60 minutes, until the center passes the toothpick test. Completely cool at room temperature. Slice within pan, or use foil to lift onto cutting board.
OM NOM NOM!
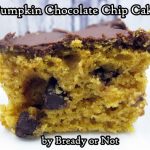
Bready or Not: Pumpkin Chocolate Chip Cake
Halloween is about a week away. Let’s celebrate with a Pumpkin Chocolate Chip Cake!
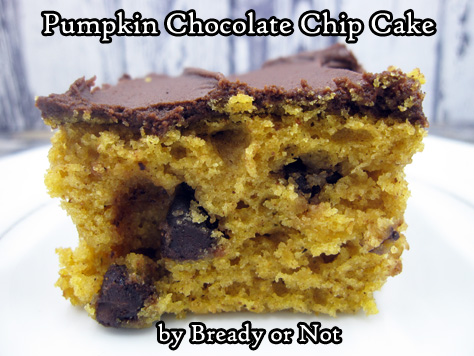
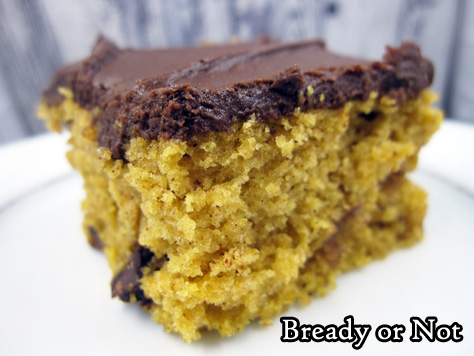
This is an honest-to-goodness cake, too, light and fluffy and topped with a just-thick-enough layer of frosting.
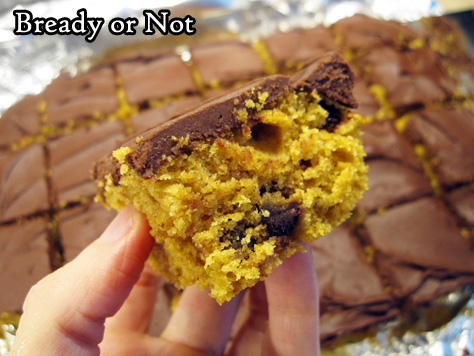
This cake melds the glorious powers of a spice cake with a chocolate cake, finding a medium that is happy indeed.
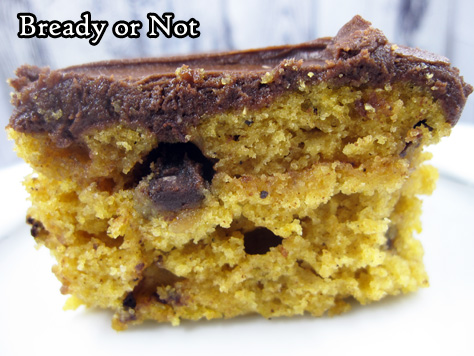
As with most of my baked goods, this was packed up and sent with my husband to work. I can report that this cake can be cut into squares and stored in containers with waxed paper between the layers. It traveled surprisingly well.
Most cakes are not that cooperative. I can’t even say how many times I’ve tried a recipe and mangled it when I’ve tried to portion it out to make it more portable. Those cakes don’t typically make it onto Bready or Not.
This one does… and not only is it cooperative for travel, but it’s also darn delicious.
Modified from Taste of Home Desserts Magazine.
Bready or Not: Pumpkin Chocolate Chip Cake
Ingredients
Cake
- 1 1/4 cups pumpkin puree
- 1 cup white sugar
- 1/2 cup vegetable oil or canola oil
- 2 large eggs
- 1 cup all-purpose flour
- 1 cup white whole wheat flour or whole wheat flour
- 1 1/2 teaspoon baking powder
- 1/2 teaspoon baking soda
- 1/2 teaspoon salt
- 1 1/4 teaspoon cinnamon
- 1/2 teaspoon nutmeg
- 1/2 teaspoon ginger
- 1/4 teaspoon cloves
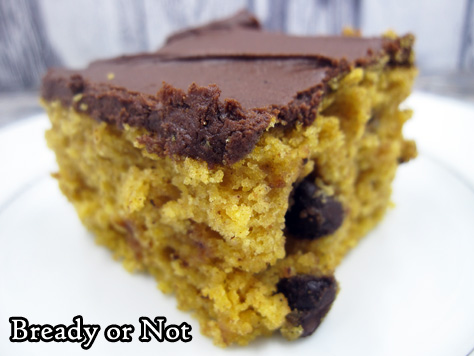
- 1 cup semi-sweet chocolate chips
Frosting
- 6 Tablespoons unsalted butter softened
- 3 Tablespoons milk or half & half
- 1 1/2 teaspoons vanilla extract
- sprinkle cloves
- 1/3 cup baking cocoa sifted
- 2 1/2 - 3 cups confectioners' sugar
Instructions
Making the cake
- Preheat oven at 350-degrees. Line a 13x9 pan with foil and apply butter or nonstick spray.
- In a large bowl, beat together the pumpkin puree, sugar, oil, and eggs. In a separate bowl, sift together the flours, baking powder, baking soda, salt, and spices. Gradually beat the dry mix into the wet. Fold in the chocolate chips.
- Pour the batter into the prepared pan. Bake for 20 to 25 minutes, until the center passes the toothpick test. Let cool to room temperature, or chill in fridge if desired.
Frosting
- In a large bowl, beat butter until creamy. Add in the milk, vanilla, and cloves. Slowly beat in the cocoa and the base amount of confectioners' sugar, adding more if needed to reach spreadable consistency. Cover the top of the cake. Slice within pan, or use foil to lift cake onto cutting board.
- Store covered in the fridge.
