


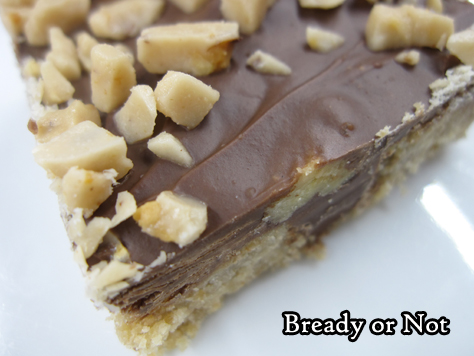
Bready or Not: Oat and Toffee Grahams
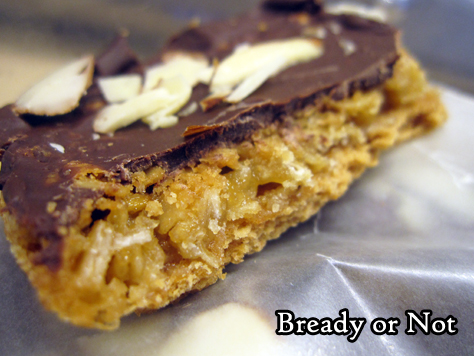
These Oat and Toffee Grahams are a delicious, unique kind of fast-fix homemade candy bar.
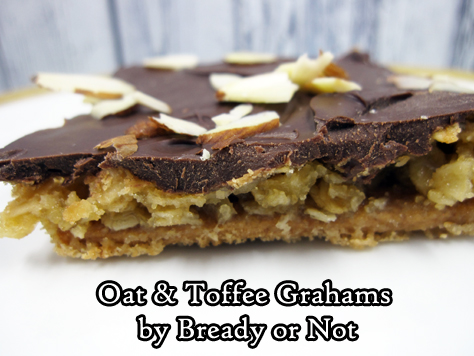
The base consists of graham crackers. (I know, what a shock considering the name of the recipe.)
On top of that you mix up a homemade filling with oats, butter, sugar, and a few other things, and it bakes up into a kind of toffee layer.
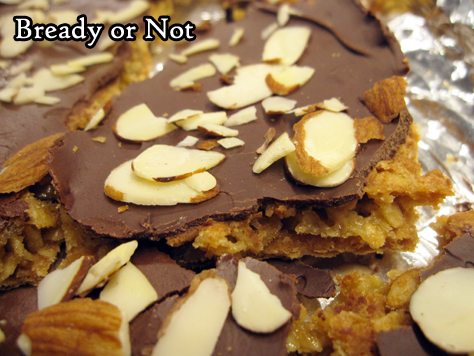
Then you add the chocolate chips on top–bake it a minute, long enough to melt the chips–even out the layer and add some almonds. Ta-da!
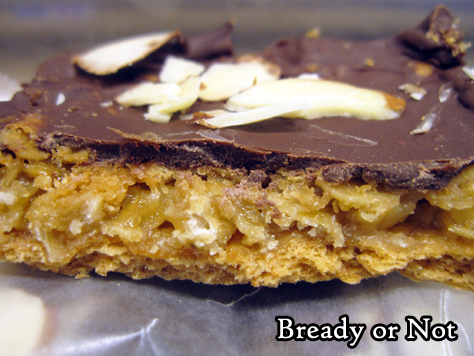
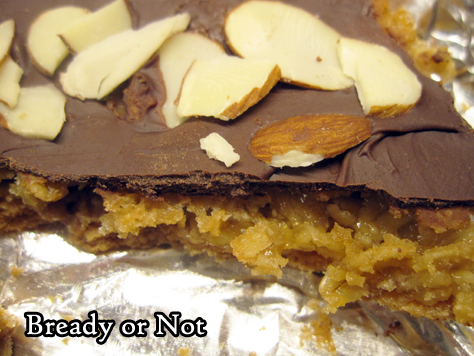
I expected the end result to be crunchy. To my surprise, the crackers actually softened in the baking process. The end result was delightfully chewy.
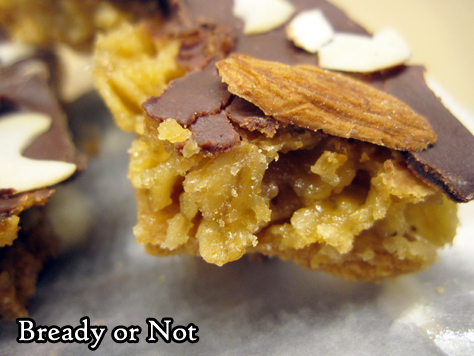
These are sweet, sublime, and chewy, with crunchiness only from the almonds. They are just a great combination of flavors and textures.
Modified from Brownies & Bars Magazine.
Bready or Not: Oat and Toffee Grahams
Ingredients
- 12 graham crackers whole rectangles
- 1 1/2 cups old fashioned oats
- 3/4 cup white sugar
- 3/4 cup brown sugar packed
- 3 Tablespoons all-purpose flour
- 2/3 cup butter melted
- 1 egg
- 1 teaspoon vanilla extract
- 2 cups semisweet chocolate chips
- 1/2 sliced almonds or chopped
Instructions
- Preheat oven at 350-degrees. Line a 15x10x1-inch baking pan with foil and apply nonstick spray. Arrange graham crackers in a single layer side by side. They will not cover the entire surface of the pan.
- In a large bowl, stir together the oats, white sugar, brown sugar, and flour. Stir in the melted butter, egg, and vanilla until just mixed. Spoon the oat mixture atop the graham crackers, covering them completely.
- Bake for 20 to 25 minutes, until top is bubbly. Sprinkle all of the chocolate on top. Bake for another minute. Use an uneven spatula to smooth the softened chocolate to cover the graham crackers. Sprinkle on the almonds.
- Cool in pan. If slow to set, place in fridge until firm. Use a knife or--recommended--both hands to break the bars into pieces. Store in a sealed container with parchment or waxed paper between the layers.
- OM NOM NOM!
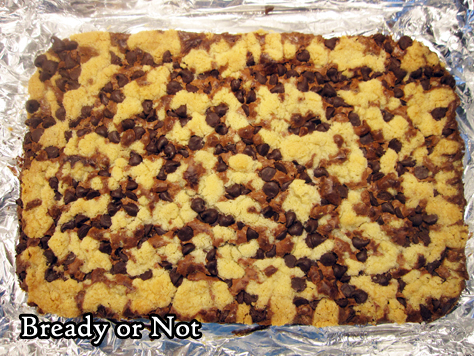
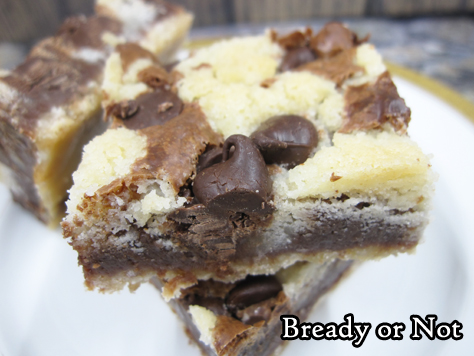
Bready or Not: Chocolate Crumble Bars
I always like to do a chocolate recipe near Valentine’s Day, and this year I present to you a recipe for easy, delicious Chocolate Crumble Bars.
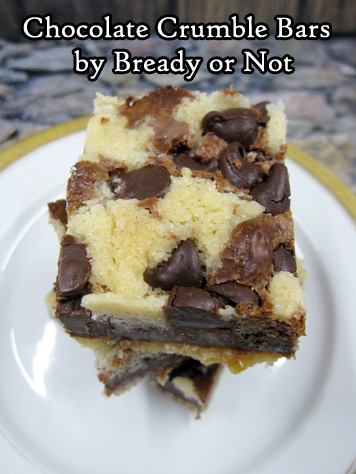
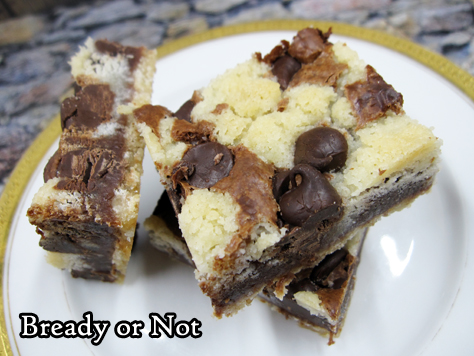
I tend to regard crumble bar recipes with suspicion, because many times they do indeed crumble when cut. I was very happy these bars were cohesive.
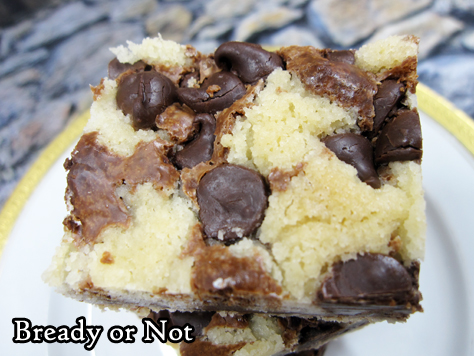
They are also incredibly good. The shortbread-like base is the perfect complement to semisweet chocolate chips.
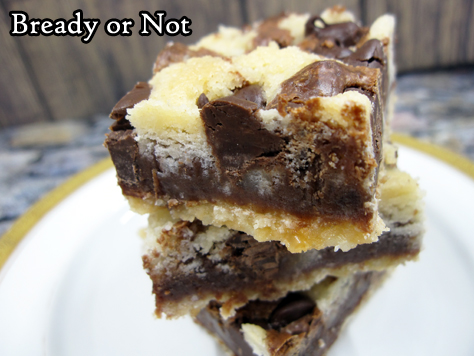
Plus, there’s just something satisfying about a good, basic crumble topping. But then, I always preferred crumble topping on apple pies rather than a closed crust as well.
I suppose I’m just a crumbly person.
If you’re also a crumbly person, give these a try! They are easy to make and oh so good.
Bready or Not: Chocolate Crumble Bars
Ingredients
- 1 cup unsalted butter softened
- 1 3/4 cups all-purpose flour
- 1 cup white sugar
- 1/4 teaspoon kosher salt
- 2 cups semisweet chocolate chips
- 14 oz sweetened condensed milk
- 1 teaspoon vanilla extract
Instructions
- Preheat oven at 350-degrees. Line a 13x9 pan with aluminum foil and apply nonstick spray.
- In a big mixing bowl, beat butter until creamy, followed by the flour, sugar, and salt. Mix until it turns crumbly, scraping the bowl as needed. Place 2 cups of the crumbs in the pan. Use floured fingers or a piece of waxed paper and a heavy glass to compress the crumbs evenly.
- Bake pan 11 to 15 minutes, until edges of base layer are turning golden brown.
- Place 1 cup of the chocolate chips and the sweetened condensed milk in a large microwave safe bowl [or, alternately, do this on the stovetop]. Zap about 30 seconds, stir well, then try another 15 seconds--watch very carefully! It can turn molten, fast. Once it can be stirred smooth, add vanilla extract. Spread over the hot crust.
- Stir remaining cup of chocolate chips into the reserved crumb mixture. Sprinkle this over the top of the chocolate layer.
- Bake for another 25 to 30 minutes, until center is set. Cool completely in pan.
- Use the foil to lift contents onto cutting board. Slice. Store bars in a covered container, waxed paper or parchment between the layers, at room temperature.
- OM NOM NOM!
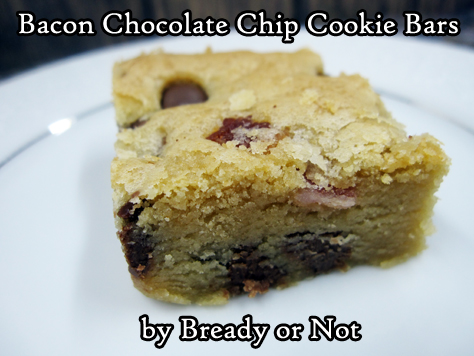
Bready or Not Original: Bacon Chocolate Chip Cookie Bars
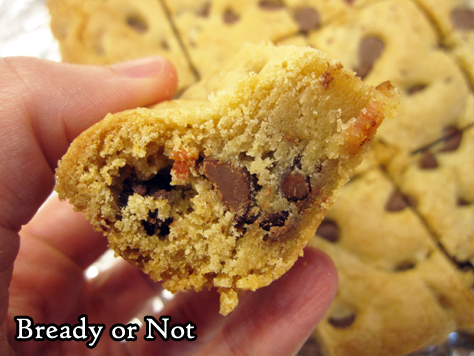
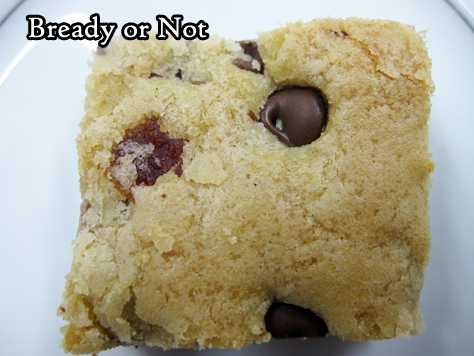
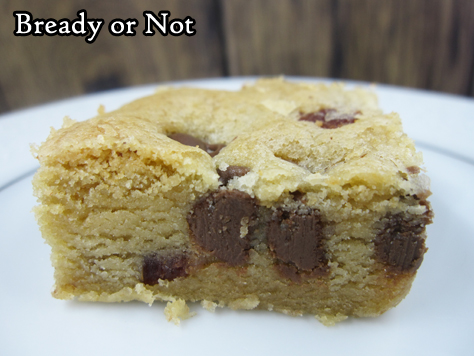
These soft, chewy blondies are savory, sweet, and amazing–and my original creation.
The year 2018 was awful in a lot of ways, but it offered one bonus: frequent sales on bacon at my regular grocery stores around Phoenix. I developed quite a strategic stockpile.
I then realized, hey, I should try baking bacon into more sweets. After all, my bacon fat chocolate chip cookies are among my most popular recipes.
I didn’t have a lot of free time, though. I wanted something to bake up fast, without a lot of fuss. Therefore, cookies were out. I wanted bars.
To my surprise, I couldn’t find an existing recipe that appealed to me. I decided that if I wanted soft, chewy bacon and chocolate chip bars, I needed to develop my own recipe.
That’s exactly what I did.
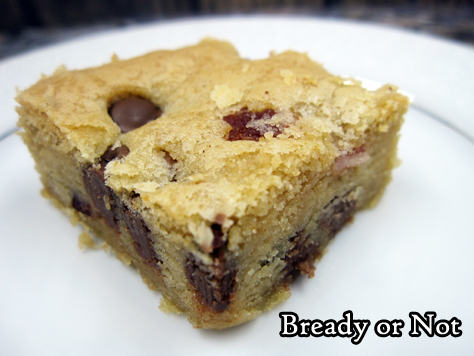
This is a recipe that utilizes sweet and savory together, and it’s a must-bake for any bacon lovers.
Bready or Not Original: Bacon Chocolate Chip Cookie Bars
Ingredients
- 14 Tablespoons unsalted butter softened
- 2 Tablespoons bacon fat
- 1 cup light brown sugar packed
- 3/4 cup white sugar
- 2 teaspoons vanilla extract
- 2 eggs room temperature
- 3 cups all-purpose flour
- 3/4 teaspoon salt
- 3/4 teaspoon baking soda
- 1 1/4 cup milk chocolate chips divided
- 4 slices thick-cut cooked bacon chopped
Instructions
- Preheat oven at 350-degrees. Line a 13x9 pan with foil and grease with butter or nonstick spray.
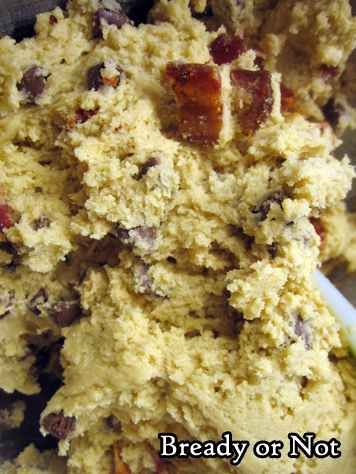
- Cream together the butter and bacon fat. Mix in the sugars until pale and fluffy, then add the vanilla and eggs.
- In a separate bowl, sift together the flour, salt, and baking soda. Gradually mix the dry ingredients into the wet, until just combined. Fold in 1 cup of the chocolate chips along with the chopped bacon.
- Press dough into prepared pan. Sprinkle the remaining chocolate chips over the top.
- Bake for 22 to 25 minutes, until the middle passes the toothpick test. Cool until room temperature. Use foil to lift contents onto cutting board for easy slicing. Keep stored in sealed containers at room temperature or in the fridge.
- OM NOM NOM!
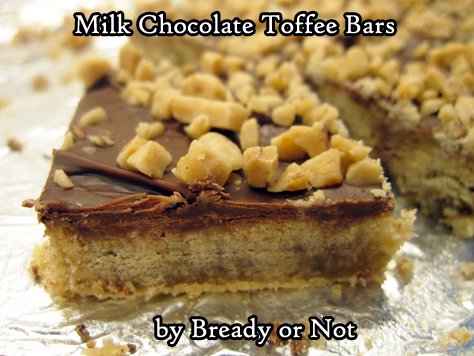
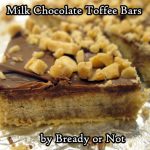
Bready or Not: Milk Chocolate Toffee Bars
The time for healthy recipes is over. Time to make an entire casserole dish-worth of candy bars with this recipe for Milk Chocolate Toffee Bars.
These things are chewy and downright dreamy. Seriously, HOMEMADE CANDY BAR. FRESH. SO GOOD.
Ahem. Forgive the caps. I get enthusiastic about this sort of thing. But can you blame me?
I mean, these have it all going on. Chocolate. A crunch from the toffee and pecans. A chewy blondie base.

My husband took these to work and had several co-workers dub this a new favorite. Considering the goodies they get from me, that’s saying something.

Make these to share with a crowd. You don’t want to be home alone with them.
Modified from Brownies & Bars Magazine.
Bready or Not: Milk Chocolate Toffee Bars
Ingredients
- 2 cups all-purpose flour
- 1 cup brown sugar packed
- 1/2 teaspoon ground cinnamon
- 1 cup unsalted butter softened
- 1 teaspoon vanilla extract
- 1 2/3 cups milk chocolate chips divided
- 1/3 cup chopped pecans
- 1/2 cup toffee bits
Instructions
- Preheat oven at 350-degrees. Line a 13x9 pan with foil and apply nonstick spray or butter.
- In a large bowl, combine flour, brown sugar, and cinnamon. Add the butter and vanilla. Beat until it resembles coarse crumbs. Stir in 2/3 cup chocolate chips and the pecans. Distribute the crumbs across the bottom of the pan and press down evenly.
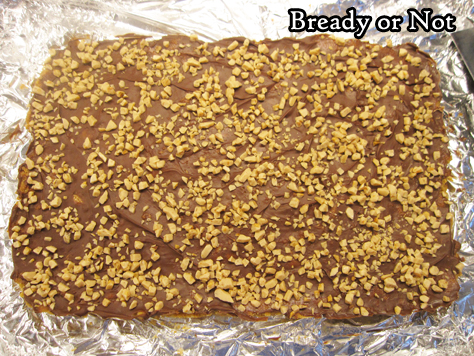
- Bake for 25 to 30 minutes, until golden. Immediately sprinkle on the remaining 1 cup of milk chocolate chips. Let sit a minute or two to soften, then use an uneven spatula to spread chocolate across the crust. Sprinkle toffee bits on top.
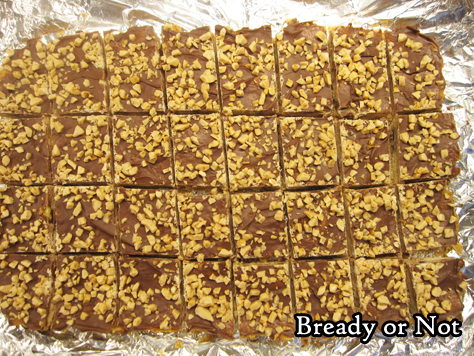
- Cool in pan on wire rack; if desired, place in fridge to speed the process. Once the pan is cool, use foil to move contents to a cutting board. Slice into bars. Keeps in fridge or at room temperature for up to 2 days.
- OM NOM NOM!
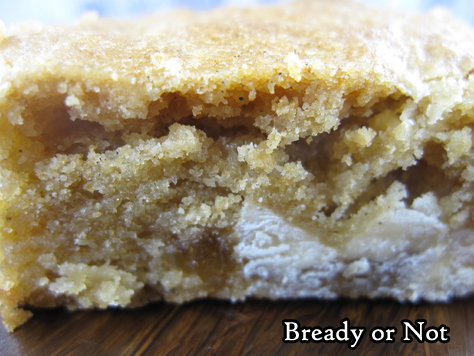
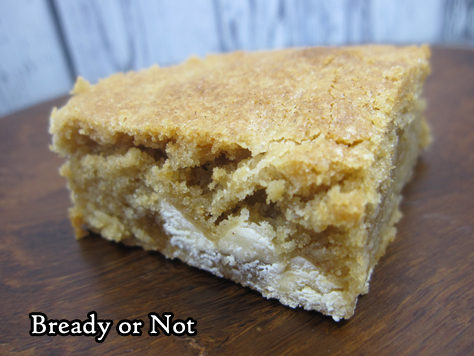
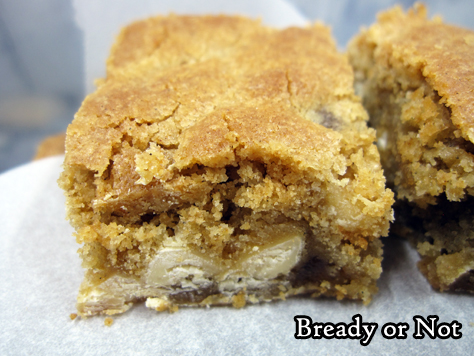
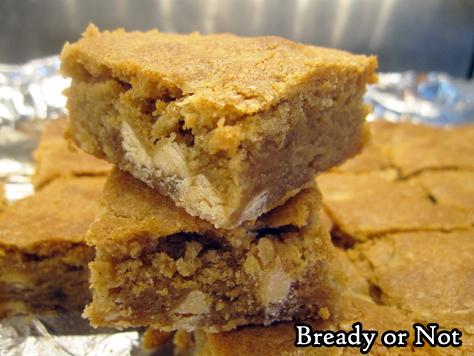
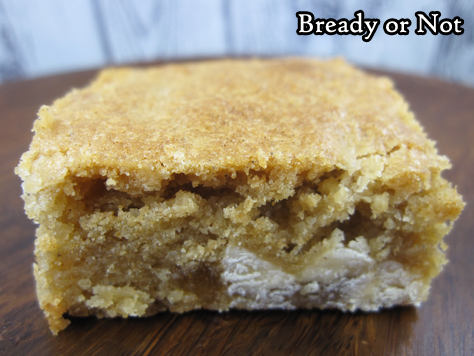
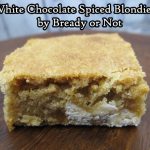
Bready or Not: White Chocolate Spiced Blondies
Let’s end 2018 on a sweet note with these White Chocolate Spiced Blondies!
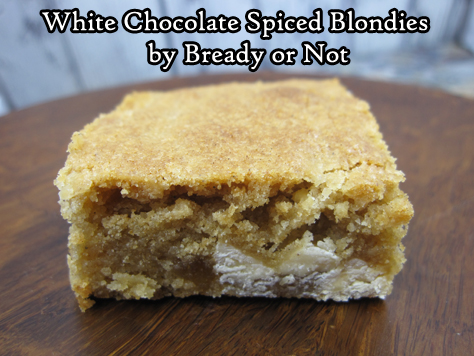
These things are fantastic. Their spiciness is mild and refreshing. These would be great for a between Christmas-and-New-Year party, or any time of year.
I’m a firm believer that good food shouldn’t be confined to just one season. If you like it, eat it when you want.
This recipe is fairly fast to mix up. Chopping up the crystallized ginger is the most tedious thing; rather than use a knife, I like to use kitchen shears. The blades can still get goopy after a few pieces, but I have more control over the cuts.
Since I’ve been asked before, you can often find crystallized ginger in the spice area at the grocery store–look in the glass jarred section. Also, if you have a natural food store like Sprouts, check their bins.
I love to keep candied ginger around for recipes like this. If I can catch a good sale around the holidays, I stock up!
If you want to stock up on these blondies, do note that they freeze well. Pack some in the freezer for later enjoyment!
Bready or Not: White Chocolate Spiced Blondies
Ingredients
- 2 1/2 cups all-purpose flour
- 1 1/2 teaspoons baking powder
- 1 teaspoon ground cardamom
- 1 teaspoon ground cinnamon
- 1/2 teaspoon ground ginger
- 1/4 teaspoon salt
- 1 cup unsalted butter two sticks, room temperature
- 1 3/4 cups brown sugar packed
- 3 eggs room temperature
- 1 Tablespoon vanilla extract
- 6 ounces white chocolate chips about half a bag
- 1 Tablespoon crystallized ginger chopped
Instructions
- Preheat oven at 350-degrees. Line a 13x9 inch baking pan with aluminum foil and apply nonstick spray or butter.
- In a medium bowl, stir together the dry ingredients: flour, baking powder, cardamom, cinnamon, ground ginger, and salt.
- In a big mixing bowl, beat the butter until its smooth. Add the brown sugar and mix, pausing to scrape the sides of the bowl, until the two are fluffy in texture. Beat in the eggs and vanilla.
- Slowly add in the flour mixture until just combined, then sprinkle in the white chocolate and candied ginger pieces. Spread the batter in the prepared pan.
- Bake for 30 minutes, until the middle passes the toothpick test. Cool to room temperature. Use the foil to lift the contents onto a cutting board to slice.
- Store blondies in a sealed container between parchment or waxed paper layers. Blondies can be frozen for later enjoyment.
- OM NOM NOM!
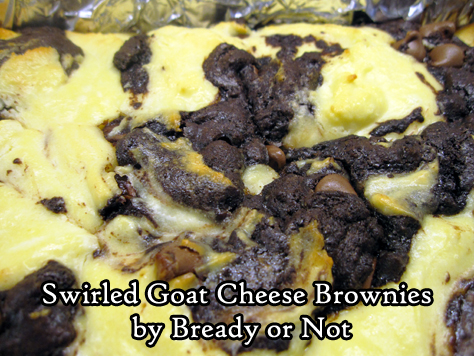
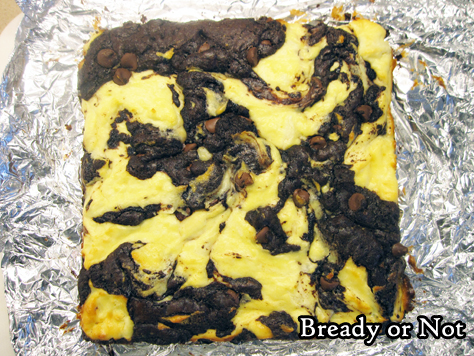
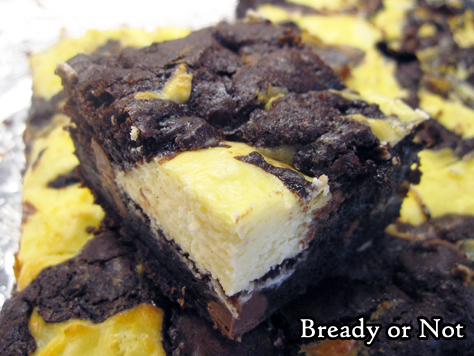
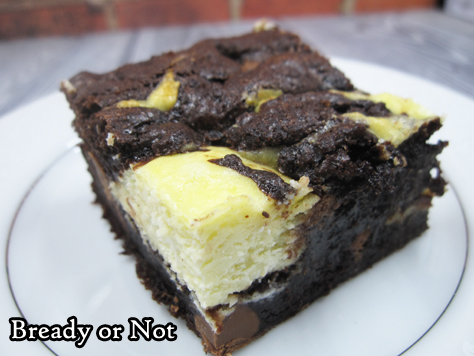
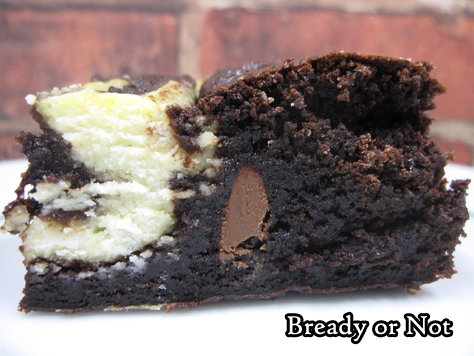
Bready or Not Original: Swirled Goat Cheese Brownies
Swirled Goat Cheese Brownies. These things are sweet, savory, rich, and absolutely perfect for holiday fixin’s.
These are brownies that taste fancy, because they are. Goat cheese ain’t cheap, people, though I acquired mine for a good price at Costco.
Costco’s chevre comes in two logs of 10 1/2 ounces. I bought it for use in a recipe that’ll be coming up in a few weeks (goat cheese rounds for a salad, YUM) but then had to figure out what to do with the other log.
The answer, of course: DESSERT! I ended up melding several recipes to suit my Costco-sized cheese, and ta-da! This recipe is the result.
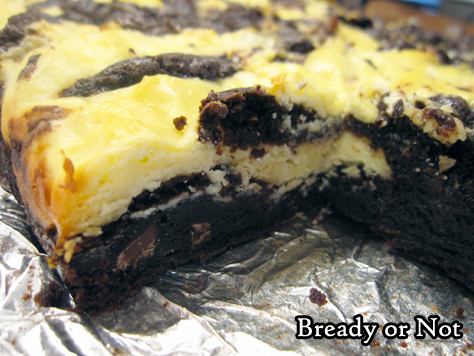
I’ve made brownies like this using cream cheese before. This version takes that up several notches. Chevre is a strong, somewhat gamey cheese. The end result is a brownie that is rich and sweet with a distinct savory note.
Treat yourself with these amazing brownies this holiday season–and be sure to check out last week’s Holiday Cherry Brownies, too!
Bready or Not Original: Swirled Goat Cheese Brownies
Ingredients
Goat Cheese Swirl
- 10 1/2 ounces goat cheese room temperature
- 2 Tablespoons confectioners' sugar
- 2 Tablespoons all-purpose flour
- 2 large eggs room temperature
Brownie Base
- 2/3 cup Dutch process cocoa powder sifted
- 1 cup white sugar
- 1/2 cup brown sugar packed
- 1/2 cup confectioners' sugar
- 3/4 teaspoon sea salt
- 1 cup all-purpose flour
- 1 cup semisweet chocolate chips or milk chocolate chips
- 3 large eggs room temperature
- 1/2 cup canola oil
- 1 teaspoon vanilla extract
Instructions
- Preheat oven to 350-degrees. Line an 8×8 or 9x9-inch square pan with aluminum foil and apply nonstick spray or butter.
- Mix goat cheese swirl ingredients. Set aside.
- Make the brownie base by whisking together the cocoa, sugars, salt, flour, and chips in a big mixing bowl. Add the eggs, oil, and water and vanilla extract until everything is just combined.
- Spoon half the brownie batter into the prepared pan. Dollop the cheese mixture atop it, then add the remaining brownie batter into the open spots. Use a knife to swirl the two layers together while still keeping them a bit distinct.
- Bake the brownies for 35 to 45 minutes, depending on the pan size. Use the toothpick test to check for doneness. The center should be set with the consistency still moist and fudgy. Cool to room temperature, then place in fridge to chill an hour or two prior to cutting.
- Use foil to lift brownies onto cutting board for easy slicing. Store in a sealed container in fridge, with parchment or waxed paper between the layers.
- OM NOM NOM!
