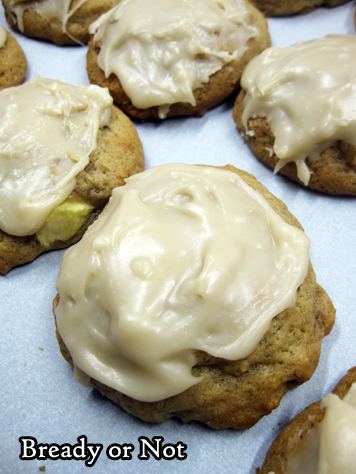
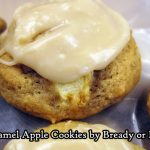
Bready or Not: Caramel Apple Cookies
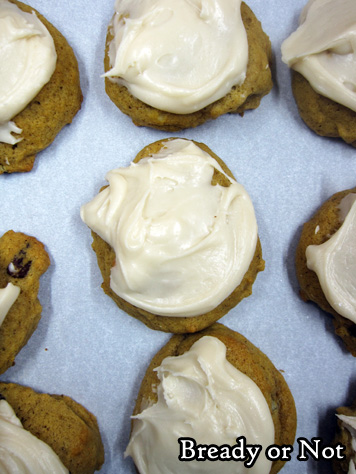
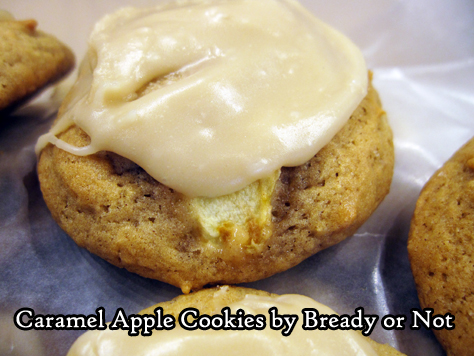
These Caramel Apple Cookies involve some extra work, but they are worth it. These are among the best cookies I have ever made. That’s saying something.
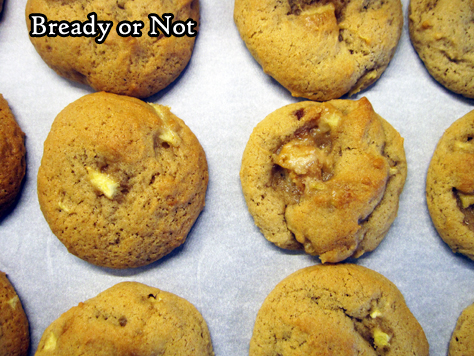
They also might involve some blood-letting. Let’s just say I will never again try to grate apple. I’m fine with finely dicing with a knife from now on.
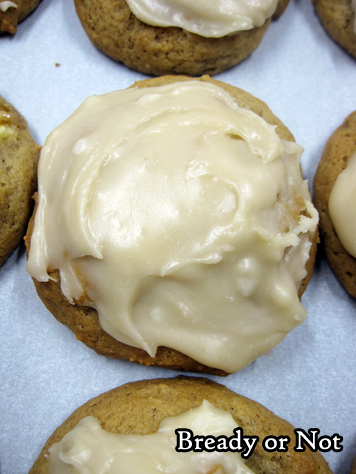
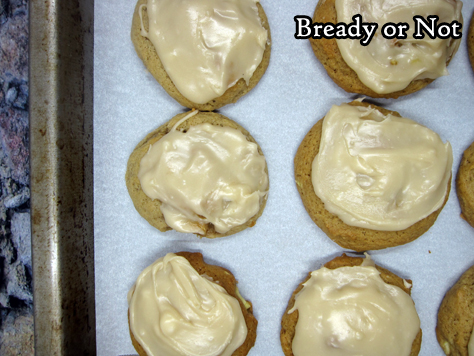
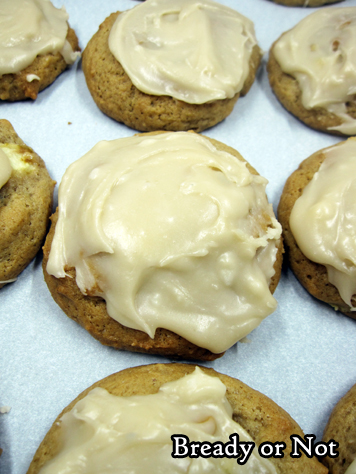
But hey, as history and mythology has taught us, sometimes blood-letting comes to good purpose. These are chewy, sweet, soft apple cookies topped with caramel. If that’s not worth sacrifice, what is?
Use some variety of sweet-tart apple like you’d use for a pie. I used Braeburn, but Granny Smith and Jonathan are also good choices. 1 cup grated/diced is most of a medium apple.
These cookies reminded me of a fresh-made and frosted version of the Little Debbie’s Apple Delights that I loved loved loved as a kid. I have never before had a homemade cookie that was like this.
You may have some frosting leftover at the end; I had about 1/3 cup. Just look for random things you can frost like Golden Oreos, the cat, graham crackers, human flesh, etc. Trust me, you don’t want this apple-caramel frosting to go to waste.
Modified from Fall Baking 2016 by Better Homes & Gardens.
Bready or Not: Caramel Apple Cookies
Ingredients
Cookies:
- 1/2 cup unsalted butter 1 stick, softened
- 1 1/4 cups brown sugar packed
- 1 teaspoon baking soda
- 1 teaspoon cinnamon
- sprinkle cloves
- sprinkle nutmeg
- 1/4 teaspoon salt
- 1 egg room temperature
- 1/2 cup apple cider or juice
- 2 1/2 cups all-purpose flour
- 1 cup tart apple peeled and coarsely shredded or diced, most of a medium apple
Frosting:
- 1/2 cup brown sugar packed
- 3 Tablespoons unsalted butter
- 3 Tablespoons apple cider or juice
- 2 2/3 cups confectioners' sugar
Instructions
- Preheat oven at 350-degrees. Line cookie sheet with parchment paper.
- In a large bowl, beat butter until smooth, then add brown sugar, baking soda, cinnamon, cloves, and nutmeg, and salt. Continue to beat until fluffy, scraping bowl as needed.
- Beat in the egg and apple cider or juice. Slowly mix in flour. Fold in the apple bits last; dough will be very soft.
- Use a tablespoon scoop to space out dollops of dough on the parchment paper. Bake about 12 to 14 minutes, until golden brown; be careful not to under-bake, as the cookies need to be sturdy enough to be frosted. Completely cool cookies on wire rack.
- When the cookies are cool, begin making frosting on stovetop. On medium heat in small saucepan, stir together brown sugar, butter, and apple cider or juice. Heat until the brown sugar is dissolved. Gradually stir in the confectioners' sugar.
- Begin frosting cookies immediately; the back of a spoon works well. If the frosting in the pan begins to harden, stir in a few drops of hot water until it is smooth again.
- Store cookies in a sealed container at room temperature with wax paper between the layers.
- OM NOM NOM!
Bready or Not: Pumpkin Pie Snickerdoodle Bars
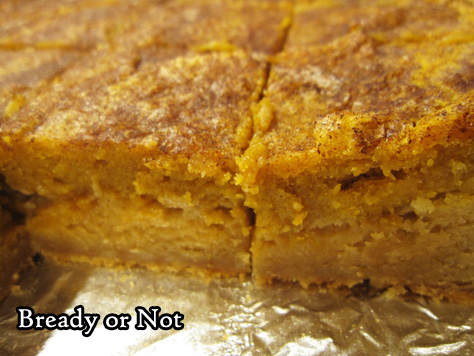
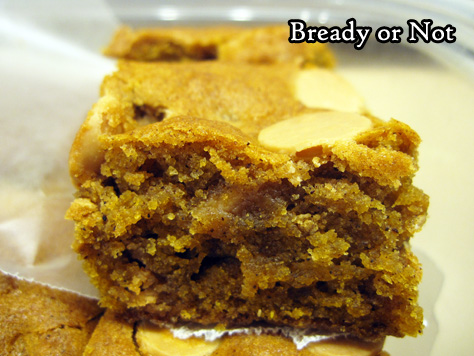
Happy Halloween! Today I bring you a major treat, no tricks. These Pumpkin Pie Snickerdoodle Bars will boggle your mind in the best kind of way.
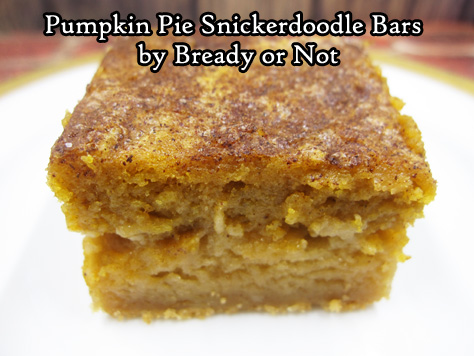
That’s because these bars really do, in fact, taste like a combination of Snickerdoodles and Pumpkin Pie. Crazy, right?
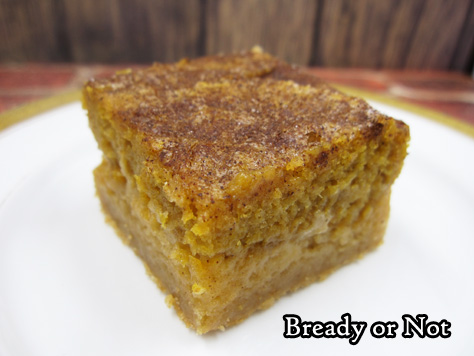
And since those two things are delicious, that means these bars are REALLY REALLY GOOD. Not just the flavors, but the combination of textures.

That’s because these are soft and dense, easy to eat in hand or with a fork. The ones in the middle might end up a little gooier, though. Not necessarily a bad thing.
The list of ingredients looks long but it actually comes together pretty fast. The ingredients are so alike, I didn’t even bother washing the bowl and beater, which saved a lot of time and effort.
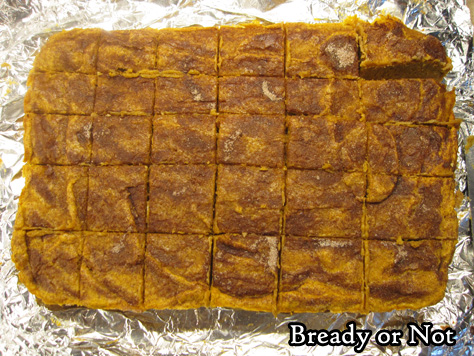
This makes a full 13×9 pan, so this is perfect for a potluck or family gathering. They might get softer after the two day point, but they will still be tasty.

Bready or Not: Pumpkin Pie Snickerdoodle Bars
Ingredients
Cookie Layer
- 1 cup unsalted butter 2 sticks, room temperature
- 2 cups brown sugar packed
- 2 eggs room temperature
- 1 Tablespoon vanilla extract
- 3 cups all-purpose flour
- 1 teaspoon baking powder
- 1/2 teaspoon salt
- 1/2 teaspoon cream of tartar
Pumpkin Pie Layer
- 1/2 cup unsalted butter 1 stick, room temperature
- 1 cup white sugar
- 2 eggs room temperature
- 1 teaspoon vanilla extract
- 1/2 teaspoon baking powder
- 1/2 teaspoon salt
- 1 teaspoon pumpkin pie spice heaping
- 1 cup all-purpose flour
- 15 ounce pumpkin puree
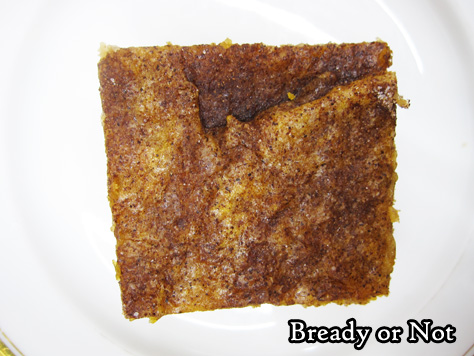
Topping
- 2 Tablespoons white sugar
- 1 teaspoon cinnamon
Instructions
- Preheat oven at 350-degrees. Line a 13x9 pan with foil and apply nonstick spray or butter.
- To make the cookie layer, cream together the butter and brown sugar. Once they are smooth, add the eggs and vanilla. Next, mix in the dry ingredients: flour, baking powder, salt, and cream of tartar. Spread the mixture evenly in the pan.
- Next up is the pumpkin pie layer. No need to wash the bowl. Cream together the butter and sugar followed by the eggs and vanilla. Add the baking powder, salt, pumpkin pie spice, and flour. Once they are just mixed, fold in the pumpkin puree. Spread the everything over the cookie layer.
- Spoon together the topping and add it evenly over the top of the dough.
- Bake for 38 to 41 minutes, until toothpick inserted in the center comes out clean (though it may still be softer when cut). Cool at room temperature at least an hour, then chill in fridge for several hours. Use the foil to lift the contents onto a cutting board to slice up.
- Keep stored chilled in a sealed container between waxed paper layers. Best consumed within 2 days; bars get mushier after that, but are still tasty.
- OM NOM NOM!
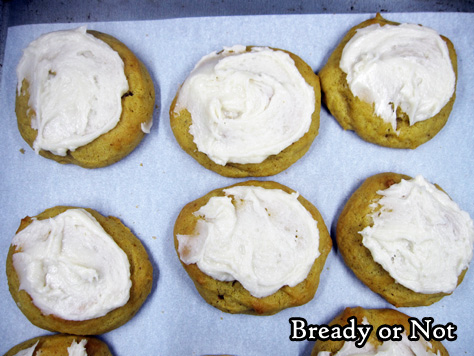
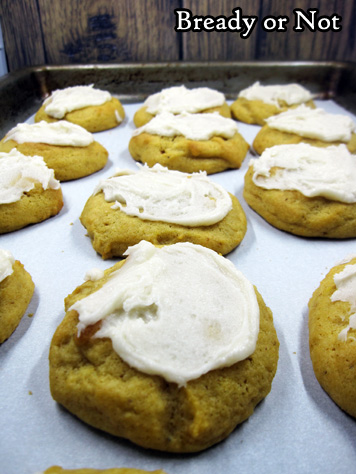
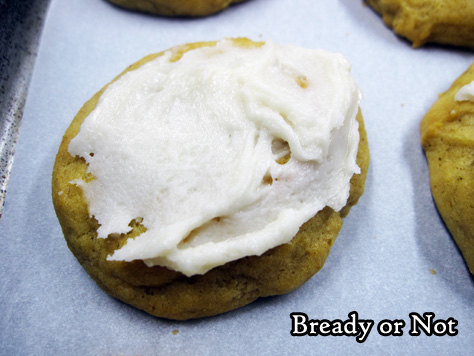
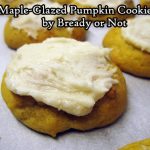
Bready or Not: Maple-Glazed Pumpkin Cookies
Do you like soft, cakey cookies? Do you like pumpkin? Oh, do I have the recipe for you!
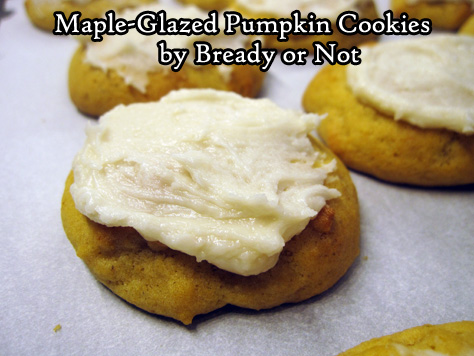
These Maple-Glazed Pumpkin Cookies are stunning. The cookies are soft and tender in the mouth, and the maple glaze adds just the right touch of sweetness.
I’ve done this annual feature of pumpkin recipes for several years now, and I think this is one of my all-time favorite recipes. It’s not just that it tastes good–it’s textually pleasing, too.
Do note that the dough needs to chill for a while, and even when cold, it can be difficult to work with. Be patient and prepare to have sticky fingers.

Trust me, it’ll be worthwhile in the end.
Modified from a recipe included with ads for Reynolds Parchment Paper.
Bready or Not: Maple-Glazed Pumpkin Cookies
Ingredients
Cookies:
- 2 cups + 2 Tablespoons all-purpose flour
- 1 teaspoon baking soda
- 1/2 teaspoon fine salt
- 1/4 teaspoon ground nutmeg
- 1 cup white sugar
- 3/4 cup unsalted butter 1 1/2 sticks, room temperature
- 1 teaspoon vanilla extract
- 1 large egg room temperature
- 3/4 cup pumpkin puree
Maple Glaze:
- 1 1/4-1/2 cup confectioners' sugar
- 3 Tablespoons unsalted butter melted
- 1/2 teaspoon maple flavor
- 1 Tablespoon water
Instructions
- In a medium bowl, whisk together the flour, baking soda, salt, and nutmeg. Set aside.
- In a big bowl, beat together the white sugar and butter until pale and fluffy. Scrape down sides of bowl, then mix in vanilla and egg, followed by the pumpkin puree. Slowly stir in the dry ingredients.
- Cover dough and chill in fridge for at least two hours; overnight is fine.
- Preheat oven at 350-degrees. Line two baking sheets with parchment paper. Use a tablespoon scoop to place dollops of batter spaced out on the sheets; the dough will be sticky to work with.
- Bake cookies until golden brown, about 13 minutes. Let cool completely on sheets.
- To make the maple glaze, whisk together the confectioners' sugar, butter, maple flavor, and a tablespoon of water. Add more water or sugar, as needed, to reach a thick yet spreadable consistency. Use the back of a spoon to swirl a thin layer of glaze atop each cookie.
- Store cookies, between layers of parchment or wax paper, in a sealed container up to 3 days.
- OM NOM NOM!
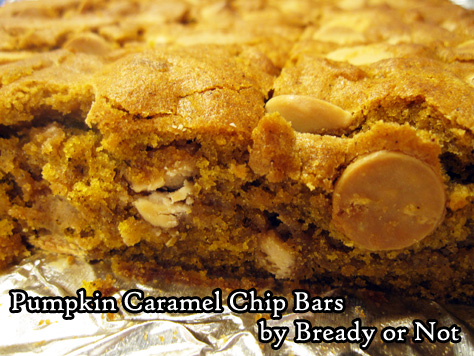
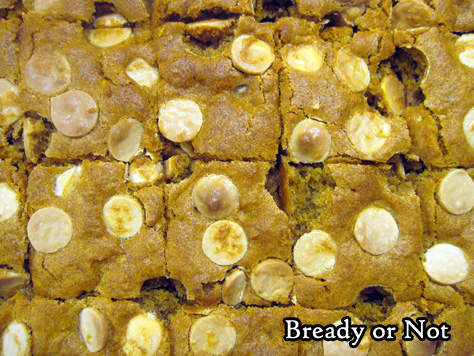
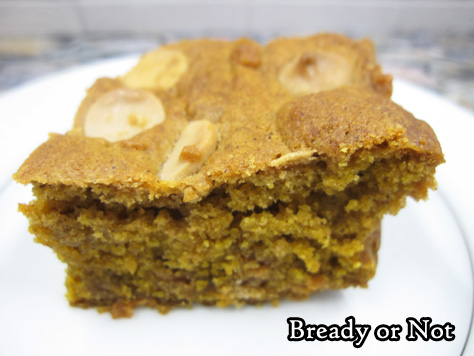
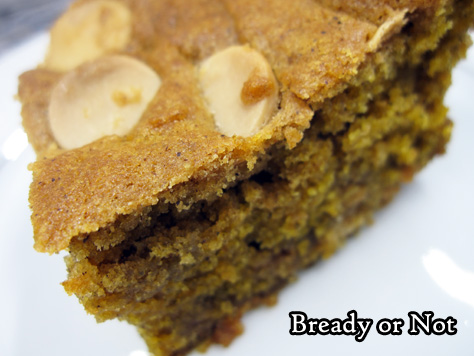
Bready or Not: Pumpkin Caramel Chip Bars
Caramel chips are a new and awesome thing in stores, and I couldn’t help but try pairing them with pumpkin in these bars. The result? YUM.
This is modified from a recipe I shared about a year ago for Pumpkin Chocolate Chip Bars.
I didn’t simply switch out the kinds of chips. I also decreased the spices. I wanted enough to add some flavor, but I didn’t want them to be spice cake-like as in the old version.
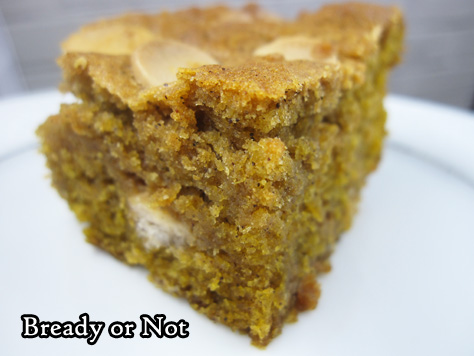
The use of bread flour creates bars that are especially thick and cakey. Unlike a standard frosted cake, these travel very well. The bars are nice and cohesive.
I like to place waxed paper between layers to prevent sticking and melting chips (because in Arizona, well, it’s still hot at this time of year).
Bready or Not: Pumpkin Caramel Chip Bars
Ingredients
- 1 cup all-purpose flour
- 1 cup bread flour
- 2 teaspoons cinnamon
- 1/2 teaspoon ginger
- 1/4 teaspoon allspice
- 1/4 teaspoon cloves
- 1 teaspoon baking soda
- 1 teaspoon salt
- 2 cups caramel chips divided
- 1 cup unsalted butter 2 sticks, softened
- 1/2 cup brown sugar packed
- 3/4 cup white sugar
- 1 large egg room temperature
- 2 teaspoons vanilla extract
- 1 cup pumpkin puree
Instructions
- Preheat oven to 350-degrees. Line a 13x9 pan with aluminum foil and apply nonstick spray or butter.
- In a medium bowl, combine the flours, cinnamon, ginger, allspice, cloves, baking soda, and salt. Stir in most of the caramel chips; coating them with flour will keep them from sinking as they bake. Set bowl aside.
- In a big mixing bowl, combine the butter and two sugars until light and fluffy, scraping down the sides of the bowl as needed. Add the egg, vanilla extract, and pumpkin puree. Once that's mixed, slowly blend in the dry ingredients until just combined.
- Pour the batter into the ready pan and smooth out. Sprinkle the remaining caramel chips over the top.
- Bake for 30 to 35 minutes, until it passes the toothpick test in the middle. Cool completely. Lift up by the foil and place on a cutting board to cut bars. Store in a sealed container at room temperature or chilled. Since pumpkin can be a little sticky, use parchment or wax paper between stacked layers of bars.
- OM NOM NOM!
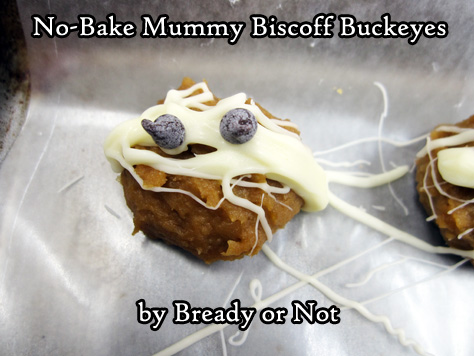
Bready or Not: No-Bake Mummy Biscoff Buckeyes
Here’s a great recipe to make with kids! These No-Bake Mummy Biscoff Buckeyes are quick, cute, and secretly healthy.
Buckeye treats typically include peanut butter and brown chocolate. I switched in Biscoff (aka cookie butter, available by the peanut butter in most American grocery stores these days) but you can use peanut butter instead.
What makes these secretly healthy, you ask, since I made them unhealthier with cookie butter? Well, the base ingredient of this recipe is… CHICKPEAS. Also known as garbanzo beans.
You cannot tell there are beans in this. All you taste is Biscoff and chocolate. They keep in the fridge for up to a week, too; they get a little sweaty, that’s it.
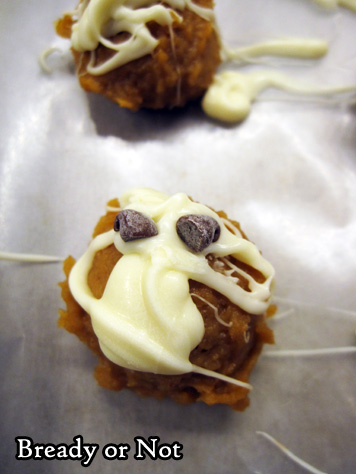
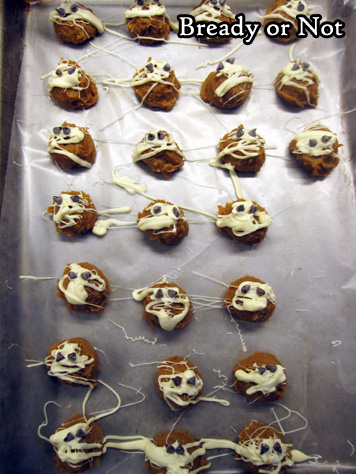
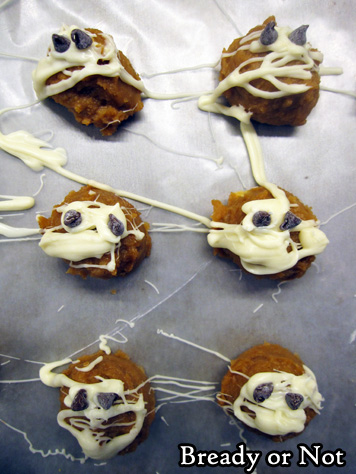
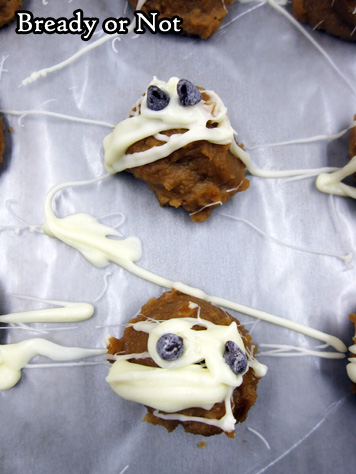
The white chocolate drizzle is pretty fun. There’s no art to it. Just drizzle every which way, then very quickly add the mini chocolate chip eyes. (Hopefully your mini chips won’t have bloomed like mine did! That means the chocolate has a white cast to it. Perfectly fine to eat, it just doesn’t look as pretty. FYI Mummies don’t care about being pretty.)
Modified from Cooking Light October 2017.
Bready or Not: No-Bake Mummy Biscoff Buckeyes
Ingredients
- 15 1/2 ounce chickpeas rinsed and drained
- 1/2 cup cookie butter Biscoff, Speculoos, store brand, etc
- 2 Tablespoons honey
- 1/2 teaspoon vanilla extract
- 1/4 teaspoon kosher salt
- 1/3 cup white chocolate chips
- 2 teaspoons mini chocolate chips
Instructions
- Pulse chickpeas in a food processor until smooth. Add cookie butter, honey, vanilla, and salt, and pulse more. Use a teaspoon scoop to measure out the dough; place on a wax paper-lined baking sheet that will fit in the fridge. Use hands to smooth out each ball. Chill until firm, at least 30 minutes.
- Carefully melt white chocolate in the microwave at 20% power in 15 second bursts, stirring well between each pass, until it's smooth. Dip fork prongs in the chocolate and drizzle back and forth over the buckeyes to create a mummy bandage effect. Immediately place two mini chocolate chips for eyes on each mummy head. If need be, melt white chocolate again to use some dots of it as glue for the eyes.
- Store in the fridge for up to a week, but expect them to sweat and get moister.
- OM NOM NOM!
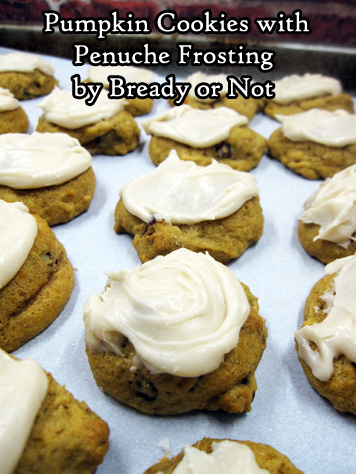
Bready or Not: Pumpkin Cookies with Penuche Frosting
October is here, and that means pumpkin recipes! Let’s kick things off right with Pumpkin Cookies with Penuche Frosting!
What is penuche, you ask? It’s a fudge-like candy made from brown sugar, butter, and milk. It has a very caramel-like vibe going on.
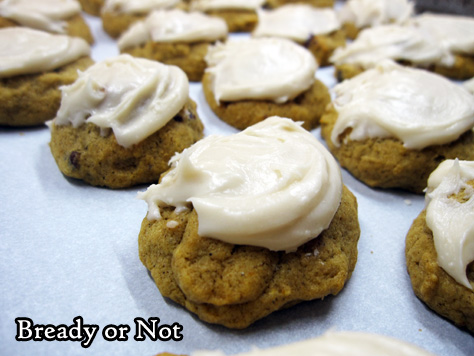
That makes it the perfect complement for these incredible cookies. The pumpkin-filled base is soft and cakey, with fragrant fall spices.

These are really, really good. Pumpkin, spices, penuche. Oh yeah.
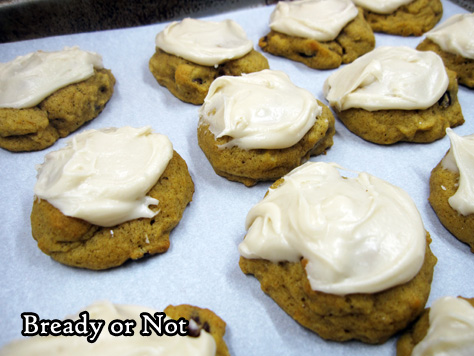
The recipe makes about 60 cookies if you use a teaspoon scoop, and they hold up best if eaten in one day. They get softer after that, but are still good.
Recipe modified from Taste of Home magazine.
Bready or Not: Pumpkin Cookies with Penuche Frosting
Ingredients
Cookies
- 1 cup unsalted butter 2 sticks, softened
- 1/2 cup white sugar
- 1/2 cup light brown sugar packed
- 1 large egg
- 1 cup pumpkin puree
- 2 teaspoons vanilla extract
- 2 cups all-purpose flour
- 1 teaspoon baking powder
- 1 teaspoon baking soda
- 1 teaspoon ground cinnamon
- 1/2 teaspoon salt
- 3/4 cup pecans chopped
Frosting
- 1/4 cup brown sugar packed
- 3 Tablespoons butter
- 1/4 cup milk or half & half
- 2 1/2 - 3 cups confectioners' sugar
Instructions
- Preheat oven at 350-degrees. In a large bowl, cream butter and sugars together until they are light and fluffy. Beat in the egg, pumpkin, and vanilla.
- In a separate bowl, sift together the flour, baking powder, baking soda, cinnamon and salt. Gradually mix the dry ingredients into the wet. Fold in the pecans.
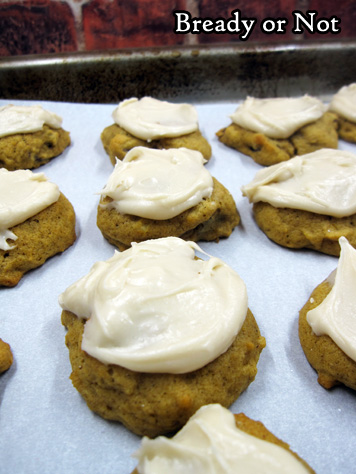
- Spread parchment paper on two large baking sheets. Drop dough by rounded teaspoon scoops spaced out to allow for a small amount of spreading. Bake for 9 to 11 minutes. Move cookies to wire racks to cool, which won't take long.
- Meanwhile, in a small saucepan, bring the brown sugar and butter to a boil. Keep on medium heat for 1 minute, continuing to stir, then remove from heat. Cool for 10 minutes. Transfer to a larger bowl and beat in the milk. Slowly add in enough confectioners' sugar to reach a spreadable consistency. Immediately frost cookies. Let set for an hour or so before packing up.
- Makes about 60 cookies. Best eaten within 1 day; they will still taste okay after that, but will soften more. Store cookies between wax paper layers in sealed containers.
- OM NOM NOM!