


Bready or Not Original: Cookie Butter and Jelly Bars (Big Pan)
This big casserole dish of Cookie Butter and Jelly Bars is chewy and sweet, perfect to feed a crowd! Customize it by using your favorite jelly.
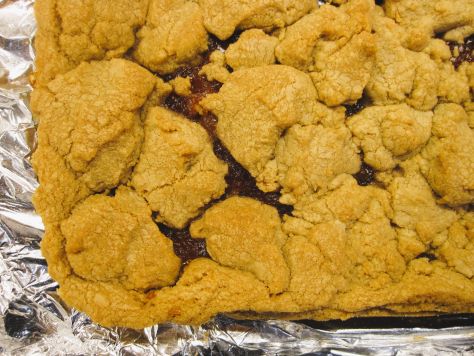
I love cookie butter. You can find it in jars near the nut butters in a lot of grocery stores. There’s nothing healthy about it–it’s spice cookies pulverized with oil to make a smearable paste that you can use however you use peanut butter, such as on sandwiches or in baked goods like this.
Cookie butter makes everything taste inherently more cookie-like. It’s fantastic with jelly! I recommend using about 10-12 ounces of jelly here; less than that and the layer is thin, more than that, it can gush at the sides of the pan and stick to the foil.
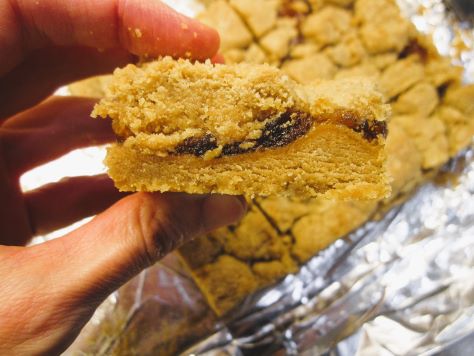
These bars are best eaten within two days. After that, they will dry out a bit but they are still tasty.
Bready or Not Original: Cookie Butter and Jelly Bars (Big Pan)
Equipment
- 13×9 pan
- aluminum foil
- nonstick spray
- offset spatula
Ingredients
- 1 cup unsalted butter (2 sticks) room temperature
- 1 1/2 cups white sugar
- 1 teaspoon vanilla extract
- 2 large eggs room temperature
- 2 cups creamy cookie butter such as Biscoff and Trader Joe's Speculoos
- 3 cups all-purpose flour
- 1 teaspoon baking powder
- 10-12 ounces jelly or jam or preserves
Instructions
- Preheat oven at 350-degrees. Line a 13×9 pan with foil and apply nonstick spray.
- In a large mixing bowl, beat together butter and sugar until light and fluffy. Add the eggs, vanilla, and cookie butter. Follow up with the flour and baking powder.
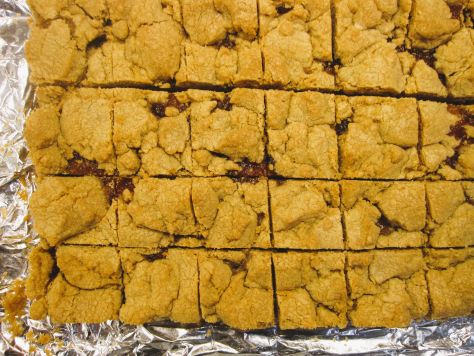
- Spread about 2/3 of the dough in the prepared pan. Using an offset spatula, spread the jam in an even layer up to about 1/2 inch of the edge. Dollop the remaining dough all over the top. Use a knife to gently form into swirls with the jelly.
- Bake for 25 to 30 minutes until the edges start to brown and the middle is set and passes the toothpick test. Let cool completely on wire rack. Use foil to lift contents onto a cutting board to slice into bars. Store in a sealed container at room temperature.
OM NOM NOM!
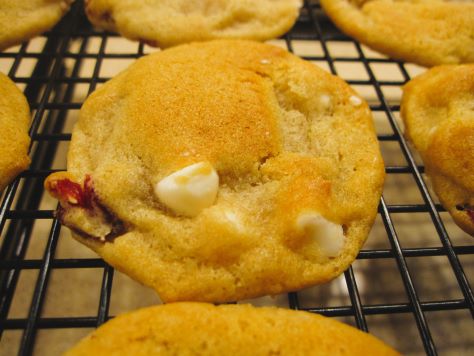
Bready or Not Original: Chewy Honey Strawberries and Cream Cookies
These Chewy Honey Strawberries and Cream Cookies are my own invention inspired by these soft-dried strawberries I found at Costco. (They are also on Amazon for a much higher price. Affiliate link.)

If you love strawberries AND cookies, welcome to the recipe of your dreams. My base chewy honey cookie recipe has ingredients swapped out to make this work.
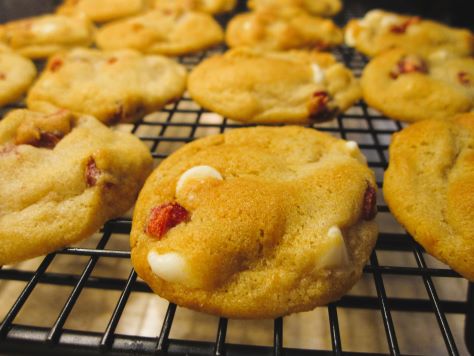
Chopped up (I used kitchen shears) soft-dried strawberries are distributed throughout the dough. White chocolate chips are the fantastic accompaniment that is easy to find, but I also tried this recipe again using some limited edition Hershey’s Cream Cheese Chips, which delivered an even richer flavor.
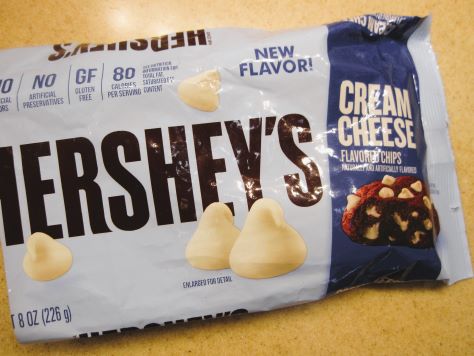
Who knows where or how long these chips will be available, but if you can find them, use them in this recipe or any other good chocolate chip cookie recipe.
Like my other variations of this base recipe, these cookies will keep for weeks in a sealed container.
Bready or Not Original: Chewy Honey Strawberries and Cream Cookies
Equipment
- plastic wrap
- tablespoon or teaspoon scoop
- baking sheet
Ingredients
- 3/4 cup unsalted butter (1 1/2 sticks) softened
- 1/2 cup light brown sugar packed
- 1/2 cup white sugar
- 2 Tb honey
- 1 large egg room temperature
- 1 Tablespoon vanilla extract
- 1 cup bread flour
- 1 cup all-purpose flour
- 2 teaspoons cornstarch
- 1 teaspoon baking soda
- 1/2 teaspoon salt
- 1 cup white chocolate chips or Hershey's Cream Cheese Chips
- 3/4 cup soft-dried strawberries chopped
Instructions
- In a large bowl, beat the butter until smooth. Add the sugar and honey and beat until creamy and fluffy, about 3 minutes. Scrape down the sides of the bowl and then mix in the egg and vanilla extract.
- In a separate bowl, combine the dry ingredients: bread flour, all-purpose flour, cornstarch, baking soda, and salt. Sift together.
- Slowly stir together the wet ingredients and flour mix until just combined. Fold in the white chocolate chips and strawberries pieces. Wrap the dough in plastic wrap and stash in the fridge for several hours or days; dough can also be frozen at this stage.
- When ready to bake, preheat the oven at 350-degrees. Use greased stoneware, parchment paper, or silpat mats. The cookie dough, even straight from the fridge, has a soft Play-Doh-like consistency, and will spread when it bakes; keep this in mind when spacing cookie dough.
- Teaspoon-sized cookies need to bake 9 to 12 minutes; Tablespoon-sized take 11 to 13 minutes. Let set on cookie sheet for 10 to 15 minutes before moving to a rack to cool completely.
- Stored cookies will keep in a sealed container, between waxed paper or parchment layers, for weeks. They are excellent for travel or shipping.
OM NOM NOM!
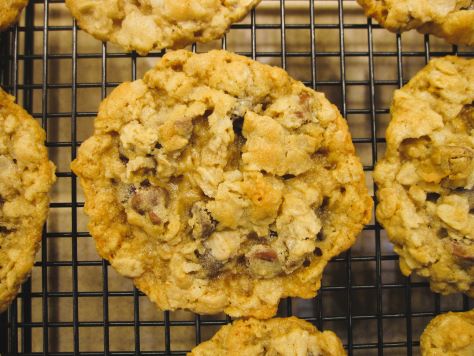
Bready or Not Original: Oatmeal Coconut Cookies
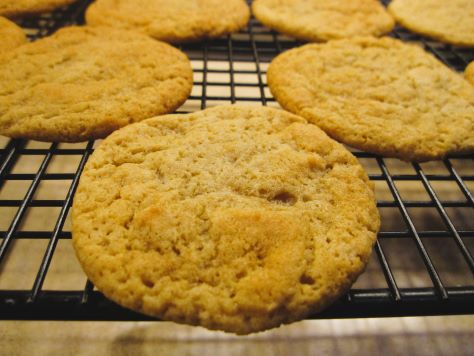
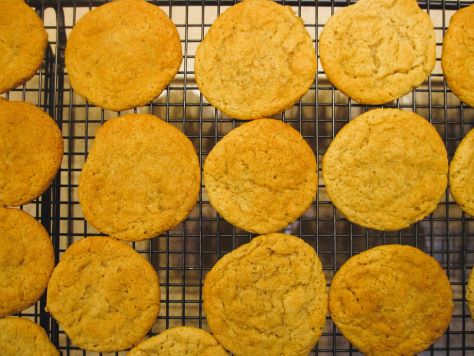
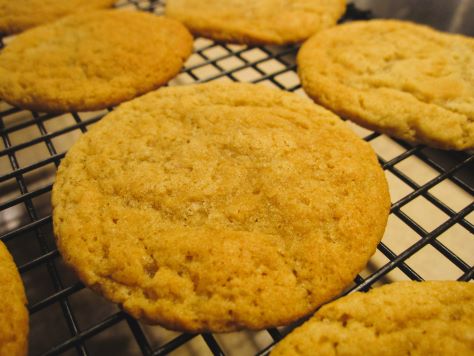
These Oatmeal Coconut Cookies are super-chewy thanks to that combo. Plus, they aren’t super-sweet, which lets the chocolate shine through.
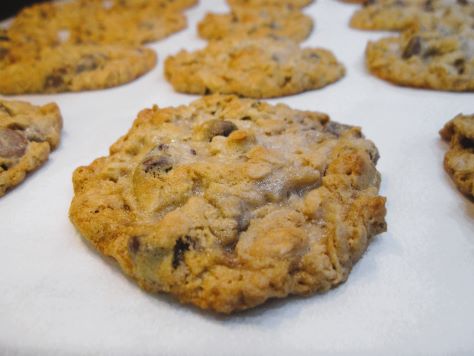
I love how old-fashioned these cookies look, like something I’d eat when I was a kid, with my grandma on a visit to friend’s house. There’s a certain level of heartiness and coziness to these cookies.
These cookies are quick to assemble, too. After posting some intricate recipes this month (I’m looking at you, Apple Cream Cheese Brioche Tart) it’s nice to share things are simple and good.

Bready or Not Original: Oatmeal Coconut Cookies
Equipment
- parchment
- tablespoon or tablespoon scoop
- baking sheet
Ingredients
- 1/2 cup unsalted butter (1 stick) room temperature
- 1/4 cup brown sugar packed
- 1/4 cup white sugar
- 1 large egg room temperature
- 1 Tablespoon milk or half & half
- 1 teaspoon vanilla extract
- 3/4 cup all-purpose flour
- 1/2 teaspoon baking soda
- 1/4 teaspoon salt
- 1 1/2 cups rolled oats also called old-fashioned oats
- 1 cup chocolate chips semisweet, milk, dark, or a mix
- 1 cup shredded coconut
Instructions
- Preheat oven at 350-degrees. Line a baking sheet with parchment paper.
- In a large bowl, cream together the butter and both sugars to create a creamy mix. Add the egg, milk, and vanilla. In a separate bowl, stir together the flour, baking soda, and salt; mix this into the butter bowl. Fold in the oats, chocolate chips. and coconut until everything is distributed.
- Use a tablespoon to place scoops of dough spaced-out on the baking sheet; the cookies will spread.
- Bake until the cookies are golden and set, about 11 to 13 minutes. Let them sit on pan for about 5 minutes before moving to a rack to fully cool. Store in a sealed container at room temperature.
OM NOM NOM!
Bready or Not: Soft Lemon-Ginger Cookies Redux
Today we’re returning to a Soft Lemon-Ginger Cookies recipe I last featured in July 2017! Why let something delicious wallow in the archives, right?
This is a great dough to make hours or days ahead; just stash it in the fridge until baking time. Coolness also makes the sticky dough easier to work with.
The lemon brings in a fresh element, while the ginger delivers the right amount of heat. These are sweet and refreshing cookies overall.
The one modification I made in this redux is that you can use sour cream or Greek yogurt. Both products contribute moisture, fat, and acid.
Bready or Not: Soft Lemon-Ginger Cookies Redux
Equipment
- teaspoon scoop or teaspoon
Ingredients
- 1/2 cup unsalted butter (1 stick) softened
- 1 cup brown sugar packed
- 1 egg
- 3 Tablespoons sour cream or vanilla or plain Greek yogurt
- 1 1/2 teaspoons lemon extract
- 1 teaspoon vanilla extract
- 1 3/4 cups all-purpose flour
- 1 teaspoon baking soda
- 1 teaspoon cream of tartar
- 2 teaspoons ground ginger
- 1/4 teaspoon salt
Instructions
- If baking right away, preheat oven at 350-degrees.
- In a large mixing bowl, mix together the butter and brown sugar until they gain a fluffy texture. Beat in the egg, sour cream or yogurt, and extracts.
- In another bowl, sift together the flour, baking soda, cream of tartar, ginger, and salt; make sure to press any lumps out of the cream of tartar and ginger. Slowly mix the dry ingredients into the other bowl. At this point, the dough can be wrapped and chilled for a few hours or days; this will also reduce the dough's stickiness somewhat.
- When it is baking time, be sure to preheat the oven. Drop by rounded teaspoons onto a baking sheet. Bake for 10 to 12 minutes, until the cookies are lightly browned and no longer jiggly. Watch out–they can overbake quickly. Let them rest on the cookie sheet for just a few minutes, then transfer to a rack to cool.
OM NOM NOM!
Bready or Not Original: Date Drop Cookies
If you’re in need of a old-fashioned homey cookie, these Date Drop Cookies may be just what you need.
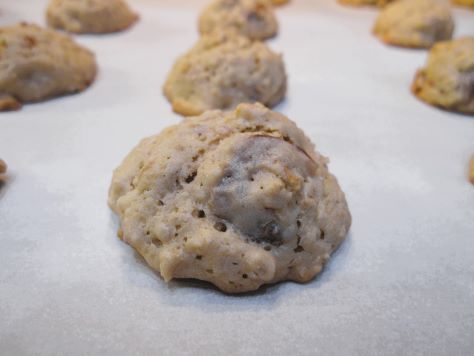
They won’t win any awards in the looks department, but you know what? They are GOOD. Quite similar to a soft, chewy oatmeal cookies, but with chopped dates instead of raisins.
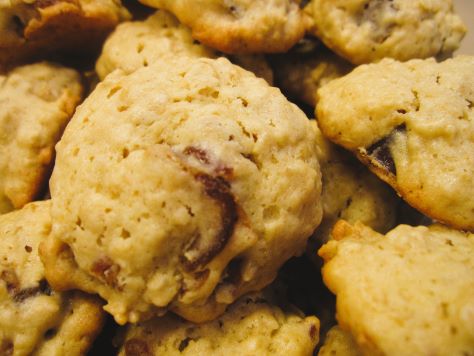
I used kitchen shears to chop up dates from a big container from Costco. If you use pre-cut dates, such as from a bin, those will be good in this recipe, albeit a not quite as soft.
These should keep for at least a few days in a sealed container at room temperature.
Bready or Not Original: Date Drop Cookies
Equipment
- parchment paper
- teaspoon or teaspoon scoop
Ingredients
- 1/2 cup unsalted butter (1 stick) softened
- 3/4 cup light brown sugar packed
- 2 eggs room temperature
- 1/4 cup milk or half & half
- 1 teaspoon pure vanilla extract
- 1 1/2 cups all-purpose flour
- 1 teaspoon baking powder
- 1/4 teaspoon salt
- 1 cup quick oats
- 1 cup chopped dates
- 3/4 cups chopped walnuts
Instructions
- Preheat oven at 350-degrees. Line a baking sheet with parchment paper.
- In a large mixing bowl, cream together the butter and brown sugar. Beat in the eggs, milk, and vanilla. Fold in the oats, dates, and walnuts.
- Using a teaspoon or teaspoon scoop, place round dollops of dough spaced out on the baking sheet. Bake for 12 to 15 minutes, until cookies are set. Transfer them to a rack to completely cool. Store in a sealed container at room temperature.
OM NOM NOM!
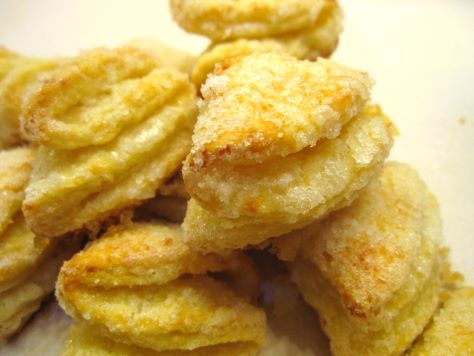
Bready or Not: Farmer’s Cheese Cookies
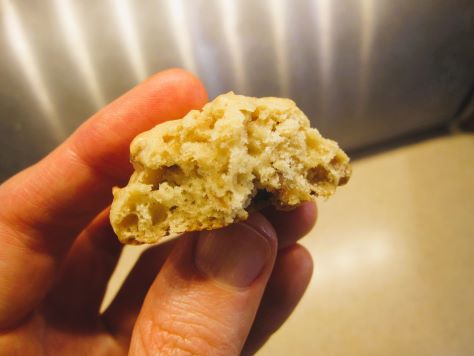
These Farmer’s Cheese Cookies don’t taste cheesy as one would expect in a gooey, cheese-pull kind of way. Instead, the cheese here adds a touch of savory flavor and a lot of light, chewy texture.
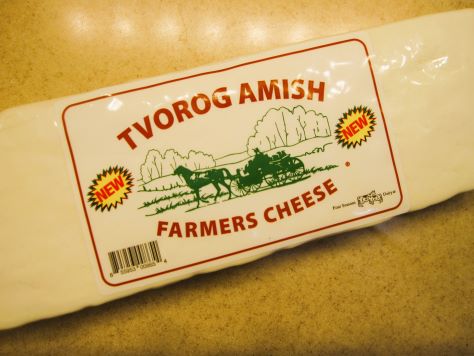
Cookies like this are traditional in Ukraine and Russia. I found a nice block of Ukrainian Tvorog Farmer’s Cheese at Lee Lee Grocery on 75th Ave in Phoenix; check your own local import markets for similar cheese.
Expect a dry, crumbly texture in the cheese. Mine became somewhat powdery as I broke it down, which was fine. I was able to incorporate everything with an extra touch of water, which is a pretty common thing for me to do with roll-out cookies in Phoenix. It’s very dry here compared to most other places.
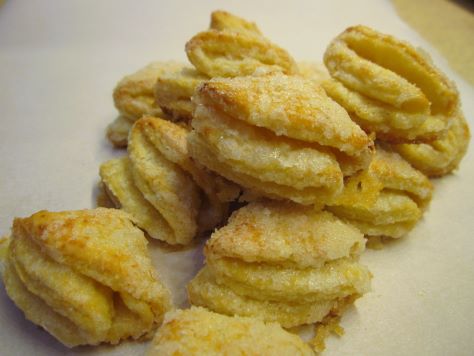
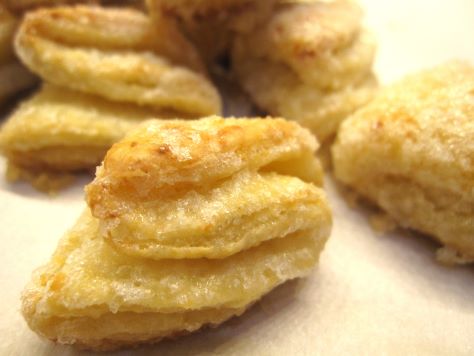
The end result is a cookie that, quite honestly, tastes fancy–light, crisp, sugary, like something that one would find in a fine bakery. Most people wouldn’t guess there’s cheese in the dough, I bet, but they’ll know there’s something different about them. Something delicious.
Bready or Not: Farmer’s Cheese Cookies
Equipment
- grater or food processor
- pastry blender
- 3-inch round cutter or the top of a glass
- parchment paper
- saucer or bowl
- Rolling Pin
Ingredients
- 1 cup unsalted butter 2 sticks, chilled
- 8 oz farmer's cheese such as Ukrainian Tvorog cheese
- 2 cups all-purpose flour
- 2 egg yolks
- 2-3 Tablespoons water
- 1 1/2 cups white sugar
Instructions
- Grate the butter using a hand grater or a grater attachment on a food processor. In a large bowl, use a pastry blender to cut in the cheese, which will be crumbly. Add the flour, followed by the yolks and water. Knead the dough until it comes together in a cohesive mass.
- Form the dough into a disc and encase it in plastic wrap to chill for anywhere from an hour to several days.
- When it’s cookie time, preheat oven at 375-degrees. Line a large baking sheet with parchment paper. Place a small amount of water in a saucer or bowl. Measure the white sugar into a deep bowl.
- Prepare a clean work surface with a dusting of flour. Break off some of the dough and roll it into a thin layer, like for a pie crust. Use the cutter to slice out 3-inch rounds; place the leftover and unused dough to chill in the fridge while cookies are shaped.
- Dampen fingers in the prepared water. Brush wet fingers over one side of a dough round. Dip moist dough into the sugar to coat it. Fold in half with the sugared portion on the inside. Dampen fingers and stroke another folded side of the dough, and dip that in sugar. Fold a final time with the sugared section on the inside. Use wet fingers on outside of cookie and coat that in sugar, too. Gently press the pleats together to prevent them from unfolding during baking. Place formed cookie on sheet and repeat process with remaining rounds.
- Bring together dough scraps, using a little water if needed, to roll out again. Use rest of dough to form cookies.
- Bake in batches for 19 to 22 minutes, until puffed and set with a golden base. Store in a sealed container at room temperature.
