


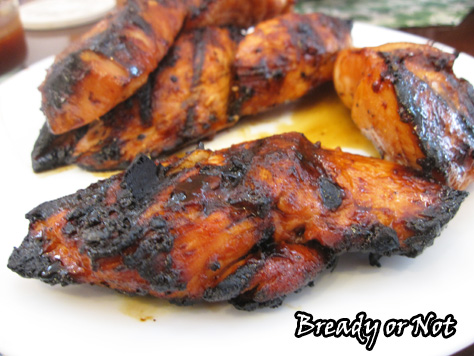
Bready or Not: Maple BBQ Chicken Tenders
It has come to my attention that I haven’t featured a maple recipe since March. So let’s remedy that with a meaty recipe for from-scratch Maple Barbecue Chicken.

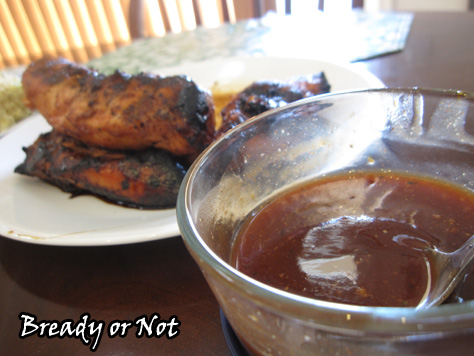
Yep, you create your own BBQ sauce for this recipe! It’s full of maple goodness with just the right balance of savory-sweet. You divvy up the sauce, using some to marinate the meat and reserving the rest for eating time.
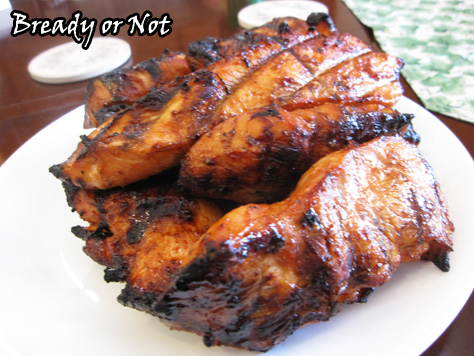
Use this base recipe to cook the chicken however you want. Grill it. Roast it in your oven. Whatever gets the meat cooked and chewed and in your belly.
Maple makes everything better, right?
Modified from A Dash of Sanity.

Bready or Not: Maple BBQ Chicken Tenders
Ingredients
- 3 - 4 pounds chicken tenders
- 1/2 cup brown sugar packed
- 1 cup ketchup
- 1/4 cup red wine vinegar
- 1/4 cup water
- 1/3 cup pure maple syrup
- 1 Tablespoon Worchester sauce
- 2 teaspoons ground mustard
- 2 teaspoons paprika
- 1 1/2 teaspoons kosher salt
- 1 teaspoon black pepper
Instructions
- Place the chicken tenders in a sturdy gallon sealable bag. In a bowl, mix together all of the other ingredients. Pour enough of the sauce into the bag to coat the chicken; reserve the rest of the sauce for serving later. (If the sauce gets contaminated by the raw meat, boil it to make sure it's safe to eat.)
- Let the chicken marinate in the fridge for anywhere from 2 hours to a day.
- Heat up your grill [or, alternatively, bake it in your oven]. Grill the chicken at medium heat for 4 minutes, then turn to cook another 4 minutes, and longer as needed. Check for doneness by testing the temperature in a thick section; it should be at least 170-degrees.
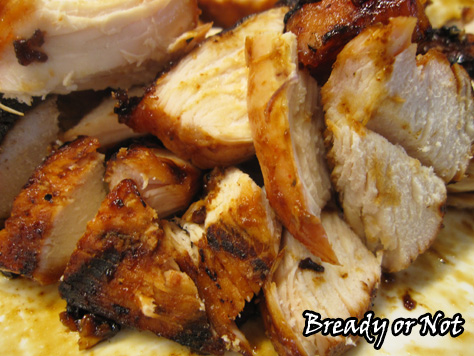
- Serve immediately. Chicken is fantastic hot or cold, and can be frozen with sauce for later enjoyment, too.
- OM NOM NOM!
Read More
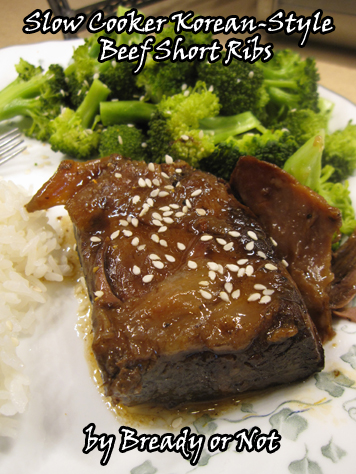
Bready or Not: Slow Cooker Korean-Style Beef Short Ribs
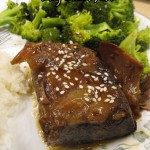
I’m presenting to you the recipe for one of the best dishes I’ve ever made in a crock pot: Korean-style beef short ribs.
I have made this many times over now. I’ve even tried it using cheaper cuts like chuck roast and rump roast. Those worked out okay (though the meat really dries out before its soak in the juice at the end), but they are nowhere as delicious as the short rib version.
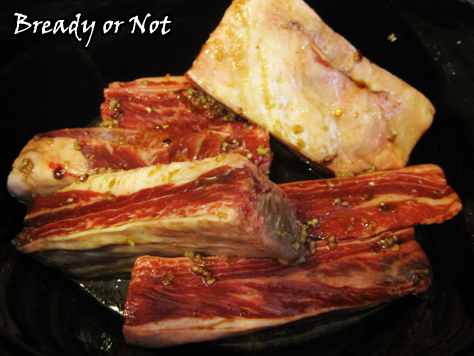
It turns out amazing whether you use boneless or bone-in ribs–a mix is a great way to go, too! Don’t trim the fat. You want all that flavor. The end result is a sauce that tastes like you added red wine, but you didn’t. It’s like MAGIC.
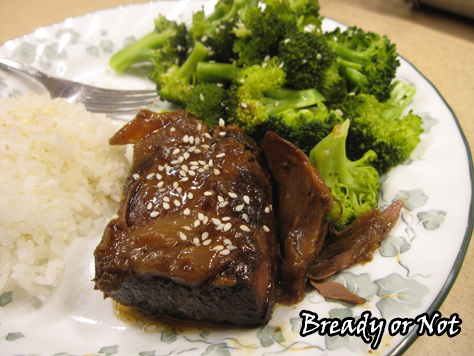
Seriously, these ribs taste like something from a great Asian restaurant. Pair it with some broccoli and a good spoonful of the sauce, and YUM.
Whenever I see beef short ribs go on sale, I do a little dance of joy because it means I get to make this recipe again.
Modified from Heather’s Bytes.
Bready or Not: Slow Cooker Korean-Style Short Ribs
Ingredients
- 1/2 cup low-sodium soy sauce
- 1/3 cup light brown sugar packed
- 2 Tb sesame oil
- 2 Tb rice vinegar
- 1/2 teaspoon ground ginger
- 4 cloves minced garlic
- 1/2 tsp red pepper flakes
- 5 lbs beef short ribs boneless, bone-in, or a mix
- 1-2 Tb cornstarch
- sesame seeds optional
Instructions
- In a small bowl, mix together soy sauce, brown sugar, oil, vinegar, ginger, garlic and red pepper. Place the ribs in a 5 or 6-quart slow cooker; pour the sauce over them. Cover and cook on HIGH for 4 hours or on LOW for 9 hours. Depending on how the ribs are stacked in the cooker, you may want to quickly stir them at some point halfway through.
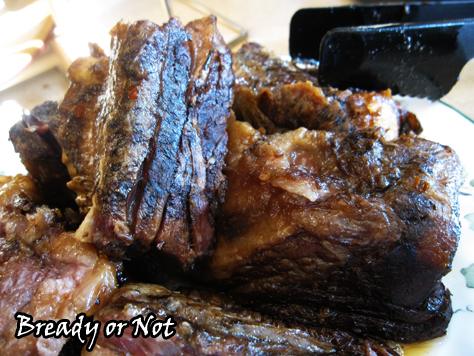
- Use a slotted spoon to remove the ribs from the cooker. Place a tablespoon of corn starch in a small bowl and add some juice from the cooker. Whisk them together to create a slurry without lumps, and add back into the crock pot. Stir. If the juice doesn't start to thicken, repeat the process with some more corn starch.
- Either keep the ribs intact, or pull meat into chunks and discard the bones and fat. Place meat in cooker again on WARM setting for 10 minutes or so to soak in flavors. Serve. Great with rice, broccoli, and perhaps a sprinkling of sesame seeds!
- OM NOM NOM!

Read More
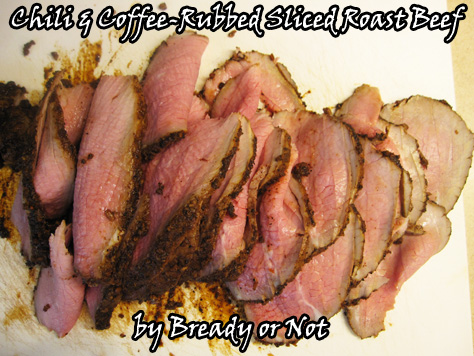
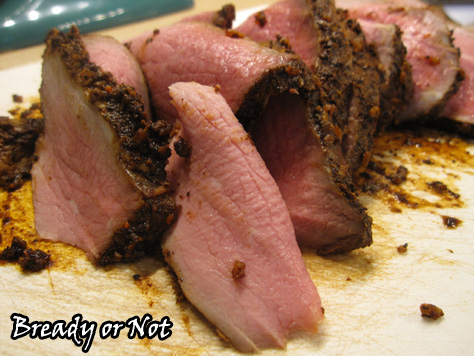
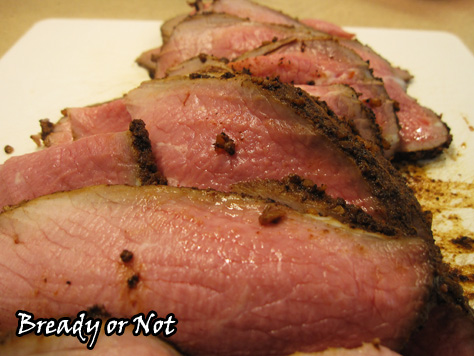
Bready or Not: Chili and Coffee-Rubbed Sliced Roast Beef
For this day after Valentine’s Day, we’re not talking chocolate or sweets. Instead, let’s go straight for a big chunk of meat: using a chili and coffee rub to make sliced roast beef!
I was pretty intimidated the first time I tried a basic recipe for this dish. It didn’t help that it made way too much rub, which I tried to use up anyway, which meant the roast started smoldering like a log when it started cooking. Whoops.
Despite the hassles, my husband loved the end result, so I resolved to re-do the recipe and get it right. I think my husband’s feedback on each iteration was just a big hint to keep making these roasts.
He likes these served up as sliders. On a piece of aluminum foil, I use my dinner rolls, add a piece or two of meat, a dollop of coarse mustard, and a sprinkling of shredded cheese. I close the rolls and pour some melted butter on top, wrap the sliders in the foil, then bake until the cheese is melted. Perfection.
I think this roast beef has spoiled us. This recipe gives you the freshest meat possible, and if you catch eye of round roasts on sale, whoa is this a bargain!

Bready or Not: Chili and Coffee-Rubbed Sliced Roast Beef
Ingredients
- 1 Tablespoon dried onion
- 1 orange zested and juiced
- 2 Tablespoons fresh orange juice
- 1 1/2 Tablespoons coffee finely ground
- 1 1/2 Tablespoons chili powder
- 1 1/2 teaspoons kosher salt
- 4 garlic cloves minced
- 2 - 2 1/2 pound eye of round roast
Instructions
- Move your middle oven rack down a slot to be near the bottom and preheat oven to 475-degrees. Use a small roasting pan, or prepare a rimmed cookie sheet with aluminum foil and place a rack on top of it. Apply nonstick spray.
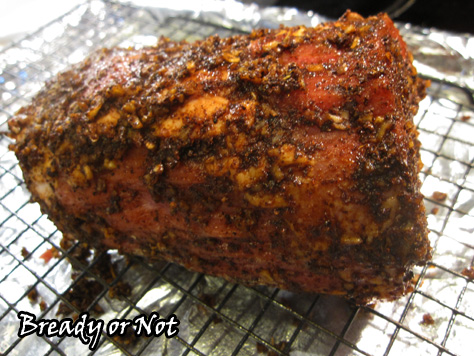
- Combine the first seven ingredients in a small bowl. If the rub is too thick, add a touch more orange juice or water. Spread the mixture all over the roast.
- Bake meat for 12 minutes, then turn it over and bake for another 12 minutes. It may start smoking because of the thick seasoning on the meat; if so, turn on the vent and keep an eye on things.
- Without opening the oven, reduce heat to 300-degrees. Roast for another 30 minutes, or until a thermometer registers 120-degrees in the center.
- Let the meat rest at room temperature for 30 minutes. Don't remove the crusted seasonings.
- Wrap the roast in parchment paper and then encase in plastic wrap. Refrigerate it for 8 hours or overnight.
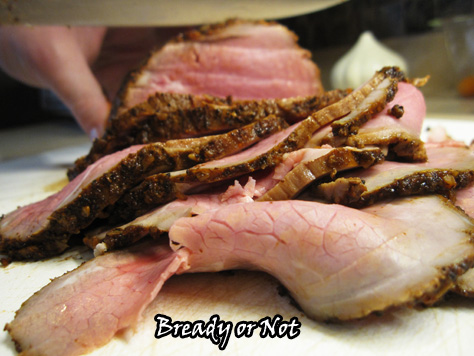
- Serve the meat by cutting it into thin slices. Serve in hot or cold sandwiches, wraps, on crackers, or eat straight out of hand.
- OM NOM NOM!
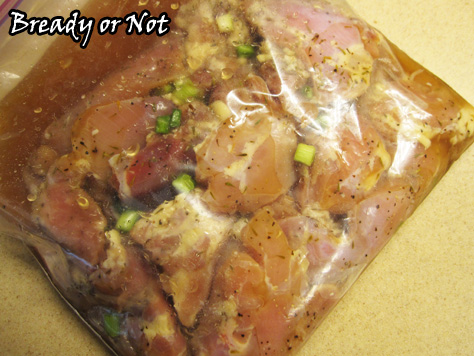
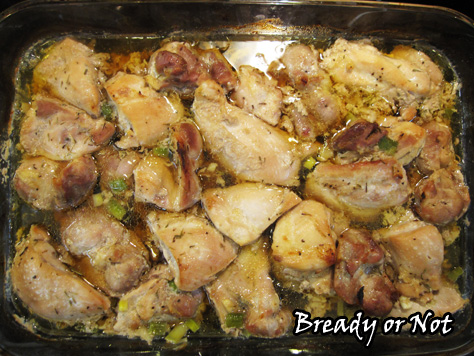
Bready or Not: Maple Chicken Thighs
You know I love maple-flavored sweets. Maple works in a savory way, too–and creates meaty magic in this recipe for Maple Chicken Thighs.

This is some seriously good chicken. It marinates for up to a day in the fridge, resulting in tender, lightly-sweetened chicken. It does not create a heavy glaze and it’s not like teriyaki. It is… just plain delicious.
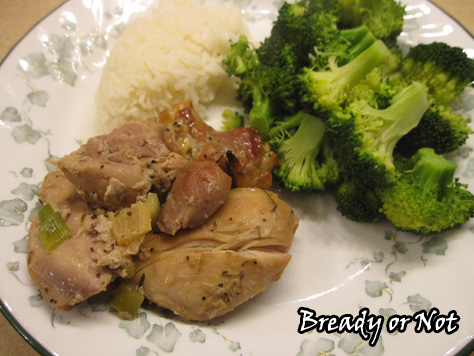
Honestly, I think the leftovers are even better. This chicken is phenomenal cut up in a salad or used with a touch of dressing in a wrap.
This is yet another recipe inspired from the cookbook Maple by Katie Webster. (Seriously, if you love maple, get this book.) The original version of this recipe included shallots (which I never buy) and apples and pears (which I knew my husband wouldn’t want with his supper).
Give this chicken recipe a try, and discover a new way to love maple!

Bready or Not: Maple Chicken Thighs
Ingredients
- 3/4 cup apple cider or apple juice
- 1/2 cup pure maple syrup
- 1 Tablespoon apple cider vinegar
- 3 green onions white parts only, chopped
- 1 teaspoon ground ginger
- 1 teaspoon dried thyme
- 3/4 teaspoon salt
- 1/2 teaspoon black pepper
- 2 1/2 - 3 lbs boneless skinless chicken thighs each thigh cut into thirds
Instructions
The day or night before serving
- In a medium bowl, whisk together the apple cider/juice, maple syrup, vinegar, white portions of green onions, ginger, thyme, salt, and pepper. In a gallon-size re-sealable bag, place the cut-up chicken. Pour in the marinade and seal the bag.
- Refrigerate the bag for 12-24 hours, turning the bag every so often.
To cook
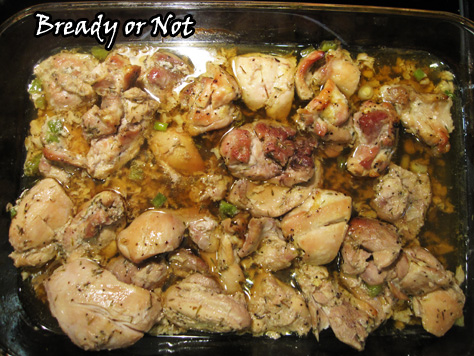
- Preheat oven at 425-degrees. Place the chicken in a 13x9 baking dish with all or some of the marinade; the chicken shouldn't be fully covered.
- Bake for about 40 minutes, turning chicken once at the halfway point.
- Chicken is fabulous fresh and as leftovers! Cooked chicken can also be portioned and frozen.
OM NOM NOM!
Read More
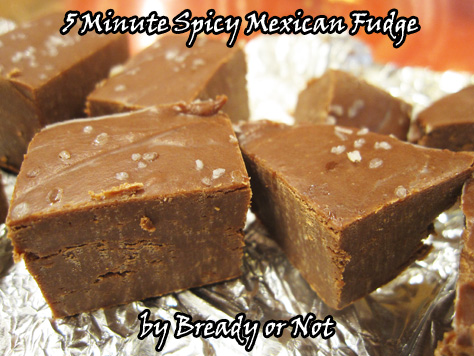
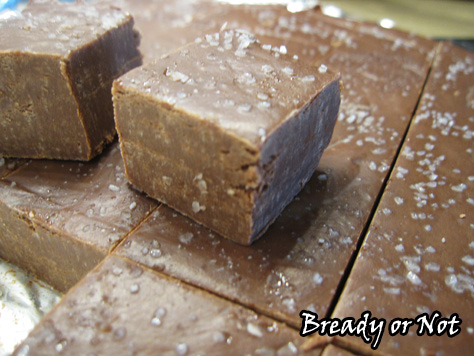
Bready or Not: Five-Minute Spicy Mexican Fudge
I am here today to preach about fudge inclusiveness as I share a recipe for Five Minute Spicy Mexican Fudge.
I do not sneer at some fudges as being “better” or “real.” To me, it does not matter if the fudge is produced on stove top with a candy thermometer, or with a jar of marshmallow cream, or melted in the microwave.
When it comes to fudge, what matters is this:
Does the fudge taste good? Is the texture pleasing to the palate? Does it make me mutter, “Calories be darned to heck,” and reach for another piece?
That is the criteria by which fudge should be judged.
That said, I present to you a fudge that is zapped in the microwave and assembled all of five minutes. Let it set in the fridge for a few hours, and ta-da! You have a fudge that will keep well for days. It also holds up well at room temperature if you’re serving it at a party.
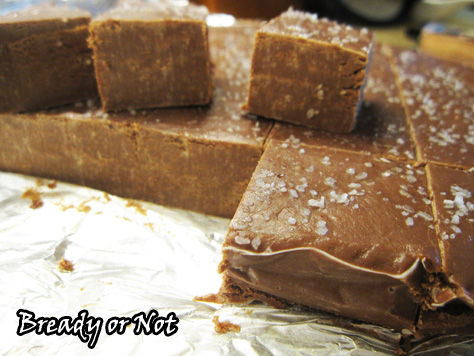
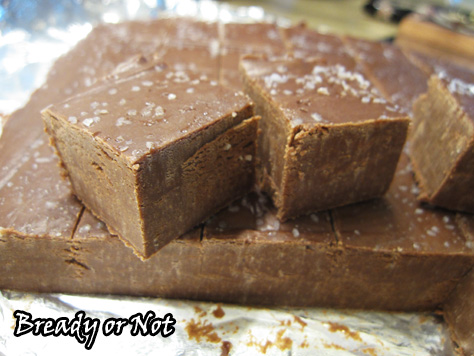
The Mexican spice element comes from cinnamon and cayenne pepper. I used the minimal amount of pepper, 1/8 teaspoon, which provides complexity but absolutely no discernible heat. Tweak the scorch level to your personal taste. Do, however, sprinkle coarse salt to add some lovely contrast.
Originally featured at the Holy Taco Church. Recipe adapted from Wine and Glue.
Bready or Not: Five-Minute Spicy Mexican Fudge
Ingredients
- 3 cups milk chocolate chips about a bag and a half
- 14 ounce sweetened condensed milk can
- 1 tsp vanilla extract
- 1 tsp cinnamon Mexican cinnamon preferred
- 1/8 - 3/4 tsp cayenne pepper
- kosher salt or coarse sea salt
Instructions
- Line an 8 or 9-inch square pan with aluminum foil or parchment paper. Lightly grease it.
- Use a microwave or sauce pan to melt together the chocolate and sweetened condensed milk. If you're using the microwave, use short bursts of 20-30 seconds and stir well between each.
- Once the chocolate mix is smooth, pour in the vanilla extract, cinnamon, and cayenne pepper. (Note that 1/8 teaspoon provides a little flavor, not much heat, so add cayenne and taste to adjust to desired heat level.)
- Immediately pour the fudge into the prepared pan. Smooth out to edges and sprinkle salt all over the top. Let set in fridge at least four hours before cutting. Keeps in covered dish in fridge for upwards of a week.
- OM NOM NOM!

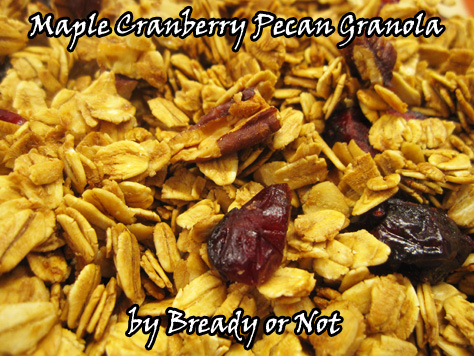
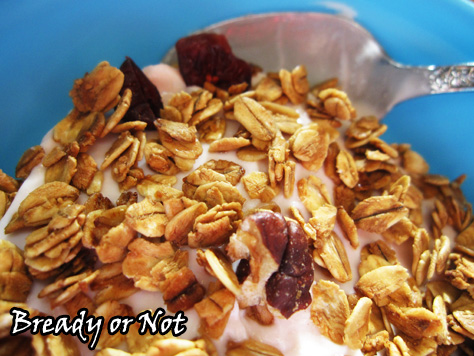
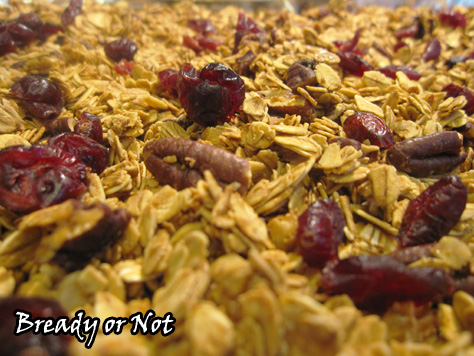
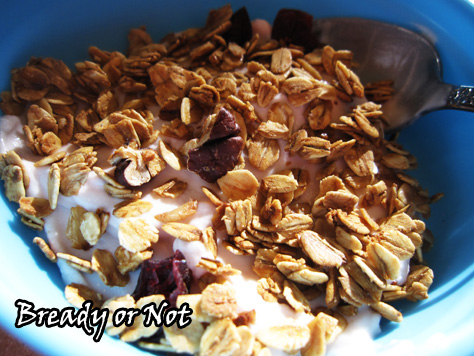
Bready or Not: Maple Cranberry Pecan Granola
Let’s start off 2017 with something delicious and healthy: Maple Cranberry Pecan Granola.
It’s super easy to make granola at home, and wow, is it cheaper than buying the stuff at the store. If you have a nearby store that sells oats in bins, that’s the way to go–my Sprouts often puts their oats on sale, too.
It’s easy to customize this to your preferences. Switch out the pecans for walnuts. Use raisins or dried blueberries for the cranberries. Whatever. Make it your own.
If you need gluten-free food, that’s easy, too–just use gluten-free oats! Ta-da.

Eat this granola by itself, or with milk or almond milk as cereal, or as a topping for yogurt or ice cream. Heck, you could even use it in cookie or granola bar recipes.
However you eat it, know that it’s delicious–and good for you, too!

Bready or Not: Maple Cranberry Pecan Granola
Ingredients
- 2 cups old-fashioned rolled oats
- 1/4 cup pecans chopped
- 1/4 cup pure maple syrup
- 1/2 Tb avocado oil or olive oil
- sprinkle salt
- 1/4 cup dried cranberries
Instructions
- Preheat oven at 325-degrees. Line a large, rimmed cookie sheet with foil and apply nonstick spray.
- In a large mixing bowl, stir together all of the ingredients EXCEPT the cranberries. Spread the mixture on the cookie sheet. Bake for about 20 minutes, gently stir the granola, and bake for another 10 to 15 minutes, until it's crisp and golden. Let set out on stove top to cool; it will continue to crisp up.
- Once it is room temperature, gently stir in the cranberries. Store in a sealed container up to 1 month.
- OM NOM NOM!
Read More
Follow me


