


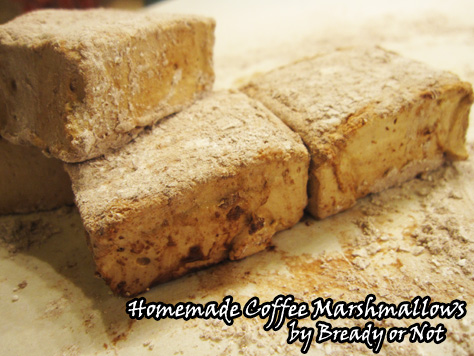
Bready or Not: Coffee Marshmallows
Let’s end the year on an obnoxiously sweet note with homemade Coffee Marshmallows. If you want to send someone a late gift or sabotage a New Year’s resolution, here you go.
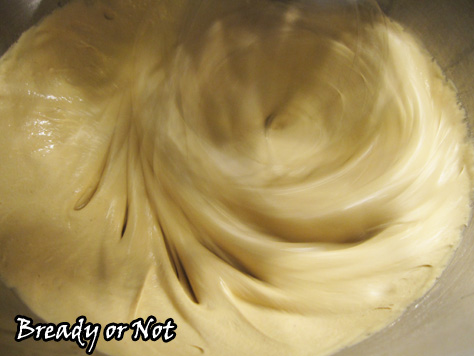
This recipe involves lots of beating. No, not with a stick. You’ll want a good stand mixer, or be ready for your hand to vibrate to numbness if you use a hand mixer. I don’t recommend doing this with a whisk in hand. Your hand might fall off.
Not recommended, unless your last name is Skywalker and you have access to cool prostheses.
Once I started the recipe, I had the bulk of it done in about an hour. My stove is reeeeaaally slow to heat up. I did the mixing in my valiant Kitchen Aid.
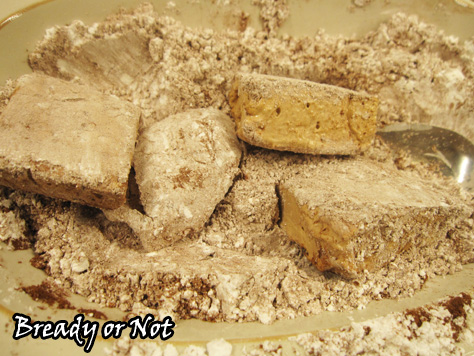
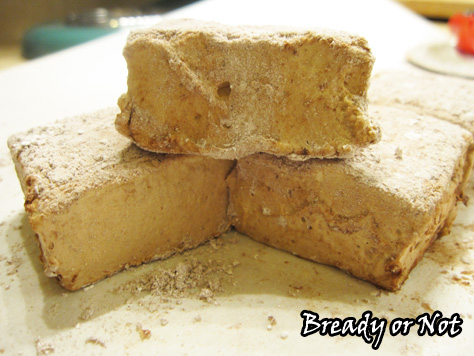
The results were fantastic: soft yet dense blocks of sugary goodness, coated in more sugary goodness.
This makes a 9×13 pan. That’s a lot of mallows. They’re supposed to stay fresh up to a week if they are well-sealed. Bag these things up! Eat them by themselves, or plunked in coffee or hot chocolate.
Originally posted at the Holy Taco Church.
Bready or Not: Coffee Marshmallows
Ingredients
Powder coating
- 1/4 cup confectioners' sugar
- 1/4 cup corn starch
- 1 tablespoon Dutch-processed cocoa powder sifted
Marshmallows
- 3/4 cup warm water divided
- 1 Tablespoon espresso powder
- 3 envelopes Knox gelatin
- 1 1/2 cups white sugar
- 1 cup light corn syrup
- 1/2 teaspoon salt
Later mixing stage additions
- 2 Tablespoons Dutch-processed cocoa powder sifted
- 2 teaspoons vanilla extract
- Pam or oil for pan
Instructions
- Whisk together 1/2 cup warm water and the instant espresso. Let this cool in the fridge for a bit.
- In a medium bowl, sift together the powdered sugar, corn starch and cocoa powder.
- Grease a large casserole dish (like 9x13 or 10x8) with Pam or vegetable oil. Sift a small bit of the powdered sugar/cocoa mix over the bottom of the pan.
- Pour the cooled coffee into the large bowl you will use for the mixing phase. Sprinkle the gelatin onto the coffee and let it sit for at least 10 minutes. Have a whisk attachment ready on your mixer.
- In a medium sauce pan with an attached candy thermometer, combine the granulated sugar, corn syrup, salt and remaining 1/4 cup of water. Start heating this on medium until the sugar is dissolved and then crank it to high heat. Bring the mixture to a hard boil and cook for 1 minute, until the candy thermometer reaches 240 degrees. The color will start to change.
- With the mixer on low, VERY CAREFULLY pour the boiling liquid into the gelatin/coffee mix. Once it's all in there, turn it to high and beat for 10-15 minutes, until it has doubled in volume and holds stiff peaks. Note that the color will change dramatically in stages.
- Add in the remaining cocoa powder and vanilla extract and beat for another minute or so, until they are mixed in.
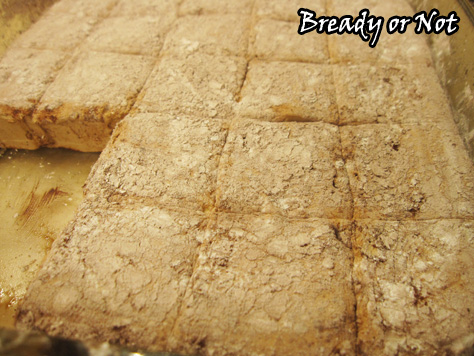
- Pour the very sticky goop into the ready casserole dish. Use a well-greased spatula to even it out. Add a few tablespoons of the cocoa/sugar mix and use your fingers to dust that over the top. Cover the dish with foil or plastic wrap and let it firm up. Give it at least four hours, or overnight.
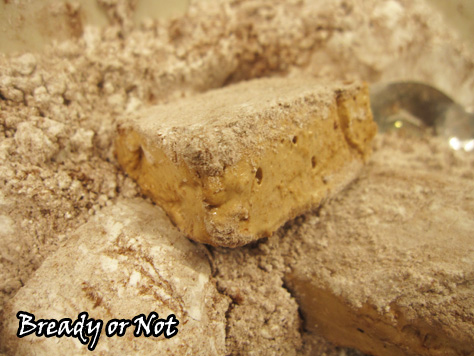
- Run a knife along the edges of the pan to loosen the marshmallows. You can try inverting the whole block onto a large cutting board, or use a knife or pizza cutter to do basic rectangles and then remove portions at a time. Cut the marshmallows into 1-inch cubes and toss them in the cocoa/sugar mix.
- Store the coffee marshmallows in an airtight container for up to one week. Enjoy them straight-up, or in coffee or hot cocoa.
- OM NOM NOM!
Read More
Bready or Not: Churro Chex Mix
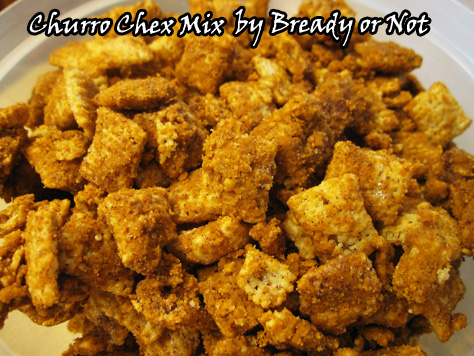
Churro Chex Mix is addictive. It is dangerous. It might cause a sugar high that keeps you awake for a full day.
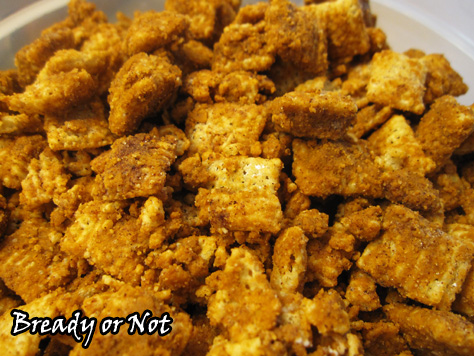
This stuff has made the rounds on lots of food blogs. I looked at about five different recipes, read the comments for more tips, and threw together my own version. I was concerned that some of the recipes featured a lot of Chex that looked, well, naked.
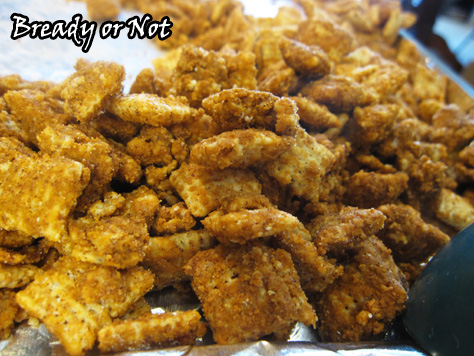
I wanted my mix to be slathered in happy sugar and cinnamon. I soon discovered that the pale pieces still have a lot of sugary-ness. It’s just invisible. Subtle. Ninja-like.
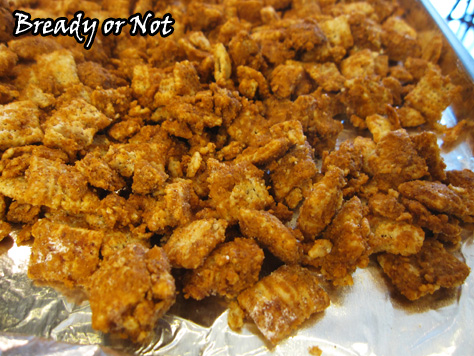
Note that Nestle cinnamon chips melt in a very thick way. It might be necessary to add a lot more butter (because these things weren’t unhealthy enough already) to make it easier to stir the melted goop into the cereal.
Also, depending on the ingredients you use, this can be served-up gluten free! Heck, you could even use Cinnamon Chex or the Cascadian Farms cinnamon cereal and just decrease the amount of added cinnamon.
Just be warned: this makes a LOT. Be ready to share it with a lot of friends!
Bready or Not: Churro Chex Mix
Ingredients
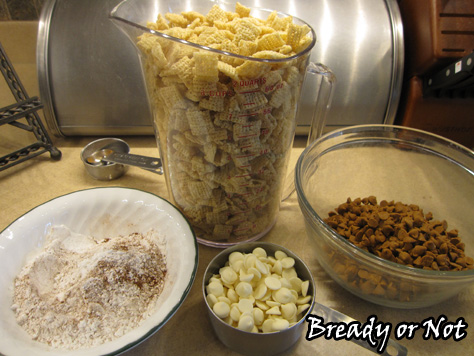
- 9 cups Rice Chex cereal about 1 cup less than full regular box
- 1/4 - 1/2 cup unsalted butter
- 1 bag cinnamon chips
- 1 cup white chocolate chips
- 1/2 cup confectioners' sugar
- 1/4 cup white sugar
- 3 tsp ground cinnamon
Instructions
- Pour Chex cereal into a ginormous bowl. Combine sugars and cinnamon in small bowl so that it's ready to go. Also set out a few large rimmed cookie sheets; line them with aluminum foil for easy clean up.
- In a microwavable bowl, melt the 1/4 cup butter, cinnamon chips, and white chocolate chips. Heat for 30 seconds, stir, then 30 seconds, then stir, continuing in small careful bursts until the chips smooth out. Be careful: the chocolate burns fast! Nestle-brand cinnamon chips tend to melt extra thick, so add another 1/4 cup butter (or more) if needed to make it more fluid.
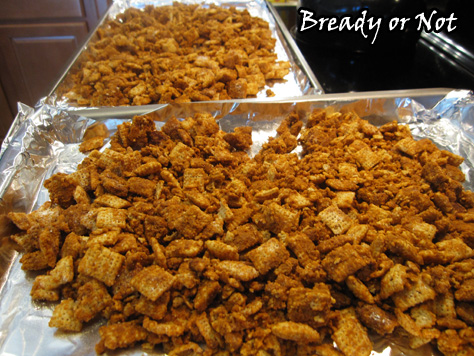
- Pour some melted mix over the cereal. Stir. Add more melted goop. Sprinkle in some sugar mix. Stir. Keep adding more melted mix and sugar mix until it's all gone and things are mostly covered. (Note: it's okay if some Chex still looks kinda naked, because it's still likely covered in sugar!)
- Shift the Chex out onto the cookie sheets and spread it out so it's not too chunky. Let set an hour or so, then throw it in a sealable bag or a few big plastic containers.
- OM NOM NOM!
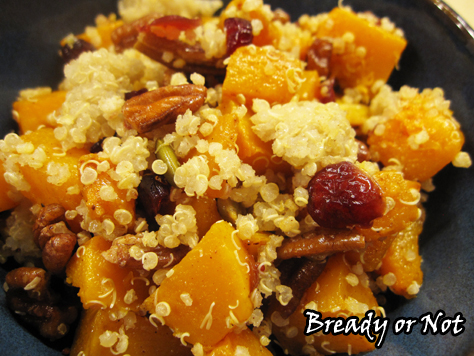
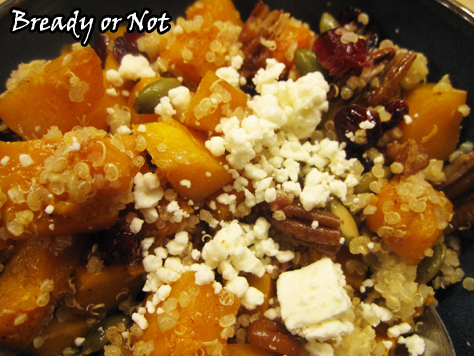
Bready or Not: Butternut Squash and Quinoa Salad
Bready or Not has featured a whole lot of sweets in recent weeks. Let’s switch to something delicious and healthy instead: Butternut Squash and Quinoa Salad.
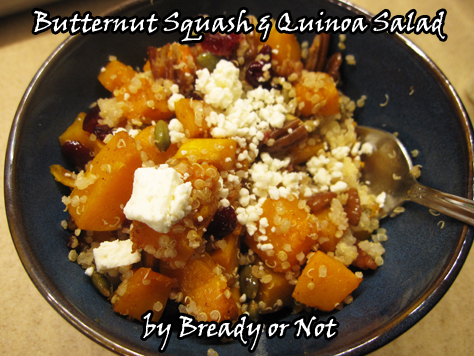
This still has a little bit of sweetness going on. Butternut squash is naturally awesome that way, and a sprinkling of cranberries adds some extra oomph. Add some pecans for crunch and feta because CHEESE, and this creates a bowl of happiness. The quinoa adds protein and kinda enjoys the ride along with all the other flavors.
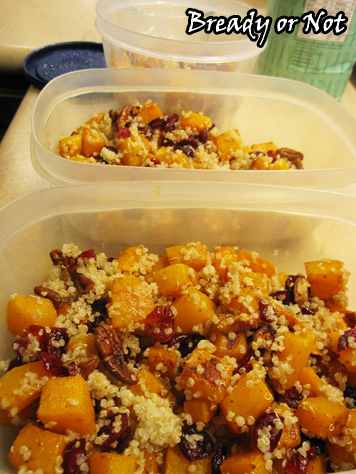
I cobbled this together from several other recipes. I wanted something that I could invest some time in and then use as a quick-fix dinner for several more days. I parcel it into three or four containers, depending on the size of the squash, and my meals are set! Or, you could use this as a gluten-free main dish or side dish to feed a group.
I can offer a few useful tips, too. I cook quinoa in my Zojirushi rice cooker. One cup of uncooked quinoa makes a LOT once its cooked, more than my salad recipe requires, but cooked quinoa keeps well in the fridge and can also be frozen and thawed weeks later without any issue.
If you’re intimidated by cutting butternut squash, there is a safe and easy way to do it!
Next week’s Bready or Not officially kicks off my October-November tradition of pumpkin and autumn-themed recipes! Time to bust out the stretchy pants.
Bready or Not: Butternut Squash and Quinoa Salad
Ingredients
- 2 1/2 - 3 1/2 pounds butternut squash
- olive oil or avocado oil
- sprinkle pumpkin pie spice
- 1 cup cooked quinoa
- 1/2 cup dried cranberries
- 1/2 cup pecans chopped
- feta cheese
Instructions
- Preheat the oven at 425-F.
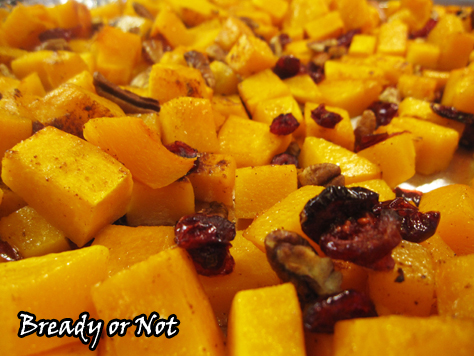
- Line a rimmed cookie sheet with aluminum foil. Spread out the chopped squash and drizzle with oil. Sprinkle spices of choice and some salt. Roast squash for 20 minutes.
- While the squash is roasting, measure out the cranberries and place in a small bowl. Cover the cranberries with water and let them soak. Measure out the pecans.
- When the 20 minutes is up, toss the squash in the pan. Drain the water from the cranberries, discarding water. Add the plumped cranberries and pecans to the squash, and season more, if desired. Cook another 10 minutes or so, until butternut squash is fork tender with roasted coloration.
- Transfer the pan's contents to a large bowl. Gently stir in the quinoa. Serve hot or stash in fridge for later, and heat with microwave. Add sprinkle of feta just before serving.
- OM NOM NOM!
Bonus Bready or Not: No-Bake Maple Macadamia Nut Energy Bars (Gluten Free)
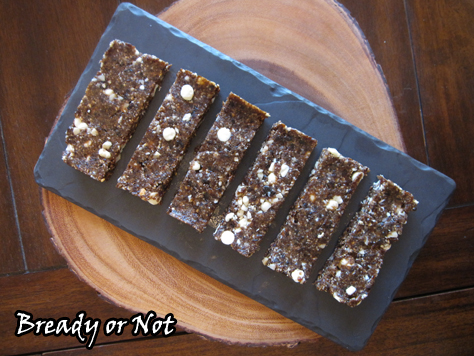
Maple Macadamia Nut Energy Bars. I have my new favorite quick-fix breakfast.
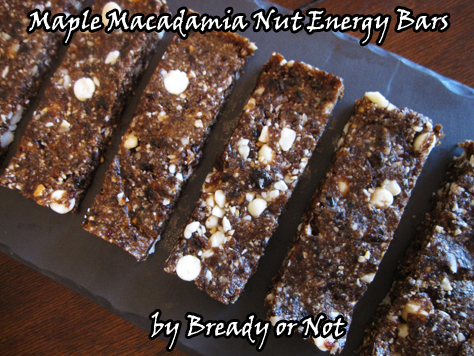
When I think of summer snacks, I think 1) no oven on to heat up my house, 2) quick to make amid writing deadlines and my son’s therapies, and 3) DELICIOUS. To me, maple is delicious, and that kind of awesomeness should not be confined to a single season.
These bars blend up in a few minutes in a food processor or high-powered blender. Mash them in a lined loaf pan, let them chill, slice, eat. Try not to eat them all in one sitting. After all, these are packed with vitamins and healthy stuff–and no gluten!
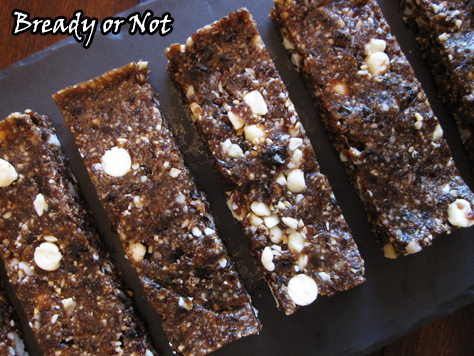
The primary flavors are maple and macadamia infused with white chocolate, with the coconut mild in the background. These are dense in texture. I have made many variations of energy bars/truffles using dates like this, but I have never added almond flour before. Wow. It doesn’t add a strong almond flavor, but it does fill in those nooks and crannies. Everything melds together.
I don’t understand why more people aren’t creating recipes with maple, macadamia nuts, and white chocolate. If someone needs to start the trend, well, I volunteer as tribute.
Some other energy bars/truffles featured on Bready or Not:
– Blueberry Muffin Breakfast Truffles
– Chocolate-Coffee Truffles
– Chocolate Chip Cookie Dough Breakfast Bites
– Maple Energy Bars/Bites
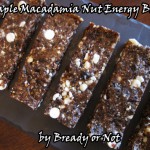
Bonus Bready or Not: No-Bake Maple Macadamia Nut Energy Bars (Gluten Free)
Ingredients
- 1/3 cup almond flour or meal
- 6 medjool dates chopped, about 1/2 cup
- 2 Tablespoons shredded coconut
- 1 Tablespoon pure maple syrup
- 1 teaspoon maple flavor
- 1/4 cup cashews
- 1/4 cup macadamia nuts divided
- 2 Tablespoons white chocolate chips or vanilla chips
Instructions
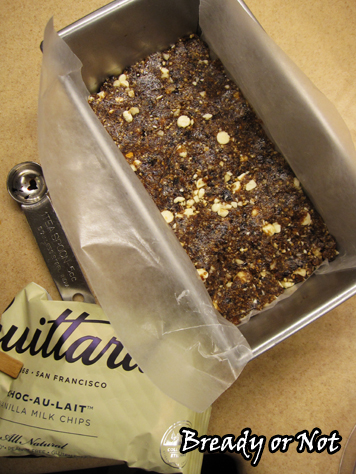
- Prepare a loaf pan by lining the long sides with either waxed paper or parchment paper, with the paper sticking up on either side like a sling.
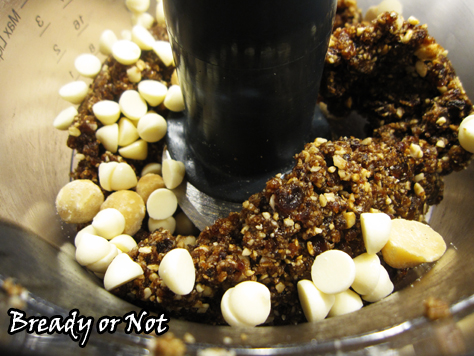
- In a food processor, add the almond flour, chopped dates, coconut, maple syrup, cashews, and most of the macadamia nuts. Set aside the reserved macadamias and white chocolate.
- Run the food processor until everything inside is ground down. The mix should stick together if you pinch it between your fingers; if it's not cohesive, drizzle in a tiny amount of water and pulse again.
- Add the remaining macadamia nuts and white chocolate chips. Pulse a few times to chop them up a little and distribute them.
- Pour into the loaf pan. Use a spatula to compress everything. Chill in fridge for at least an hour.
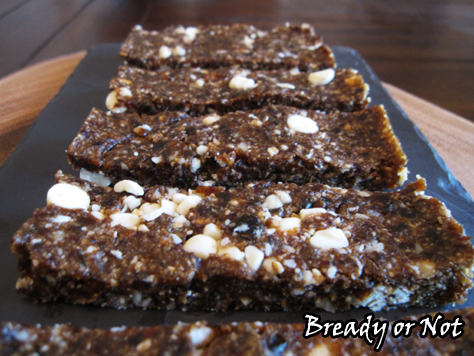
- Use the sling to lift up the macadamia mix. Slice into bars. Store in a sealed container in fridge.
- OM NOM NOM!
Read More
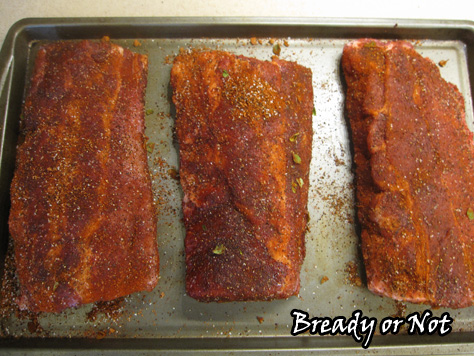
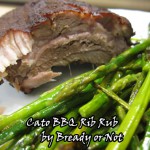
Bready or Not: Cato BBQ Rib Rub
Today I’m providing my personal favorite, tested-a-gazillion times rub recipe for pork ribs.
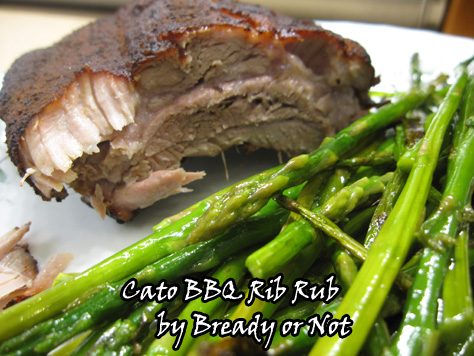
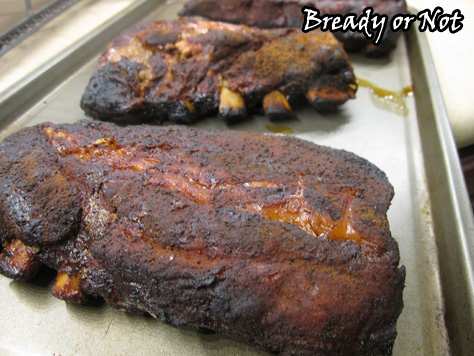
How you cook the ribs is up to you. My husband has a smoker, so he smokes these things for hours for delicious, succulent results.
However, using this rub, you could barbecue ribs on a grill, or bake them in the oven. The choice is yours!
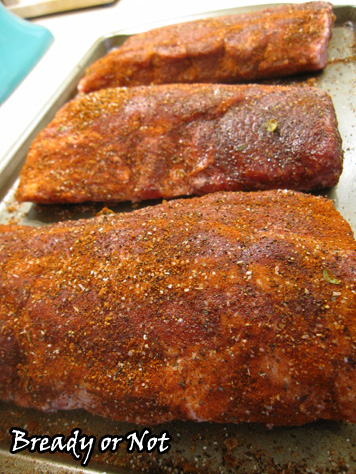
The amounts stated in this recipe will cover about 5 pounds of meat. If you have leftover mix that hasn’t been in contact with raw meat, jar it and save it for later. You can also double or triple the recipe with that in mind.
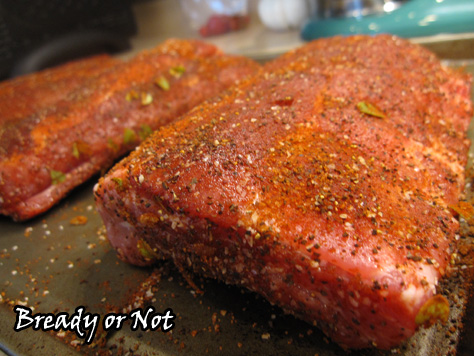
I have made this with several types of paprika. I favor smoked paprika, but all kinds worked well. I have also made this with fresh oregano and dried. You could certainly substitute or add other herbs, too.
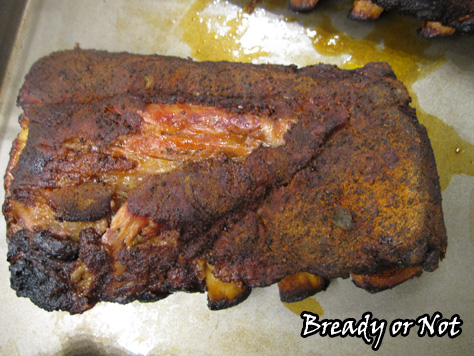
Whenever I find ribs on a good sale, we use this recipe. It’s one we often make for when company comes over, too. Everyone leaves full and happy!
Bready or Not: Cato BBQ Rib Rub
Ingredients
- 2 Tablespoons paprika any variety
- 1 Tablespoon brown sugar packed
- 1 Tablespoon dried oregano or 1/2 Tablespoon fresh oregano
- 1 Tablespoon ground coffee
- 1 1/2 teaspoons kosher salt
- 1/2 teaspoon ground pepper
Instructions
- Combine rub ingredients well, making sure to break up any clumps. Coat the meat, front and back.
- Cook ribs as desired: smoke, grill, or bake.
- OM NOM NOM!
Read More
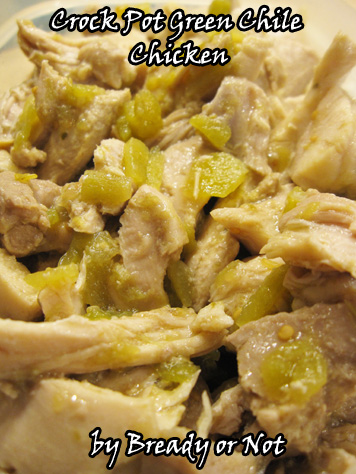
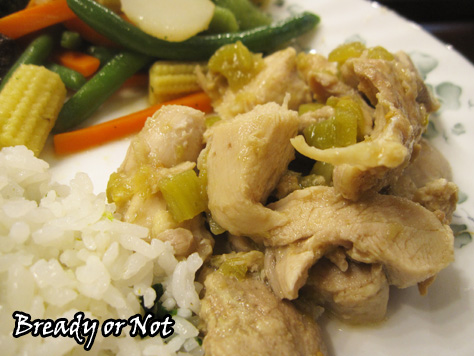
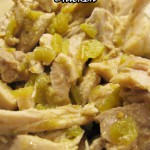
Bready or Not: Crock Pot Green Chile Chicken
My slow cooker is my friend, and in this case my friend heats up some fantastically flavorful chicken that’s good in all sorts of dishes!
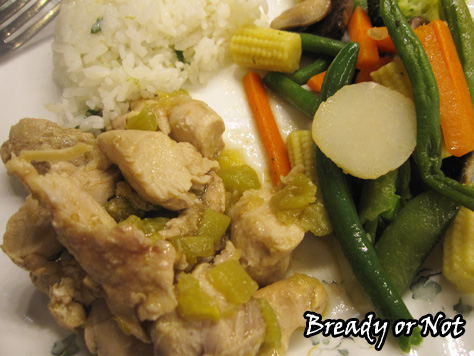
This recipe is a cousin to my Verde Pork Loin one. Both make a great protein for salads (my preference), tacos, burritos, casseroles, and likely all other sorts of stuff.
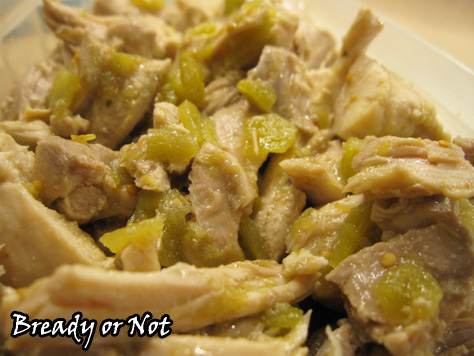
Don’t be afraid of the chiles here, either. I was for years. A standard can of green chiles is pretty mild and adds a punch of flavor. If you’re feeding people who can take the heat, by all means, use the hot version! We favor the Hatch brand because my husband used to live in Las Cruces, near the Hatch Valley; it’s good to support New Mexico products, in any case.

And yes, you can make this with chicken breasts or tenders, but there’s greater risk of the meat drying out. I much prefer to use boneless thighs in the crock pot.
Modified from The Perfect Pantry.
Bready or Not: Crock Pot Green Chile Chicken
Ingredients
- 3 lbs boneless skinless chicken thighs
- 16 ounces verde salsa
- 2 cloves garlic smashed
- 1 tsp ground cumin
- 4 ounces Hatch green chiles canned, mild or hot
Instructions
- Cut the chicken thighs into thirds and place in a 4 to 6 quart slow cooker. Pour the salsa over them, followed by the garlic, cumin, and canned chiles. Give it a stir then pop the lid on.
- Cook on low for 4 to 5 hours; if the chicken was still a little frozen, cook on high for an hour or so to speed the process. Use a slotted spoon to remove chicken pieces, and shred or cut them into chunks. Place back in crock pot to soak in juice for another 20 minutes.
- Serve chicken on a plate, or in burritos, tacos, salads, or just about anything. Freezes fantastically for later dining.
- OM NOM NOM!
Follow me


