


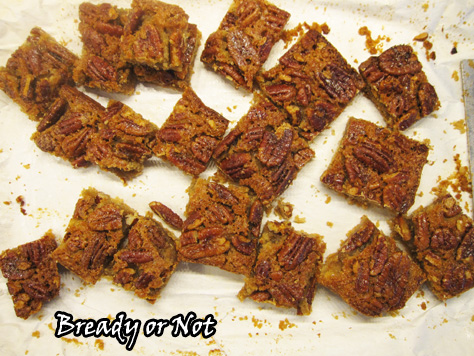
Bready or Not: Maple Pecan Pie Bars
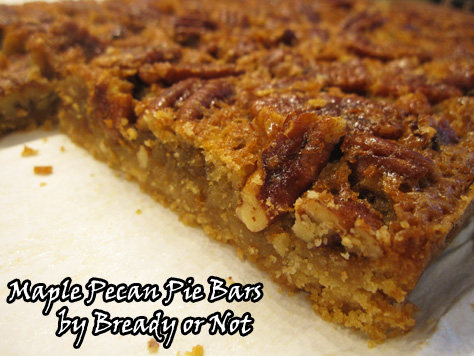
These Maple Pecan Pie Bars offer all the goodness of pecan pie in a form that is 1) more readily portable, 2) keeps well for up to a week, 3) freezable.
Oh, and did I mention these are DELICIOUS? They seriously are. My dad is a native Alabaman and he knows pecan pie and pecan in all forms. He LOVED these bars.
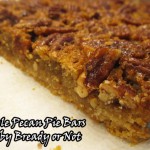
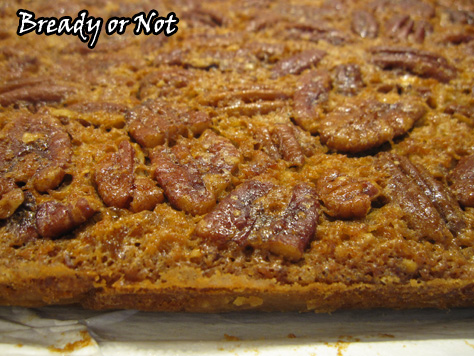
The base is shortbread, and atop that is a just-right thickness of pecans in syrup. This avoids the usual butt-ton of corn syrup that other recipes use and relies on a combo of maple syrup and brown sugar. Which is… maybe healthier? Kinda?
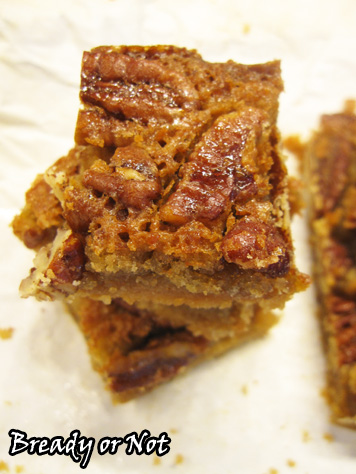
What matters to me, though, is that it tastes good. The maple syrup adds the right sweetness here to complement the nuts.
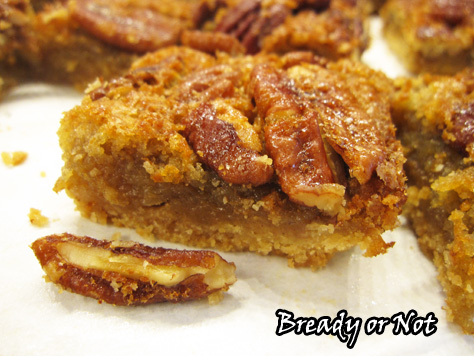
You don’t have to use pecans here, either. You could certainly try walnuts, cashews, or a combination. Do go for “softer” nuts, though, to make it easier to cut the bars.
I froze a bunch of pecan bars between layers of waxed paper in a freezer container. They thawed again with no difference in taste. They also keep well for at least a week, making these a good candidate for shipping.
As my dad can attest, these bars are perfect for breakfast, snack, or dessert. While you could eat them along with vanilla ice cream, they are good eaten out of hand. Heck, you can even zap them in the microwave if you want them warmed.
However or whenever you eat them, these Maple Pecan Bars will be delicious.
Modified from Bake or Break.
Bready or Not: Maple Pecan Pie Bars
Ingredients
Crust
- 1 1/2 cups all-purpose flour
- 3/4 cup light brown sugar packed
- 1/2 teaspoon salt
- 1/2 cup unsalted butter 1 stick, cold, cut into pieces
Filling
- 3 large eggs room temperature
- 1/2 cup pure maple syrup
- 1/4 cup unsalted butter 1/2 stick, melted and cooled for a few minutes
- 1/2 cup light brown sugar packed
- 1/4 cup white sugar
- 1/2 teaspoon salt
- 1 1/2 cups pecans or mixed soft nuts like walnuts or cashews
Instructions
- Preheat oven to 350-degrees. Line a 13x9-inch pan with parchment paper and lightly apply butter or nonstick spray along the bottom and sides.
- In a large bowl, mix the flour, brown sugar, and salt. Add the cold butter and use a pastry blender or a fork to mash it down into small crumbles. The overall mix will feel sandy, but it'll hold together after baking.
- Pour the crust mixture into the prepared pan. Use some wax paper and a heavy glass to compress the crumbs.
- Bake for 15 minutes or until edges are lightly browned. Set aside as you make the filling.
- Lightly beat the eggs in a large bowl. Add the maple syrup, melted-and-cooled butter, brown sugar, white sugar, and salt, stirring until combined. Stir in the pecans to coat.
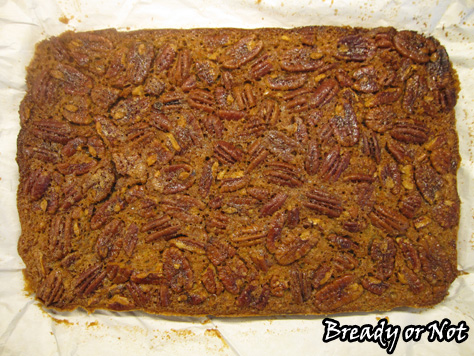
- Pour filling over the partially baked crust. Bake for another 30 to 35 minutes, or until filling is set.
- Cool bars to room temperature and then use the overhanging parchment to lift the contents out to cut into bars. Store in a sealed container for up to a week, or freeze bars for later enjoyment.
- OM NOM NOM!
Read More
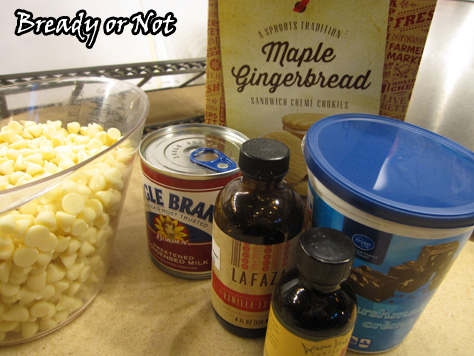
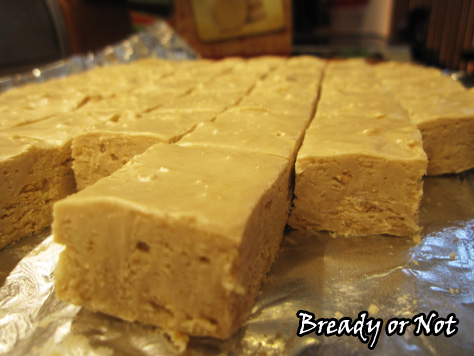
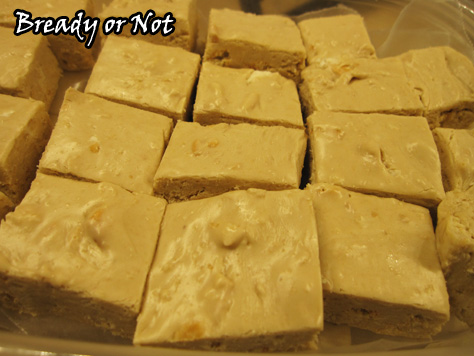
Bready or Not: Quick Maple Cookie Fudge
It’s holiday time, so that means it’s time for super-fast microwave Maple Cookie Fudge!

“But Beth,” I hear you saying, “You just featured a fudge recipe a month ago!”
Aha! I did indeed. That pumpkin fudge is delicious indeed, with its texture and taste like pumpkin frosting, but it also gets soft if it’s not kept chilled. THIS fudge recipe has endurance. Fortitude. Maple.
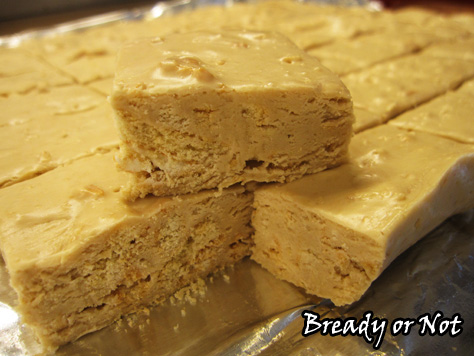
This is a shortcut fudge without any need of a candy thermometer or stress. I like to use the microwave, but you can use the stovetop if you want. You can keep the maple cookies chunky, if you desire, or grind everything to crumbs–your choice! I actually like some small chunks mixed in for texture.
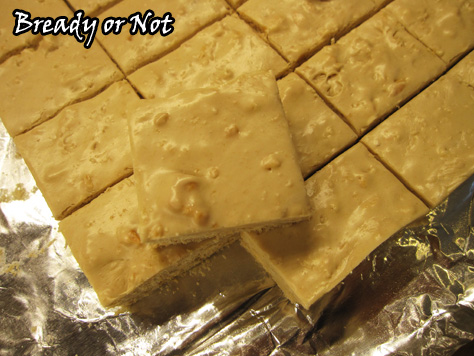
The maple flavor is nice and consistent here, not cloying, while the marshmallow fluff grants the texture some extra oomph. If you want, you can add in some nuts as well, but if you keep your cookies kinda chunky, they can add some nut-like texture to the squares.
This would be the perfect quick fudge to make for a holiday party where everything needs to stay out on a counter for hours! The leftovers will keep very well in a sealed container in the fridge, too.
Come to think of it, this maple cookie fudge is just about perfect if you ignore the pesky nutritional side of things.
Bready or Not: Quick Maple Cookie Fudge
Ingredients
- 3 cups white chocolate chips
- 20 maple crème cookies crushed/chopped/maimed
- 7 ounce marshmallow fluff jar
- 14 ounces sweetened condensed milk can
- 1 teaspoon maple flavor
- 1 teaspoon vanilla extract
- 1/2 cup nuts chopped walnuts/pecans/macadamia, optional
Instructions
- Prepare a 9x13 pan by lining it with foil and applying nonstick spray.
- Either in microwave or on stovetop, carefully melt chocolate with canned milk and marshmallow cream. If microwaving, do it in short bursts because it can burn fast! Stir often.
- When the mix is smooth, add the maple flavor and vanilla. Fold in the maple cookies. Use an uneven spatula to smooth out the top.
- Refrigerate at least 3 hours, until the fudge is firm. Cut into bite size pieces. Keep stored in fridge between layers of wax paper. Unlike some other quick fudges, this will keep well for hours at room temperature.
- OM NOM NOM!
Read More
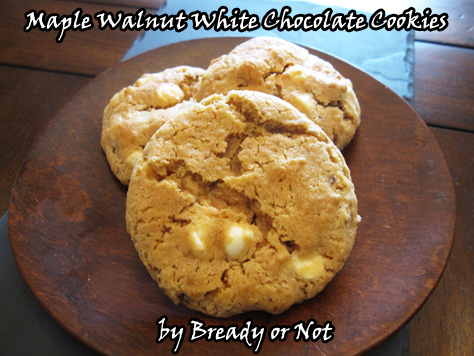
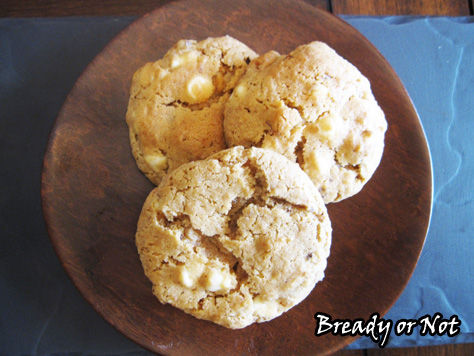
Bready or Not: Maple Walnut White Chocolate Cookies
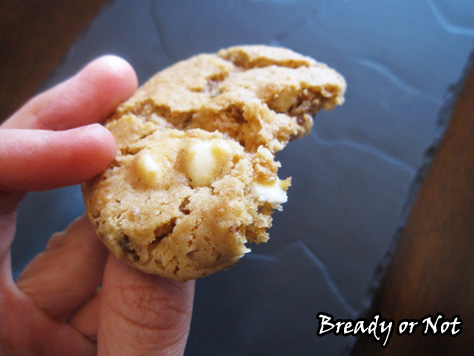
These Maple Walnut White Chocolate Cookies are light, crisp, and full of maple goodness.
Story prompts inspire stories. Cookbooks inspire new spins on already-great recipes. In this case, I found my inspiration in the cookbook MAPLE, which also provided the basis for my Maple Pear Galette and part of my Maple Apple Pie (aka Voltron Pie).

I loved the look of the original recipe, but right off the top, I knew I needed to make some adaptations. I don’t keep whole wheat pastry flour around. I decided to substitute with cake flour since it was also lower in gluten.
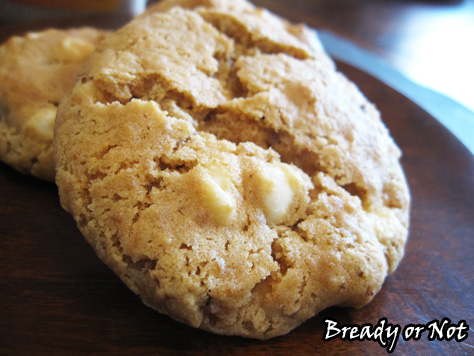
As a result, the cookies are surprisingly light and crisp. However, this also means they can overcook–and fast! Keep an eye on them as they near the end of baking time. Better to have them slightly underdone when you pull them from the oven, as they’ll finish cooking on the cookie sheet.
I also went with white chocolate rather than milk or dark chocolate. I find the mellowness of white chocolate better works with maple flavor.
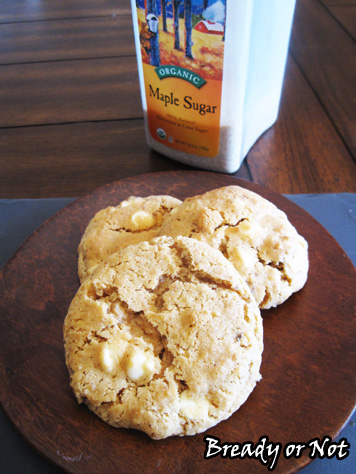
Now, maple sugar can be pricy stuff at supermarkets, if you can find it at all. I buy it in bulk at Amazon. If you glance through my maple recipes, you’ll find plenty of ways to use it up!
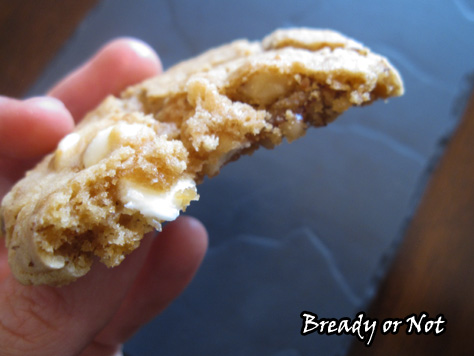
Walnuts–and other nuts–are easy to roast in your oven. Line a rimmed pan with foil. Add the nuts in an even layer. Bake at 350-degrees for like 7 to 10 minutes, shifting them once sometime in there, until the nuts are fragrant. Let’em cool, then use them or eat them.
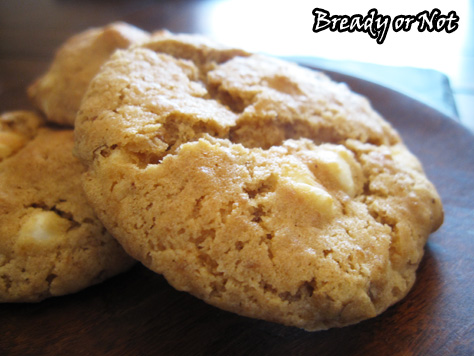
The combination of flavors here–maple, white chocolate, walnuts–makes these the perfect cookies for autumn.
… Except, well, if you know me, I believe in summoning up the goodness of maple all year round. Awesome things shouldn’t be confined to one season.

Bready or Not: Maple Walnut White Chocolate Cookies
Ingredients
- 1/2 cup unsalted butter room temperature
- 1 cup maple sugar
- 1 large egg
- 2 Tablespoons avocado oil or canola oil
- 2 teaspoons vanilla extract
- 1 cup cake flour
- 1/2 cup all-purpose flour
- 1 teaspoon baking soda
- 1 teaspoon baking powder
- 1/4 teaspoon salt
- 1 cup white chocolate chips
- 1 cup walnuts roasted and chopped
Instructions
- Preheat oven at 375-degrees. Prepare baking sheets with parchment paper or a silpat mat.
- In a large bowl, beat the butter and maple sugar until creamy. Beat in the egg followed by the oil and vanilla. Scrape the sides of the bowl.
- In another bowl, whisk together the two flours, baking soda, baking powder, and salt. Slowly add the dry ingredients to the butter mix until they are just combined. Stir in the white chocolate chips and walnuts.
- Use a tablespoon scoop to dole out dough onto the prepared sheet pan, leaving space for each cookie to spread. Bake for 9 to 11 minutes, or until cookies puff and are just turning golden--watch them carefully at the end, as they can overcook quickly! Let them cool on the sheet about ten minutes and then transfer to a rack to completely cool.
- OM NOM NOM!
Read More
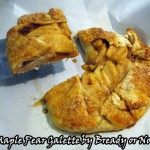
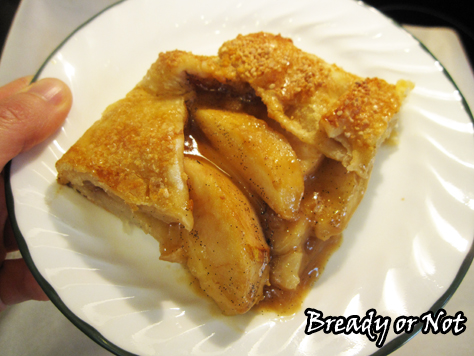
Bready or Not: Maple Pear Galette
It’s my husband’s birthday, so I’m sharing a dessert that he looooves.

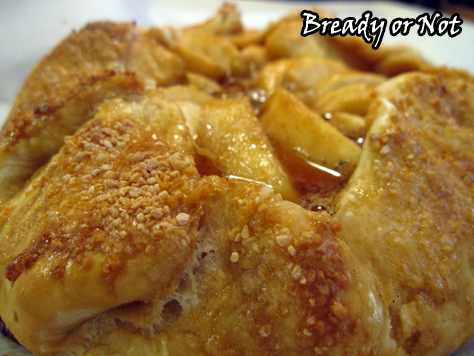
This recipe laces maple sugar into every layer: the galette dough, the thick maple paste for the pears, and as a golden accent and perfect crunch for the top of the galette.
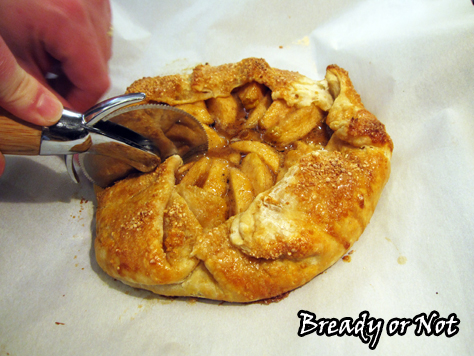
This is remarkably easy to make, too. Peeling and coring the pears is the biggest hassle. I made the dough a day ahead of time, which made the assembly part go pretty fast.
I modified this recipe from one found in this incredible cookbook called Maple by Katie Webster. Seriously, if you love maple used in dishes for any meal of the day, get this cookbook!

This galette is one of the three recipes I melded together to create my Maple Apple Pie (aka Voltron Pie). Specifically, I tweaked the maple-lemon paste for the filling and ported it over. I’m pretty certain that such a potent maple mix can improve anything. Maybe it can inspire world peace. I dunno.
In the case of this galette, though, I say give a piece a chance.
Bready or Not: Maple Pear Galette
Ingredients
- 1 1/4 cups plus 2 Tablespoons all-purpose flour divided, plus more for dusting
- 1/2 cup plus 2 Tablespoons maple sugar divided
- 1/2 teaspoon salt
- 4 Tablespoons unsalted butter
- 3 - 6 Tablespoons ice water
- 1 vanilla bean split open and scraped out, or 2 teaspoons vanilla extract
- 1 Tablespoon lemon juice
- 3 ripe pears peeled, cored, and cut into wedges
- 1 egg lightly beaten
Instructions
- In a medium bowl, whisk together the 1 1/4 cups flour, 1 tablespoon maple sugar, and salt. Add butter and work into dough so that the butter is down to pea-sized chunks. Add just enough water to incorporate as dough, smearing butter chunks in the process. Shape dough into a disk and shroud in plastic wrap; refrigerate for 30 minutes, or overnight.
- Preheat oven to 350-degrees. Place parchment paper on a large rimmed baking sheet.
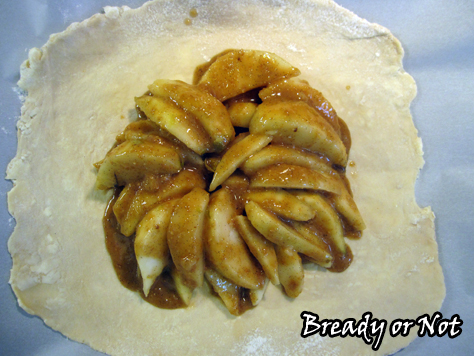
- In a large bowl, gently stir together the vanilla (bean or extract), lemon juice, 2 tablespoons flour, and 1/2 cup maple sugar; it will form a thick paste. Gently stir in the pears to coat. Expect the mixture to become more liquid as it sits with the pears in it.
- Use flour to lightly dust a large work surface. Roll out the dough to at least a foot diameter circle. Transfer it to the prepared parchment paper on baking sheet; the dough might hang over the edges for now, but that's okay.
- Arrange the pears in a circular pattern in the center; leave a 2.5 to 3-inch border. Scrape the rest of the maple paste over the pears. Fold the dough inward, with the center still exposed. Brush the egg over the top and sprinkle on the maple sugar.
- Bake for 40 to 50 minutes, until the crust is golden and the filling bubbles. Let cool before cutting.
- OM NOM NOM!
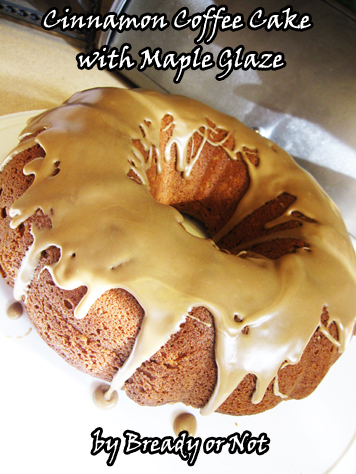
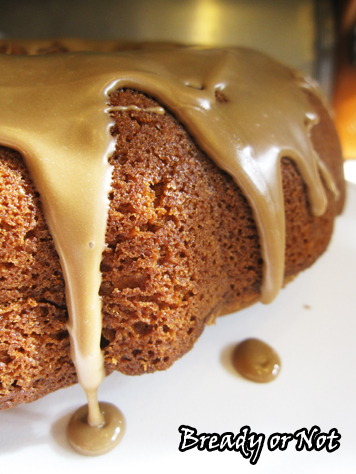
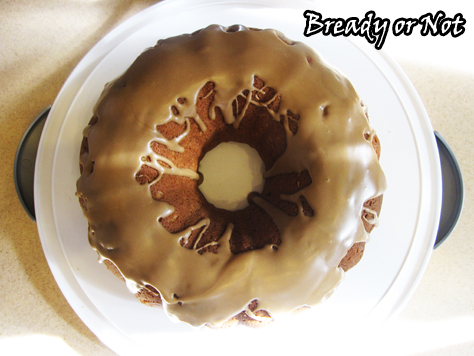
Bready or Not: Cinnamon Coffee Cake with Maple Glaze
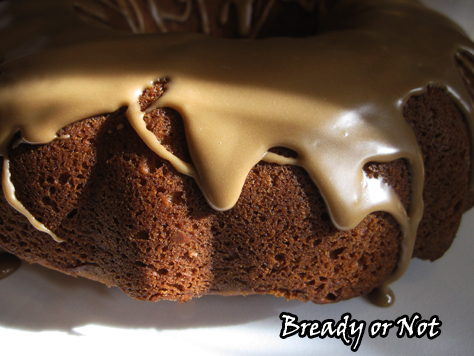
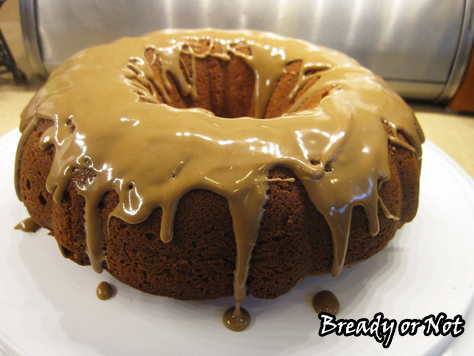
CAKE + PIE MONTH continues with another dose of maple–this time in the glaze atop this tender cinnamon-filled bundt cake!
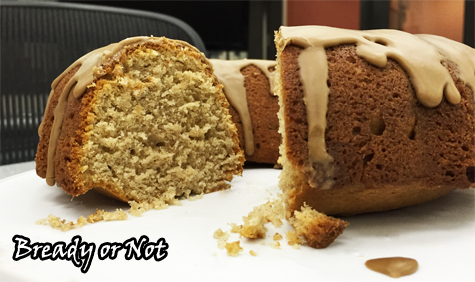
If you don’t have maple flavor around, worry not. This cake will be just fine if you use vanilla extract instead. You could always add more cinnamon into the glaze, too, just for a spicy boost.
I love using sour cream in cake batter like this. It creates such a tender, moist texture. You can always substitute Greek yogurt for sour cream, too.
I spied the original version of this recipe in the Arizona Republic one morning. I knew I had to make it… but I also knew it needed some modifications. How could it be called a cinnamon coffee cake if it only had one teaspoon of cinnamon? Nope, nope. And of course, I had to give it a maple glaze.
If you’re getting burned out on maple (*cough*blasphemy*cough*), worry not. Next week, I finish off Cake + Pie Month with Cardamom Coffee Pound Cake! Unlike this week’s recipe, the pound cake actually includes coffee in the batter and in the glaze.
But, you know, I think this week’s recipe has a mighty fine glaze as it is.
Modified from Sour Cream Cinnamon Coffee Cake in the Arizona Republic, March 16, 2016.
Bready or Not: Cinnamon Coffee Cake with Maple Glaze
Ingredients
For the cake:
- 1 cup unsalted butter 2 sticks, room temperature
- 1 cup white sugar
- 2 large eggs room temperature
- 1 teaspoon vanilla extract
- 1 cup sour cream or Greek yogurt
- 2 cups all-purpose flour
- 1 1/2 teaspoons baking powder
- 1/2 teaspoon baking soda
- 2 teaspoons ground cinnamon
- 1/2 teaspoon kosher salt
For the glaze:
- 2/3 cup confectioners' sugar sifted
- 1 Tablespoon milk or half and half
- 1/2 teaspoon maple flavor or substitute vanilla extract
Instructions
- Preheat oven at 350-degrees. Use nonstick spray with flour to thoroughly coat a 9 or 10-inch bundt pan, or use extra butter and a liberal dusting of flour. Discard any excess flour.
- In a large bowl, beat together the 1 cup butter and the sugar until they are light and fluffy. Add eggs one at a time followed by the vanilla and sour cream.
- In a smaller bowl, combine the dry ingredients: the flour, baking powder, baking soda, cinnamon, and salt. Slowly combine the two bowls; don't overmix. Scrape the batter into the prepared pan and spread so the top is even.
- Bake for 45 minutes, or until a toothpick deeply inserted into the cake comes out clean. Let cool for 10 minutes on wire rack, then flip the cake out of the pan to completely cool on the rack.
- When the cake is completely cool, make the glaze. In a small bowl, stir together the powdered sugar, milk, and maple flavor (or vanilla extract). Add more milk, if needed, for desired textured. Set cake on a serving plate and dribble glaze all over top of cake.
- OM NOM NOM!
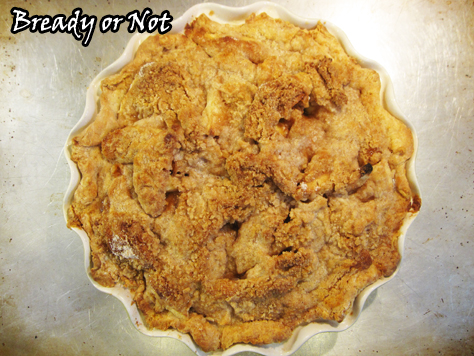
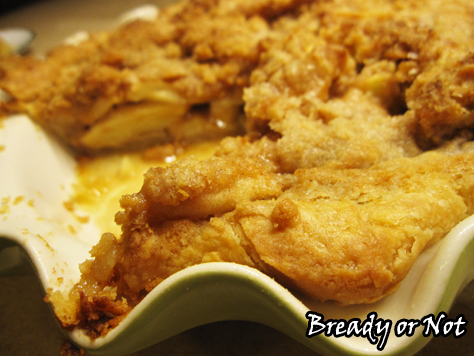
Bready or Not: Maple Apple Pie
This pie is my own original creation. I hacked together three existing recipes and amped up the maple to make something totally new. When I told my husband about how I melded everything, he said, “Oh, so it’s a Voltron pie.” That’s now our nickname for this Maple Apple Pie.

Maple sugar is the key ingredient in every step, but it’s just enough to embody the flavor without it going overkill. I highly recommend buying a big ol’ container of maple sugar–trust me, if you want to follow along with my recipes, you’ll go through it eventually. This is the brand I use:

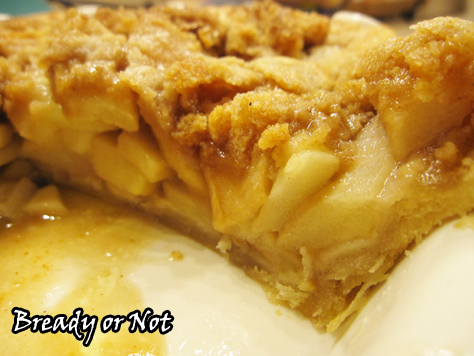
The most amazing thing about this? The filling sauce. I borrowed and modified it from a pear galette recipe (which I’ll feature this fall) from the cookbook Maple. It’s really more like a paste in texture, grainy and strong with a lovely combo of maple and lemon. You’ll want to lick the bowl.
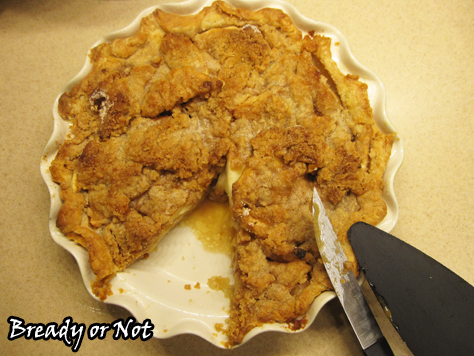
This pie smells glorious. It’s like autumn, Thanksgiving, Christmas. And the taste… well. My husband adores my Caramel Apple Pie and considers it his all-time favorite.
Or it was, until he had Voltron Pie.
That’s right. This maple-filled pie is the new champion in the Cato household.
Bready or Not: Maple Apple Pie
Ingredients
Crust:
- 1 1/2 cups all-purpose flour
- 1 Tablespoon maple sugar
- 1/4 teaspoon salt
- 4 Tablespoons unsalted butter 1/2 cube, cold
- 2 Tablespoons avocado oil or canola oil
- 3 - 5 Tablespoons ice water
Filling:
- 4 - 5 Granny Smith apples
- 1 teaspoon vanilla extract or a vanilla bean, scraped
- 1 Tablespoon lemon juice
- 2 Tablespoons all-purpose flour
- 1/2 cup maple sugar
Crumb topping:
- 2/3 cup all-purpose flour
- 1/4 cup white sugar
- 1/4 cup maple sugar
- 1/2 teaspoon ground cinnamon
- 1/2 cup unsalted butter 1 stick , cold
Instructions
- Combine crust ingredients. Work in butter until it is just pea-sized, and use only as much water as needed to make the dough cohesive. Wrap well in plastic wrap and refrigerate for a few hours or a few days.
- Roll out dough to equal thickness and place in pie dish. Cover with plastic wrap and freeze while preparing the filling, or freeze for several days.
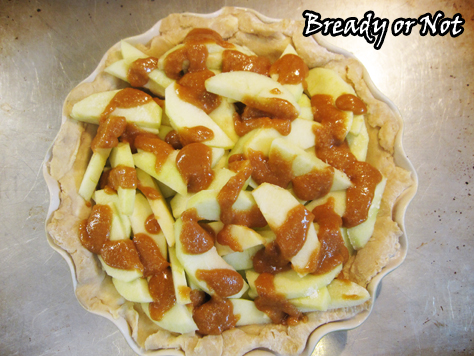
- Preheat oven at 375-degrees. Peel and core apples and slice to 1/8s or smaller. Toss them in a light dusting of flour to prevent sticking. Place apples in pie crust on a cookie sheet.
- In a small bowl, whisk together the vanilla extract, lemon juice, flour, and maple sugar; it'll form a thick maple paste. Set aside.
- In another small bowl, combine the topping ingredients. Use a fork and knife to reduce the butter to pea-sized chunks.
- Return to the maple sauce. Give it a good stir, and drizzle thick syrup all over apples. Cover evenly with crumb topping.
- Bake for 40-45 minutes, or until the apples are tender when stabbed with a fork.
- OM NOM NOM!
Read More
Follow me


