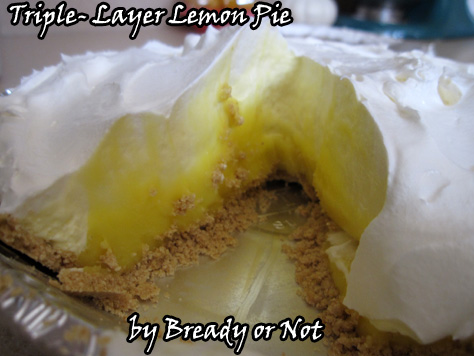
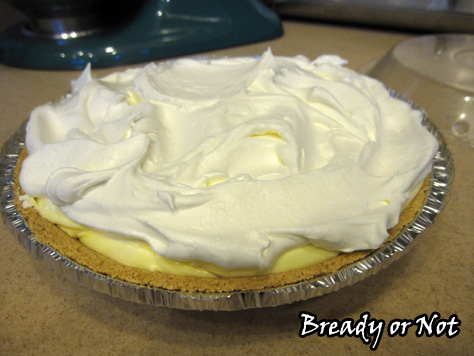
Bready or Not: Triple-Layer Lemon Pie
Two of my husband’s favorite things: lemon and pie.
Another, more recent favorite thing: ease of eating. See, my husband decided to get braces last fall. I didn’t endure that particular hell as a teenager (I had other hells instead), so it’s been rather educational to see everything he has to endure–sore teeth, broken wires, and just overall trickiness with choosing food to eat. He needs things that won’t get stuck between his teeth and that he can easily eat with a fork or spoon.
He had to go get his monthly dental tweaking done, so I decided to surprise him.
He was absolutely delighted with this pie. It’s cold and soothing, lemony and sweet, and very easy to eat. It’s really an awesome summer pie because it is cold and it’s totally no-bake. It comes together in a matter of minutes and just has to set. It also keeps well–my husband ate it slowly over five days.
The perfect summer pie!
From Kraft Recipes.

Bready or Not: Triple-Layer Lemon Pie
Ingredients
- 2 3.4 oz boxes Jell-O Lemon Flavor Instant Pudding
- 2 cups cold milk
- 1 Tbsp lemon juice
- 1 graham cracker crust homemade or bought
- 8 oz Cool Whip thawed; reduced fat is fine
Instructions
- Whisk together pudding mixes, milk and lemon juice. It will be thick. Spread 1 1/2 cups onto bottom of crust.
- Mix half of the Cool Whip into the remaining pudding.
- Spread the Cool Whip/pudding mixture over the pure pudding layer in crust. Top with remaining Cool Whip--the third layer. Refrigerate 4 hours or until firm.
OM NOM NOM.

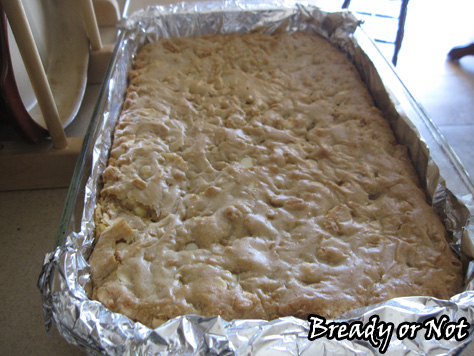
Bready or Not: Glazed Maple Blondies
I’m ripping off recreating my own recipe.
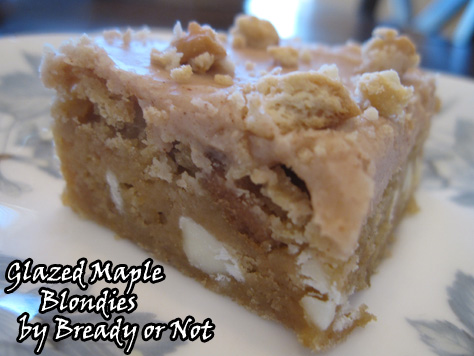
Last fall I shared Maple Truffle Blondies. It consisted of three layers: maple blondies, cream cheese and pulverized maple cookies, and a maple glaze.
So I wondered, hey, those blondies are really good. I have more maple creme cookies to use up. I do have cream cheese, but I don’t want to use it right now. Let’s knock this down to two layers and see what results.
The result: WOW.
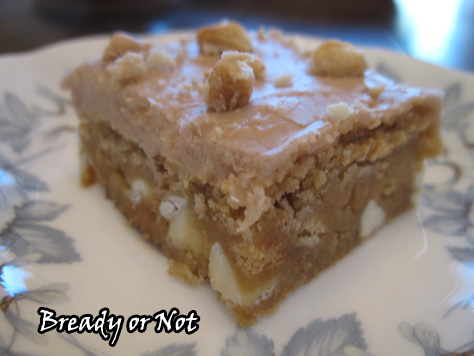
Maple goodness, let me tell you. The blondie is chewy and not overly sweet, so that glaze is perfection. Sweet, but not cloyingly so like some frostings are. If you want, you could also mix nuts (pecans would be great, I imagine) into the blondies or sprinkle them on the glaze.
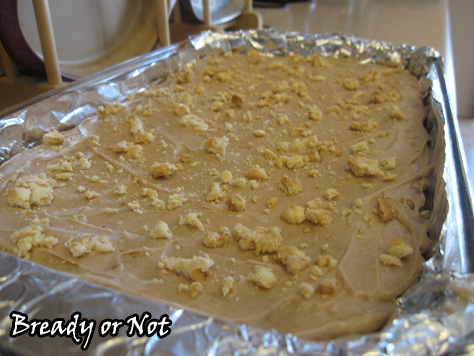
Before the glaze…
The maple creme cookies are a Christmas seasonal thing in some areas, but I can find them year-round at Fresh & Easy or Sprouts Farmers Markets. If you can’t find them, just sub in Golden Oreos and add more maple flavor, or omit entirely. It would make for thinner bars, but they would still be awesome.
If you love maple, you gotta make this.
Bready or Not: Glazed Maple Blondies
Ingredients
For maple blondies:
- 2 cups all-purpose flour
- 1 teaspoon baking powder
- 3/4 teaspoon salt
- 1/4 teaspoon baking soda
- 10 Tablespoons butter melted
- 1 cup brown sugar packed
- 1/2 cup pure maple syrup
- 2 eggs room temperature
- 1 teaspoon vanilla
- 1 cup white chocolate chips
- 1 maple creme cookies box
For glaze:
- 2 cups confectioners' sugar sifted
- 1 tsp cinnamon
- 2 Tb butter melted
- 3/4 tsp maple flavoring vanilla will do in a pinch
- 2 + Tb milk almond milk works!
Instructions
- Line a 9x13 pan with aluminum foil and apply nonstick spray. Preheat oven to 350-degrees.
- Combine the dry ingredients in a bowl. Set aside. Coarsely chop the cookies. Reserve 1/4 cup of the finer crumbs.
- In a mixing bowl, blend the butter, brown sugar, and maple syrup. Add the eggs and vanilla. Pour in the flour mix until just combined, then stir in the chocolate chips and cookie pieces.
- Spread batter in the pan. Bake for 20 minutes, or until a toothpick comes out clean.
- Let the blondie layer cool completely. Place in fridge for a while, if necessary.
- Combine glaze ingredients in bowl. Add enough milk so that the icing is spreadable but not runny. Immediately dollop over blondies and smooth it out. Immediately sprinkle on the reserved crumbs. Use fingers to gently press in.
- Place pan in fridge to set for hour or two before slicing. Store in fridge.
OM NOM NOM.
ARCs! Holy Taco Church!
When an author gets copies of the book she has yearned to hold her entire life, it’s only right the book first be offered to the cat.
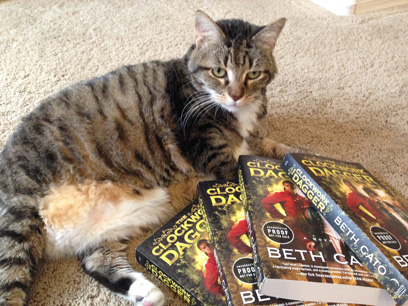
Porom the Cat, who would much rather nibble on my toes than pose for a photo op.
Then the book must be read to Big Blue, because that’s the kind of thing monsters demand.

Reading time for a Dragon Quest Slime.
The books were also loved, hugged, and named George.
I just have the four copies for now, and no, I haven’t decided what to do as far as contests or anything. These decisions are HARD, man.
In other news!
I’m a High Priestess of Churromancy in the Holy Taco Church. (I know, I know, you’re thinking, “Well, duh.”) But this is a Real Thing. It’s a whole bunch of awesome writers congregating to talk food and liquor and happy thoughts. To name drop, our Tacopope is Kevin Hearne and other members include Chuck Wendig, Jaye Wells, Diana Rowland, and Vicki Pettersen.
My first offering is up today: Churro Shortbread.
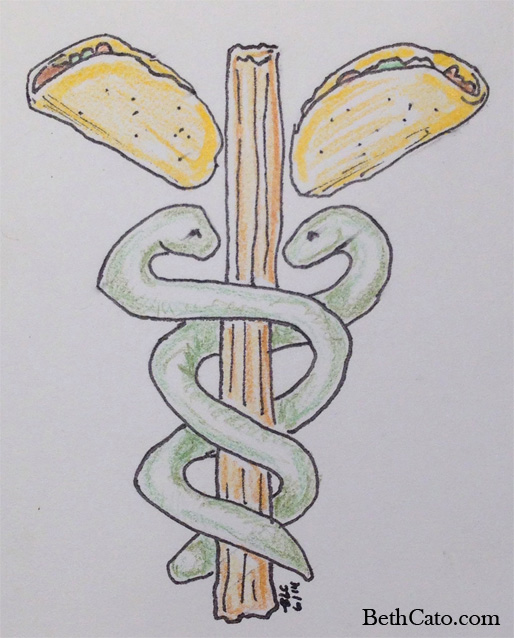
Yes, that’s a caduceus made of a churro and two tacos.
And because I’m hardcore, I created my own holy symbol.
Read MoreBready or Not: Pretzel Sandwich Buns
It seems a lot of standard buns are just… there. A thing to hold meat. They aren’t memorable or flavorful.
You want something better than a mere meat sling? MAKE THIS.
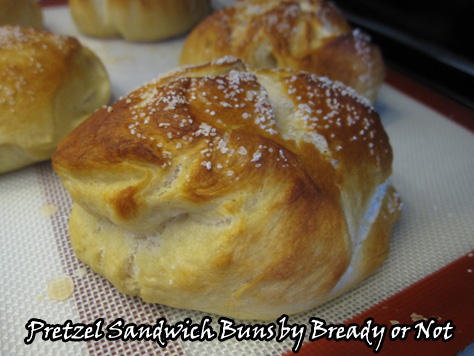
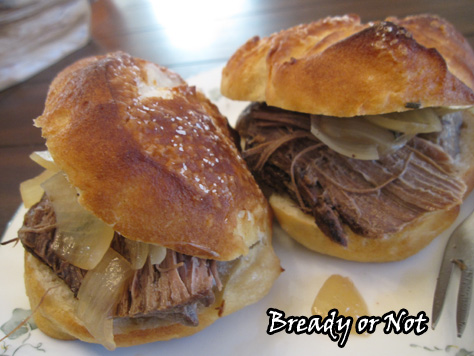
These buns are soft and chewy, tender yet strong. They can cradle juicy meat without instantly becoming a soggy mess, but they won’t break your teeth, either. That little bit of salt on the top complements just about everything. Want to use these for hamburger buns? Make big rounds. Or shape them into hot dog buns. Or as rolls that you can use for sliders, or simply slice open to add butter.
They keep great in a sealed container for a few days, and also freeze and thaw in a fabulous way.
Trust me, once you make these buns, you’ll never settle for the grocery store stuff again.
Bready or Not: Pretzel Sandwich Buns
Ingredients
Dough Ingredients
- 1 3/4 cups warm water
- 2 tablespoons unsalted butter
- 3/4 teaspoon salt
- 4 1/2 cups all-purpose flour or bread flour bread flour is best
- 1/4 cup nonfat dry milk
- 2 teaspoons instant yeast
Topping Ingredients
- coarse sea salt like pretzel salt or kosher salt
Water Bath
- 2 quarts water
- 1 Tablespoon salt
- 1/4 cup baking soda
Instructions
- Mix and knead the dough ingredients — by hand, mixer, or bread machine — to make a smooth, slightly sticky dough. If you're making by hand, allow the dough to rise in a lightly greased bowl, covered, for about 1 hour, until doubled. In bread machine, let the full dough cycle run through.
- Gently deflate the dough, and transfer it to a lightly greased work surface.
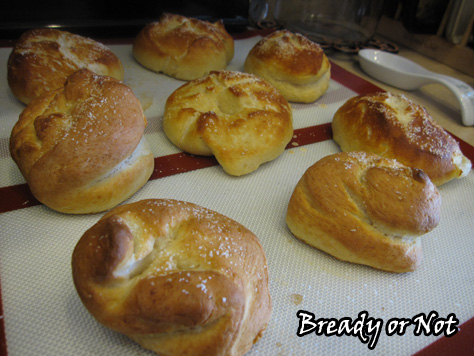
- Divide the dough into as many buns as you want. About 8 to 10 will work for sandwich size, while about 12 can be done at about slider size. Shape each piece into a smooth ball.
- Place the balls on a lightly greased baking sheet, cover with plastic wrap, and let rest for 15 minutes.
- While that's happening, preheat the oven to 400°F and prepare the water bath for the stovetop. Bring the water, salt, and baking soda to a boil in a large pot.
- Gently lower several dough balls at a time into the water bath. Cook for 30 seconds, flip over, and cook for 30 seconds longer. Using a slotted spoon, return the buns to the baking sheet.
- Using scissors or a sharp knife, cut half-inch deep crosses into the center of each bun. Sprinkle with coarse salt.
- Bake the buns for 20 to 24 minutes (lower time for smaller rolls/buns), or until they're brown. Remove them from the oven, and transfer to a rack to cool.
OM NOM NOM
Bready or Not: Korean-Style Ground Beef
Holy cow. You’d think all cows are holy with how beef costs have gone up, and it’s supposed to get worse through the summer.
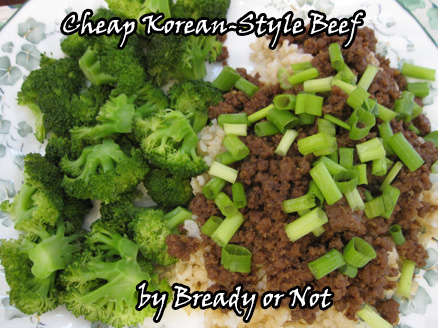
That’s one reason why I like this dish. It uses lean ground beef (which has still gone up 50% in price the past few years…) but enables me to do something different than the standard taco filling. It’s also cheaper than the flank steak you typically see used for home versions of Korean or Mongolian-style dishes.
This doesn’t taste like teriyaki, but has a sweet, savory flavor that goes fabulously with the meat.
So if ground beef goes on sale, don’t go for the tortillas. Pick up some extra rice and make this instead!
Recipe modified from Elizabeth Bryant.
Bready or Not: Korean-Style Ground Beef
Ingredients
- 1 pound lean ground beef
- 1/4 cup brown sugar packed
- 1/4 cup soy sauce
- 1/2 Tablespoon sesame oil
- 3 cloves garlic minced
- 1/4 teaspoon ginger powder or 1/2 teaspoon fresh ginger minced
- 1/2 teaspoon crushed red pepper
- salt and pepper
- diced green onions
Instructions
- Heat a large skillet over medium heat. Add in sesame oil and garlic, stir, then add in the hamburger and brown it. Drain most of the fat.
- Add brown sugar, soy sauce, ginger, salt and pepper, and red pepper. Simmer for a few minutes to blend the flavors.
- Serve over rice or noodles, and top with green onions.
OM NOM NOM!

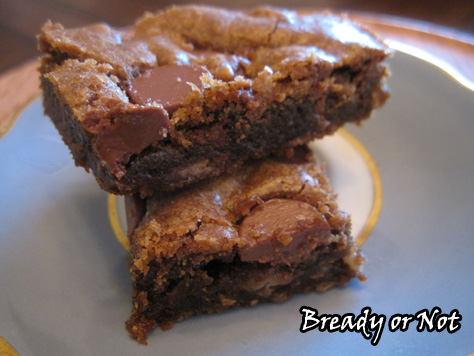
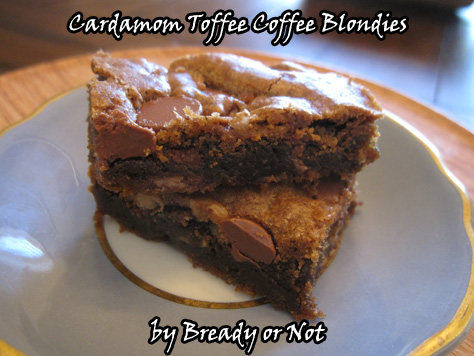
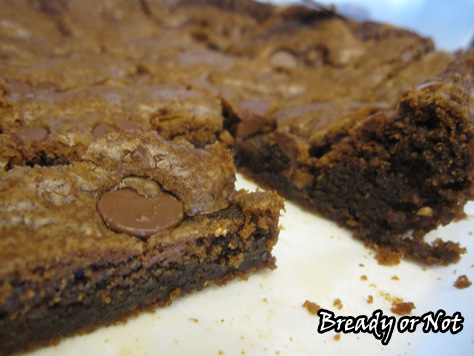
Bready or Not: Cardamom Toffee Coffee Blondies
My modified version of this recipe came about because I misread the original name on Pinterest. It was “Cardamom Coffee Blondies,” but at first glance I thought it said “Toffee.” Which sounded really good.
Once I read the recipe, I knew I had it in my power to make these with coffee and toffee. That’s because I had a bag of Heath Bits with Milk Chocolate stashed in my fridge.
The flavors here play very well together. You have the lovely flavor of cardamom, the sweetness of toffee, the touch of chocolate, and the incorporated espresso powder. It sounds like a lot, but it works.
The texture is amazing, too. These are soft, chewy, and keep well for several days at room temp or in a closed container in the fridge (a necessity in Arizona, alas).
Bready or Not: Cardamom Toffee Coffee Blondies
Ingredients
- 1 cup unsalted butter room temperature
- 1 cup brown sugar packed
- 1/2 cup white sugar
- 1 Tbsp instant espresso powder heaping
- 1 Tbsp ground cardamom heaping
- 2 eggs room temperature
- 1 teaspoon pure vanilla extract
- 2 cups all-purpose flour
- 1 tsp baking soda
- 1 tsp salt
- 1 bag of Heath bits with chocolate or chop up some Heath or other toffee bars
For the top
- 1/2 cup chocolate chips
Instructions
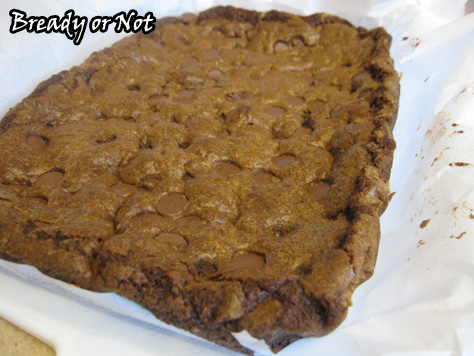
- Preheat oven at 350-degrees. Prepare a 9x13 pan by lining it with parchment or aluminum foil and apply butter or nonstick spray.
- Cream the butter, espresso powder, cardamom and sugars together until fluffy; this takes several minutes. Beat in eggs, one at a time, followed by the vanilla.
- In a small bowl, whisk together flour, baking soda and salt. Add dry ingredients to the wet, mixing just until combined. Add the bag of Heath Bits last.
- Spread the thick batter into the prepared casserole dish. Sprinkle the chocolate chips across the top and gently press in.
- Bake for 30-35 minutes, until the edges are set and the middle passes the toothpick test. Don't over bake! Let cool a while before cutting.
OM NOM NOM.