


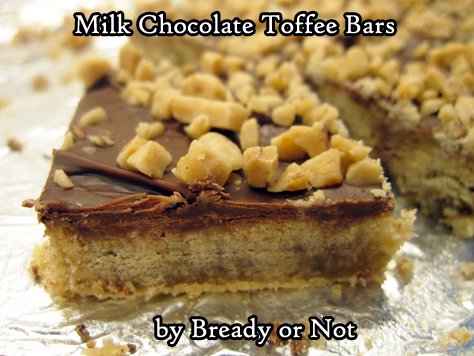
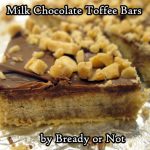
Bready or Not: Milk Chocolate Toffee Bars
The time for healthy recipes is over. Time to make an entire casserole dish-worth of candy bars with this recipe for Milk Chocolate Toffee Bars.
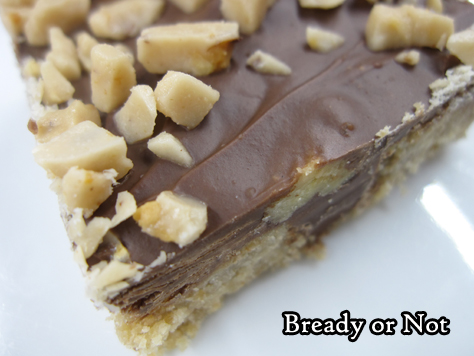
These things are chewy and downright dreamy. Seriously, HOMEMADE CANDY BAR. FRESH. SO GOOD.
Ahem. Forgive the caps. I get enthusiastic about this sort of thing. But can you blame me?
I mean, these have it all going on. Chocolate. A crunch from the toffee and pecans. A chewy blondie base.

My husband took these to work and had several co-workers dub this a new favorite. Considering the goodies they get from me, that’s saying something.

Make these to share with a crowd. You don’t want to be home alone with them.
Modified from Brownies & Bars Magazine.
Bready or Not: Milk Chocolate Toffee Bars
Ingredients
- 2 cups all-purpose flour
- 1 cup brown sugar packed
- 1/2 teaspoon ground cinnamon
- 1 cup unsalted butter softened
- 1 teaspoon vanilla extract
- 1 2/3 cups milk chocolate chips divided
- 1/3 cup chopped pecans
- 1/2 cup toffee bits
Instructions
- Preheat oven at 350-degrees. Line a 13x9 pan with foil and apply nonstick spray or butter.
- In a large bowl, combine flour, brown sugar, and cinnamon. Add the butter and vanilla. Beat until it resembles coarse crumbs. Stir in 2/3 cup chocolate chips and the pecans. Distribute the crumbs across the bottom of the pan and press down evenly.
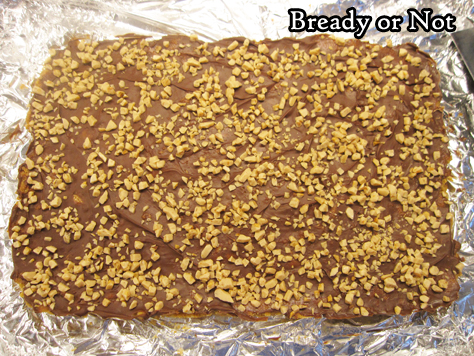
- Bake for 25 to 30 minutes, until golden. Immediately sprinkle on the remaining 1 cup of milk chocolate chips. Let sit a minute or two to soften, then use an uneven spatula to spread chocolate across the crust. Sprinkle toffee bits on top.
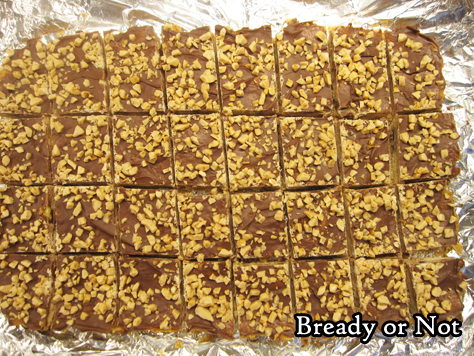
- Cool in pan on wire rack; if desired, place in fridge to speed the process. Once the pan is cool, use foil to move contents to a cutting board. Slice into bars. Keeps in fridge or at room temperature for up to 2 days.
- OM NOM NOM!
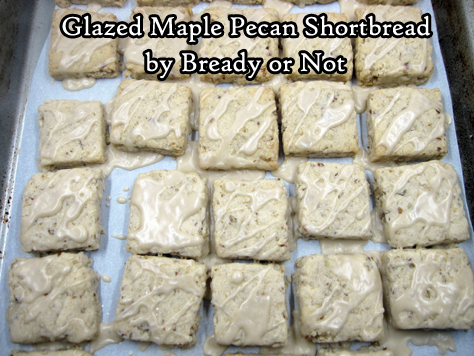
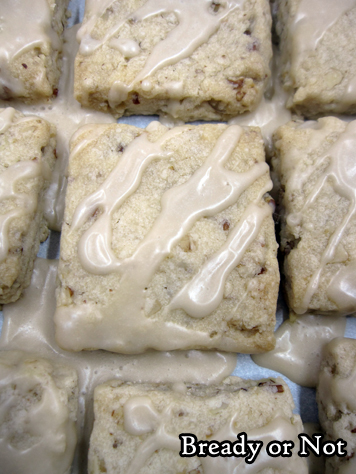
Bready or Not Original: Glazed Maple Pecan Shortbread Cookies
We made it three weeks into 2019 before we hit a maple recipe. Glazed Maple Pecan Shortbread Cookies, to be exact.
This is a recipe that involved heavy experimentation for me. The base recipe made maple logs, which were then dipped in chocolate. I found the log-making process awkward. I didn’t want milk chocolate paired with maple, either.
Therefore, I tweaked and twisted things around, and the end result was a cookie that reminds me a lot of Pecan Sandies from the grocery store, just with a necessary oomph of maple.
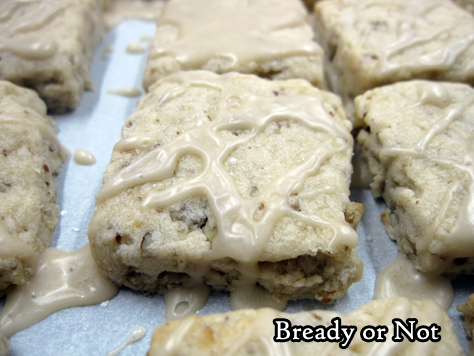
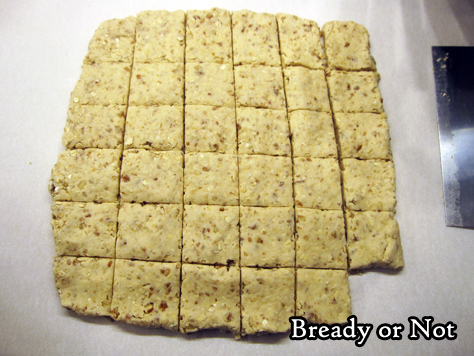
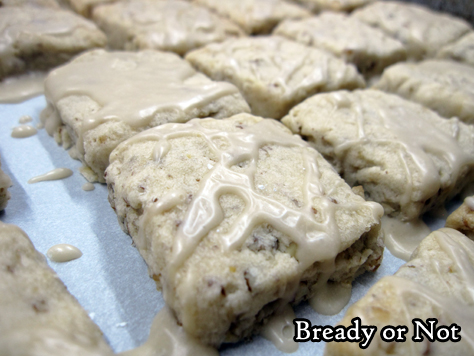
Instead of making the cookies into logs, I press them flat and used by bench knife to slice them into squares. A drizzle of maple glaze added just the right touch of sweetness after baking.
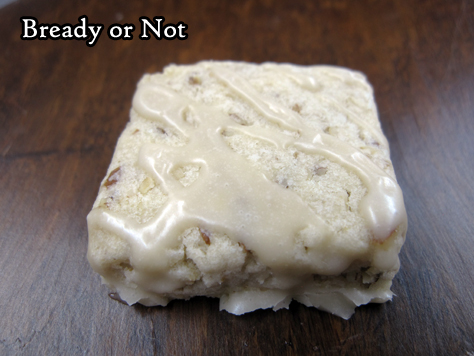
These are ideal cookies to go along with coffee or tea. They are a little dry and crumbly, but easy to eat in a bite or two.
Plus, you can omit the pecans if necessary! You’ll get fewer cookies, but the texture and maple goodness are still downright scrummy.
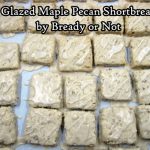
Bready or Not Original: Glazed Maple Pecan Shortbread Cookies
Ingredients
Cookies:
- 1/2 cup unsalted butter softened
- 1/2 cup shortening
- 1/2 cup confectioners' sugar
- 1 teaspoon vanilla extract
- 1 teaspoon maple flavor
- 1 1/2 cups all-purpose flour
- 1 cup quick oats
- 1/2 cup pecans finely chopped
- 1/2 teaspoon salt
Glaze:
- 1/2 cup confectioners' sugar
- 1 Tablespoon + milk or half & half
- 1 teaspoon maple flavor
Instructions
- Preheat oven at 325-degrees. In a large bowl, cream together the butter, shortening, and confectioners' sugar. Beat in the vanilla and maple flavor.
- In another bowl, sift together the flour, oats, pecans bits, and salt. Gradually combine with the wet mixture until it forms a cohesive mix.
- Clean off a space of counter or tear off a large piece of parchment paper. Dump the cookie dough out and form it a roughly 8x8 square. Use a bench knife or a pizza cutter to slice into squares about an inch in diameter.
- Transfer cookies to a parchment-lined cookie sheet. Add a little space between cookies, but they won't spread much.
- Bake for 14-17 minutes, until cookies are set and lightly browned. Transfer to a rack to cool.
- Once all the cookies are baked and at room temperature, set out another piece of parchment paper. Place the cookies there, close together.
- In a small bowl, mix together glaze ingredients, adding enough milk to create a dribbling consistency. Use a fork to dribble glaze or the back of a spoon to coat each one. Leave out for an hour or so to set, then seal in container at room temperature.
- OM NOM NOM!
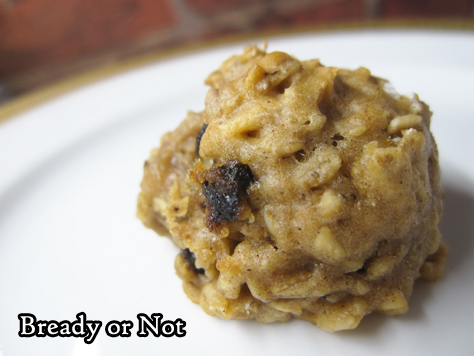
Bready or Not Original: Soft Muesli Breakfast Cookies
Let’s continue a healthy theme for another week with Soft Muesli Breakfast Cookies!
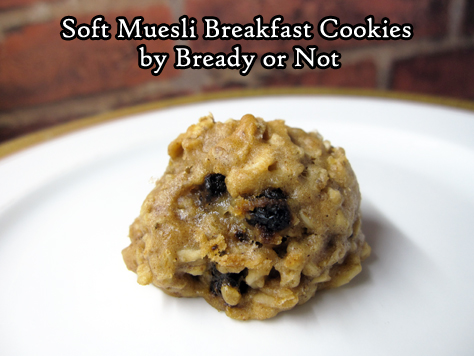
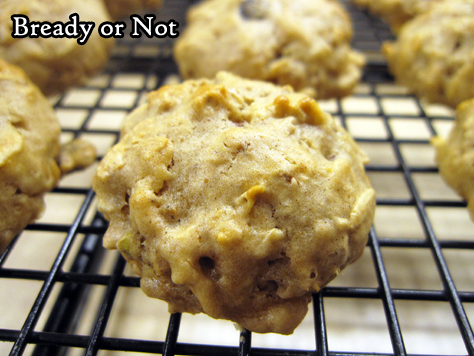
Think of these like plump little oatmeal cookies. The texture is cakey and thick, and will otherwise vary depending on the muesli you use.
I tested out this recipe using Seven Sundays Vanilla Cherry Coconut Muesli, which was FANTASTIC in these cookies.
The customization options for this recipe are really endless. Get a new muesli and get baking! Muesli is often on sale at this time of year. Take advantage of that.
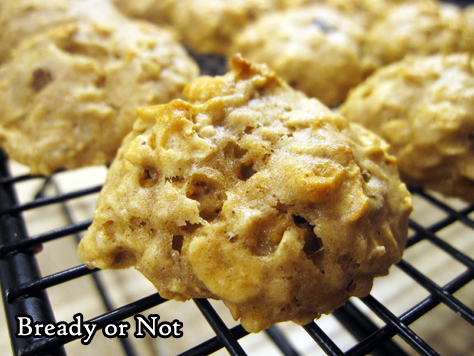
These cookies are slightly tacky because of the applesauce, so be sure to keep waxed paper or parchment between the cookies in their sealed container or they’ll stick together.
The cookies will keep well for up to a week, too. In fact, take them on the go. Enshroud some in plastic for a kid’s (or your own) snack or lunch.
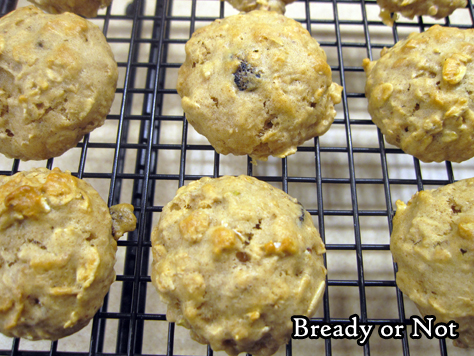
The recipe makes about 55 cookies if you use a teaspoon scoop, so you’ll have plenty of cookies to enjoy!
Bready or Not Original: Soft Muesli Breakfast Cookies
Ingredients
- 1 1/2 cups all-purpose flour
- 1 teaspoon baking soda
- 1 teaspoon cinnamon
- 1/4 teaspoon salt
- 3/4 cup applesauce individual serving cup size
- 1/2 cup brown sugar packed
- 1/2 cup vanilla Greek yogurt or plain
- 2 Tablespoons vegetable oil or coconut oil
- 1 egg
- 1 teaspoon vanilla extract
- 2 1/2 cups muesli about 11 ounces
Instructions
- Preheat oven to 350-degrees.
- In a medium mixing bowl whisk together the flour, baking soda, cinnamon, and salt. Set aside.
- In a big mixing bowl, beat together the applesauce, brown sugar, yogurt, vegetable oil, egg, and vanilla with a mixer until well combined. Add flour mixture, followed by the muesli.
- Drop cookie dough by teaspoon scoops onto a parchment paper-lined cookie sheet. Bake for 10 to 12 minutes.
- Allow cookies to cool on pan for five minutes, then transfer to a wire rack to cool completely. Store in a sealed container between parchment or waxed paper layers; the applesauce will make the cookies slightly tacky if they touch each other. They'll keep for up to a week at room temperature.
- OM NOM NOM!
Bready or Not: Baked Goat Cheese Salad Rounds [Gluten Free]
Let’s start off the new year with a deliciously cheesy recipe to make a salad extra special: Baked Goat Cheese Salad Rounds!
![Bready or Not: Baked Goat Cheese Salad Rounds [Gluten Free]](https://www.bethcato.com/blog/wp-content/uploads/2018/10/Baked-Goat-Cheese-Salad-Rounds9_sm.jpg)
This recipe is super easy. There are only four ingredients! The work is minimal as it goes in stages.
![Bready or Not: Baked Goat Cheese Salad Rounds [Gluten Free]](https://www.bethcato.com/blog/wp-content/uploads/2018/10/Baked-Goat-Cheese-Salad-Rounds2_sm.jpg)
The end result is a delicious, fancy cheese to add to your salads over the coming weeks. I do large salads with lots of cheese, so I use two rounds. For a small salad–or if you want less cheese (goat cheese IS strong)–do one round.
![Bready or Not: Baked Goat Cheese Salad Rounds [Gluten Free]](https://www.bethcato.com/blog/wp-content/uploads/2018/10/Baked-Goat-Cheese-Salad-Rounds4_sm.jpg)
The nice thing about this is that the recipe has everything portioned and ready in the freezer. In the time it takes to assemble the salad, the cheese rounds are baked and ready for eating.
![Bready or Not: Baked Goat Cheese Salad Rounds [Gluten Free]](https://www.bethcato.com/blog/wp-content/uploads/2018/10/Baked-Goat-Cheese-Salad-Rounds7_sm.jpg)
This is true whether you’re cooking for one, or for a group over for brunch.
![Bready or Not: Baked Goat Cheese Salad Rounds [Gluten Free]](https://www.bethcato.com/blog/wp-content/uploads/2018/10/Baked-Goat-Cheese-Salad-Rounds10_sm.jpg)
I made this recipe using the goat cheese available at Costco, where it is sold in a pack of two 10.5-ounce logs. A glance at Bready or Not of a month ago will show where the other log went–into Swirled Goat Cheese Brownies.
![Bready or Not: Baked Goat Cheese Salad Rounds [Gluten Free]](https://www.bethcato.com/blog/wp-content/uploads/2018/10/Baked-Goat-Cheese-Salad-Rounds11_sm.jpg)
Adapted from a recipe featured in Best of America’s Test Kitchen 2010.
![Bready or Not: Baked Goat Cheese Salad Rounds [Gluten Free]](https://www.bethcato.com/blog/wp-content/uploads/2018/10/Baked-Goat-Cheese-Salad-Rounds9_sm-150x150.jpg)
Bready or Not: Baked Goat Cheese Salad Rounds [Gluten Free]
Ingredients
- 1 cup pecans
- 10 1/2 ounces goat cheese softened
- 1 teaspoon dried Italian herbs
- 2 large eggs room temperature
Instructions
- In a food processor, pulse pecans until finely chopped. Transfer the pecans to another bowl. Add the cheese and herbs to the processor and process until smooth, about 30 seconds. Chill cheese in fridge in a covered bowl until firm, at least an hour.
- Set up a work station. Beat the two eggs in a small bowl. Place next to the bowl of pecan pieces. Lastly, line a small cookie sheet or plate with waxed paper.
- Use tablespoon scoop to doll out about 12 equal dollops of goat cheese onto the waxed paper. Smooth out a ball of cheese between palms, then dip into the egg, allowing excess to run off, then press and roll the ball to coat with pecan. Set back on waxed paper. Repeat with other balls. Use palm or the bottom of a glass to compress the cheese into flat rounds. Place in freezer for several hours, at minimum.
- Once they are set, transfer the rounds to a sealed container for the freezer with waxed paper between the layers. IMPORTANT: They will go straight from the freezer to the oven. Don't thaw, or they'll lose their shape when baking!
- When ready to bake, preheat oven or toaster oven at 475-degrees. Place foil on cookie sheet. Remove from freezer however many cheese rounds desired to cook; two rounds per large salad works well. Spray foil and cheese lightly with cooking spray.
- Bake until the nuts are golden brown and cheese is warmed through, 7 to 10 minutes. Let cool several minutes. Set on a salad of greens tossed with a vinaigrette.
- Frozen cheese rounds will keep well up to a month.
- OM NOM NOM
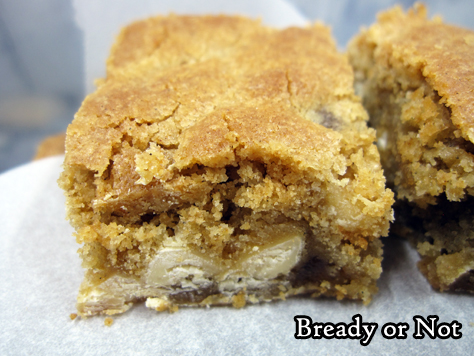
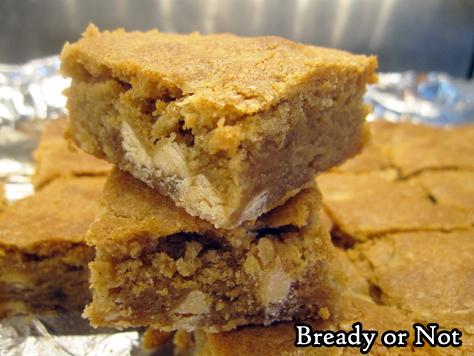
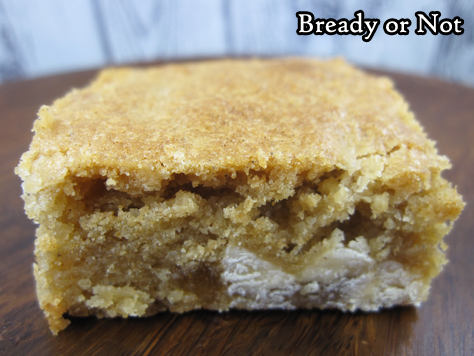
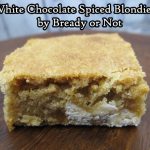
Bready or Not: White Chocolate Spiced Blondies
Let’s end 2018 on a sweet note with these White Chocolate Spiced Blondies!
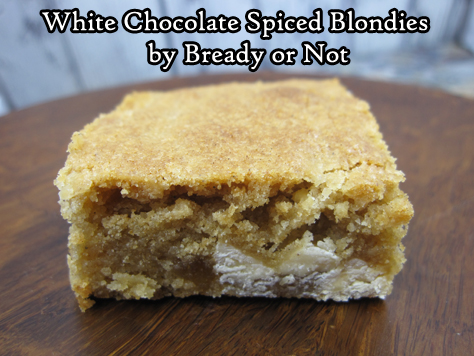
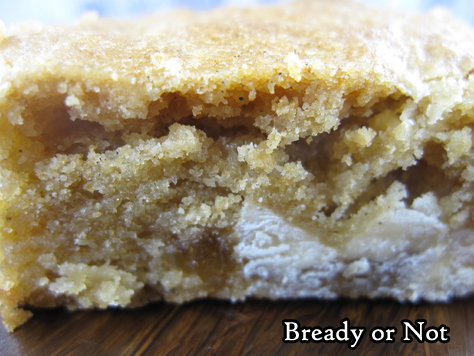
These things are fantastic. Their spiciness is mild and refreshing. These would be great for a between Christmas-and-New-Year party, or any time of year.
I’m a firm believer that good food shouldn’t be confined to just one season. If you like it, eat it when you want.
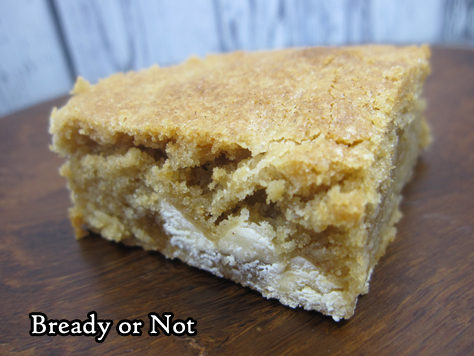
This recipe is fairly fast to mix up. Chopping up the crystallized ginger is the most tedious thing; rather than use a knife, I like to use kitchen shears. The blades can still get goopy after a few pieces, but I have more control over the cuts.
Since I’ve been asked before, you can often find crystallized ginger in the spice area at the grocery store–look in the glass jarred section. Also, if you have a natural food store like Sprouts, check their bins.
I love to keep candied ginger around for recipes like this. If I can catch a good sale around the holidays, I stock up!
If you want to stock up on these blondies, do note that they freeze well. Pack some in the freezer for later enjoyment!
Bready or Not: White Chocolate Spiced Blondies
Ingredients
- 2 1/2 cups all-purpose flour
- 1 1/2 teaspoons baking powder
- 1 teaspoon ground cardamom
- 1 teaspoon ground cinnamon
- 1/2 teaspoon ground ginger
- 1/4 teaspoon salt
- 1 cup unsalted butter two sticks, room temperature
- 1 3/4 cups brown sugar packed
- 3 eggs room temperature
- 1 Tablespoon vanilla extract
- 6 ounces white chocolate chips about half a bag
- 1 Tablespoon crystallized ginger chopped
Instructions
- Preheat oven at 350-degrees. Line a 13x9 inch baking pan with aluminum foil and apply nonstick spray or butter.
- In a medium bowl, stir together the dry ingredients: flour, baking powder, cardamom, cinnamon, ground ginger, and salt.
- In a big mixing bowl, beat the butter until its smooth. Add the brown sugar and mix, pausing to scrape the sides of the bowl, until the two are fluffy in texture. Beat in the eggs and vanilla.
- Slowly add in the flour mixture until just combined, then sprinkle in the white chocolate and candied ginger pieces. Spread the batter in the prepared pan.
- Bake for 30 minutes, until the middle passes the toothpick test. Cool to room temperature. Use the foil to lift the contents onto a cutting board to slice.
- Store blondies in a sealed container between parchment or waxed paper layers. Blondies can be frozen for later enjoyment.
- OM NOM NOM!
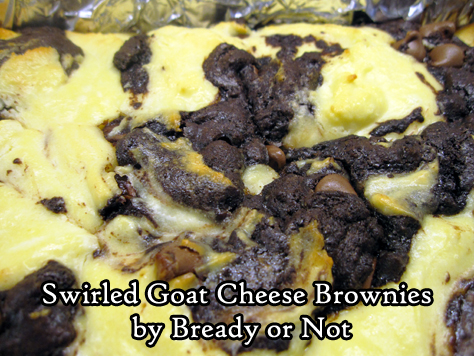
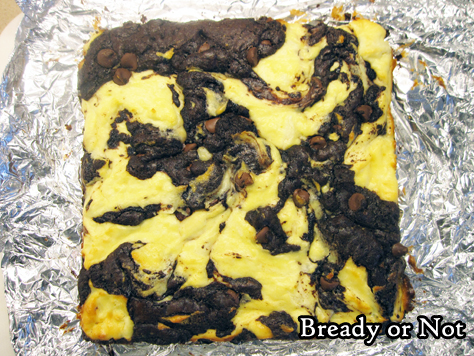
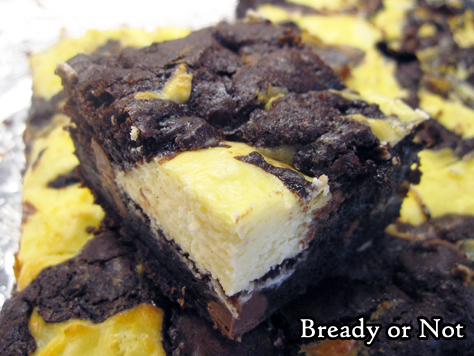
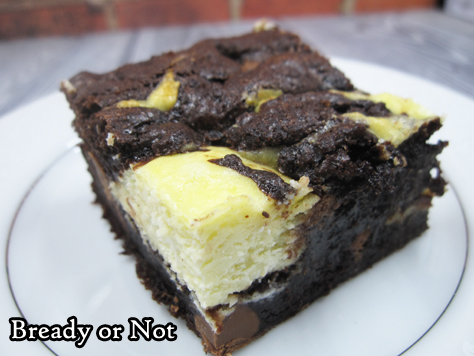
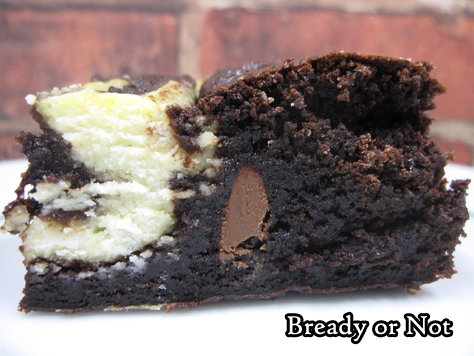
Bready or Not Original: Swirled Goat Cheese Brownies
Swirled Goat Cheese Brownies. These things are sweet, savory, rich, and absolutely perfect for holiday fixin’s.
These are brownies that taste fancy, because they are. Goat cheese ain’t cheap, people, though I acquired mine for a good price at Costco.
Costco’s chevre comes in two logs of 10 1/2 ounces. I bought it for use in a recipe that’ll be coming up in a few weeks (goat cheese rounds for a salad, YUM) but then had to figure out what to do with the other log.
The answer, of course: DESSERT! I ended up melding several recipes to suit my Costco-sized cheese, and ta-da! This recipe is the result.
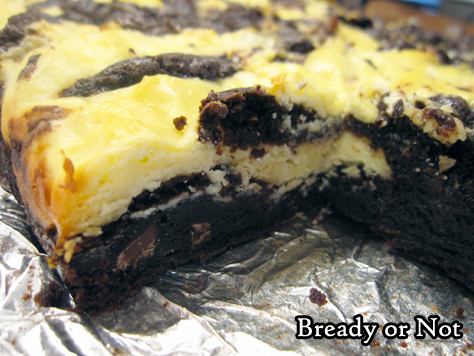
I’ve made brownies like this using cream cheese before. This version takes that up several notches. Chevre is a strong, somewhat gamey cheese. The end result is a brownie that is rich and sweet with a distinct savory note.
Treat yourself with these amazing brownies this holiday season–and be sure to check out last week’s Holiday Cherry Brownies, too!
Bready or Not Original: Swirled Goat Cheese Brownies
Ingredients
Goat Cheese Swirl
- 10 1/2 ounces goat cheese room temperature
- 2 Tablespoons confectioners' sugar
- 2 Tablespoons all-purpose flour
- 2 large eggs room temperature
Brownie Base
- 2/3 cup Dutch process cocoa powder sifted
- 1 cup white sugar
- 1/2 cup brown sugar packed
- 1/2 cup confectioners' sugar
- 3/4 teaspoon sea salt
- 1 cup all-purpose flour
- 1 cup semisweet chocolate chips or milk chocolate chips
- 3 large eggs room temperature
- 1/2 cup canola oil
- 1 teaspoon vanilla extract
Instructions
- Preheat oven to 350-degrees. Line an 8×8 or 9x9-inch square pan with aluminum foil and apply nonstick spray or butter.
- Mix goat cheese swirl ingredients. Set aside.
- Make the brownie base by whisking together the cocoa, sugars, salt, flour, and chips in a big mixing bowl. Add the eggs, oil, and water and vanilla extract until everything is just combined.
- Spoon half the brownie batter into the prepared pan. Dollop the cheese mixture atop it, then add the remaining brownie batter into the open spots. Use a knife to swirl the two layers together while still keeping them a bit distinct.
- Bake the brownies for 35 to 45 minutes, depending on the pan size. Use the toothpick test to check for doneness. The center should be set with the consistency still moist and fudgy. Cool to room temperature, then place in fridge to chill an hour or two prior to cutting.
- Use foil to lift brownies onto cutting board for easy slicing. Store in a sealed container in fridge, with parchment or waxed paper between the layers.
- OM NOM NOM!
