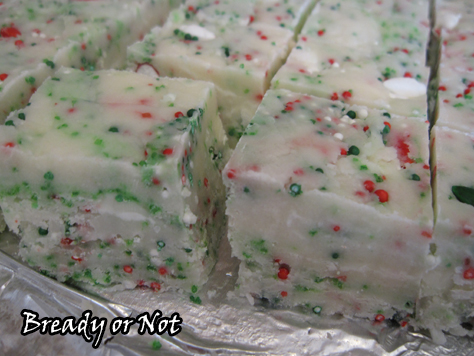
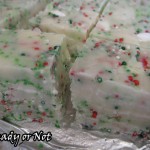
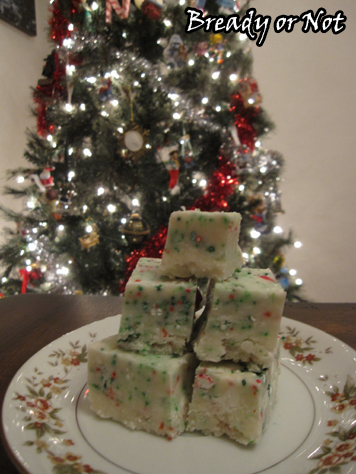
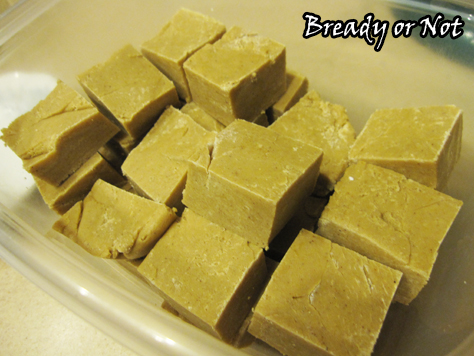
Bready or Not: Cake Batter White Chocolate Fudge (Microwave)
Last week was all about fast and easy gingerbread cookie dough fudge. This Wednesday I introduce you to a microwave fudge that uses cake mix.
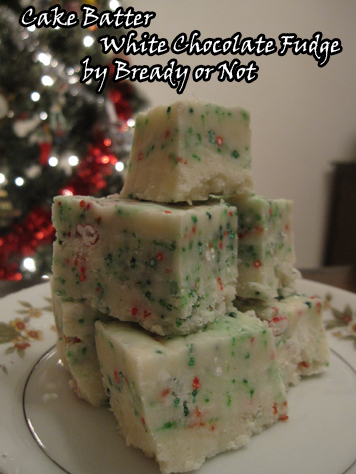
Eating this is like licking the paddle after mixing up cake mix batter. If you prefer savory over sweet, this recipe isn’t for you. This is for the people who love fudge and frosting and all things sweet.
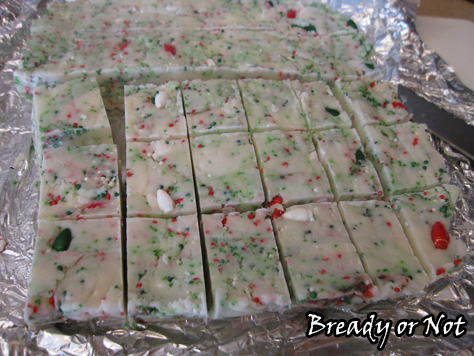
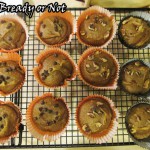
I didn’t limit myself to sprinkles in this. I had some Christmas candies, the type for topping cupcakes and such, that had been sealed away for a year. It had been a great post-holiday clearance buy. I wanted the containers GONE, so I pretty much dumped the contents into this fudge. That’s why you see little light bulb shaped candies in there.
This is obviously a great Christmas recipe, but it’s an easy one to customize year round depending on the colors you mix in. Make fudge to support your favorite sport team, or pink and red for Valentine’s Day, or pastels for spring. Cake mix goes on sale all year round, too, making this a pretty cheap recipe to throw together.
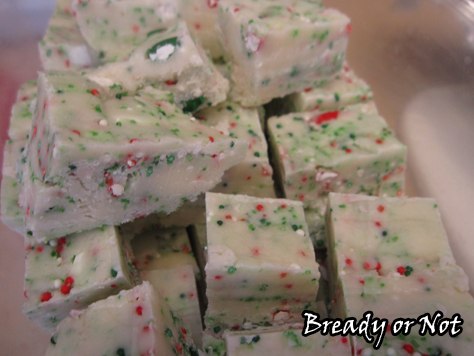
Whatever you add in, I’m sure it will be pretty. And delicious. So very, very delicious.
Modified from Sally’s Baking Addiction.
Bready or Not: Cake Batter White Chocolate Fudge (Microwave)
Ingredients
- 2 cups + 2 Tbsp white or yellow cake mix any brand, sifted
- 2 cups confectioners' sugar sifted
- 1/2 cup salted butter cut into chunks (or use unsalted and add a pinch of salt)
- 1/4 cup milk almond milk works
- 2/3 cup white chocolate chips
- 1/2 cup rainbow sprinkles/non pareils/jimmies
Instructions
- Line an 8×8 baking pan with aluminum foil or parchment and spray with nonstick spray. Set aside. Measure the white chocolate chips and the sprinkles in separate dishes so they are ready to add quickly.
- Mix sifted cake mix and powdered sugar in a large bowl. Add milk and butter, without stirring, and microwave for 2 minutes.
- Promptly mix ingredients until the butter is fully melted and incorporated. The batter will be very thick. Fold in white chocolate. Add the sprinkles last and stir gently so they don't leak too much color.
- Scoop into prepared baking pan. Level it across the top. Chill the fudge in the refrigerator for at least 2 hours before cutting into small blocks.
- Fudge will keep upwards of a week in the fridge, if it lasts that long.
OM NOM NOM
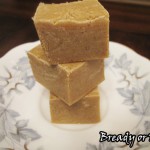
Bready or Not: Gingerbread Cookie Dough Fudge (Microwave)
Bust out the elastic-banded pants! It’s fudge season!
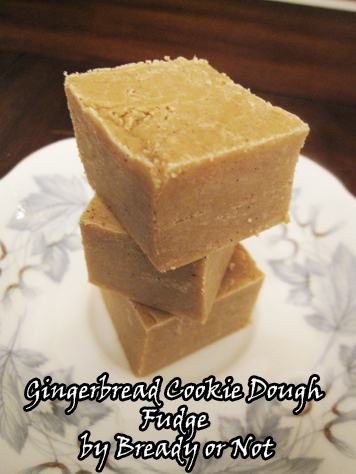
This particular fudge is especially appropriate for the holidays, too, as it tastes like gingerbread cookie dough. Yes, really. No worries about raw eggs or taking the time to bake.
I love microwave fudge recipes. They are so easy, taste as great as the candy thermometer fudge, and aren’t anywhere near as finicky. It’s pretty much a matter of melt, combine, chill. EAT.
Next week’s Bready or Not will be another microwave fudge. Consider yourself warned.
Modified from Lauren’s Latest.
Bready or Not: Gingerbread Cookie Dough Fudge (Microwave)
Ingredients
- 14 ounce sweetened condensed milk
- 4 ounces white chocolate
- 2 Tablespoons molasses or honey, though it will be mild
- 1 cup confectioners' sugar sifted
- 2 cups all-purpose flour
- 1/8 teaspoon baking soda
- pinch salt
- 3/4 teaspoon cinnamon
- 1/4 teaspoon ginger
- 1/4 teaspoon nutmeg
- 1/8 teaspoon cloves
Instructions
- Prepare an 8x8 glass dish by lining it with parchment or aluminum foil and greasing the surface.
- In another bowl, combine the dry ingredients and set aside.
- In a large microwave-safe bowl, place the sweetened condensed milk, white chocolate and molasses. Microwave on high for about 2 minutes total, but do so in 20-30 second chunks. Stir well between each time until the chocolate is melted into the milk.
- Pour the dry ingredients into the warm mix. Stir until smooth. Pour the fudge into the prepared dish. Chill it in the fridge for at least 30 minutes before cutting fudge into small pieces to serve.
- The gingerbread fudge will keep well in the fridge, covered, for upwards of a week, maybe longer.
OM NOM NOM.

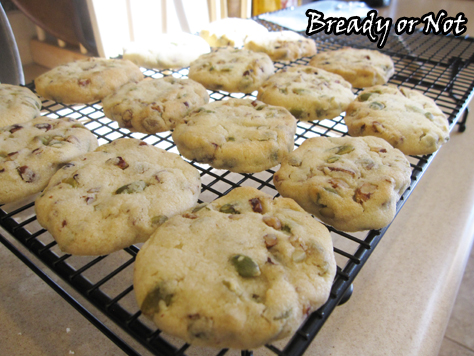
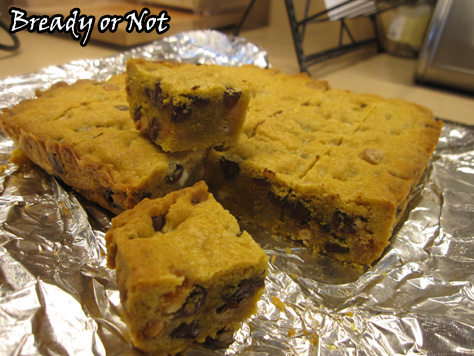
Bready or Not: Maple Pecan Pepitas Cookies
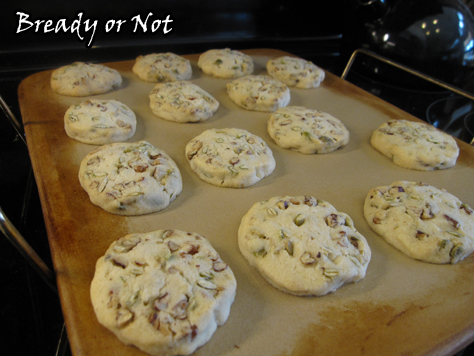
Maple, maple, maple. I love maple. It’s only right to transition with a cookie that is perfectly fall or Christmas–both its flavor and appearance.
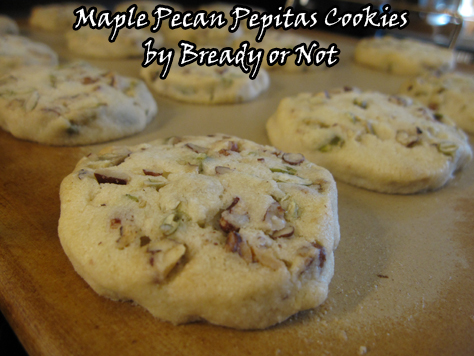
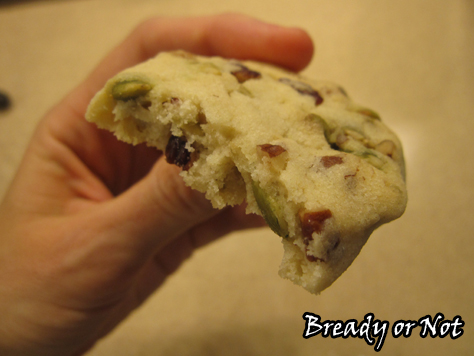
Have you ever had Pecan Sandies from the grocery store? These are kinda like that, but better. They boast a strong, clean maple flavor. I loved the combination of pecan bits and pepitas (shelled pumpkin seeds); they both crunch, but in different ways.
Plus, look at the red and green colors! Perfect!
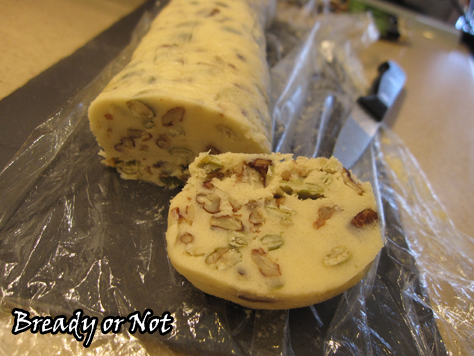
These are fridge cookies. That means you roll them into logs, like so, then keep them in the fridge for a day or two, or freeze them.
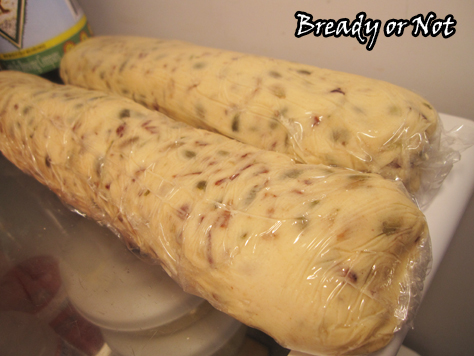
When it’s time to bake them, just slice. Sometimes the dough crumbles a bit because of the nuts. That’s okay. Just mush it together again.
As shortbread-style cookies, these will also keep exceptionally well–days, and probably for over a week, if you can make them last that long. I’d bet they are great for mailing as gifts, too.
The gift of maple-flavored things is the gift of happiness and love.
Recipe modified from Jo Ann Kurtz’s Maple Pecan Refrigerator Cookies recipe, as featured in Relish Magazine (December 9th 2012).
Bready or Not: Maple Pecan Pepitas Cookies
Ingredients
- 1 cup unsalted butter room temperature
- 1/2 cup white sugar
- 3 Tb real maple syrup
- 1 large egg yolk
- 3/4 teaspoon maple flavor
- 1/2 teaspoon vanilla extract
- 2 cups all-purpose flour
- 3/4 cup chopped pecans
- 3/4 cup pepitas
Instructions
- Beat the butter for several minutes, until creamy. Slowly add the sugar. Add syrup, egg yolk, and extracts. Stir in the flour and nuts.
- Divide dough in half. On plastic wrap, shape the dough into long log shapes about 1 1/2 inches or so high. Completely wrap the logs and stash in fridge until firm, at least two hours. They can also be frozen.
- Preheat oven to 350-degrees.
- Slice logs into 1/2 inch thick rounds and set on parchment papered or greased baking sheet. Bake for 18-20 minutes, until cookies are set and just barely tinted with color.
- OM NOM NOM.
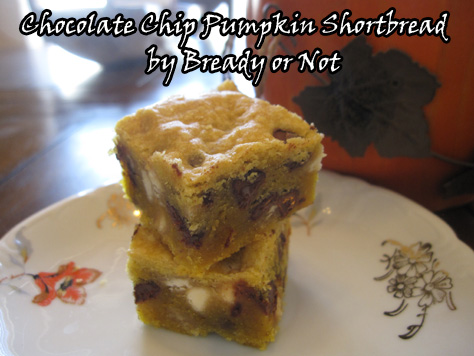
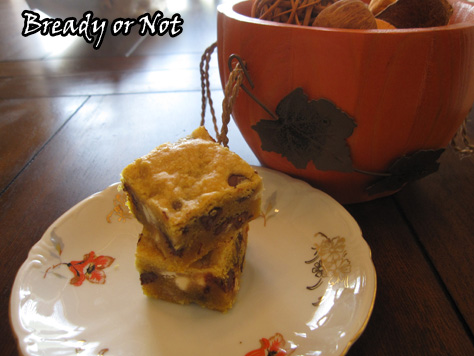
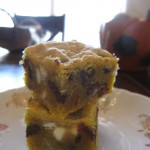
Bready or Not: Chocolate Chip Pumpkin Shortbread
Shortbread makes me think of autumn, so it’s only right to combine shortbread and pumpkin.
It’s been a while, but I have talked about my shortbread/autumn association before. It puts me in mind of kilts and bagpipes and happy family times.
Pumpkin lends an orange tint and a very mellow and pleasant flavor. It’s such a small amount that it doesn’t make the pieces feel tacky, either.
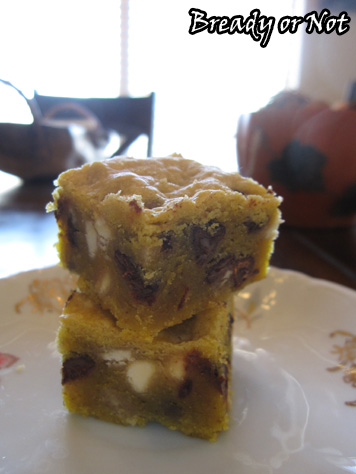
The original recipe called for dark chocolate. That’s just not my thing. I prefer white chocolate with pumpkin. Here, I mixed in white and semi-sweet chips. YUM.
Don’t be fooled by the fact that this uses an 8×8 pan–the shortbread is thick, so it makes a good bit. I cut it small, like I would with fudge.

Like most any shortbread, these keep very very well. I imagine it would mail well, too, if you don’t live in a place where it’s still 100-degrees in November.
Modified from Dark Chocolate Pumpkin Shortbread from The View from the Great Island.
Bready or Not: Chocolate Chip Pumpkin Shortbread
Ingredients
- 1 cup unsalted butter room temperature
- 1/2 cup white sugar
- 1 tsp vanilla extract
- 3 Tbsp pumpkin puree heaping
- 1/2 tsp cinnamon
- 1/2 tsp ground ginger
- 1/4 tsp cardamom
- 1/4 tsp cloves
- 1/4 tsp nutmeg
- 1/4 tsp allspice
- 2 1/4 cups all-purpose flour
- 1 cup chocolate chips white, dark, semi, etc
Instructions
- Preheat oven at 350-degrees. Prepare an 8x8 dish by lining it with aluminum foil or parchment paper and applying nonstick spray.
- In a large bowl, cream butter and sugar together. Beat in the vanilla, pumpkin, and spices.
- Fold in the flour, and then the chocolate chips.
- Spread the batter in the pan, smoothing it out evenly.
- Bake for about 40-45 minutes, until the edges just start to turn gold. Set out to cool to room temperature, then use the foil or parchment to lift the shortbread out for easy cutting.
Store in a sealed container at room temperature.
OM NOM NOM!
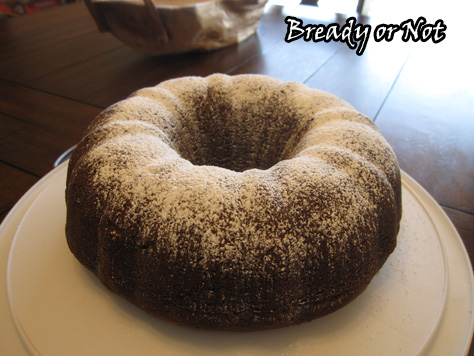
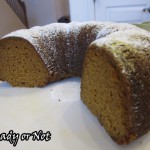
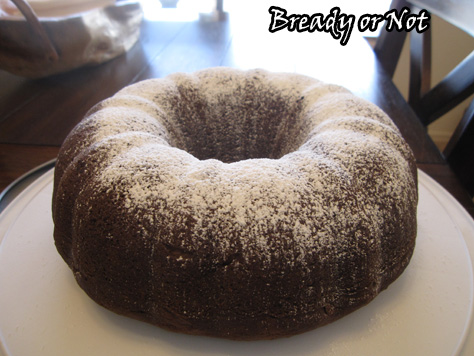
Bready or Not: Pumpkin and Pudding Mix Pound Cake
I’m picky about my pound cakes. I like them moist. They should be soft, cushy, and spongy. Dry pound cakes? Bleh!
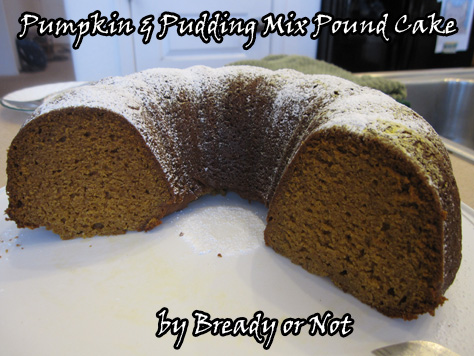
This pumpkin bundt cake is everything a pound cake should be. It’s tender and delicious without being sweet. The secret to the softness here is an entire box of pudding mix poured into the batter. Just as with cookie recipes, that pudding mix makes everything tender and chewy.
A slice of this cake doesn’t need anything to accompany it. You could serve this for a breakfast, brunch, or dessert. It keeps covered in the fridge for at least four days. I can’t vouch beyond that. It was all eaten.
Modified from Pumpkin Pound Cake at Sing for Your Supper.

Bready or Not: Pumpkin and Pudding Mix Pound Cake
Ingredients
- 1 cup white sugar
- 1 cup brown sugar packed
- 1 cup canola oil
- 3 eggs room temperature
- 3 cups all-purpose flour
- 2 teaspoons baking soda
- 3 teaspoons ground cinnamon
- 1 1/2 teaspoons ground nutmeg
- 1/2 teaspoon salt
- 1/4 teaspoon ground cloves
- 5.1 oz package instant vanilla pudding mix
- 15 oz pumpkin puree
- Confectioners’ sugar for dusting the top
Instructions
- Grease a bundt cake very well. Preheat the oven at 350-degrees.
- In a large bowl, combine the two sugars and oil until blended. Add eggs, one at a time, beating well after each addition.
- In a separate bowl, combine the dry ingredients: flour, baking soda, cinnamon, nutmeg, salt, cloves and pudding mix.
- Add the dry mix to the wet batter, alternately with pumpkin, until everything is well combined. Pour into the bundt pan--it will be very thick. Use a spatula to even it out across the top.
- Bake for 60-65 minutes, until a cake tester comes out clean. Cool for fifteen minutes and then invert it onto a wire rack to cool completely.
- Will keep very well stored covered in the fridge. Dust with confectioners' sugar just before serving.
OM NOM NOM!
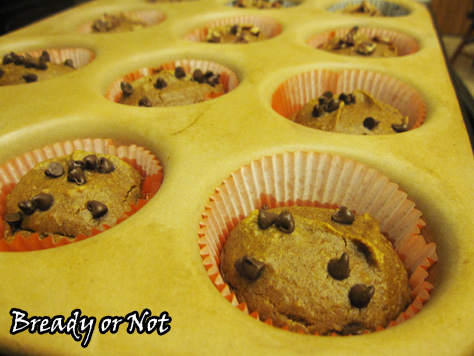
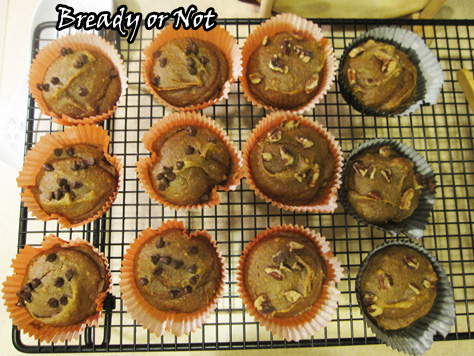
Bready or Not: Pumpkin Pucks
I don’t follow a paleo diet, but I do follow delicious food. In this case, delicious AND healthy.
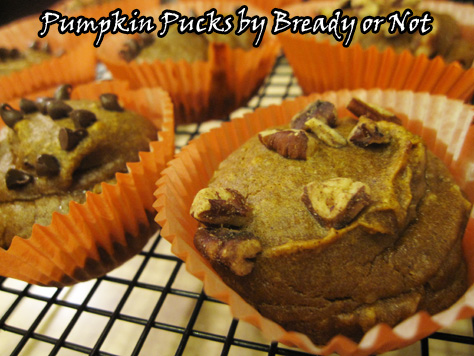
These pumpkin pucks are rather like mini pumpkin pie custards with a slight nutty taste. That nutty taste is stronger if you follow the original paleo version of the recipe and use almond flour, which was my preference, though making them with whole wheat and all-purpose flour works well.
I also used different nut butters. Almond butter tastes the strongest–in a very good way–though cashew butter was fantastic, too. Once, I only had 3/4 cup of pumpkin, so I made up for the difference with applesauce. I found no major difference in taste or texture.
This isn’t one of those dishes I make for my husband to take to work. These are mine. Two of them make for a yummy, nutritious breakfast. Pucks also be an awesome snack, and with their size they are very kid-friendly. They keep very well in the fridge for at least a week.
Modified from Paleo Parents.
Bready or Not: Pumpkin Pucks
Ingredients
- 1 cup pumpkin puree applesauce can be substituted in full or part
- 1 cup almond or other nut butter
- 1/4 cup honey
- 2 Tbsp maple syrup
- 2 eggs room temperature
- 1/3 cup almond flour or wheat or all-purpose flour
- 1 Tbsp cinnamon
- 1 tsp nutmeg
- 1/2 tsp salt
- 1/3 cup mini chocolate chips optional, or chopped nuts or dried fruit
Instructions
- Prepare a muffin pan with dropping in cup liners, then spray the insides with nonstick spray. Preheat oven at 350-degrees.
- If your almond butter is very stiff, zap it in the microwave for 15 seconds or so to soften it. Mix pumpkin puree and the almond butter together.
- Add honey and syrup and beat in eggs one at a time. Follow with each of the dry ingredients until it's just combined.
- Fill the muffin cups to 3/4 full; a tablespoon scoop makes this easy, as it's almost exactly 2 tablespoons to fill the cups. Top with mini chocolate chips or chopped nuts, if desired.
- Bake at 350-degrees for about 20 minutes. They will not rise much. The tops of some may start to crack. Let them cool for a while and then keep stored in fridge. They'll keep upward of a week, if they last that long!
OM NOM NOM!