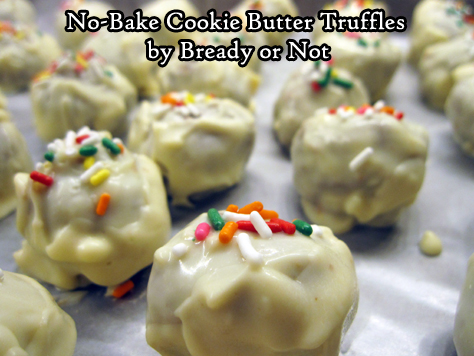
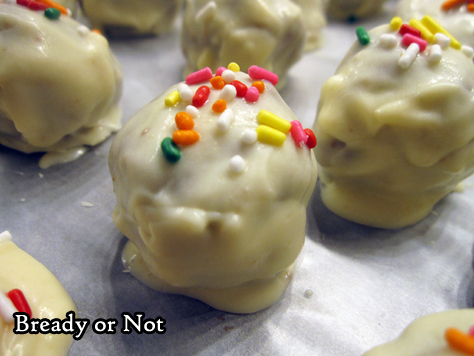
Bready or Not: No-Bake Cookie Butter Truffles
We’ll finish off the year with a sinfully sweet treat that acts in stark contrast to those diet ads already clogging the TV: No-Bake Cookie Butter Truffles.
I’ll be honest. I hate making truffles. No matter how many times I do it, or what equipment or chocolate I use, they never end up “pretty” like on other food blogs.
But heck, I’m posting pics and this recipe anyway, because these things are DELICIOUS.
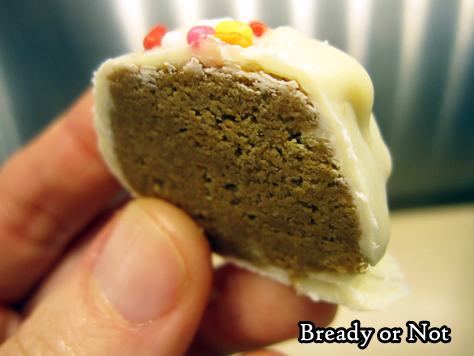
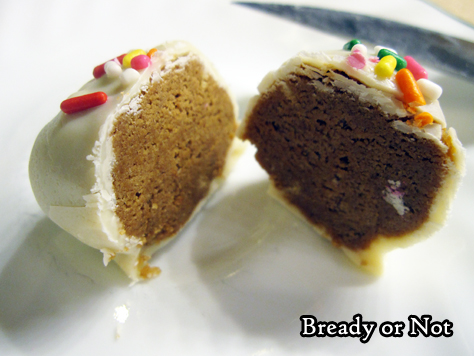
White chocolate (with a touch of oil) is used to coat balls made of crushed graham crackers and cookie butter. Those are the ingredients. It’s that easy.
It’s also that good. You see those ingredients, you know exactly how this will taste.
Cookie butter has gone mainstream at this point. Speculoos and Biscoff are the traditional options, but Walmart is even carrying their own brand now! If you haven’t tried cookie butter yet… I’m sorry/not sorry about the joy I am introducing to your life.
Modified from No-Bake Speculoos Truffle Cookies in Foot Network Magazine, December 2015.
Bready or Not: No-Bake Cookie Butter Truffles
Ingredients
- 9 graham crackers 1 sleeve, about 8 ounces
- 1 1/3 cup creamy cookie butter spread
- 11 ounces white chocolate chips 1 bag
- 1 Tablespoon coconut oil or vegetable shortening
- nonpareils or sprinkles for decoration
Instructions
- Line a baking sheet with wax paper. Pulse the graham crackers in a food processor until finely ground but not powdery. Add the cookie butter and pulse the two together, scraping down the sides as needed. If the mix isn't cohesive, add a touch more cookie butter.
- Use a teaspoon scoop or spoon to form 1-inch balls. Arrange them on the cookie sheet and cover with plastic wrap. Let them set in fridge at least one hour or overnight.
- Melt the white chocolate chips and coconut oil by your preferred method, on stove top, a stand-alone melter, or microwave; note that white chocolate burns quickly, so take care!
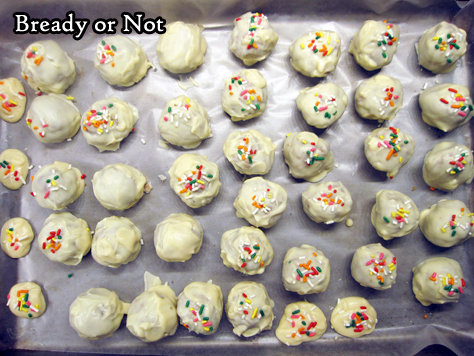
- One at a time, drop cookie butter balls into the chocolate and flip to coat. Allow excess chocolate to drip off before returning the truffle to the wax paper sheet. Continue to coat truffles, warming chocolate as necessary. Decorate truffles with nonpareils or sprinkles.
- Let set in fridge at least 30 minutes, then transfer to a lidded container. Store in fridge. Truffles will keep at least a week.
- Recipe makes about 35 teaspoon-sized balls.
- OM NOM NOM!
Sunday Quote is monitoring NORAD today
Read More“Make it a rule never to give a child a book you would not read yourself.”
~ George Bernard Shaw
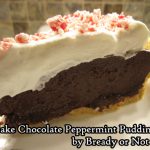
Bready or Not Original: No Bake Chocolate Peppermint Pudding Pie
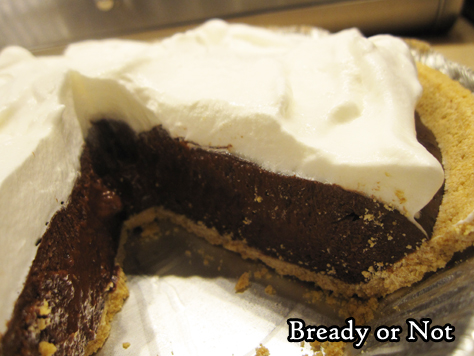
If you need a dessert that is no bake and no fuss, here’s a pie recipe to come to the rescue: No Bake Chocolate Peppermint Pudding Pie!
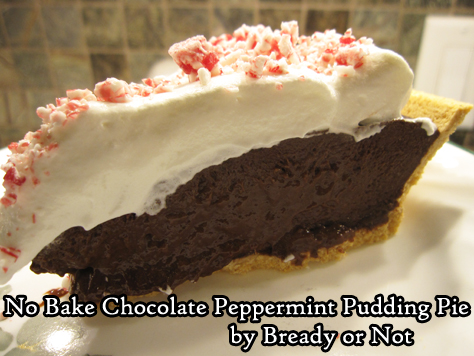
This is chocolatey. Minty. Smooth. All the things.
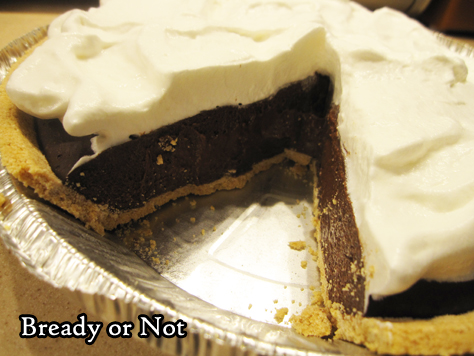
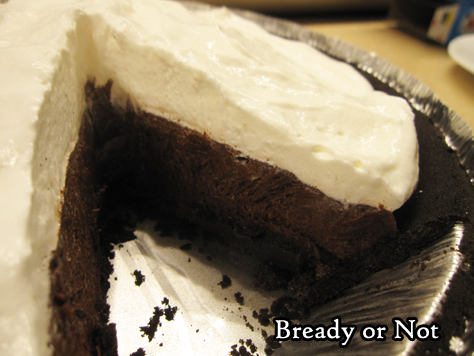
The filling works with either graham cracker or Oreo crusts. You can’t go wrong with either, honestly.
There is something liberating about a good no-bake pie at this time of year. Oven space is at a premium–as is time. This pie comes together in about 15 minutes or so, depending on the speed of your burners.
Bready or Not Original: No Bake Chocolate Peppermint Pudding Pie
Ingredients
- 1 graham cracker crust or Oreo pie crust
- 2 boxes chocolate fudge pudding (NOT instant) or other chocolate pudding; 1.3-ounce
- 3 Tb cocoa powder sifted
- 1 teaspoon white sugar
- 2 1/2 cups milk
- 1 Tb vanilla extract
- 2 teaspoons peppermint extract
- 1 Tb butter
- 4 ounces Cool Whip about half small container
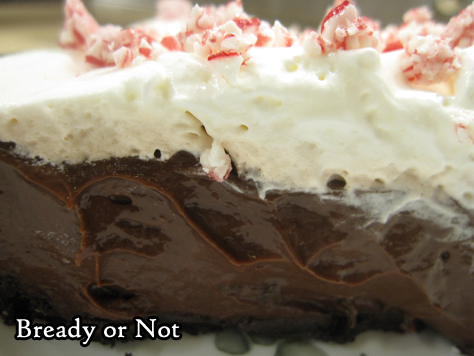
- crushed peppermints optional
Instructions
- Set out the crust so that it's ready.
- In a large saucepan at low heat, whisk together the two packs of chocolate pudding along with the cocoa powder, sugar, milk, and both extracts. Stir until it becomes smooth and thick, about 5 to 10 minutes.
- Turn off the heat and add the pat of butter, whisking until the pudding is silky. Pour everything into the pie crust.
- Allow to cool for a few minutes, then place it in fridge to set overnight (or place in freezer for a few hours, then set in fridge to thaw a few hours more).
- Cover the top with Cool Whip. Adorn individual pieces with peppermint bits, if desired.
- OM NOM NOM!
Sunday Quote has known her husband for 19 years!
Read More“A children’s story that can only be enjoyed by children is not a good children’s story in the slightest.”
~ C.S. Lewis
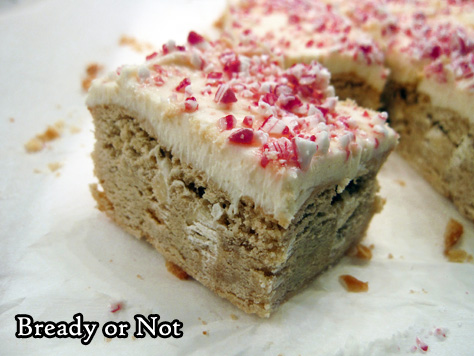
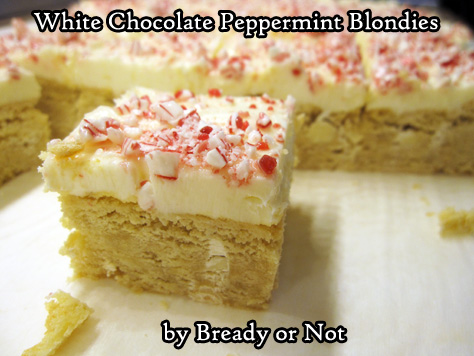
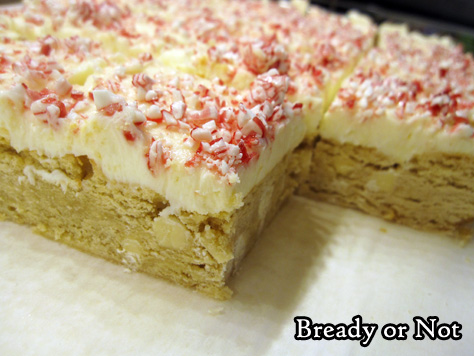
Bready or Not: White Chocolate Peppermint Blondies
If you want a treat that is decadent, gorgeous, and loaded with peppermint, bake this up.
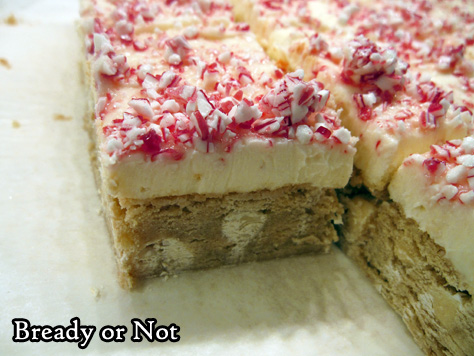
But once you put the peppermint bits on, eat them within a few hours. That’s right, this recipe has the same issue as the Peppermint Chocolate Chip Cookie Sticks a few weeks ago.
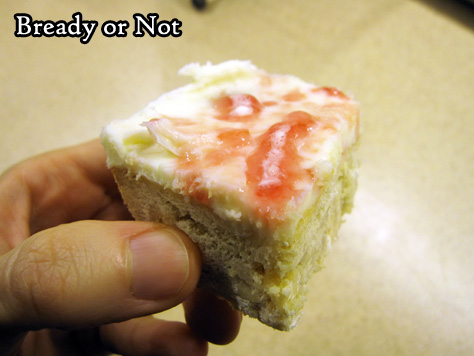
See that picture above? That’s what the peppermint does, melting to look like stained glass. It’s a purely cosmetic issue; the bars still taste fine and the peppermint even retains a slight crunch.
The solution to this is pretty easy, though. Add the peppermint bits right before serving, or just omit them. Or be prepared to eat them with oozy peppermint on top, as they’ll still taste fine!
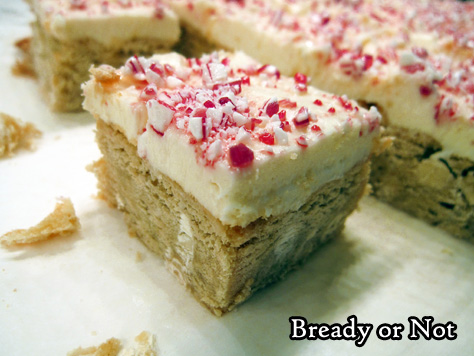
With that disclaimer done, I can say these things taste absolutely delicious. I mean, hello, blondies topped with cream cheese frosting! These are practically a cake.
Modified from County Living, December 2015.
Bready or Not: White Chocolate Peppermint Blondies
Ingredients
blondies
- 3/4 cup unsalted butter 1 1/2 sticks, softened
- 3/4 cup white sugar
- 2/3 cup brown sugar packed
- 3 large eggs room temperature
- 2 teaspoons vanilla extract divided
- 3/4 teaspoon pure peppermint extract
- 2 2/3 cups all-purpose flour
- 3/4 teaspoon baking powder
- 1/4 teaspoon kosher salt
- 1 3/4 cup white chocolate chips 1 bag
frosting
- 16 ounces cream cheese 2 boxes
- 1 cup confectioners' sugar
- 1/2 cup peppermints crushed
Instructions
- Preheat oven to 325-degrees. Apply nonstick spray or butter to an aluminum foil-lined 9x13 baking pan.
- Beat together butter, both sugars, eggs, 1 teaspoon vanilla, and peppermint extract. In a separate bowl, whisk together the flour, baking powder, and salt.
- Stir the dry mix into the butter mix. Add the chocolate chips. Spread the batter evenly in the prepared pan.
- Bake until golden brown and the middle passes the toothpick test, about 30 to 35 minutes. Cool in pan on rack until room temperature, or place in fridge to chill.
- When the blondie base is no longer hot, beat together the cream cheese and confectioners' sugar until they are light and fluffy, about 1 to 2 minutes. Beat in the remaining 1 teaspoon vanilla.
- Spread frosting over blondies. Freeze for 30 minutes or chill in fridge for several hours to set.
- Add crushed peppermints just before serving. NOTE: after a few hours, the peppermints will melt, regardless of the temperature of the bars. It looks weird, but tastes the same, even retaining a slight crunch. Other than that, the bars keep fine in the fridge for at least 5 days.
- OM NOM NOM!