Bready or Not Original: Cookie Butter and Jelly Bars (Big Pan)
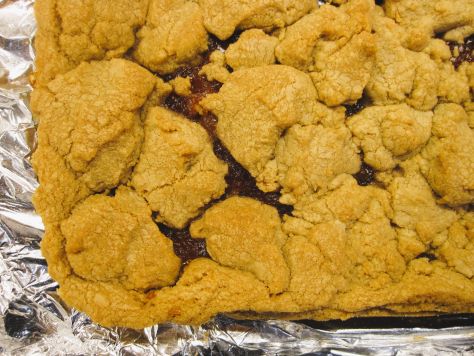
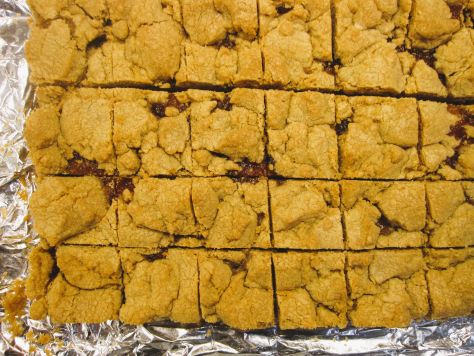
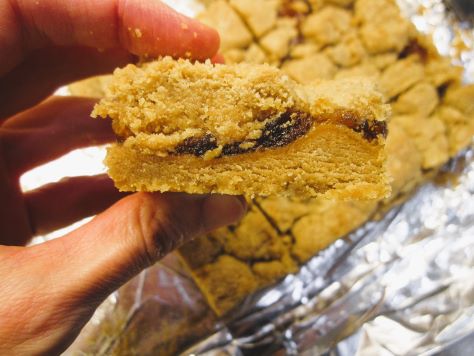
This big casserole dish of Cookie Butter and Jelly Bars is chewy and sweet, perfect to feed a crowd! Customize it by using your favorite jelly.
I love cookie butter. You can find it in jars near the nut butters in a lot of grocery stores. There’s nothing healthy about it–it’s spice cookies pulverized with oil to make a smearable paste that you can use however you use peanut butter, such as on sandwiches or in baked goods like this.
Cookie butter makes everything taste inherently more cookie-like. It’s fantastic with jelly! I recommend using about 10-12 ounces of jelly here; less than that and the layer is thin, more than that, it can gush at the sides of the pan and stick to the foil.
These bars are best eaten within two days. After that, they will dry out a bit but they are still tasty.
Bready or Not Original: Cookie Butter and Jelly Bars (Big Pan)
Equipment
- 13×9 pan
- aluminum foil
- nonstick spray
- offset spatula
Ingredients
- 1 cup unsalted butter (2 sticks) room temperature
- 1 1/2 cups white sugar
- 1 teaspoon vanilla extract
- 2 large eggs room temperature
- 2 cups creamy cookie butter such as Biscoff and Trader Joe's Speculoos
- 3 cups all-purpose flour
- 1 teaspoon baking powder
- 10-12 ounces jelly or jam or preserves
Instructions
- Preheat oven at 350-degrees. Line a 13×9 pan with foil and apply nonstick spray.
- In a large mixing bowl, beat together butter and sugar until light and fluffy. Add the eggs, vanilla, and cookie butter. Follow up with the flour and baking powder.
- Spread about 2/3 of the dough in the prepared pan. Using an offset spatula, spread the jam in an even layer up to about 1/2 inch of the edge. Dollop the remaining dough all over the top. Use a knife to gently form into swirls with the jelly.
- Bake for 25 to 30 minutes until the edges start to brown and the middle is set and passes the toothpick test. Let cool completely on wire rack. Use foil to lift contents onto a cutting board to slice into bars. Store in a sealed container at room temperature.
OM NOM NOM!
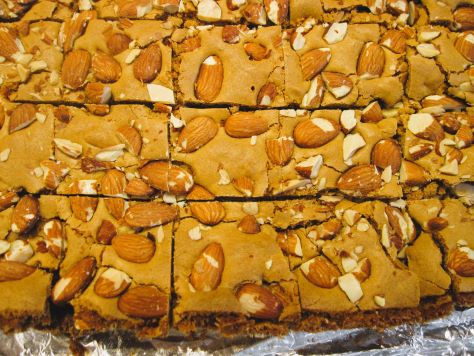
Bready or Not Original: Almond Blondies
These Almond Blondies are proof that simple can be oh-so-good.
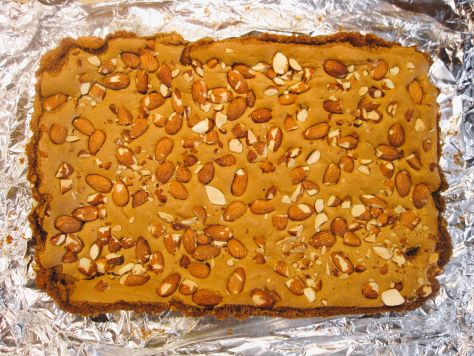
There’s no chocolate here. No fancy presentation. This is all about a basic, pan-mixed batter with almonds on top.
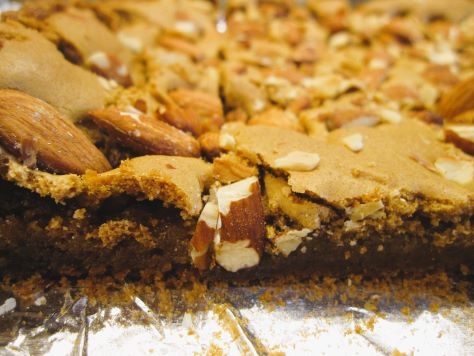
These things are a sensory delight. You have thick, chewy bars infused with deep sweetness thanks to a heady application of brown sugar. The chopped almonds add a hearty crunch in contrast.
Some almonds and crumbs will fall off as the bars are sliced, but these remnants are delicious. Let nothing go to waste!
Bready or Not Original: Almond Blondies
Equipment
- 13×9 pan
- nonstick spray
- large saucepan
Ingredients
- 2 cups brown sugar packed
- 2/3 cup unsalted butter
- 2 large eggs room temperature
- 2 teaspoons vanilla extract
- 1 teaspoon almond extract
- 2 cups all-purpose flour
- 1 teaspoon baking powder
- 1 teaspoon baking soda
- 3/4 cups almonds chopped
Instructions
- Preheat oven at 350-degrees. Line a 13×9 pan with foil and apply nonstick spray. Set aside.
- In a large sauce pan on medium heat, place the brown sugar and butter, stirring constantly until the ingredients combine to be smooth. Set on another burner to cool for about 15 minutes.
- Whisk in the eggs one at a time, followed by the two extracts. Stir in the flour, baking powder, and baking soda until no white streaks remain.
- Spread batter in the prepared pan. Sprinkle the almonds all over the top. Bake for 25 to 30 minutes. The middle should pass the toothpick test. Let cool for a bit, but cut into the blondies while they are still warm. Store in a sealed container at room temperature.
OM NOM NOM!
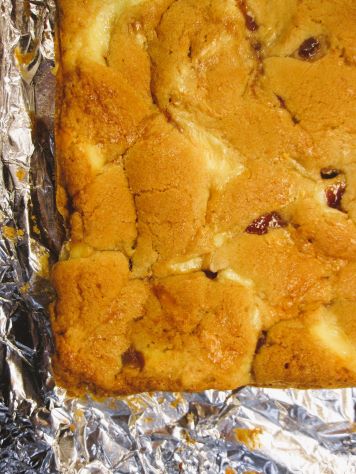
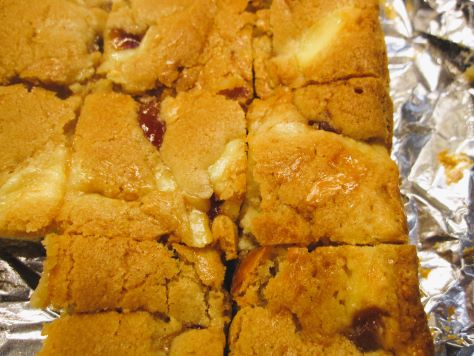
Bready or Not Original: Fruity-Cheesy Swirled Blondies
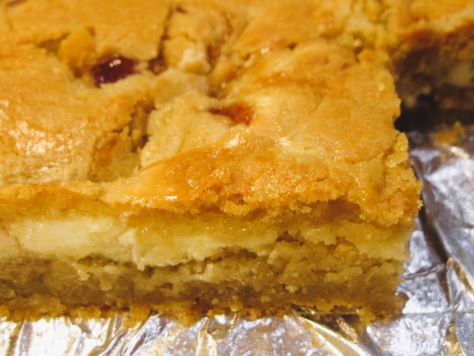
These Fruity-Cheesy Swirled Blondies are easy to customize based on your budget and ingredient availability. Go expensive and fancy and use a goat cheese log, or more budget-conscious and still-delicious with standard cream cheese.
I’ve done it both ways. Both are fantastic. For the goat cheese, I recommending hitting someplace like Costco or Sam’s Club. For cream cheese, my go-to has become Aldi.
Use any variety of jams or preserves, but the one necessity is that it is THICK. A watery one will sink to the bottom (says the voice of experience). I found the good basic Smucker’s Strawberry Jam was fine in this recipe.
Bready or Not Original: Fruity-Cheesy Swirled Blondies
Equipment
- 9×9 pan
- aluminum foil
- nonstick spray
- uneven spatula
Ingredients
Blondies
- 12 Tablespoons unsalted butter (1 1/2 sticks) room temperature
- 1/2 cup white sugar
- 3/4 cup light brown sugar packed
- 2 large eggs room temperature
- 1/2 teaspoon vanilla extract
- 1 3/4 cups all-purpose flour
- 1 1/4 teaspoons baking powder
- 1/2 teaspoon salt
Cheesecake Swirl
- 8 ounces soft goat cheese or cream cheese, softened
- 2 Tablespoons white sugar
- 1 Tablespoon plain or vanilla Greek yogurt or sour cream
- 1 large egg room temperature
- 1/2 teaspoon vanilla extract
- 3/4 cup jam or preserves
Instructions
- Preheat oven at 325-degrees. Line a 9-inch square pan with foil and apply nonstick spray.
- In a large bowl, cream together the butter and sugars until fluffy. Add the eggs and vanilla. Stir in the flour, baking powder, and salt until just combined.
- In a separate bowl, beat together the cheese, sugar, yogurt, egg, and vanilla to make smooth.
- Pour about half the blondie batter into the prepared pan. Smooth it out with an uneven spatula.
- Dollop on all of the cheese mixture. Then add spoonfuls of the jam to fill any gaps. Follow up by adding dollops of the remaining blondie batter. Use a butter knife to swirl the layers together for a marbled effect.
- Bake for 45 to 50 minutes, until the middle is not jiggly and passes the toothpick test. Cool for at least an hour at room temperature, then chill in fridge. Once the pan is cool, use the foil to lift the blondies onto a cutting board to slice into bars.
- Enjoy promptly or store in a sealed container in the fridge to eat over the coming days.
OM NOM NOM!
Bready or Not: Marcona Almond Bars
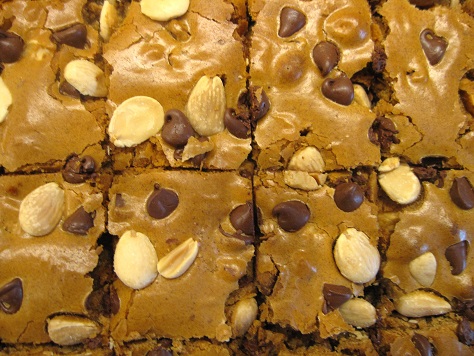
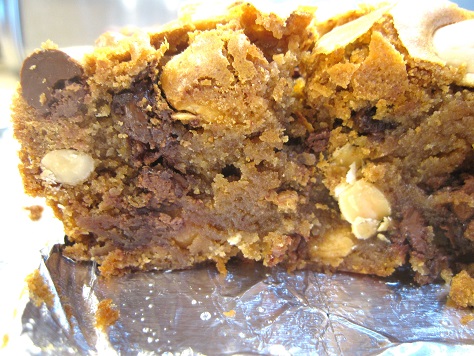
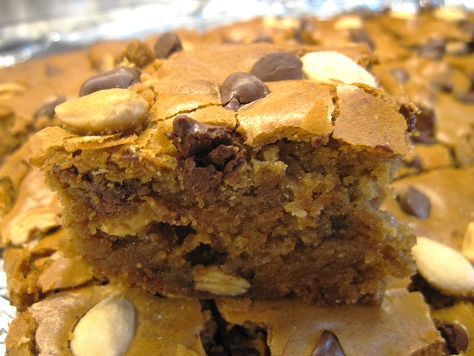
I’ve used almonds in many cookie and bar recipes, but these Marcona Almond Bars are especially decadent and good.
First of all, the base recipe starts with browned butter. Almond butter is also mixed in, which adds to the taste and texture. There’s just a touch of spice involved. These bars are really about the almonds.
What makes Marcona almonds different? They are from Spain, for one, and have the skin removed. They have a high standard of quality, a buttery, clean, crispness to them that is especially nice in contrast to chocolate. (They are also great on a Spanish-themed cheeseboard with things like Manchego cheese and membrillo paste.)
These bars are delicious for a snack or dessert, and they look especially pretty in their simplicity.
Modified from February 2014 issue of Food & Wine Magazine.
Bready or Not: Marcona Almond Bars
Equipment
- large saucepan
- 9×13 pan
- offset spatula
Ingredients
- 2 1/2 sticks unsalted butter
- 3 1/2 cups light brown sugar packed
- 5 large eggs lightly beaten
- 1/2 cup roasted almond butter
- 1 Tablespoon pure vanilla extract
- 1 1/2 teaspoons kosher salt
- 1/4 teaspoon ground cinnamon
- 3 cups all-purpose flour
- 2 cups Marcona almonds 9 ounces
- 1 3/4 cups chocolate chips 11 ounces (1 bag)
Instructions
- In a large saucepan, cook the butter over medium heat until golden brown, about 5 minutes. Set off-heat to cool for about 30 minutes.
- Start oven preheating at 325-degrees. Place a large strip of aluminum foil in a 9×13 pan and apply nonstick spray or butter.
- Add the sugar, eggs, almond butter, vanilla, salt, and cinnamon to the cooled browned butter. Mix until smooth. Add the flour. Fold in 1 1/2 cups of the almonds and 1 1/2 cups of the chocolate chips.
- Pour the batter into the prepared pan. Use an offset spatula to even out dough. Scatter the remaining almonds and chocolate chips over the top and lightly press in.
- Bake for 60 minutes. The middle should pass the toothpick test. Cool at room temperature, speeding process in the fridge, if desired. Use the foil to lift the contents onto a cutting board to slice into bars. Store in a sealed container at room temperature.
OM NOM NOM!
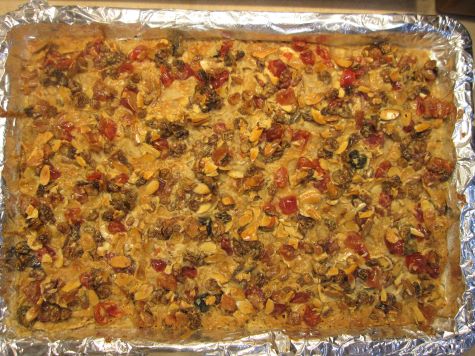
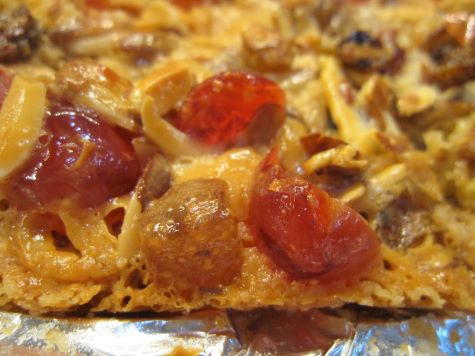
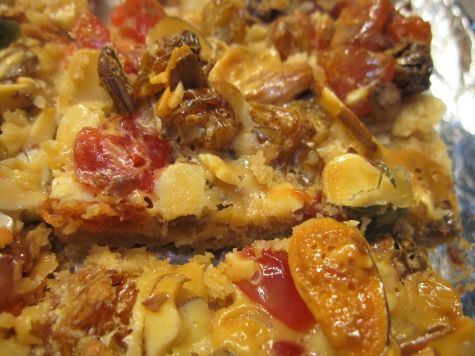
Bready or Not Original: Cherry Almond Bars
These Cherry Almond Bars are fast to make and are a delicious, seasonally-colorful treat.
This recipe is a great way to use up fruit cake mix in a way that does NOT involve fruit cake. Here, I used a combination of red and green cherries with pineapple bits, but you could use all kinds of mixes.
The crust here is both chewy and crisp. The top is sheer candy, really, which goes so well with the pastry base.
This is a great treat for a cookie exchange or to set out on a holiday display!
Bready or Not Original: Cherry Almond Bars
Equipment
- jelly roll pan (15x10x1-inches)
- aluminum foil
Ingredients
- 2 cups all-purpose flour
- 1/2 cup brown sugar packed
- 1 cup unsalted butter cold
- 1 cup golden raisins
- 8 ounces fruit cake mix chopped
- 1 cup sliced almonds
- 14 ounces sweetened condensed milk
Instructions
- Preheat oven at 325-degres. Line jelly roll pan with a wide strip of aluminum foil. Add nonstick spray all over.
- In a large bowl, combine flour and brown sugar. Cut in the butter and mash until it is crumbly. Press the mix into the prepared pan. Bake for about 18 minutes, until browned.
- In the same bowl, place the raisins, fruit cake filling, almonds, and sweetened condensed milk. Stir to coat everything. Dollop the mix all over the crust; it’s too thick to spread, so distribute as evenly as possible. Bake for 25 to 30 minutes, until golden brown.
- Let cool at least an hour. Slice into bars. Store in a sealed container.
OM NOM NOM!
Bready or Not: Browned Butter Lamington Blondies
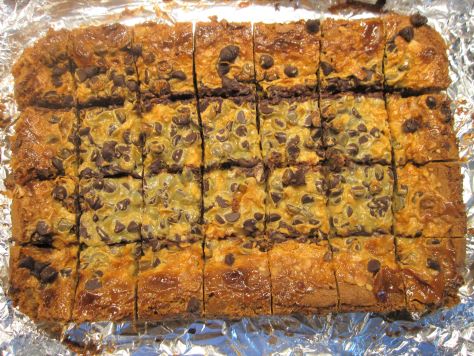
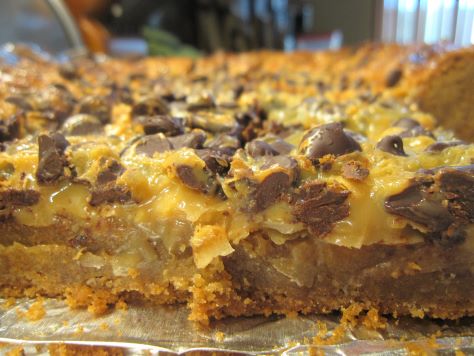
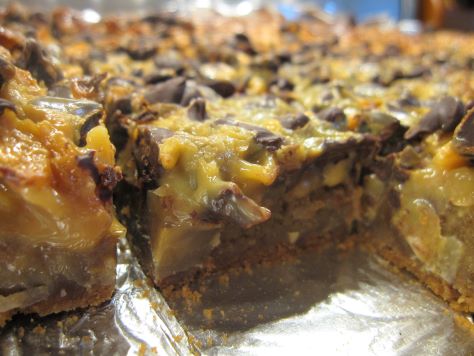
These Browned Butter Lamington Blondies are rich and indulgent, all chewy, chocolaty and good.
A lamington is an Australian dessert wherein pieces of sponge cake are rolled in chocolate and coconut. I haven’t gotten to try the real thing, but I can vouch for the fact that this home-baked version is delicious.
You start out with a blondie base that is rich on its own, with bountiful butter, brown sugar, vanilla, and eggs. Then you go even more ultra by adding an ooey-gooey chocolate and coconut-laden topping.
The original version of the recipe, in the Bake from Scratch May/June 2019 issue, proposed this Lamington version as a modification for a standard Blondie recipe. I rewrote it to streamline the process and change out some ingredients. Like… this doesn’t need sweetened coconut. It’s already sweet enough!
As I live in Arizona and have a warm kitchen, I found it essential to chill these bars so that they could be sliced up. I stored them in the fridge afterward as well, but if you’re in a cooler area, that likely isn’t needed.
Bready or Not: Browned Butter Lamington Blondies
Equipment
- 13×9 pan
- uneven spatula
Ingredients
Blondie Base
- 1 1/2 cups unsalted butter 3 sticks
- 3 cups light brown sugar packed
- 2 teaspoons baking powder
- 1 teaspoon kosher salt
- 4 large eggs room temperature
- 1 Tablespoon vanilla extract
- 3 cups all-purpose flour
Topping
- 1 cup unsweetened flaked coconut
- 1 cup bittersweet chocolate chips
- 14- ounces sweetened condensed milk
Instructions
- In a medium saucepan, melt butter over medium heat, stirring often until butter turns golden-brown with a nutty aroma, about 5 to 10 minutes. Pour into a small bowl to let stand at room temperature while the next steps are prepared.
- Preheat oven at 350-degrees. Line a 13×9 pan with foil and apply nonstick spray or butter.
- In a large bowl, beat together the brown sugar, baking powder, and salt. Beat in the browned butter. Add eggs one at a time, scraping bowl after each addition. Add vanilla extract. Fold in flour until just combined. Pour into prepared pan, evening out with an uneven spatula.
- Bake for 30 minutes. Middle needs to be set or the toppings will sink. Once that is done, no need to cool the base layer–remove the pan from the oven and sprinkle coconut over the top followed by the chocolate chips. Pour the sweetened condensed milk all over both.
- Place pan back in oven to bake for 20 to 25 minutes, until middle is molten. Let cool for a while at room temperature, then place in fridge to completely set and chill.
- Use foil to lift contents onto a cutting board. Slice. Store individually wrapped-up or in a sealed container at room temperature or in the fridge for up to 3 days.


