


Bready or Not Original: Fruity Pastry Bars
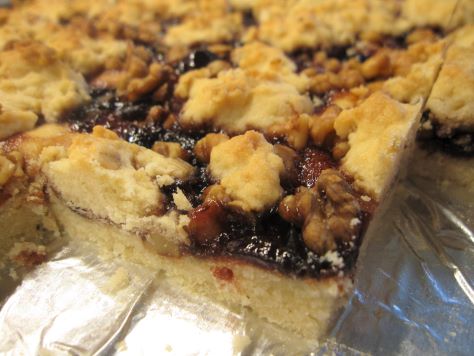
These Fruity Pastry Bars are the perfect treat for a crowd. This recipe makes a nice big pan to share with others!
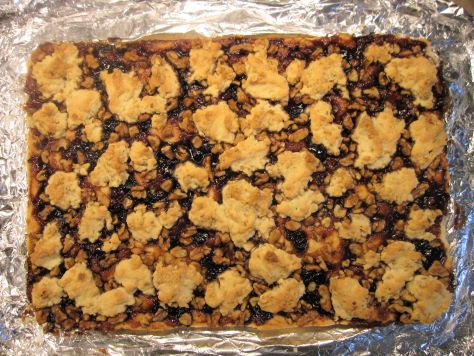
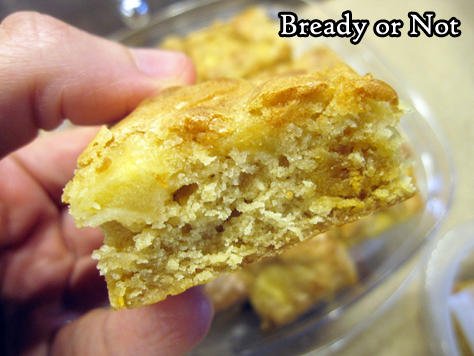
When I make bars like this, I’m always worried about how crumbly they will be. I can report that, at least for me, these were surprisingly durable bars that could even be held in the hand when eating. They barely crumbled when they were cut.

I love how they can be customized, too. You can use all sorts of berry preserves; these pictures depict Bonne Maman Cherry Preserves. The rich, bold flavor is lovely with the buttery crust, while the nuts add a great textural contrast. Of course, you could substitute different nuts like sliced almonds, or omit them entirely.
Bready or Not Original: Fruity Pastry Bars
Equipment
- jelly roll pan
- aluminum foil
- nonstick spray
Ingredients
Bars
- 1 1/2 cup unsalted butter (3 sticks) room temperature
- 1 1/4 cups white sugar
- 2 large eggs room temperature
- 1 teaspoon vanilla extract
- 1 teaspoon salt
- 3 1/2 cups all-purpose flour
Topping
- 12 to 13 ounces fruit preserves such as strawberry, cherry, or raspberry
- 1 cup chopped walnuts
- 1/4 cup quick oats
Instructions
- Line a jelly roll pan with a large piece of aluminum foil. Apply nonstick spray or butter. Preheat oven at 350-degrees.
- In a large bowl, cream together the butter and sugar until light and fluffy. Beat in eggs and vanilla. Gradually mix in the flour and the salt. Batter will be very thick. Grease a hand and use that to pat down about 3/4 of the dough into the bottom of the pan.
- Wash hands. Spread preserves over the dough. Sprinkle the walnuts over the top. Add quick oats to the reserved dough. Place small handfuls of dough spaced out over the top.
- Bake for about 35 minutes, until top is set and doesn’t jiggle in middle. Cool completely, speeding process in fridge if desired. Use foil to lift contents onto a cutting board to slice into bars. Store in a sealed container. Bars can also be frozen for later enjoyment.
OM NOM NOM!
Bready or Not Original: Peach-Almond Bars
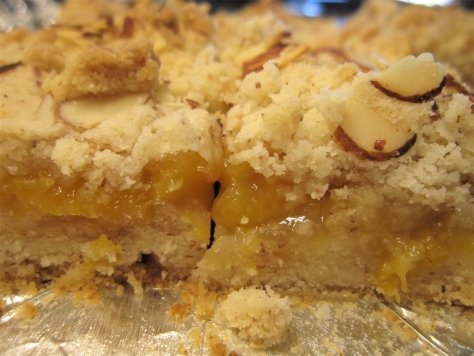
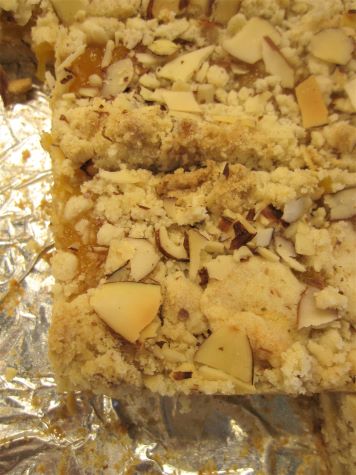
These Peach-Almond Bars are peachy-keen, if you ask me! They aren’t super sweet and they really let the flavors of the fruit shine through.
I don’t do a lot with peaches because I live in Arizona and the peaches available here are not the best. There are a lot of things I miss about Central California, and the fresh fruit is a big one. (Oh, don’t start my yearning for strawberries…)
The good news is, you don’t need ripe or especially sweet peaches for this recipe because you add a touch of sugar and cook down the fruit. Lyle’s Golden Syrup is a British ingredient that can be found in the import section of a lot of grocery stores; there is no exact American substitute, but a mix of half light corn syrup and half honey is one I have seen in recipes more than once.
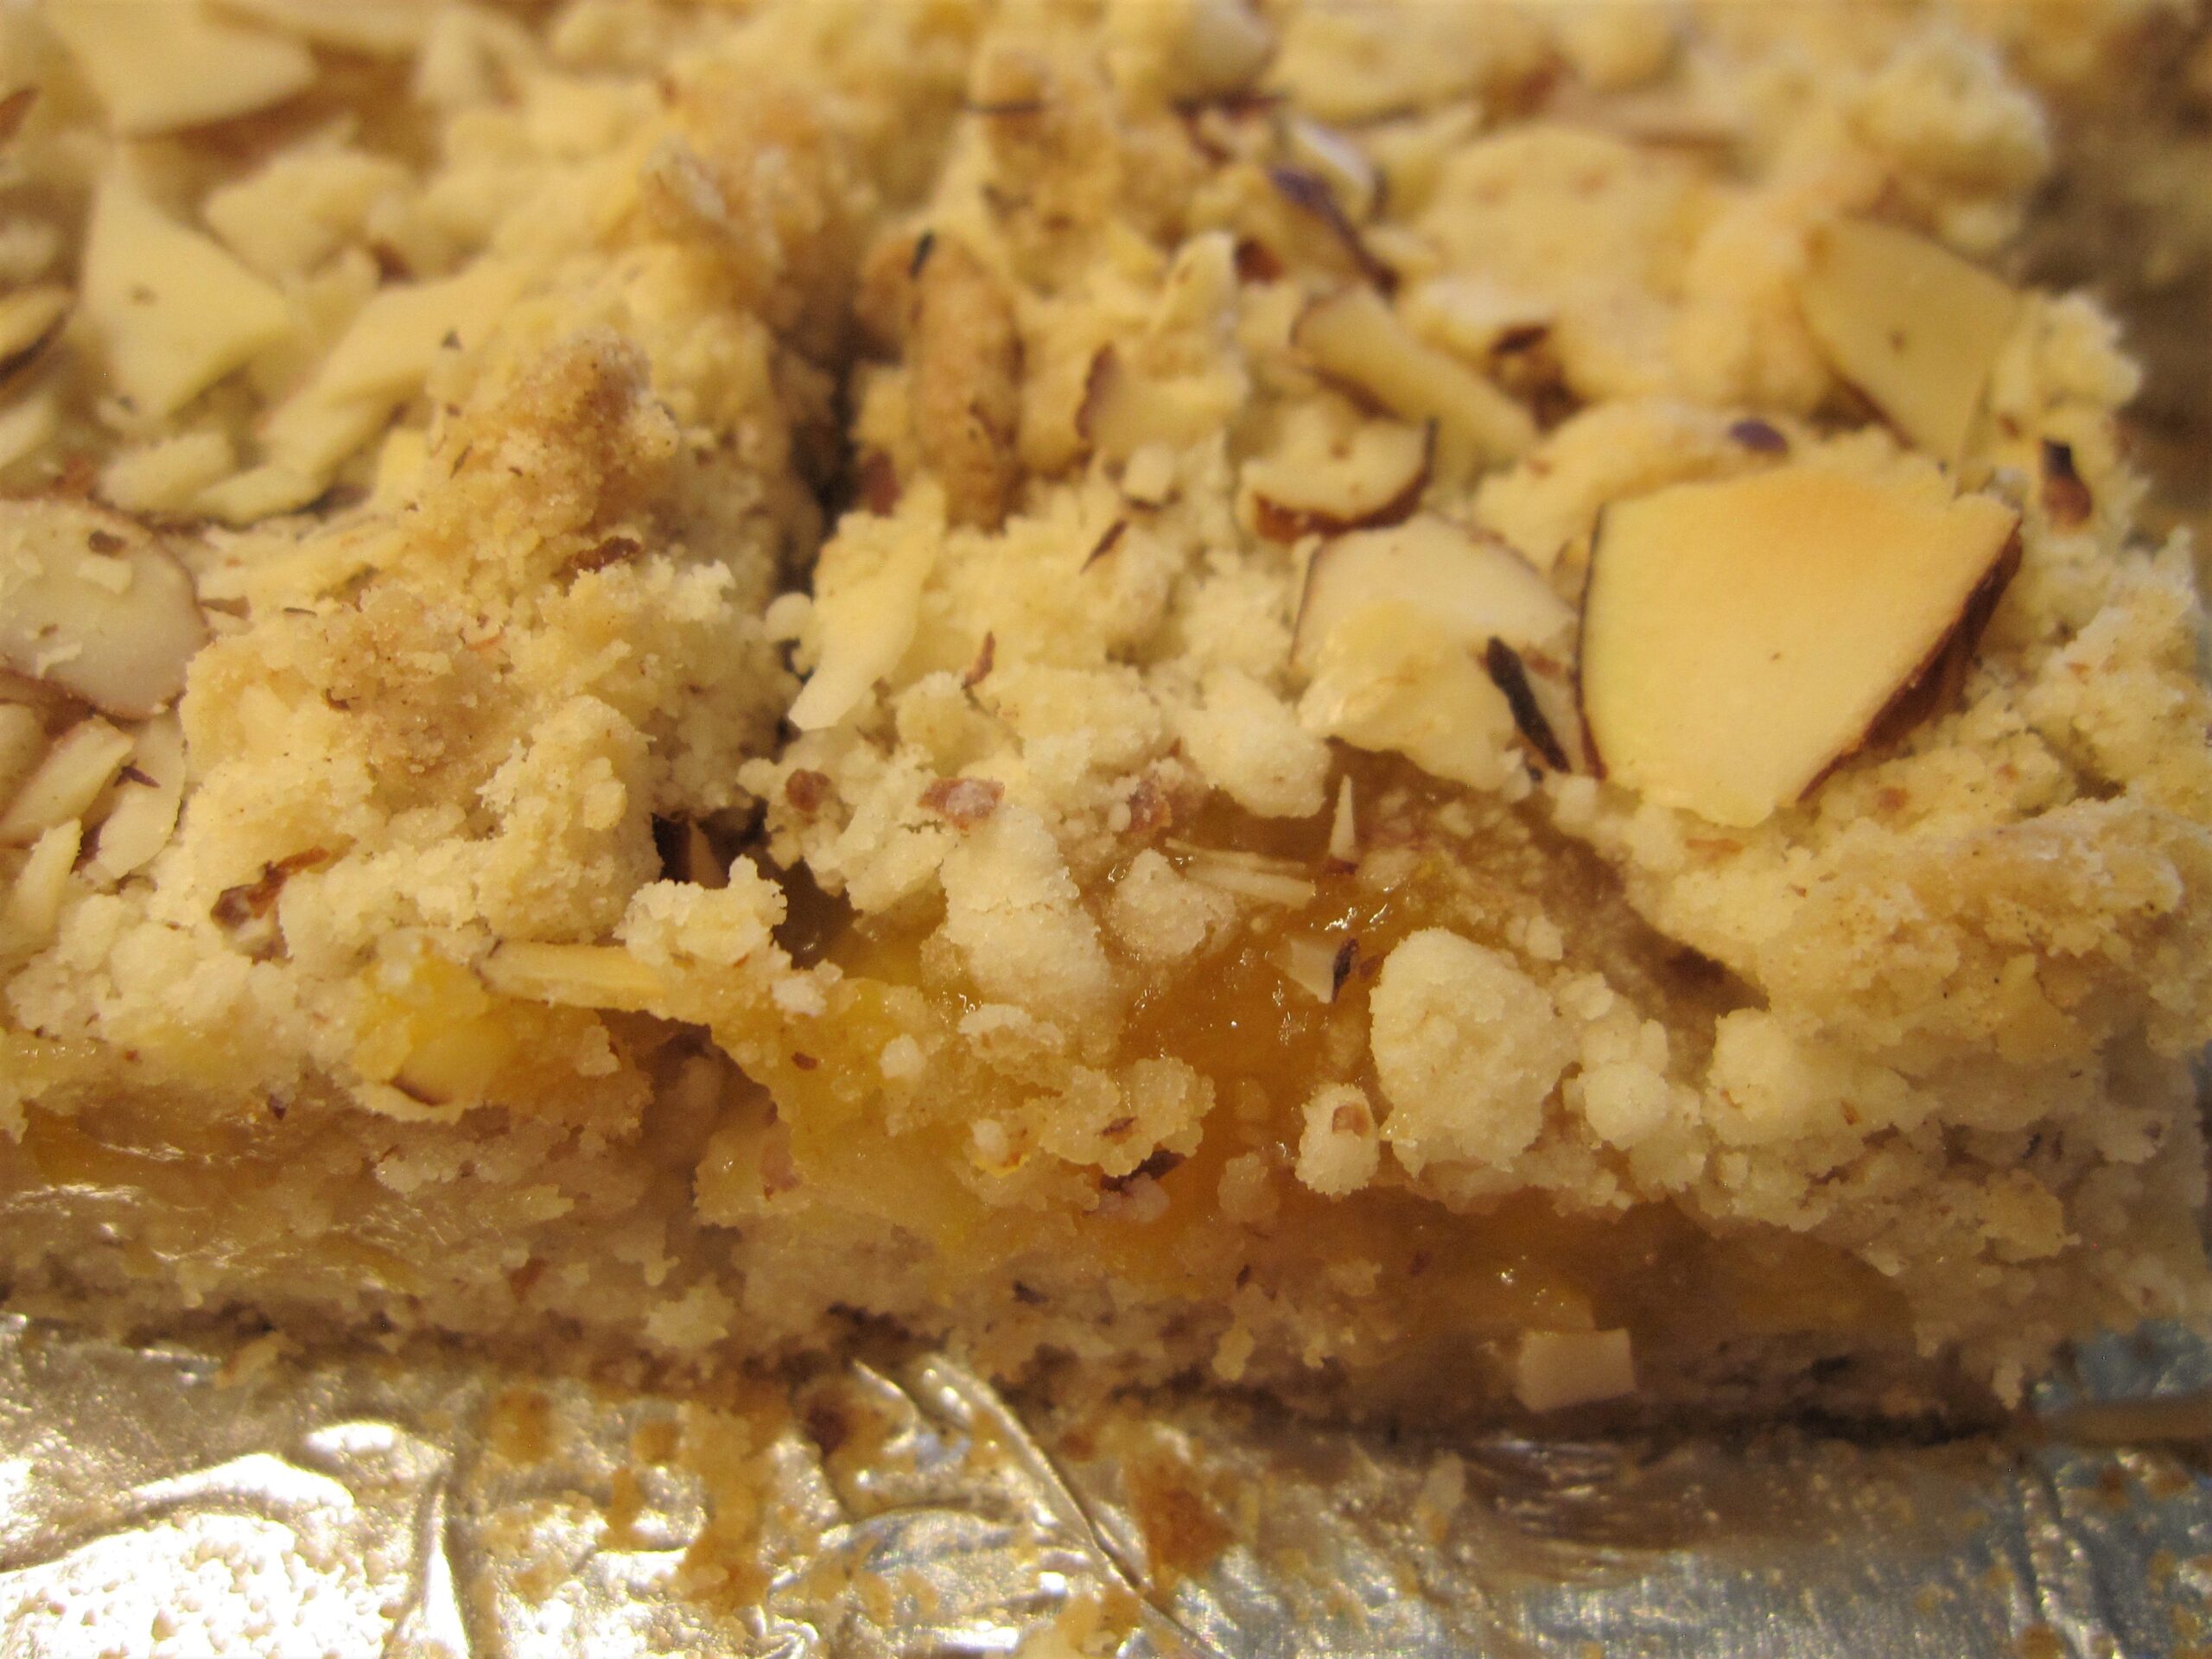
These bars are a pleasant mix of softness, crispness, peachiness, and crunchy almonds. Not only would they make for a good dessert or snack, but a fine breakfast as well.
Bready or Not Original: Peach-Almond Bars
Equipment
- 9×13 pan
- aluminum foil
- nonstick spray
Ingredients
Peaches
- 6 small peaches about 4 cups, peeled and chopped
- 1/4 cup water
- 1/4 cup Lyle’s Golden Syrup
- 1 Tablespoon corn starch
Bars
- 2 cups all-purpose flour
- 1 cup almond flour sifted to remove lumps
- 1 cup confectioners’ sugar
- 1 teaspoon baking powder
- 1/2 teaspoon salt
- 2 sticks unsalted butter (1 cup) room temperature
- 2 Tablespoons sliced almonds
Instructions
- Preheat oven at 350-degrees. Line a 9×13 pan with foil and apply baking spray
- In a medium saucepan, cook the peaches, water, and golden syrup about 15 minutes at a simmer, until peaches are soft. Add corn starch and stir well to bring the liquid together. Let set a few minutes to gel.
- In a mixing bowl, combine flour, almond flour, confectioners’ sugar, baking powder, and salt. Beat in the butter until it forms a lumpy dough.
- Press about 2/3 of dough into the prepared pan. Use a piece of waxed paper and a heavy glass to really compress it. Spread the peach mixture on top. Add clumps of the remaining dough to sporadically cover. Sprinkle almonds on top.
- Bake for about 40 minutes, until middle is set, not jiggly, with a golden brown crust across the top. Cool completely, speeding the process in the fridge if desired. Use foil to lift contents onto a cutting board to slice up. Store in a covered container, with waxed paper between the layers or with bars individually wrapped.
OM NOM NOM!
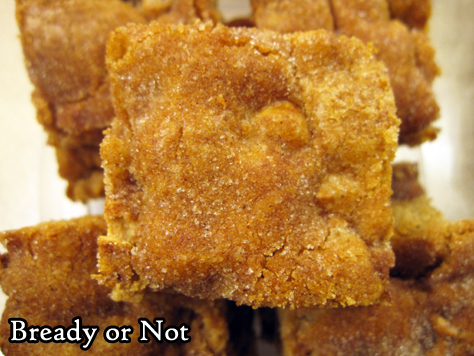
Bready or Not Original: Snickerdoodle Blondies (Redux)
I first shared this recipe for Snickerdoodle Blondies back in 2015, so it’s time for a re-bake and repost, with shiny new pictures of these delicious things!
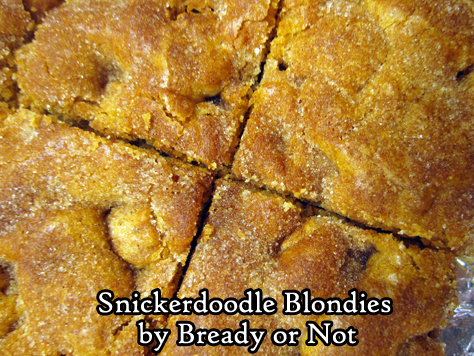
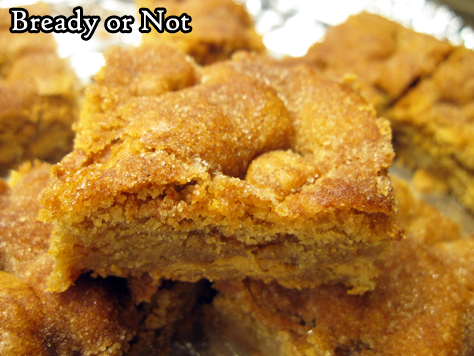
These are thick, soft, and chewy bars, packed with snickerdoodle flavor. The top is crowed with cinnamon and sugar.
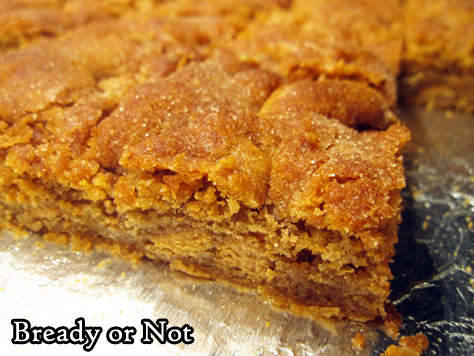
Oh yes, and through the tender crumb are sporadic caramel chips–or cinnamon chips. This recipe is fantastic using either, or both. They add extra oomph without being overkill.
The recipe makes a big 9×13 pan, so this is a good recipe to feed a crowd!
Bready or Not Original: Snickerdoodle Blondies (Redux)
Equipment
- 9×13 pan
- aluminum foil
Ingredients
Blondies
- 1 cup unsalted butter (2 sticks) room temperature
- 2 cups brown sugar packed
- 1 Tablespoon vanilla extract
- 2 large eggs room temperature
- 2 2/3 cups all-purpose flour
- 1 teaspoon kosher salt
- 1/2 tsp cream of tartar
- 1 teaspoon ground cinnamon
- 2 teaspoons baking powder
- 10 ounces caramel chips or cinnamon chips
Topping
- 2 Tablespoons white sugar
- 2 teaspoons ground cinnamon
Instructions
- Prepare a 9×13 pan by lining it with aluminum foil and applying nonstick spray. Preheat oven at 350-degrees.
- In a large bowl, cream together the butter, brown sugar, and vanilla extract. Add the eggs one at a time.
- In a separate bowl, sift together the flour, salt, cream of tartar, cinnamon, and baking powder. Gradually add the dry mix into the wet bowl. Once everything is mixed, add the bag of caramel or cinnamon chips.
- Evenly spread the dough into the prepared pan. In a small bowl, mix the sugar and cinnamon. Sprinkle the mix over the dough.
- Bake for 30 to 40 minutes, until toothpick inserted in center comes out clean. Cool completely. Use the foil to lift out the contents and cut into bars. Store at room temperature. They will keep well for a few days if kept sealed.
OM NOM NOM!
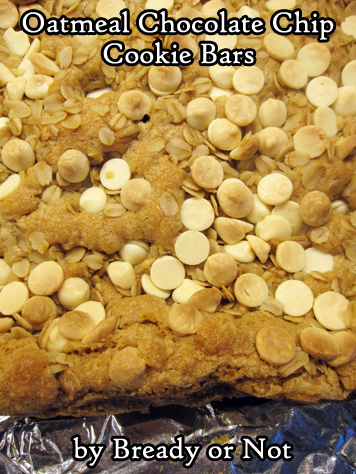
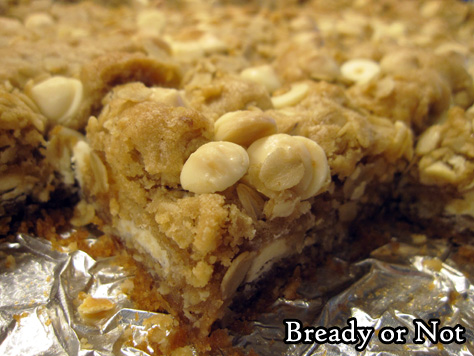
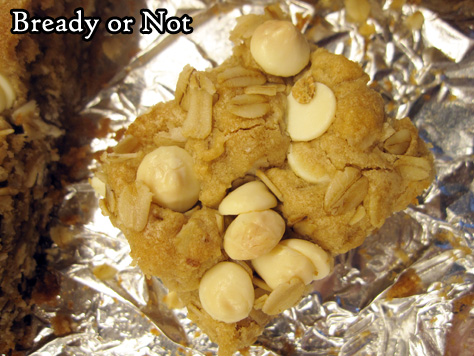
Bready or Not Original: Oatmeal Chocolate Chip Cookie Bars
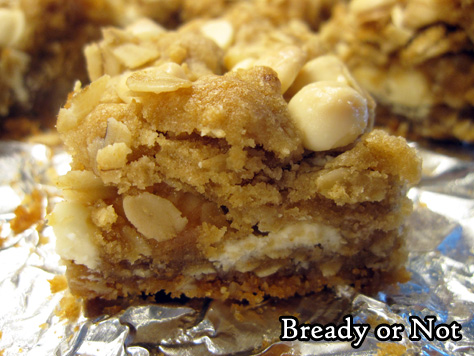
These Oatmeal Chocolate Chip Cookie Bars are a delicious new twist on classic ingredients. They are incredibly thick, chewy, and indulgent, the kind of treat that makes a person want to continue nibbling away.
A big part of the deliciousness is the use of cookie butter. This is, essentially, pureed spice cookies with oil to form a peanut butter-like consistency, and they are indeed a perfect substitute for nut butters in most any recipe. The major brands are Biscoff Cookie Butter (carried at many major grocery chains in America) and Speculoos at Trader Joe’s.

Cookie butter enhances the inherent cookie dough flavor in any baked cookie/bar recipe. It’s also a delight to eat straight from the jar!
Add white chocolate chips and a generous amount of sugar and oats to that, and you really have a great combo.
These bars can be a little messy, but that’s okay. Every crumb is delicious!
Modified greatly from Bake from Scratch Magazine Sept/Oct 2018.
Bready or Not Original: Oatmeal Chocolate Chip Cookie Bars
Equipment
- 9×13 pan
- offset spatula
Ingredients
- 1 cup unsalted butter 2 sticks room temperature
- 1 cup light brown sugar firmly packed
- 1/2 cup white sugar
- 1 cup creamy cookie butter
- 2 large eggs room temperature
- 2 teaspoons vanilla extract
- 2 cups all-purpose flour
- 2 1/4 cups old-fashioned oats divided
- 1 teaspoon kosher salt
- 1 teaspoon baking soda
- 1 teaspoon baking powder
- 8 ounces white chocolate chips divided
Instructions
- Preheat oven at 350-degrees. Line a 13×9 pan with a long piece of foil. Apple nonstick spray or grease with extra butter.
- In a big bowl, beat together butter and sugars until they are light and fluffy. Add the cookie butter followed by the eggs and vanilla, scraping the bowl a few times to make sure everything is incorporated.
- In another bowl, stir together the flour, 2 cups of the oats, salt, baking soda, and baking powder. Gradually mix the dry ingredients into the butter mix. Using an offset spatula, spread half the batter into the prepared pan. Dough will be thick and somewhat sticky. Sprinkle half of the chocolate over the top. Dollop on the rest of the dough, spreading into an even later again. Sprinkle on the rest of the white chocolate chips along with the remaining 1/4 cup of oats.
- Bake for 27 to 35 minutes. The middle should be set, not jiggly, and pass the toothpick test. Cool completely at room temperature and then the fridge (the bars will be firmer and less messy to slice if they are chilled).
- Use the foil to lift contents onto a cutting board. Slice into pieces. Store in a sealed container for up to 5 days.
OM NOM NOM!
Bready or Not: Brookies
No need to deliberate whether to make chocolate chip cookies or brownies–this recipe for Brookies combines these goodies together in a delicious way.
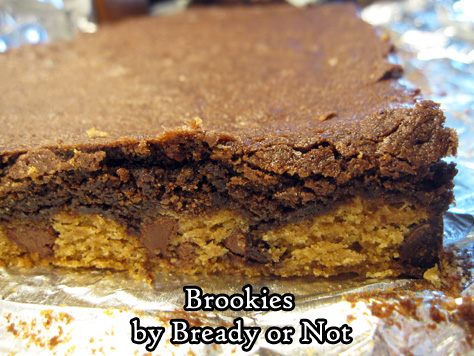
This recipe excels at chocolate distribution. It’s not super-chocolaty, but every bite has some brownie and chocolate chips. If you add in cacao nibs, it’s even better; the nibs enhance the other chocolate flavors and adds a pleasant crunch at the same time.
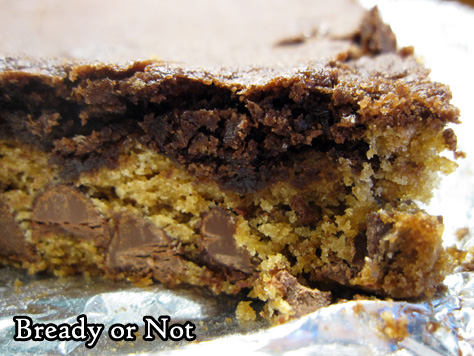
On that note, this is a great recipe for people who don’t like nuts. There’s lots of flavor here without them. Could you add nuts? Sure. Is it necessary? Nope.
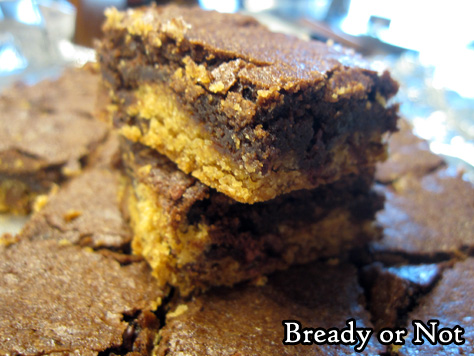
These bars are dense and nicely portable. Wrap them up individually, and they are great for a school lunch, road trip, or picnic. Plus, they freeze well, so you can even save some for later!
Modified from AllRecipes Magazine August/September 2020.
Bready or Not: Brookies
Equipment
- 9×13 pan
Ingredients
Cookie layer
- 1/2 cup unsalted butter (1 stick) room temperature
- 1/2 cup light brown sugar packed
- 1/4 cup white sugar
- 1/2 teaspoon vanilla extract
- 1 large egg room temperature
- 1 1/4 cups all-purpose flour
- 1/2 teaspoon salt
- 1/2 teaspoon baking soda
- 1 cup semisweet chocolate chips
Brownie layer
- 1/2 cup unsalted butter (1 stick) melted
- 1 cup white sugar
- 1 teaspoon vanilla extract
- 2 large eggs
- 1/3 cup cocoa powder sifted
- 1/2 cup all-purpose flour
- 1/4 teaspoon baking powder
- 1/8 teaspoon salt
- 1/4 cup cacao nibs optional
Instructions
Make cookie layer
- Preheat oven at 350-degrees. Line a 9×13 pan with aluminum foil and apply nonstick spray.
- In a large bowl, beat together butter, sugars, and vanilla until light and creamy. Add egg, scraping bottom of bowl, then beat another two minutes.
- In another bowl, combine flour, salt, and baking soda. Gradually mix the dry ingredients into the wet. Fold in chocolate chips. Dough will be very thick and sticky. Drop into pan in clumps and press into a level layer, covering the bottom completely.
Make brownie layer
- Using the same big bowl (leave it unwashed or wash it, baker’s preference), beat together butter, sugar, and vanilla. Follow with the egg. Stir in the cocoa powder, flour, baking powder, and salt. Fold in the cacao nibs, if using.
- Pour over the cookie layer, spreading it into an even layer.
- Bake until the middle passes the toothpick test, 20 to 25 minutes. Cool completely–chilling in fridge, if desired–before slicing into bars.
- Brookies will keep in a sealed container at room temperature for 3 days, and can also be frozen for layer enjoyment.
OM NOM NOM!
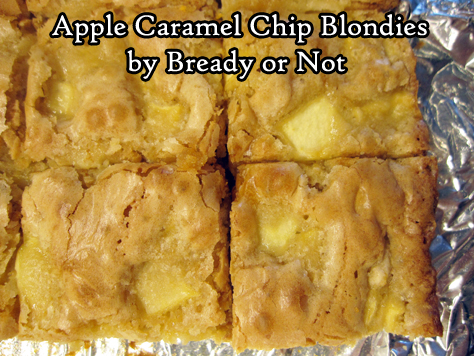
Bready or Not Original: Apple Caramel Chip Blondies
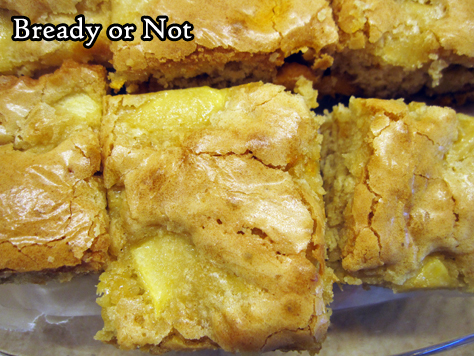
These Apple Caramel Chip Blondies are soft, sweet, and dangerously snackable, perfect for a quick bite to get you through the day.
I have other apple bar recipes like my tried-and-true Apple Cake that are thicker and more meal-like.
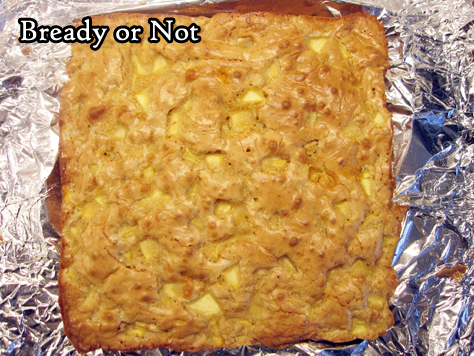
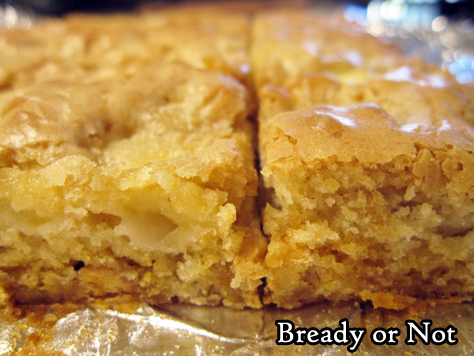
These bars are thin and light. They aren’t even heavy with apples, but the apple flavor is definitely there.
This is the kind of thing to use for a light breakfast, snack, or dessert, and they’d be great to wrap up and pack to go.
I used caramel chips for this recipe, but butterscotch or white chocolate would be great, too–or even seasonal sweet chips like pumpkin spice!
Bready or Not Original: Apple Caramel Chip Blondies
Equipment
- 9x9 pan
- medium saucepan
Ingredients
- 1 cup all-purpose flour
- 1/2 teaspoon kosher salt
- 1/4 teaspoon baking powder
- 6 Tablespoons unsalted butter
- 3/4 cup light brown sugar packed
- 1 teaspoon pure vanilla extract
- 2 large eggs room temperature
- 1 apple such as Ambrosia or Honeycrisp, peeled and chopped into raisin-sized pieces
- 1/3 cup caramel chips or substitute butterscotch chips or white chocolate chips
Instructions
- Preheat oven at 350-degrees. Line a 9x9 pan with foil and apply nonstick spray or butter.
- In a small bowl, whisk together flour, salt, and baking powder. Set aside.
- In a medium saucepan, melt the butter, and continue to monitor a few more minutes, stirring often, to brown the butter. It should have a fresh, nutty smell. Remove from heat. Stir in the brown sugar and vanilla until the sugar is less grainy. Let the pan cool for a few minutes. Beat in the eggs until smooth. Stir in the dry ingredients next, followed by the apple pieces. Fold in the chips last.
- Pour the batter into the pan and smooth out the top. Bake for about 25 minutes, until the middle passes the toothpick test.
- Cool to room temperature. Use the foil to lift the contents onto a cutting board to slice up. Store the bars in a sealed container, with waxed paper or parchment between stacked layers.
