


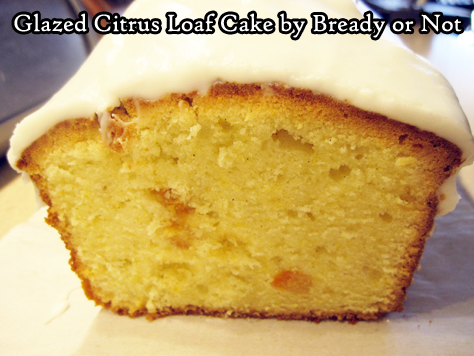
Bready or Not: Glazed Citrus Loaf Cake
For times when you want some cake, not a huge cake, this Glazed Citrus Loaf Cake is about perfect.
It’s not some huge thing to store. It doesn’t take forever to make. It’s easy to slice up, individually wrap, and freeze portions for later.
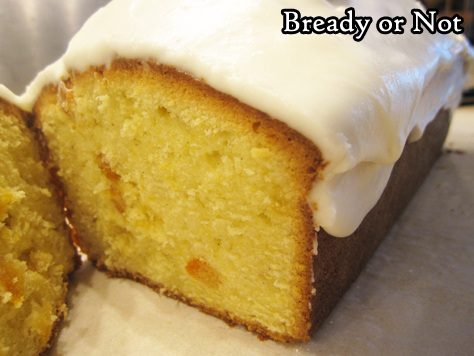
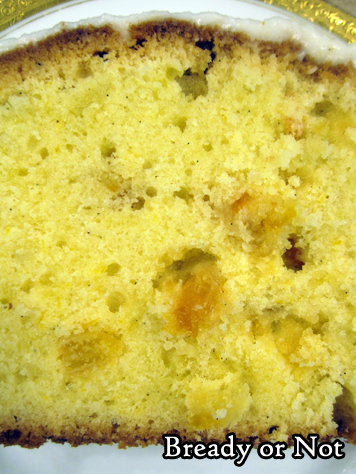
Plus, it’s delicious. The cake is like a pound cake, soft and moist, with lemon and orange zest throughout. The bits of candied orange add a different texture in the mix.
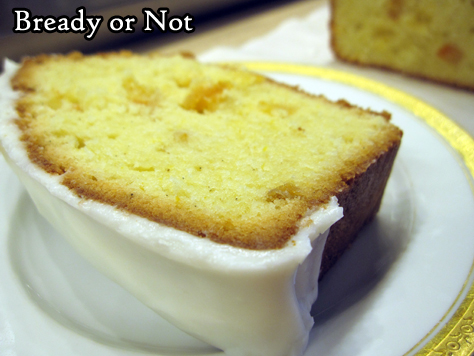
Then there’s that luscious glaze. It’s not a heavy frosting, but a boost of sweetness to balance the zing of the citrus.
This is a great spring and summer kind of kind, one that tastes fresh and bright!
I modified this recipe from my favorite food magazine, Bake from Scratch, the March/April 2020 issue.
Bready or Not: Glazed Citrus Loaf Cake
Equipment
- 9x5 loaf pan
- parchment paper
Ingredients
Loaf
- 1 cup unsalted butter (2 sticks) softened
- 1 1/4 cups white sugar
- 2 medium lemons
- 1 medium orange
- 4 large eggs room temperature
- 2 teaspoons vanilla bean paste
- 2 cups cake flour
- 3/4 teaspoon kosher salt
- 1/4 teaspoon baking powder
- 1/3 cup milk room temperature
- 1 teaspoon cake flour
- 1/2 cup candied orange slices finely chopped
Vanilla Glaze
- 1 1/2 cup confectioners' sugar plus more if needed
- 2 Tablespoons half & half or heavy cream
- 2 Tablespoons unsalted butter melted
- 1 teaspoon vanilla extract
- 1/4 teaspoon kosher salt
Instructions
- Wash, dry, and zest both lemons and orange. Set aside the fruit for another use.
- Preheat oven at 325-degrees. Cut a piece of parchment paper to fit into a loaf pan and extend up the long sides, like a sling. Apply nonstick spray in pan, then press in parchment and add more spray. Set aside.
- In a big bowl, beat butter, sugar, and zests together until they are fluffy, scraping the sides of the bowl often. Add eggs one by one, followed by the vanilla paste. The batter may look a bit curdled.
- In a separate medium bowl, combine the flour, salt, and baking powder. Gradually add it into the butter mix along with the milk. Batter will now be thick.
- In a small bowl, toss together the candied orange bits and the teaspoon of cake flour to coat. Fold it into the batter.
- Pour everything into the prepared loaf pan and even out the top.
- Bake for 40 minutes. Rotate pan in oven. Bake for another 40 minutes. Test the middle with a toothpick for doneness, and bake for another 5 to 20 minutes, until the toothpick comes out clean.
- Let loaf cool in pan for 10 minutes, then use the parchment to lift it onto a rack to cool completely.
- Make the vanilla glaze by mixing together all the ingredients until they are smooth and at a thick, pourable consistency. Immediately drizzle and smear over the top of the cake, letting excess artfully drip over the sides. Let glaze set for 30 minutes, then slice in.
- Wrap cake and keep at room temperature. It can also be cut into individual slices and frozen for later enjoyment.
OM NOM NOM!
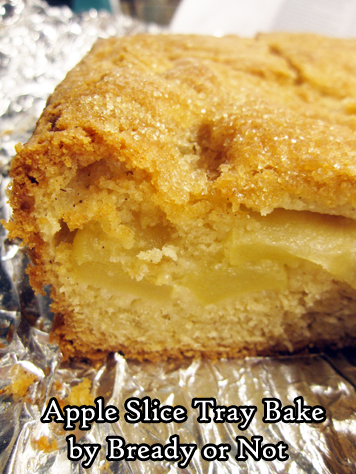
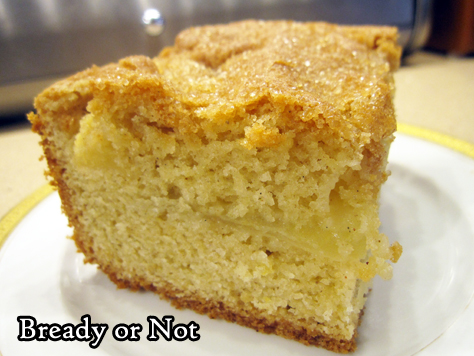
Bready or Not: Apple Slice Tray Bake
This Apple Slice Tray Bake would simply be an Apple Cake to most Americans. Whatever you call it, it’s packed with apples and delicious.
This is third consecutive recipe I’ve modified from the Bake from Scratch Magazine July/August 2020 Ireland-themed issue. I still have a few more things I want to try in the coming months, too!

I’ve found that French, Irish, and British apple cake recipes tend to be lighter on sugar and spices than typical American recipes. The focus is really on the apples.
I used Honeycrisps here, which are one of my favorite apples to eat outright or bake with! Two big apples will work.
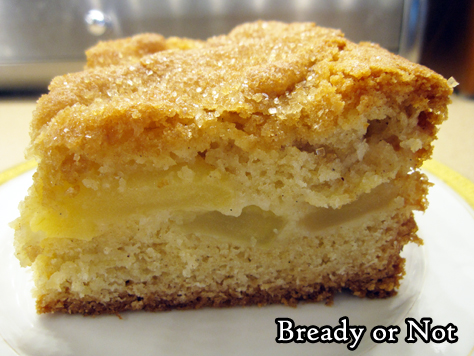
This bakes up light, lofty, and cakey, with a sugar-crusted top and a lovely flavor of apples throughout. The pieces freeze and thaw very well, too, meaning you can enjoy this like it is fresh but spread over days or weeks!
Bready or Not: Apple Slice Tray Bake
Equipment
- 9×9 baking pan
- uneven spatula
Ingredients
Apple layer:
- 2 large baking apples Honeycrisp work well
- 1 Tablespoon lemon juice
- 1 Tablespoon white sugar
Cake:
- 1 1/4 cups unsalted butter (2 and a half sticks) room temperature
- 1 1/2 cups white sugar
- 4 large eggs room temperature
- 1 1/2 teaspoons vanilla bean paste or substitute vanilla extract
- 3 cups all-purpose flour
- 3/4 teaspoon salt
- 4 1/2 teaspoons baking powder
- 1/2 teaspoon cinnamon
- 1/8 teaspoon allspice
- 2 Tablespoons turbinado sugar
Instructions
- Preheat oven at 350-degrees. Line a 9×9 pan with foil and apply nonstick spray.
- Peel and core the apples, then slice to about 1/4-inch thickness. Place slices in a large bowl and toss them with lemon juice and 1 Tablespoon white sugar, until apples are coated. Set aside.
- In a big mixing bowl, beat butter and white sugar for several minutes, until blended and fluffy. Add eggs, one at a time, mixing in well and scraping bowl afterward. Add vanilla. The batter may look curdled, but that’s okay.
- In a separate bowl, stir together flour, salt, baking powder, cinnamon, and allspice. Gradually mix the dry ingredients into the wet.
- Spread about half of the batter into the pan, using an uneven spatula to form an even layer. Arrange apple slices, flat side down, to cover the batter entirely. Top with the remaining batter, using the uneven spatula again to even out as much as possible. Sprinkle turbinado sugar all over the top.
- Bake until the middle of the cake passes the toothpick test, which will be from 1 hour to 1 hour and 15 minutes. Cover pan with foil about halfway through to prevent it from browning too much.
- Let cool in pan for an least 10 minutes, then use foil to lift cake onto a cutting board. Slice into squares. Tastes best warmed and at room temperature. Pieces can also be shrouded in plastic wrap and frozen for later enjoyment.
OM NOM NOM!
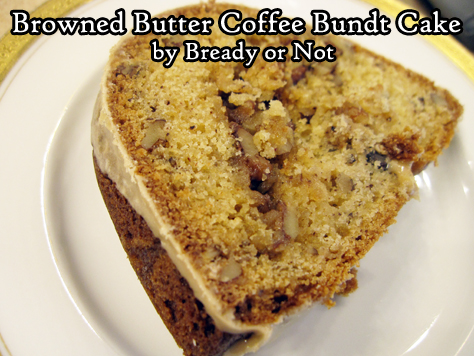
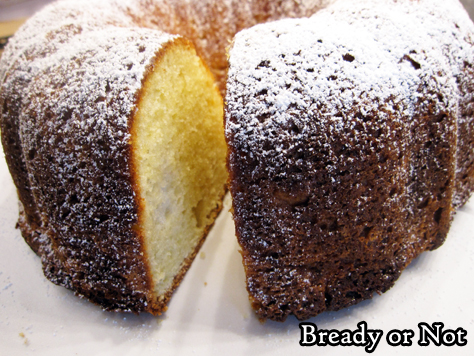
Bready or Not Original: Browned Butter Coffee Bundt Cake
This Browed Butter Coffee Bundt Cake is moist, delicious, and packed with a flavors that will get your day off to a good start.
And by a good start, of course, that includes CAFFEINE. Espresso powder is included in the icing!
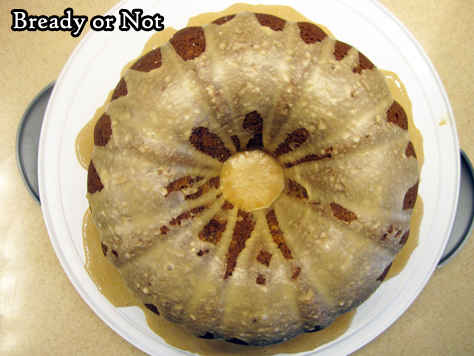
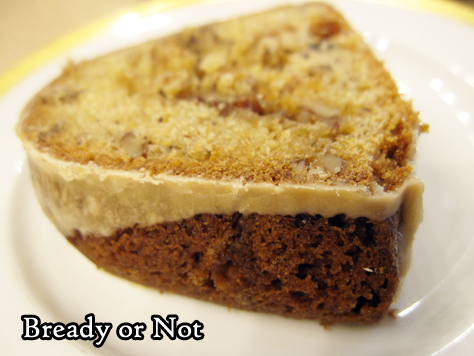
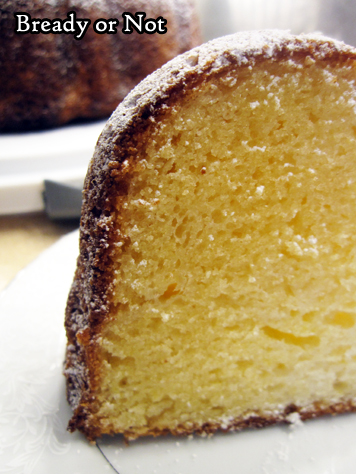
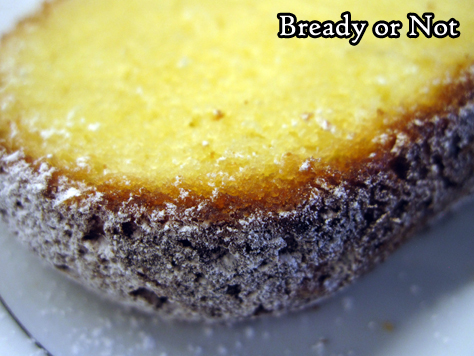
What I love about this cake is that it has all the luscious flavors of a coffee cake without the crumbly mess of the topping. In this cake, that crunchy, extra-sugary layer is in the center!
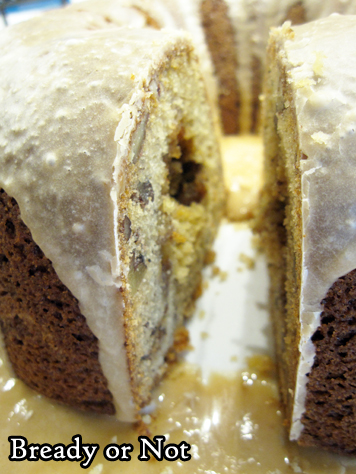
This is a great cake for a breakfast or brunch, and it’s a fantastic one to cut into individual slices, wrap up, and freeze for later.
If 2021 is anything like 2020, it’s a very good idea to have a stash of quick-thaw cake in the freezer.
Modified from Fall Baking Magazine 2013.
Bready or Not Original: Browned Butter Coffee Bundt Cake
Equipment
- large bundt cake pan
Ingredients
Bundt cake
- 3/4 cup unsalted butter 1 1/2 sticks
- nonstick spray with flour
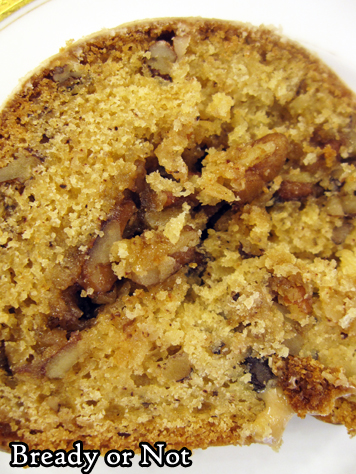
- 2 cups pecan pieces finely chopped, divided
- 2 cups brown sugar packed, divided
- 2 teaspoons all-purpose flour
- 3 cups all-purpose flour
- 1 1/2 teaspoons baking powder
- 1 1/2 teaspoons baking soda
- 3/4 teaspoon salt
- 3 large eggs room temperature
- 1 teaspoon vanilla extract
- 1 1/2 cups vanilla yogurt or plain yogurt, crème fraiche, or sour cream
Coffee icing
- 4 teaspoons milk or half & half, or more as needed
- 1/2 teaspoon espresso powder
- 2 cups confectioners’ sugar or more as needed
Instructions
- First of all, brown the butter. (Note that this can be done a day ahead of time with the butter stashed in the fridge; set at room temperature to soften again or briefly and carefully, zap in microwave before mixing into recipe.) In a medium saucepan, melt the butter on medium-low heat for 5 to 6 minutes, until it becomes brown and embodied by a nutty fragrance. Remove from heat and cool for a while, then transfer to a small bowl. Cover and chill in the fridge for 2 hours, at minimum, to make firm.
- Preheat oven at 325-degrees. Apply nonstick spray with flour to coat inside of a large bundt pan. Soften the browned butter a bit.
- Prepare the filling. In a small bowl, mix together 3/4 cups of chopped pecans, 1/2 cup brown sugar, and 2 teaspoons of flour. Add 3 Tablespoons of the browned butter and work it in with a fork until it makes a crumbly mix.
- In another bowl, mix together the 3 cups flour, baking powder, baking soda, and salt. Set aside.
- In a big mixing bowl, beat together the remaining browned butter with the rest of the brown sugar. Add the eggs, one at a time, followed by the vanilla. Take turns mixing in the dry ingredients and the yogurt until just combined. Fold in the remaining 1 1/4 cups pecans.
- Pour about half the batter into the prepared pan and even it out. Sprinkle filling over it all the way around. Pour in the rest of the batter and spread it even again.
- Bake for 50 to 60 minutes, until it passes the toothpick test in the middle. Let cool for about 20 minutes, then invert it onto a rack to completely cool.
- Make the coffee icing. Stir together the milk, espresso powder, and confectioners’ sugar, adding more milk or sugar as needed to make an icing of a good consistency. Drizzle over cake.
- Store at room temperature. Can be sliced and frozen for later enjoyment.
OM NOM NOM!
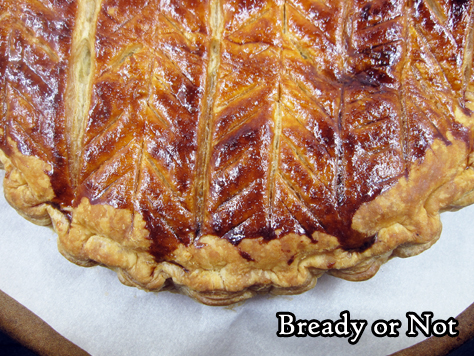
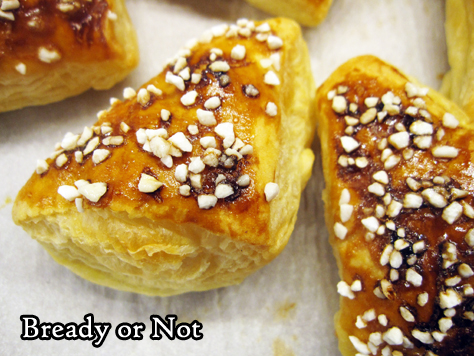
Bready or Not: Galette Des Rois
Eat like royalty without a lot of fuss with this shortcut recipe for Galette Des Rois!

Galette des Rois (King Cake) celebrates Epiphany and is available throughout January in France.
I am so not in France. Nor did I get to go there in June, as planned. Sigh. So, I have to make-do.
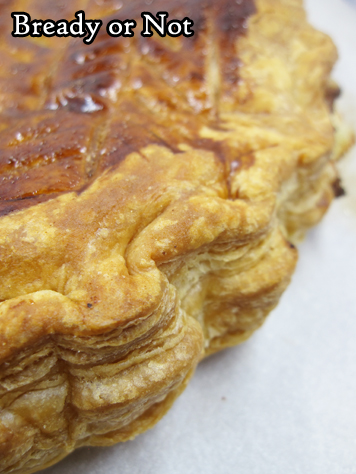
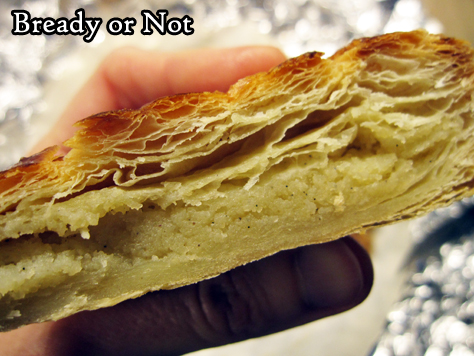
However, making-do can still be delicious. Frozen puff pastry is great stuff. You make a frangipane from scratch, but it’s pretty straightforward.
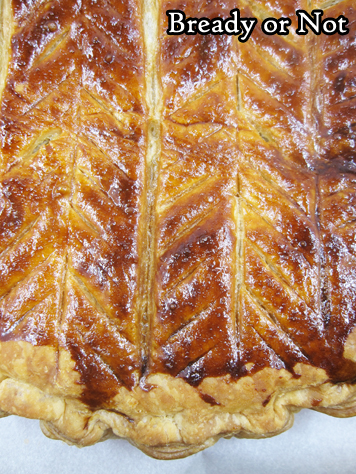
Honestly, the trickiest part for me was figuring out what pattern to etch into the top of the galette–and then hope that I didn’t dig the knife in too deeply.
If you do a Google search for Galette des Rois, you’ll see all sorts of different patterns you can do. I’m happy with my choice. And that I didn’t cut too deeply.
Because I am OCD and can’t bear to waste food, I include a bonus recipe on a great way to bake-up the scraps of puff pastry, too.
The galette and scraps are tastiest the day they are baked, but they are still good for the next few days, too.
Adapted from Dorie Greenspan.
Bready or Not: Galette Des Rois
Equipment
- baking sheet
- parchment paper
- pastry brush
Ingredients
Frangipane filling
- 6 Tablespoons unsalted butter room temperature
- 3/4 cup confectioners’ sugar
- 3/4 cup almond flour sifted
- 1/4 teaspoon salt
- 2 large eggs room temperature
- 1 Tablespoon rum optional but awesome
- 1 teaspoon vanilla extract or vanilla bean paste
Cake
- 1 puff pastry dough box 14-17 ounce package, cold
- 1 whole almond for the traditional charm
Instructions
Prepare the frangipane
- This can be made up to a day ahead, but needs at least an hour to chill before assembling the galette.
- Beat together the butter and sugar until they are creamy and light. Add the almond flour and salt. Add one whole egg. Divide the other egg, adding only the white–reserve the yolk for later. Mix in the rum, if using, and the vanilla extract.
- Transfer to a small bowl. Cover with plastic wrap, pressing it against the top of the mix, then place in fridge to chill.
- Mix the reserved yolk with 1 teaspoon of cold water, and cover it and set it in the fridge as well.
Assembling the galette
- Set out a complete sheet of puff pastry. Cut a 9-1/2 diameter circle out of the middle; if a 9-inch tart pan insert is available, use that as a handy guide. Set aside scraps from edges. Place the cut round on a parchment-lined baking sheet.
- Repeat the process with the second sheet of puff pastry. Place all of the cut-off bits aside in the fridge for now.
- Return to the pastry round on the baking sheet. Spread the frangipane evenly over the dough, but leave a 1-inch border bare. Place the almond somewhere on the filling. Moisten the border with some cold water. Set the second round of pastry on top and press it down around the edges to seal them together.
- Use the back of a butter knife to scallop the edges by creating an indentation about a quarter-inch deep, spaced out about a half-inch apart. Refrigerate for about 30 minutes.
- Preheat the oven at 425-degrees.
- Pull out the chilled galette. Brush a thin layer of yolk over the top, but be very careful that it doesn’t drip down over the edge, or the galette won’t rise. Use a paring knife to etch a design on the very top of the galette while taking care not to cut too deeply. Add 6 small slits spaced out to act as steam vents.
- Drop the oven temperature to 400-degrees. Bake the galette for 30 to 40 minutes, until it is puffed and golden brown. Keep an eye on it. If filling starts to ooze out, scrape it away so that it doesn’t drip off the pan. If the galette is browning too fast, cover it with aluminum foil.
- Transfer it to a rack to cool for at least 15 minutes. Expect it to deflate some, as that is the way of puff pastry. Best eaten when fresh, served warm or at room temperature, but can be chilled and eaten over the coming days.
- Bonus: As soon as the galette is out of the oven, put the puff pastry scraps on the parchment. Brush the remaining yolk atop. Then add a topping like pearl sugar, turbinado sugar, or maple sugar. Bake scraps for 15 to 20 minutes, until pieces are puffed and golden. Like the galette, they are best eaten the same day, but are still quite edible after that.
OM NOM NOM!
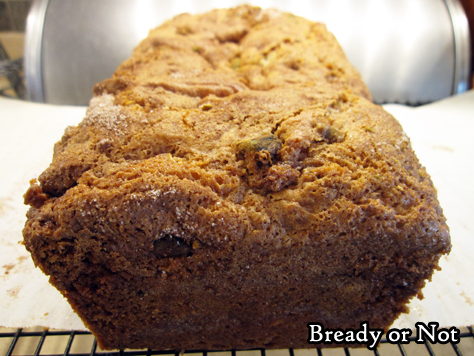
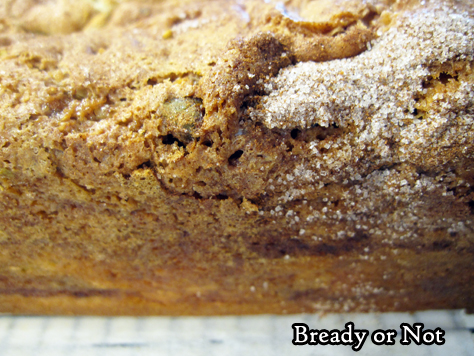
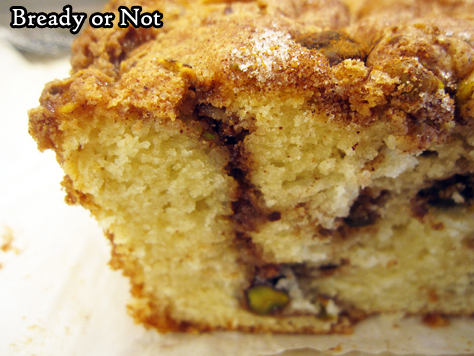
Bready or Not Original: Snickerdoodle Swirl Loaf
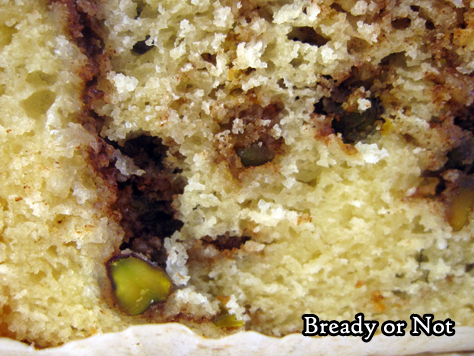
This Snickerdoodle Loaf Cake is proof, yet again, that snickerdoodles are awesome in any form.

I made this based on a recipe in Bake from Scratch and had to modify it significantly to make it more snickerdoodly (that is totally a word) and work overall.
The foremost issue on my first bake is that, despite the toothpick test, my loaf wasn’t fully baked. It ended up collapsing as it cooled. I had to gut the middle of the cake, but the majority of it was edible.
Not only was it edible, but my husband loved it. Therefore, he was happy when I baked it again, with more modifications–including a longer bake time.
This cake is a great keeper, too. It tasted great for a full five days. It might last even longer than that.
I guess I’d need to bake it again to test that theory. Oh darn.
Bready or Not Original: Snickerdoodle Swirl Loaf
Equipment
- 9x5 loaf pan
- parchment paper
Ingredients
- 2 cups all-purpose flour
- 3 teaspoons baking powder
- 1/2 teaspoon cream of tartar
- 1 1/2 cups white sugar divided
- 1 1/2 teaspoons kosher salt
- 1 cup whole milk or half & half
- 1 teaspoon vanilla extract
- 1/4 cup vegetable oil
- 1 large egg
- 1 Tablespoon ground cinnamon
- 1/2 cup pecans or pistachios, divided, optional
Instructions
- Preheat oven at 350-degrees. Cut parchment paper to fit long-ways in a loaf pan, sticking up on either side as a sling. Apply nonstick spray into pan, place paper, then spray again. Set aside.
- In a big bowl, stir together flour, baking powder, cream of tartar, 1 cup white sugar, and salt. Gradually mix in the milk, vanilla extract, oil, and egg, until just combined.
- In a small bowl, combine the remaining 1/2 cup sugar with the cinnamon.
- Spread about half the batter in the loaf pan. Sprinkle half the cinnamon-sugar on top, followed by about half the nuts (if using). Add rest of the batter. Use a knife to swirl batter, bringing the blade up and down a bit, to marble the layers together. Sprinkle rest of the cinnamon-sugar across the top followed by the nuts (if using). Swirl the batter again.
- Bake for 55 to 65 minutes, until a toothpick stuck deep in the middle comes out clean. About halfway through the bake, add foil over the top to prevent overbrowning.
- Let cool in pan for 10 minutes, then use parchment sling to lift loaf onto a rack to fully cool.
- Well-wrapped loaf keeps at room temperature as long as 5 days. Slices can also be frozen for later enjoyment.
OM NOM NOM!
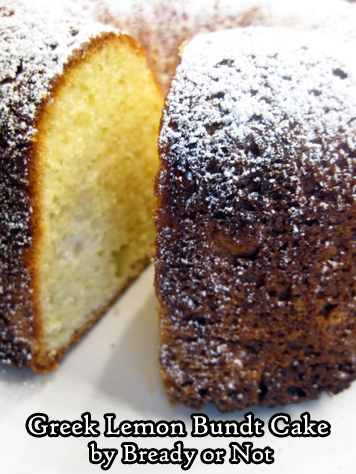
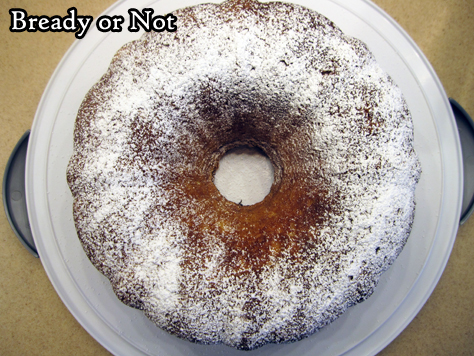
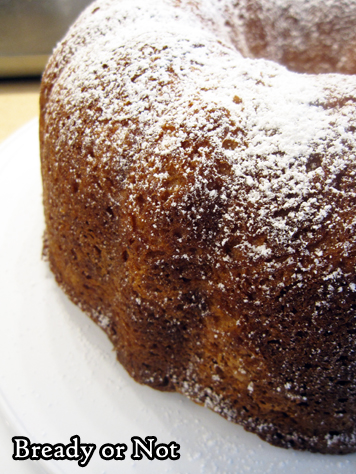
Bready or Not Original: Greek Yogurt Lemon Bundt Cake
This Greek Yogurt Lemon Bundt Cake bakes up fluffy and light, with a fresh tang of lemon.
I’m not going to lie: this cake is going to dirty a lot of dishes, including two large bowls. The extra work makes for delicious results, though.
The texture of this cake is what makes it special. The Greek yogurt adds moisture, while the six eggs–with whites separated and beat to stiff peaks–adds a lot of loft.
My batter bowl ended up being full to the top and tricky to mix. I was worried that my bundt pan would overflow during baking and kept an eye on it, but it ended up being fine. Even so–be wary of your own pan.
The baked cake is fancy and simple all at once. This needs no glaze. A sprinkling of confectioners’ sugar makes the cake prettier without adding any heavy sweetness.
This cake is great for travel, either sliced or whole, because there’s nothing about it that can melt or ooze. I imagine it freezes well in slices, too, but I didn’t try that with this particular cake.
Bready or Not Original: Greek Yogurt Lemon Bundt Cake
Equipment
- 10-cup minimum bundt pan or tube pan
Ingredients
- 3 cups cake flour or substitute 3 cups all-purpose flour with 6 Tablespoons removed
- 1 teaspoon baking soda
- 1/4 teaspoon salt
- 6 large eggs room temperature, separated
- 2 cups white sugar
- 1 cup unsalted butter (2 sticks) room temperature
- 2 medium lemons finely grated and juiced
- 1 cup Greek yogurt plain or vanilla
- confectioners' sugar optional, to dust over finished cake
Instructions
- Preheat oven at 350-degrees. Grease and flour the bundt or tube pan.
- In a bowl, stir together the flour, baking soda, and salt. Set aside.
- In a large bowl, beat egg whites until soft peaks form. Slowly add in 1/2 cup of the white sugar and continue beating until stiff, glossy peaks form. Their mass will increase immensely.
- In another large bowl, beat together the butter, remaining 1 1/2 cups white sugar, egg yolks, 1 Tablespoon lemon zest, and 3 Tablespoons lemon juice. If using electric mixer, beat on medium until everything is creamy and pale yellow, which takes about 3 to 5 minutes.
- Add the dry mixture to the yolk bowl, alternating with the addition of the Greek yogurt, until both are incorporated. Gently fold in the egg whites; this will create an enormous amount of airy batter.
- Pour and scoop into prepared pan. Bake for 50 to 60 minutes; if the pan is full to the top, keep an eye on it in case it overflows. Cook until the middle passes the toothpick test. Let cool for 10 minutes, then invert cake onto a wire rack to completely cool.
- Store beneath a cake dome or otherwise covered, at room temperature. Before serving, dust with confectioners' sugar, if desired.
