


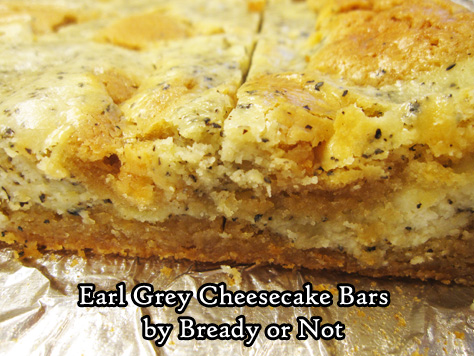
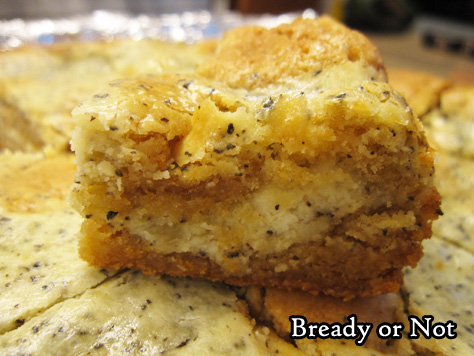
Bready or Not Original: Earl Grey Cheesecake Bars
Earl Grey tea and cream cheese team up in delicious bar form in these delicious Earl Grey Cheesecake Bars.
Last August, I featured Matcha Cheesecake Bars. I decided to modify that recipe using Earl Grey.
The result: WOW. Earl Grey has a slight heat to it when eaten in baked goods (like, say, Earl Grey shortbread).
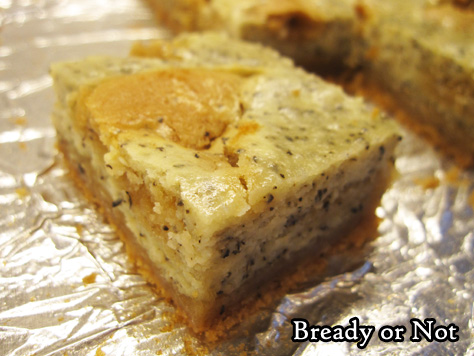
Here, that contrasts wonderfully with the smooth and creamy cheesecake swirls. I’m not a big cheesecake person, but I’m in awe of how good this basic recipe is.
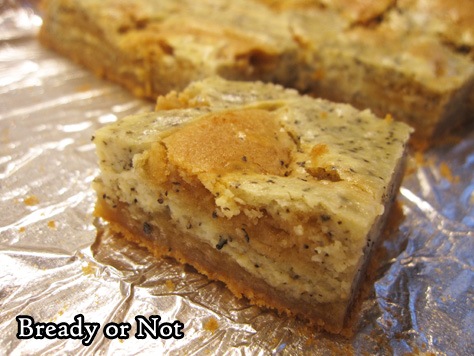
This is a recipe to make cheesecake haters love cheesecake. That’s not a statement I’d make lightly.

I’ve been told these are excellent with coffee… but if I may, I suggest indulging while enjoying some Earl Grey tea. Hot. Captain Picard-style.
Bready or Not Original: Earl Grey Cheesecake Bars
Ingredients
Crust
- 1 1/2 cups all-purpose flour
- 1 tsp baking powder
- 1/2 tsp salt
- 10 Tb unsalted butter softened
- 1 1/2 cups light brown sugar packed
- 2 eggs room temperature
- 1 Tb vanilla extract
Cheesecake layer
- 8 oz cream cheese softened
- 1/4 cup sugar
- 2 Tb unsalted butter softened
- 2 Tb all-purpose flour
- 2 tea bags Earl Grey scant 1 tablespoon
- 1 egg room temperature
- 1/2 tsp vanilla extract
Instructions
- Preheat oven at 325-degrees. Line an 8x8 or 9x9 pan with aluminum foil and apply nonstick spray.
- In a medium bowl, sift together the flour, baking powder, and salt. Set aside.
- In a large mixer bowl, cream together the softened butter and brown sugar for about 3 minutes, until light and fluffy. Add 2 eggs and the vanilla extract, followed by the combined dry ingredients.
- Use an uneven spatula to smooth out HALF of the batter in the prepared pan. Place the other half in another bowl for now. Clean the bowl before the next stage, if desired.
- To make the cheesecake layer, beat together the softened cream cheese, sugar, butter, flour, and the contents of two bags of Earl Grey. Mix in the egg and vanilla until it is mostly smooth.
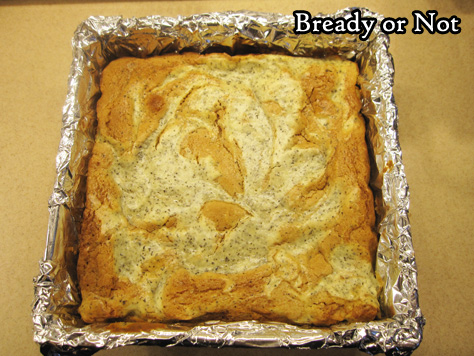
- Pour about HALF of the cream cheese mix on top of the batter in the pan and smooth it out. Dollop the remaining crust and cheesecake batters over the top, and use a butter knife to swirl them together.
- Bake for 45 to 55 minutes, until it passes the toothpick test in the middle. Let cool at room temperature for an hour, then place in fridge to continue to chill and set for another hour or two.
- Lift it up by the aluminum foil and place on a cutting board to slice into bars. Store in a lidded container in fridge, with waxed paper or parchment between stacked layers.
- OM NOM NOM!
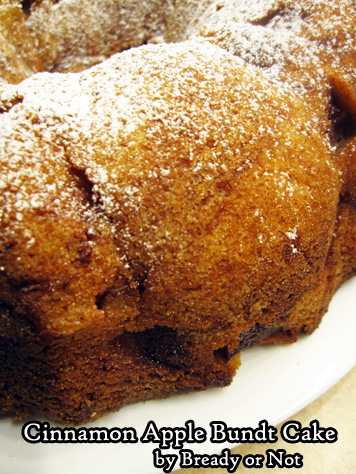
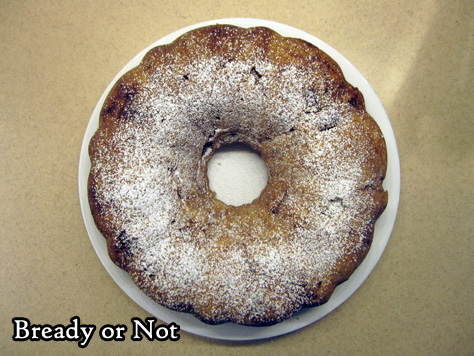
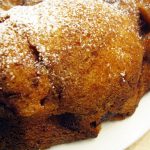
Bready or Not: Cinnamon Apple Bundt Cake
Apple cake and apple pie are the favorites of the men in my family, and this Cinnamon Apple Bundt Cake met their full approval!
I try out different apple recipes on a regular basis; my apple tag on the site attests to that.
This recipe resembles another old favorite of mine, my basic apple cake that is made in a square baking pan.

The new recipe, however, makes more cake with an overall showier presentation. I love that sprinkle of confectioners’ sugar on top!

The most difficult thing about making this cake is peeling and chopping up the apples. After that, everything comes together quite quickly.
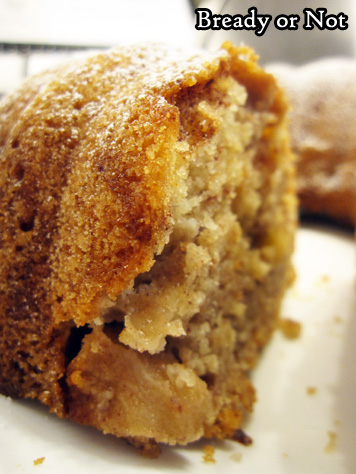
The end result is a tender, moist cake flecked with apple chunks. It’s the perfect breakfast, snack, or dessert, and is tasty hot or cold.
Modified from Taste of Home Sunday Best 2015.
Bready or Not: Cinnamon Apple Bundt Cake
Ingredients
- 3 medium apples peeled and chopped
- 2 teaspoons cinnamon
- 2 cups white sugar
- 1 cup canola oil
- 3 large eggs room temperature
- 2 teaspoons vanilla extract
- 3 cups all-purpose flour
- 1 teaspoon salt
- 1 teaspoon baking powder
- confectioners' sugar to sift over top optional
Instructions
- Preheat oven to 350-degrees. Grease and flour a bundt cake pan.
- In a large bowl, stir cinnamon to coat the chopped apples. Set aside.
- In another big bowl, beat together sugar, oil, eggs, and vanilla. Combine the flour, salt and baking powder in another bowl, then slowly add it into the liquid mixture. Stir in the apples.
- Pour the batter into the ready pan. Bake for 60 to 70 minutes, until it passes the toothpick test. Let cool in pan for 15 minutes, then carefully invert the cake out of the pan and onto a wire rack to completely cool.
- Keep stored in fridge. If desired, before serving, sift confectioners' sugar over the top. Slices may be eaten cold or warmed up in the microwave. Cake can also be frozen in slices for later enjoyment.
- OM NOM NOM!
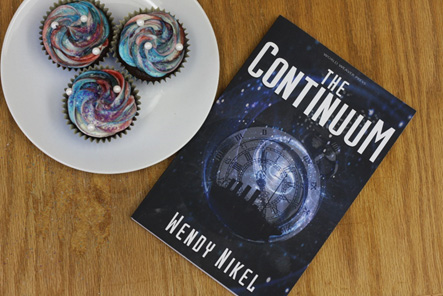
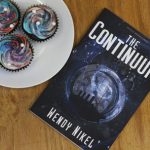
Bready or Not Guest Recipe from Author Wendy Nikel: Continuum Coffee Cupcakes
Today I welcome Wendy Nikel! Her novella The Continuum came out on Tuesday from World Weaver Press. Find out all about all the cool time-traveling twists in her new book, and grab a recipe for some cupcakes that are out of this world!
Elise Morley is an expert on the past who’s about to get a crash course in the future.
For years, Elise has been donning corsets, sneaking into castles, and lying through her teeth to enforce the Place in Time Travel Agency’s ten essential rules of time travel. Someone has to ensure that travel to the past isn’t abused, and most days she welcomes the challenge of tracking down and retrieving clients who have run into trouble on their historical vacations.
But when a dangerous secret organization kidnaps her and coerces her into jumping to the future on a high-stakes assignment, she’s got more to worry about than just the time-space continuum. For the first time ever, she’s the one out-of-date, out of place, and quickly running out of time.
January 23 marks the release day for my first book: a time travel novella entitled THE CONTINUUM. And what better way to celebrate a new book than with cupcakes?
My main character, Elise, is a professional time traveler and — like me — a big fan of coffee, so I knew I wanted something rich and delicious. Plus, I’d been seeing galaxy-swirl treats here and there online and wanted to give this colorful, space-themed frosting a shot. What I ended up with was a death-by-chocolate cupcake, filled with mocha pudding and swirling buttercream frosting.
THE CUPCAKES:
THE FILLING:

THE FROSTING:

Bready or Not Guest: The Continuum Coffee Cupcakes by Wendy Nikel
Ingredients
Cupcakes
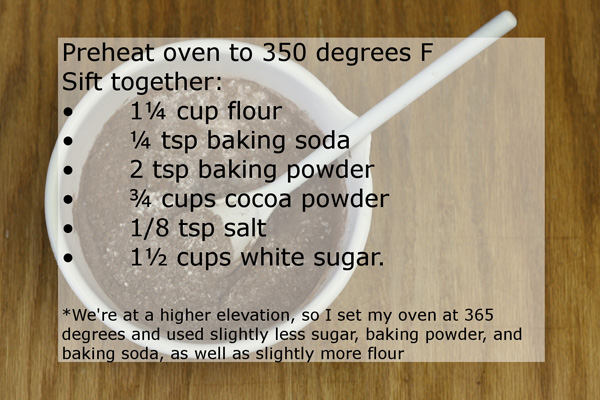
- 1 1/4 cup all-purpose flour
- 1/4 teaspoon baking soda
- 2 teaspoon baking powder
- 3/4 cup cocoa powder
- 1/8 teaspoon salt
- 1 1/2 cup white sugar
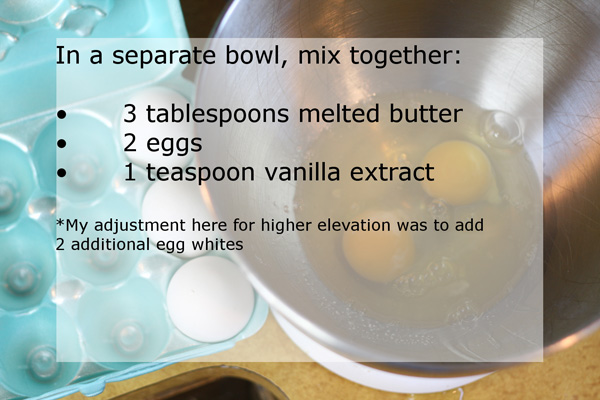
- 3 Tablespoons melted butter
- 2 eggs
- 1 teaspoon vanilla extract
- 1 cup milk
- 1 cup chocolate chips
Filling
- Chocolate instant pudding
- 2 cups milk
- 1 teaspoon coffee extract
Frosting
- 4 cup powdered sugar
- 1 cup butter
- 1-2 Tablespoons milk
- Gel food coloring
- Sprinkles
Instructions
- Preheat oven to 350 degrees F.
- Sift together flour, baking soda, baking powder, cocoa, salt, and sugar.
- In separate bowl, mix melted butter, eggs, and vanilla.
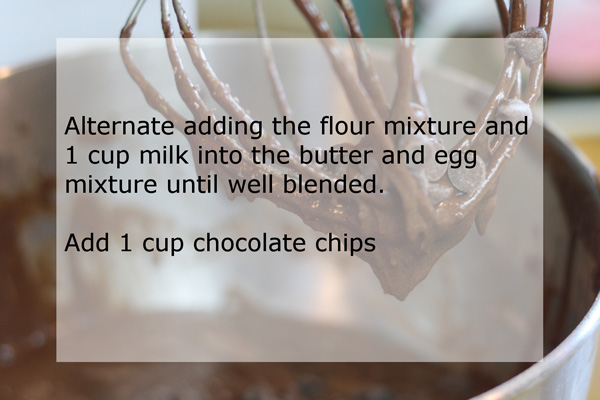
- Alternate adding the flour mixture and 1 cup milk into the butter & egg mixture until well blended. Add chocolate chips.
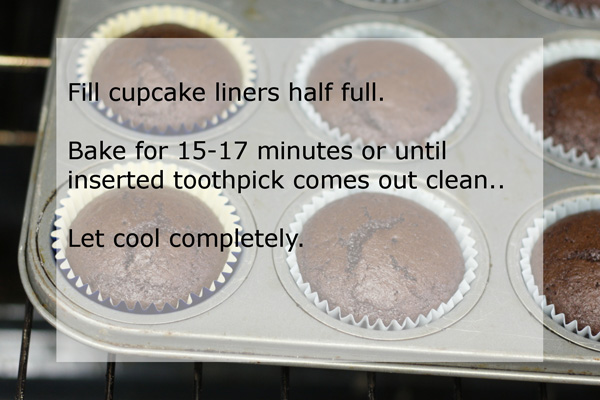
- Fill cupcake liners half full and bake for 15-17 minutes. Let cool.
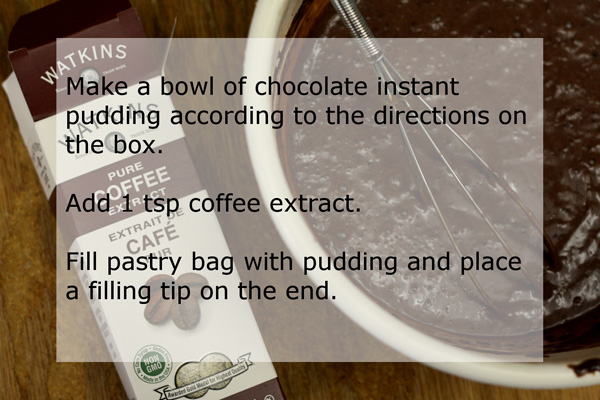
- Make instant pudding according to directions. Add 1 tsp coffee extract.
- Fill pastry bag with pudding and place a filling tip on the end. Stick the filling tip into the center of each cupcake at a 90 degree angle and squeeze in the filling until you can see the top crust bulge.
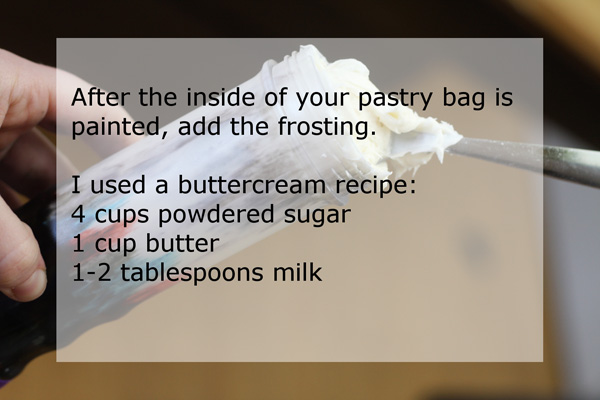
- Drop a bit of each color of food coloring into a bowl. Use a new paintbrush to "paint" the insides of the pastry bag or decorator with the food coloring.
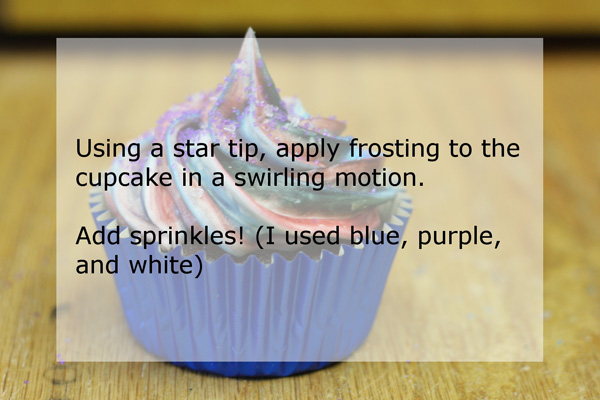
- After the inside is painted, add the frosting. Using a star tip, apply frosting in a swirling motion. Add sprinkles, and enjoy!
THE CONTINUUM out NOW
paperback via World Weaver Press $8.99 (regular $9.99)
eBook via iTunes
eBook via Barnes & Noble
eBook via Amazon
eBook via Kobo
Wendy Nikel is a speculative fiction author whose short stories have appeared in Fantastic Stories of the Imagination, Daily Science Fiction, AE Sci-Fi, Nature: Futures, and various anthologies and e-zines. She is a member of SFWA and Codex Writers Group and is a managing editor at Flash Fiction Online.
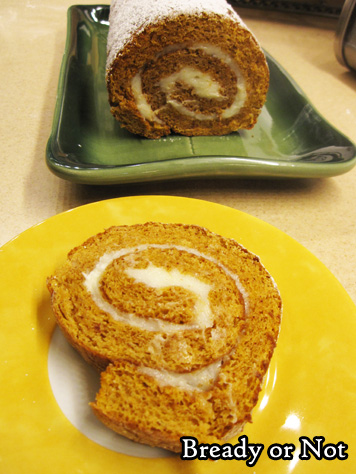
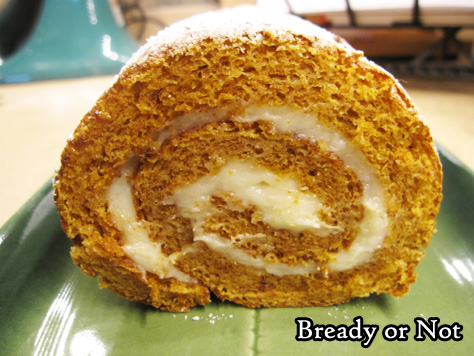
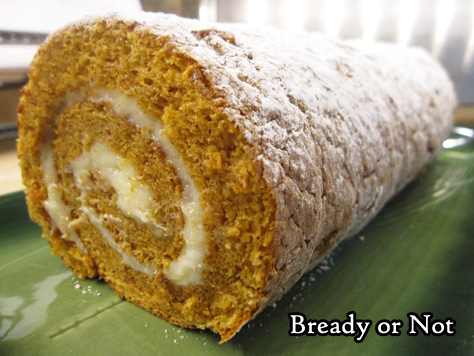
Read MoreBready or Not: Pumpkin Roll
The Great British Bake Off inspired me to finally try making a cake roll of my own, and this is the result: a delicious, successful Pumpkin Roll.

No lie, these things have intimidated me for a decade. I was certain I’d try to roll it up, and it’d crack and be a total disaster.
In reality, I ended up with only a few minor cracks, and the roll maintained its shape without any issue.
But let’s talk about the taste. Cream cheese and pumpkin make for the perfect pairing. Both are mild and complement each other, and the amounts here are perfect. The filling doesn’t gush all over the place like some of the disastrous results on Bake Off.
The most time-consuming part of all of this was beating the whites to stiff peaks… which wasn’t helped by the fact that my hand mixer was dying and could barely beat at all. I like to think it met a noble end in the making of this recipe.
RIP hand mixer, a well-used wedding gift from the year 2000.
This cake is super-easy to store in the fridge because it’s small and narrow. The original recipe said it could be frozen, too, though I didn’t try that myself.
Be bold and crazy. Conquer your fear. Make a Pumpkin Roll. And salute the work of your noble hand mixer.
Bready or Not: Pumpkin Roll
Ingredients
Sponge
- 3/4 cup all-purpose flour
- 1 teaspoon baking soda
- 1/2 teaspoon cinnamon
- 1/4 teaspoon salt
- 3 eggs with separated yolks and whites
- 1 cup white sugar divided in half
- 2/3 cup pumpkin puree
Filling
- 8 ounces cream cheese 1 box, softened
- 2 Tablespoons unsalted butter softened
- 1 1/2 cups confectioners' sugar sifted, plus more
- 1/2 teaspoon vanilla extract
Instructions
- Preheat oven at 375-degrees.
- Cut parchment paper to fit inside a 15x10-inch pan. Grease and flour the pan and the top of the paper.
- In a small bowl, mix together the flour, baking soda, cinnamon, and salt. Set aside.
- In a large bowl, beat the egg yolks until they are thick. Slowly add 1/2 cup white sugar and the pumpkin puree. Beat until the sugar is completely blended in.
- In another small bowl, use a hand mixer to beat the egg whites until soft peaks form. Gradually pour in the remaining white sugar, and continue beating until stiff peak stage. Fold the egg whites into the pumpkin mixture, then fold in the dry ingredients; be gentle and do not overmix.
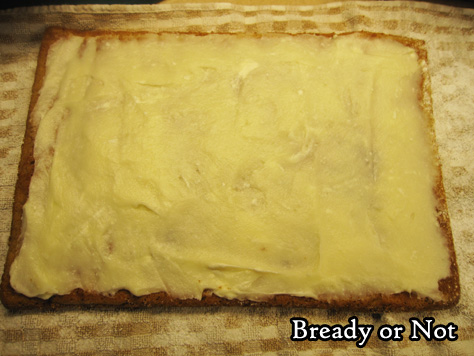
- Pour the sponge batter into the pan and use an uneven spatula to spread it to the edges.
- Bake for 13 to 15 minutes, or until the cake springs back when touched. Lay a cotton kitchen towel out on the counter and sprinkle it all over with confectioners' sugar. After the cake has cooled for 5 minutes, turn it out onto the prepared towel. Peel away the parchment paper. Roll the cake up by the short side. Leave it rolled up and cool it completely on the towel.
- To make the filling, in a small bowl beat together the cream cheese, butter, confectioners' sugar, and vanilla, until smooth.
- Unroll the cake on the towel again. Spread the filling. Roll it up again.
- Wrap the cake in plastic wrap and chill for 2 hours. When ready to serve, cut thin slices off both ends of the cake to make for a pretty presentation. Dust confectioners' sugar all over the top.
- OM NOM NOM!

Read More
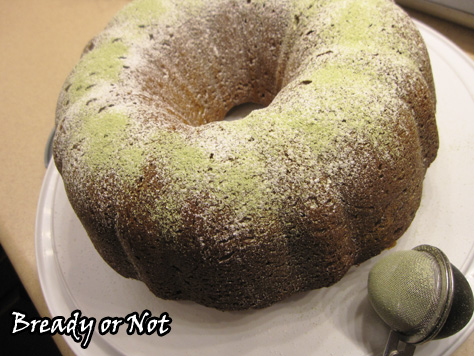
Bready or Not: Matcha Green Tea Bundt Cake
During my book release months, I typically follow a theme of cakes and pies. This time around, we’re doing something different: baked goods featuring matcha powder, aka green tea!
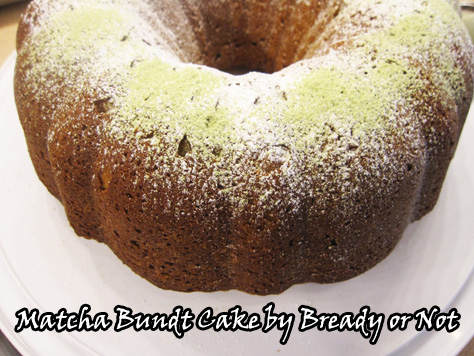
My first recipe can’t help but follow the traditional cake theme, though: Matcha Bundt Cake.
The America in my books Breath of Earth and Call of Fire is heavily influenced by Japanese culture. That’s evident in architecture, nickel cinemas, the vernacular–and in baked goods, too.
Of course, in our timeline, the phenomenon of green tea in leavened sweets is a contemporary innovation.
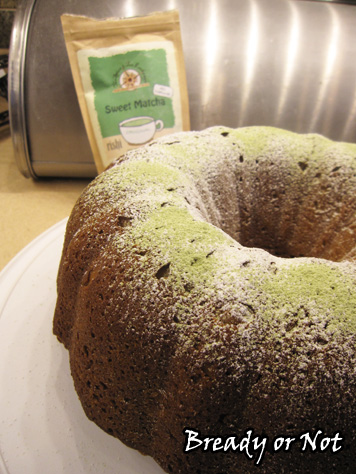
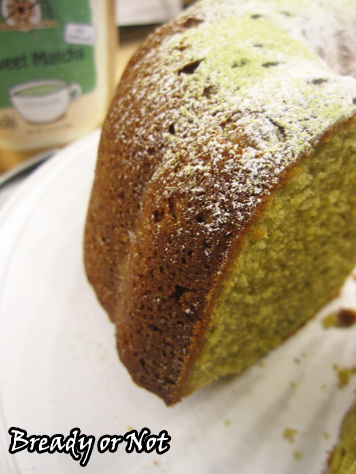
The type of green tea you use may produce different results. I used a Rishi sweet green tea blend that includes sugar, making it ideal for lattes or baked goods.
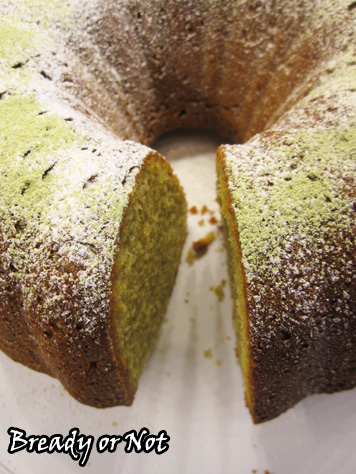
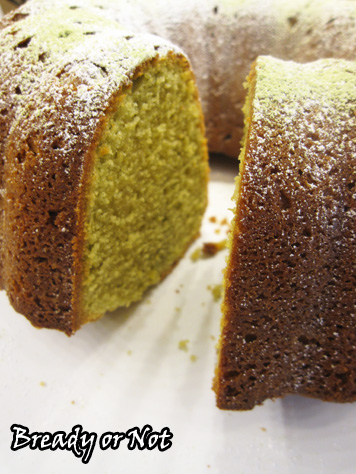
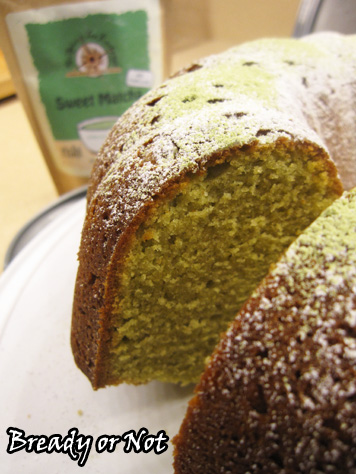
This bundt cake naturally baked up with a lovely light green tint, but as you’ll see, in some of the forthcoming cookie recipes, the green is barely visible. If you want things to turn out VERY green, just add some food dye.
This is essentially a tender pound cake in both taste and texture, with a unique fresh flavor from the tea.
In other words, DELICIOUS.
Modified from Week of Menus.
Bready or Not: Matcha Green Tea Bundt Cake
Ingredients
Cake
- 3 cups all-purpose flour
- 3 Tablespoons sweet matcha powder
- 1/2 teaspoon baking powder
- 1/2 teaspoon baking soda
- 1/2 teaspoon salt
- 1 cup unsalted butter 2 sticks, softened
- 1 3/4 cups white sugar
- 4 large eggs room temperature
- 2 teaspoons vanilla extract
- 1 cup sour cream 8 ounces
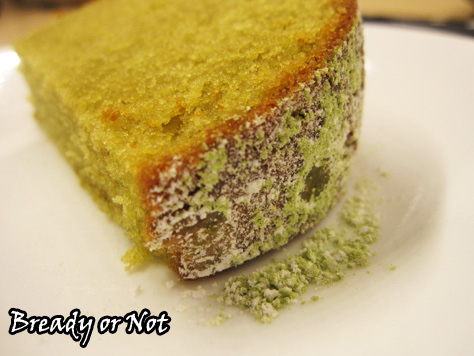
Topping
- 2 Tablespoons confectioners' sugar sifted
- 1/4 teaspoon sweet matcha powder sifted
Instructions
- Preheat oven at 350-degrees. Grease and lightly flour a 10-or 12-inch bundt pan.
- In a medium bowl, stir together the dry ingredients: flour, matcha powder, baking powder, baking soda and salt. Set aside.
- In a large bowl, beat the butter creamy. Gradually add sugar; continue to mix until it is light in texture and color. Add the eggs one at a time, beating after each addition, followed by the vanilla extract.
- Gradually add the dry mix and sour cream into the big bowl, going back and forth between the two, until everything is combined. Scoop batter into the ready pan.
- Bake cake for 50 to 60 minutes, until it passes the toothpick test in the middle. Cool the cake for about 10 minutes, then invert it onto a rack to completely cool.
- Sift the confectioners' sugar on top of the cake, followed by the matcha. Slice and serve. Keep covered on counter.
- OM NOM NOM!
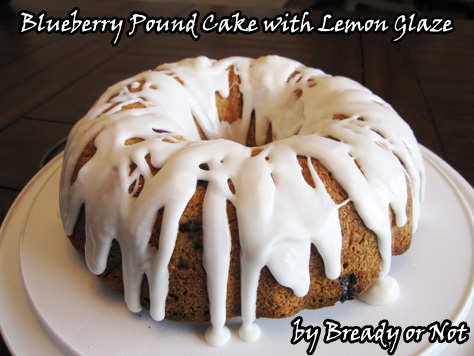
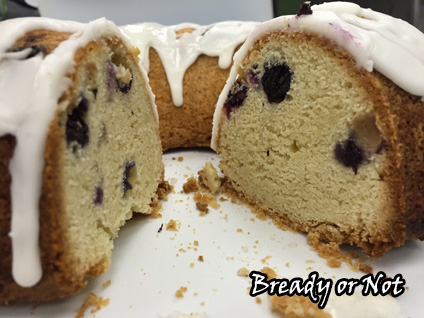
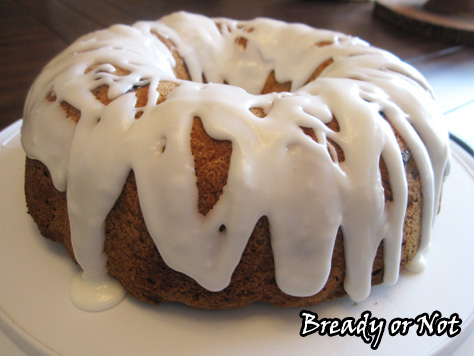
Bready or Not: Blueberry Pound Cake with Lemon Glaze
Blueberries are in season, so let’s get baking!
This cake is sheer perfection. This has the tender texture of a pound cake, with added sweetness from dapples of blueberries.
Oh yeah, and then there’s the glaze. When I was meddling with the base recipe, that version felt so… naked.
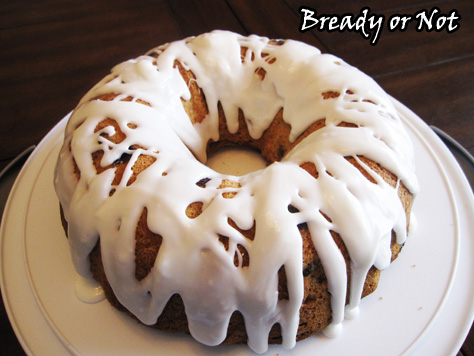
The lemon glaze adds a bit more sweetness, and a tartness that contrasts perfectly with the blueberries.
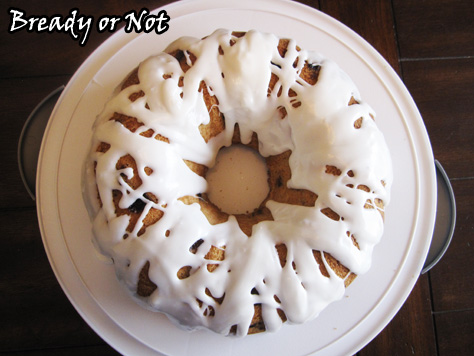
The glaze looks gorgeous, too!
This cake is perfect for breakfast, brunch, or dessert. Whenever the heck you want it, really.
Modified from Through Her Looking Glass.

Bready or Not: Blueberry Pound Cake with Lemon Glaze
Ingredients
Cake
- 6 ounces blueberries washed, drained, and patted dry
- 3 cups flour divided
- 1 teaspoon baking powder
- 1/2 teaspoon salt
- 1 cup unsalted butter 2 sticks, room temperature
- 2 cups white sugar
- 4 large eggs room temperature
- 1 1/2 teaspoons vanilla extract
Glaze
- 1 1/2 cups confectioners' sugar sifted
- 1 Tablespoon + milk
- 1/2 teaspoon lemon extract
Instructions
- Preheat oven at 350-degrees. Prepare a 10 or 12-cup bundt pan by applying Pam with Flour or buttering well and dusting with flour.
- In a small bowl, gently stir the blueberries with 1/4 cup flour. This will keep the blueberries from sinking in the batter as it bakes. Set bowl aside.
- In a medium bowl, stir the remaining flour with the baking powder and salt. Set aside.
- In a mixing bowl, cream the butter and sugar together until fluffy. Add the eggs one at a time, followed by the vanilla. Beat it until fluffy again.
- Slowly mix in the dry ingredients until just blended. Follow that by gently folding in the blueberries.
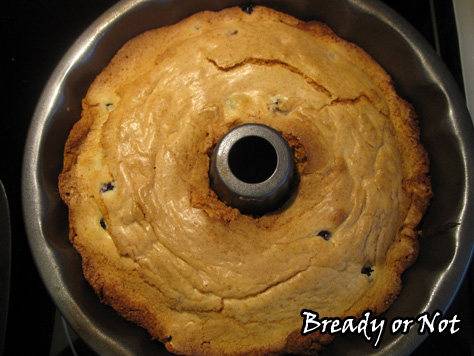
- Use a rubber spatula to pour the batter into the ready pan. Bake for 50 minutes to 1 hour, until it passes the toothpick test.
- Let the cake cool for about 10 minutes, then invert it onto a rack to completely cool. Once the cake is at room temperature, mix the glaze. Add enough milk to give it the desired pourable consistency. Drizzle it over cake.
- Store cake in fridge.
- OM NOM NOM!
Read More
