


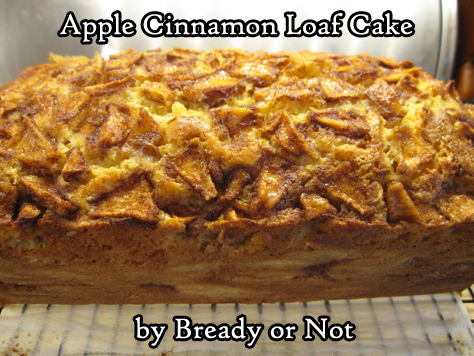
Bready or Not Original: Apple Cinnamon Loaf Cake
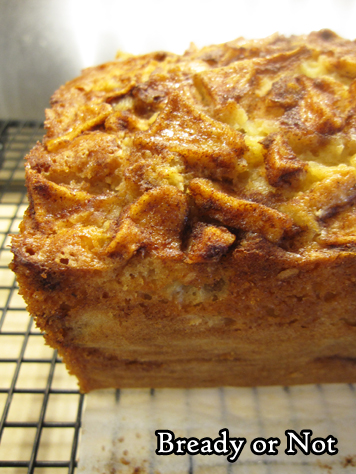
This Apple Cinnamon Loaf Cake is tender and delicious, perfect for breakfast, snack, or dessert.
This loaf cake is a lot like my small casserole-sized Easy Apple Cinnamon Cake. If you like one, you’ll like the other!
My husband, see, looooves apple pie and apple cake. Apples in baked goods, period. And yes, he loved this loaf cake.
One of the great things about this recipe is that this loaf kept for about a week, all wrapped up and stored in a safe place at room temperature.
(In my house, that means tucked inside my stainless steel breadbox, as otherwise my cats would tear their way inside the plastic wrap. Because my cats are weird.)
Bready or Not Original: Apple Cinnamon Loaf Cake
Equipment
- 9x5 loaf pan
Ingredients
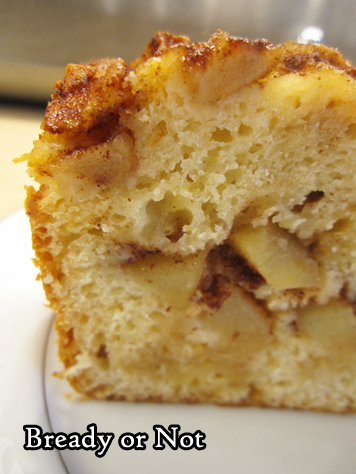
- 2 medium apples such as Gala, peeled, cored, and chopped
- 1/3 cup brown sugar packed
- 1 teaspoon ground cinnamon
- 2/3 cup white sugar
- 1/2 cup applesauce
- 2 large eggs room temperature
- 1 1/2 teaspoons vanilla extract
- 1 1/2 cups all-purpose flour
- 1 3/4 teaspoons baking powder
- 1/4 teaspoons salt
- 1/2 cup milk or half & half
Instructions
- Preheat oven at 350-degrees. Cut parchment paper to fit long-ways in a loaf pan, sticking up on either side as a sling. Apply nonstick spray into pan, place paper, then spray again. Set aside.
- Prepare apples. Add brown sugar and cinnamon to bowl and toss with chopped apples to coat.
- In a big bowl, mix white sugar and applesauce until smooth and creamy. Add eggs one at a time, then the vanilla extract.
- In another small bowl, stir together the flour, baking powder, and salt. Gradually stir this into the egg mixture, followed by the milk.
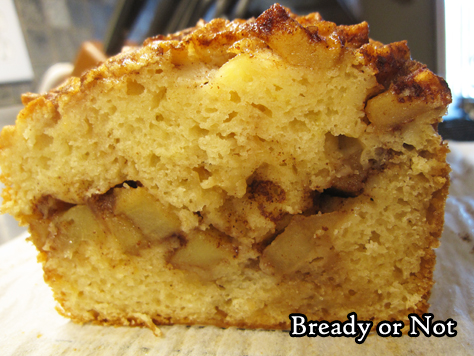
- Spoon about half of the batter into the prepared pan. Layer about half of the apples on top. Scoop the remaining batter over it, and add the rest of the apples. Pat them into the top.
- Bake for 50 to 55 minutes, until a toothpick stuck into the middle emerges clean.
- Use parchment sling to immediately lift loaf onto a rack to completely cool. Once the loaf is at room temperature, shroud in plastic wrap and store at room temperature--or freeze all or part of loaf for later.
OM NOM NOM!
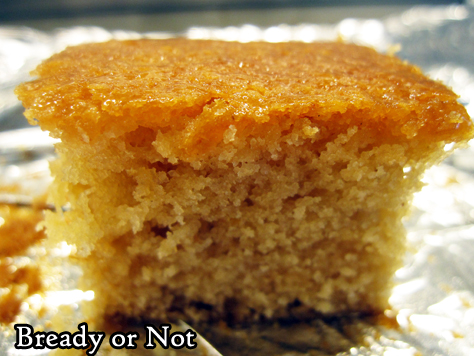
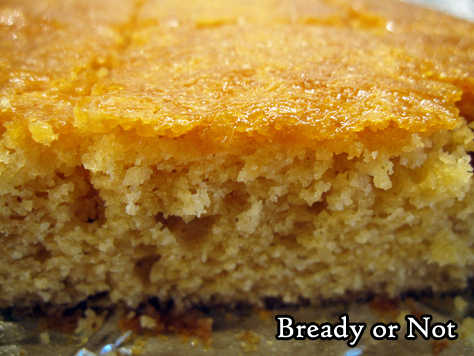
Bready or Not Original: Golden Syrup Snack Cake
Golden Syrup Snack Cake! This delicious, sticky, sweet-but-not-too-sweet cake delivers a taste of the UK wherever you may live.

I see golden syrup all the time in British recipes. I debated trying those recipes, but wondered if I could finagle some kind of American equivalent to golden syrup. Nope.
Accept no substitutes. Golden syrup is kinda between honey and maple syrup, but has its own unique kind of sweetness. The good news is, if you’re in America, it can be found on the shelf in grocery stores. I live in the boonies on the far western fringe of Phoenix, and I can even find it here… though it is kind of expensive.

The grocery gods did smile upon me, though. I scored TWO bottles of Lyle’s Golden Syrup for half off in the clearance area. I actually squealed out loud.
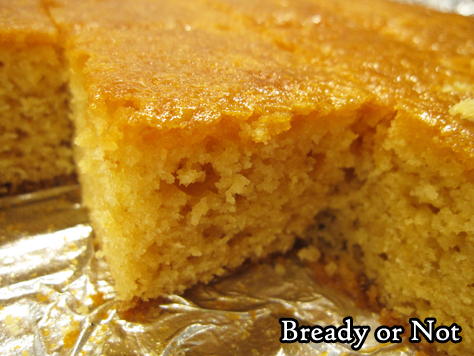
This cake has a soft, tender crumb that is gently sweet throughout. The glaze of extra syrup brushed on top adds a perfect finish. This is the perfect treat to serve up for a binge-watch of British telly!
Recipe heavily modified and converted in measurement from a recipe found at the BBC.
Bready or Not Original: Golden Syrup Snack Cake
Equipment
- 8x8 or 9x9 pan
Ingredients
Cake
- 1/2 cup unsalted butter 1 cube
- 1/2 cup turbinado or other raw sugar
- 3/4 cup golden syrup such as Lyle's, but not the squeeze bottle version
- 1 3/4 cup all-purpose flour
- 1 large egg
- 2 teaspoon baking powder
- 1 teaspoon ground ginger
- 1/4 teaspoon salt
- 2/3 cup milk or half & half
Glaze
- 2 Tablespoons golden syrup
Instructions
- In a large pot, heat butter, golden syrup, and turbinado sugar until melted and combined. Set aside to cool.
- Preheat oven at 325-degrees. Line an 8x8 or 9x9-square cake pan with foil and apply nonstick spray or butter.
- In a bowl, whisk together the egg and milk. Mix with the contents of the large pot.
- Into this pot, add the baking powder, ground ginger, and salt, followed by the flour. Pour into the prepared pan.
- Bake for 40 to 50 mins, until the middle passes the toothpick test. Measure the golden syrup for glazing into a bowl and brush it atop the warm cake.
- Let cool at least 20 minutes before slicing. Store covered by foil or sliced up in a sealed container at room temperature.
OM NOM NOM!
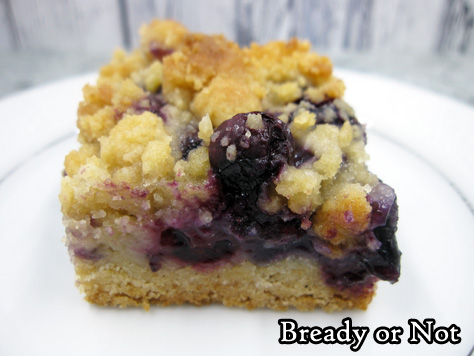
Bready or Not Original: Blueberry Crumble Bars
Nothing says summer to me quite like blueberry bars, and this version has a delectable crumb topping and loads of blueberries!
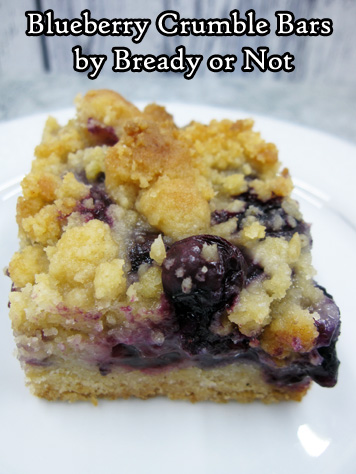
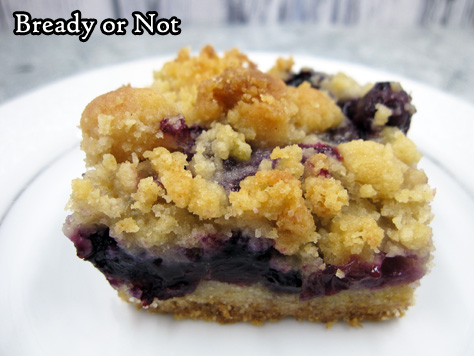
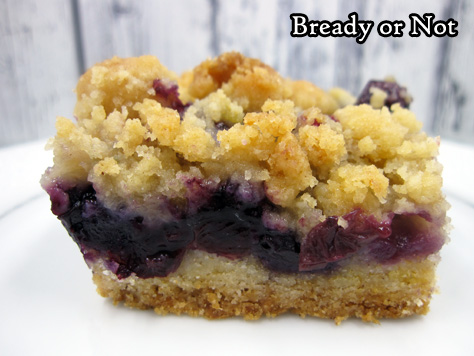
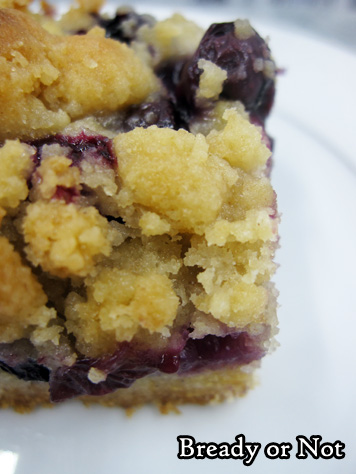
This is really the best kind of fruit and shortbread combo. The bottom and top acquire a buttery crispness as they bake, the perfect contrast for the oozy, sweet berries.

I am frustrated when recipes only list blueberries by cup measurement, which is useless when I’m in the grocery store trying to figure out how much to buy in pints or ounces. I can say that 4 cups or 20 ounces is what you need for this recipe.
Be careful at the final stage when it’s time to slice into bars. The blueberries can stick to the foil quite a bit. Therefore, be sure to generously grease the pan prior to baking, and gently pry the foil away when ready to slice.
The recipe makes a full 9×13 pan, so be sure you have a lot of people present to eat them. These would be very dangerous treats to keep around when home alone, just sayin’.
Bready or Not Original: Blueberry Crumble Bars
Ingredients
- 3 cups all-purpose flour
- 1 cup white sugar divided
- 1/2 cup brown sugar packed
- 1 teaspoon baking powder
- 1/4 teaspoon salt
- pinch ground cinnamon
- 1 cup unsalted butter 2 sticks, room temperature
- 1 egg
- 3 teaspoons cornstarch
- 4 cups fresh blueberries 20 ounces
Instructions
- Preheat oven at 375-degrees. Line a 9x13 pan with foil and apply nonstick spray. Wash the blueberries and remove any stems or smashed berries, then gently blot dry with a towel.
- In a big bowl, mix together the flour, 1/2 cup white sugar, the brown sugar, and baking powder. Add the salt and cinnamon. Add the butter and mix until it forms crumbly dough.
- Pat about 2/3 of the dough into the prepared pan. A piece of waxed paper and a heavy glass will help compress it into an even layer.
- In another bowl, stir together the remaining 1/2 cup white sugar and cornstarch. Gently stir the blueberries to coat. Sprinkle the blueberries over the bottom crust, then crumble the remaining dough evenly over the top.
- Bake for 45 minutes, but check at the 30 minute point. If it's looking golden on top, cover it with foil then continue to bake.
- Cool at room temperature, then chill in fridge to make it even more cohesive to cut. Use the foil to lift the contents onto a cutting board. Carefully peel back the foil from the edges; a knife might help to hold the bars in place if the blueberry layer is being especially sticky.
- Slice into bars. Store in a sealed container in the fridge, with waxed paper between the stacked layers.
OM NOM NOM!
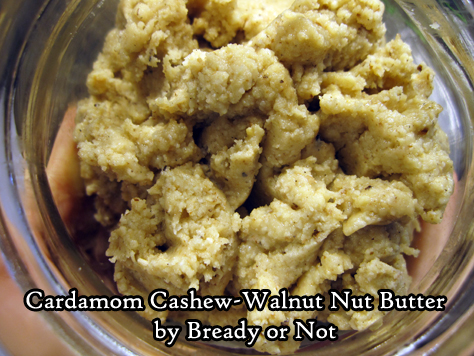
Bready or Not Original: Cardamom Cashew-Walnut Butter
This is a two-for-one Bready or Not posts: recipes for Cardamom Cashew-Walnut Butter, for both small and large food processors.
For the past few years, I had an 8-cup Cuisinart food processor. The thing was great, but as I tried more recipes, I found that most were designed for a larger food processor. Darn.
So when Costco advertised a Cuisinart double the size, I circled the ad and shoved it toward my husband, saying, “This is what I want for Christmas.”
After overcoming my initial anxiety about operating the darn thing (blades and pieces galore! confusing!), I delighted in the increased capacity. Now I can make bigger batches of stuff like nut butter!
This recipe is a particular favorite of mine. I created the original small batch recipe for my old unit, and then modified it for the shiny new machine.
You can substitute other nuts in the recipe, but the mixing time may be different. Almonds are harder, and take longer to process.
Also check out my Maple Nut Butter recipe!
Bready or Not Original: Cardamom Cashew-Walnut Butter [Small Batch]
Equipment
- 8-cup food processor
Ingredients
- 1 1/2 cups cashews
- 1 cup walnuts
- 1/2 teaspoon sea salt
- 1 Tablespoon honey
- 1/2 teaspoon ground cardamom
- 1/2 teaspoon vanilla extract
Instructions
- If the nuts are unroasted, roast them first for a boost of flavor. Line a rimmed baking sheet with foil and preheat oven at 350 degrees. Spread cashews and walnuts in an even layer. Bake for about 6 minutes, whereupon they should smell pleasantly toasty. Let cool at least 30 minutes before continuing with next step.
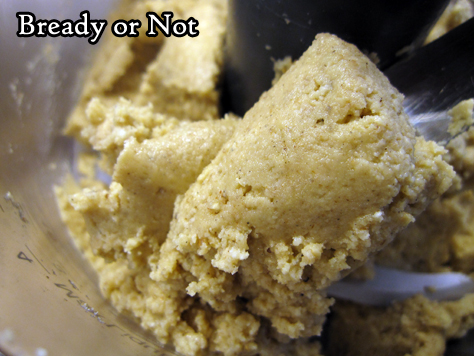
- Fit processor with an S-shaped blade inside. Pour in cashews, walnuts, and sea salt. Process for about 5 to 10 minutes, stopping sporadically to scrape sides. The nut butter is done when the mixture looks smooth and flows over the blades like a thick river.
- Add the honey, ground cardamom, and vanilla. Process another two minutes to incorporate.
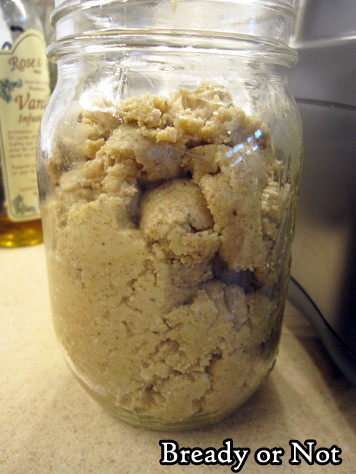
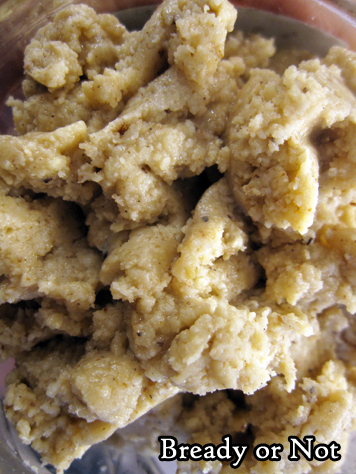
- Place nut butter in a clean glass jar (or jars). Store sealed at room temperature for as long as a year. Some separation of nuts and oil is natural--just stir them together again, if needed. If the nut butter dries out, warm what is needed in a microwave-safe bowl to make it spreadable.
OM NOM NOM!
Bready or Not Original: Cardamom Cashew-Walnut Butter [Large Batch]
Equipment
- 16-cup food processor
Ingredients
- 3 cups cashews
- 2 cup walnuts
- 1 teaspoon sea salt
- 2 Tablespoon honey
- 1 teaspoon ground cardamom
- 1 teaspoon vanilla extract
Instructions
- If the nuts are unroasted, roast them first for a boost of flavor. Line a rimmed baking sheet with foil and preheat oven at 350 degrees. Spread cashews and walnuts in an even layer. Bake for about 6 minutes, whereupon they should smell pleasantly toasty. Let cool at least 30 minutes before continuing with next step.
- Fit processor with an S-shaped blade inside. Pour in cashews, walnuts, and sea salt. Process for about 5 to 10 minutes, stopping sporadically to scrape sides. The nut butter is done when the mixture looks smooth and flows over the blades like a thick river.
- Add the honey, ground cardamom, and vanilla. Process another two minutes to incorporate.
- Place nut butter in a clean glass jar (or jars). Store sealed at room temperature for as long as a year. Some separation of nuts and oil is natural--just stir them together again, if needed. If the nut butter dries out, warm what is needed in a microwave-safe bowl to make it spreadable.
- OM NOM NOM!
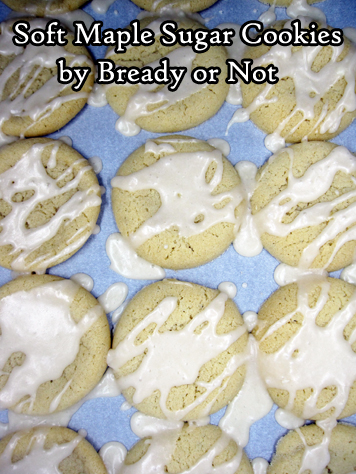
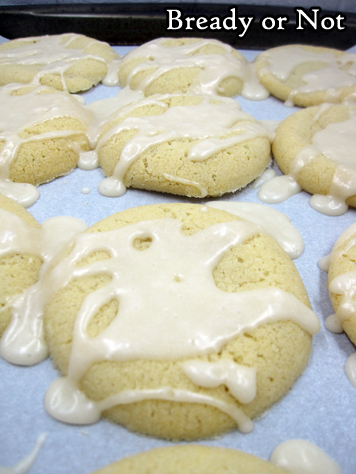
Bready or Not Original: Soft Maple Sugar Cookies
Soft Maple Sugar Cookies! That’s right, this recipe combines two of the best things ever for an original treat.
It has been way too long since I offered up a maple-flavored treat. These are so good, they make up for that lapse in a major way.
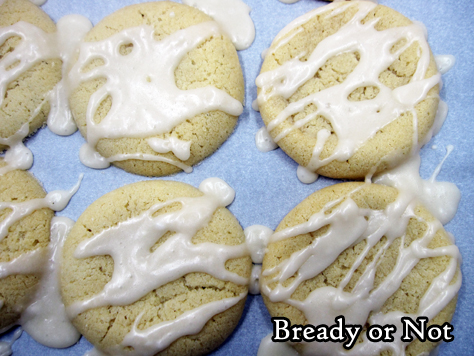
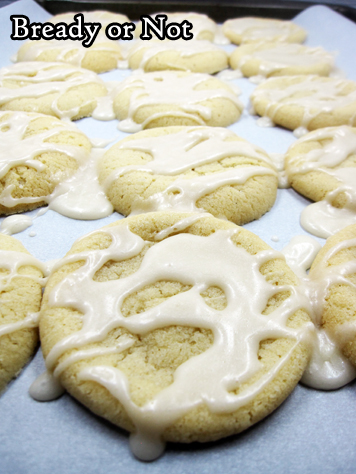
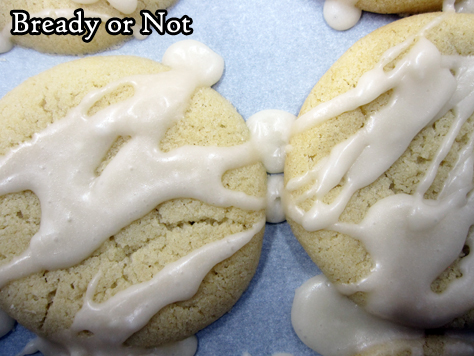
These are soft, chewy cookies. Maple flavor is built into the dough, and the drizzle of glaze adds a touch more.
I wish I could say how long these cookies will keep, but I don’t know. They stayed delicious for at least one full day, then they went to my husband’s work and were goooooooone.
You’ll have to bake them yourself and see how long they last!
Bready or Not Original: Soft Maple Sugar Cookies
Equipment
- teaspoon scoop
- parchment paper
Ingredients
Dough
- 1/2 cup unsalted butter softened 1 stick
- 1/2 cup shortening
- 1 1/2 cups white sugar
- 1/4 cup brown sugar packed
- 1/4 cup pure maple syrup
- 1 teaspoon baking soda
- 1 teaspoon cream of tartar
- 1/8 teaspoon salt
- 3 egg yolks
- 1 teaspoon vanilla extract
- 1 teaspoon maple flavor
- 1 3/4 cups all-purpose flour
Glaze
- 1/4 cup unsalted butter half stick
- 2 cups confectioners' sugar plus more is needed for thickness
- 1/4 cup half & half or milk
- 3 Tablespoons maple syrup
Instructions
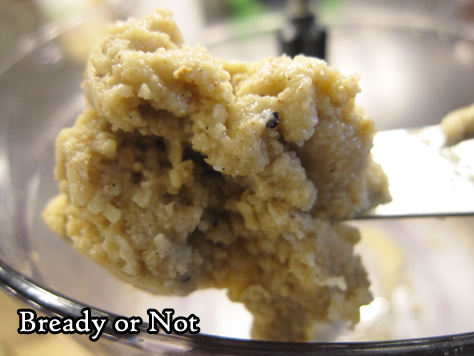
- Preheat oven at 300-degrees. In a large bowl, beat together butter and shortening. Add both sugars, maple syrup, baking soda, cream of tartar, and salt. Beat for about 2 minutes, scraping bottle of bowl often. Add egg yolks one at a time, followed by vanilla extract and maple flavor. Mix in flour until just combined.
- Use a scoop or spoon to dollop dough onto a parchment paper-lined cookie sheet, spacing out to account for spread. Bake for 11 to 16 minutes. Let set on cookie sheet for 10 minutes, then transfer to a rack to completely cool.
- Once all cookies are baked and cooled, move them back to the parchment-covered pan, close together, before mixing glaze.
- In a small bowl, melt butter in microwave. Add the confectioners' sugar to bowl, followed by half & half and maple syrup. Stir. Add more sugar, if needed, to form a thick consistency. Drizzle all over cookies. Let set for 30 minutes to 1 hour before moving to sealed containers.
OM NOM NOM!
Bready or Not Original: White Chocolate Macadamia Nut Granola Bars [Gluten Free]
These delicious White Chocolate Macadamia Nut Granola Bars are perfect for breakfasts and snacks–and they are packed with protein and gluten-free, too!
![Bready or Not Original: White Chocolate Macadamia Nut Granola Bars [Gluten Free]](https://www.bethcato.com/blog/wp-content/uploads/2020/02/Wh-Choc-Mac-Nut-Granola-Breakfast-Bars-GF8_sm.jpg)
I love making no-bake batch breakfast recipes in the summer. No need to turn on the oven and heat up my kitchen! Or to fuss with making something every day!
![Bready or Not Original: White Chocolate Macadamia Nut Granola Bars [Gluten Free]](https://www.bethcato.com/blog/wp-content/uploads/2020/02/Wh-Choc-Mac-Nut-Granola-Breakfast-Bars-GF3_sm.jpg)
This recipe is even better because it is SO GOOD. I made it numerous times to experiment with ingredients and amounts. I prefer it with cashew butter and almond flour as it gives it a very cookie dough taste, but use what you have.
![Bready or Not Original: White Chocolate Macadamia Nut Granola Bars [Gluten Free]](https://www.bethcato.com/blog/wp-content/uploads/2020/02/Wh-Choc-Mac-Nut-Granola-Breakfast-Bars-GF7_sm.jpg)
To make this gluten-free, be sure to use GF quick oats from a place like Bob’s Red Mill. Also, DON’T use old fashioned/rolled oats. They are too dense. The time I tried that kind, I had to add a lot more nut butter and honey to make the mixture stick together.
![Bready or Not Original: White Chocolate Macadamia Nut Granola Bars [Gluten Free]](https://www.bethcato.com/blog/wp-content/uploads/2020/02/Wh-Choc-Mac-Nut-Granola-Breakfast-Bars-GF10_sm.jpg)
Make these on the weekend and your breakfasts are ready for the week! Just grab a bar from the fridge, eat, and enjoy!
![Bready or Not Original: White Chocolate Macadamia Nut Granola Bars [Gluten Free]](https://www.bethcato.com/blog/wp-content/uploads/2020/02/Wh-Choc-Mac-Nut-Granola-Breakfast-Bars-GF6_sm.jpg)
Bready or Not Original: White Chocolate Macadamia Nut Granola Bars [Gluten Free]
Ingredients
- 2 cups quick oats
- 1 cup almond flour or oat flour
- 1/4 cup macadamia nuts chopped
- 1 cup cashew butter or almond butter
- 1/2 cup honey
- 1/2 teaspoon salt
- 1 teaspoon vanilla extract
- 1/4 cup white chocolate chips
Instructions
- Line a 9x9 or 8x8 square pan with foil and apply nonstick spray. Set aside.
- In a bowl, measure out the quick oats, almond flour, and macadamia nuts. Also set aside.
- Place the cashew butter, honey, and salt in a large pot on the stove. Bring the temperature to medium, stirring everything until it is melted and combined. Remove from heat and stir in the vanilla extract.
- Pour the dry ingredients into the wet and stir until fully incorporated. Dump the mix into the prepared pan. Use a piece of waxed paper and a heavy glass to compress the contents into an even layer. Sprinkle white chocolate chips across the top and quickly press in by hand, as they will soften fast on the warm dough.
- Set pan in fridge to chill for at least 30 minutes.
- Use foil to lift square onto a cutting board. Slice into desired sizes. They keep in the fridge, in a sealed container, for as long as a week, and as long as a month in the freezer. If stacking, place wax paper between the layers.
