


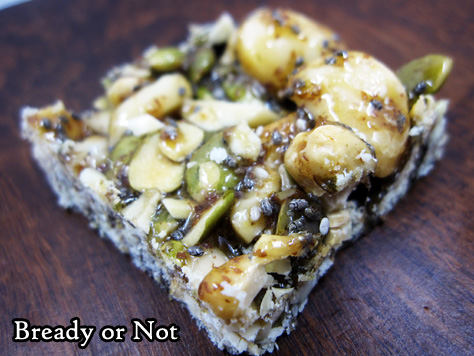
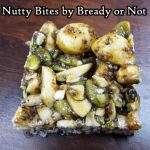
Bready or Not Original: Nutty Bites
I present to you my recipe for Nutty Bites. These are a fantastic snack or breakfast.
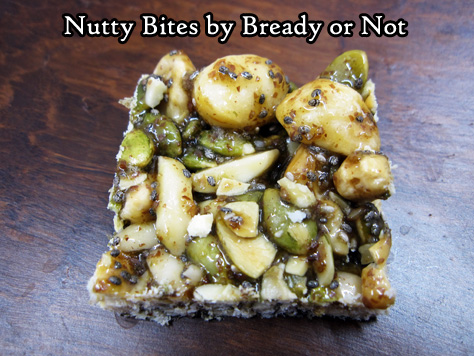
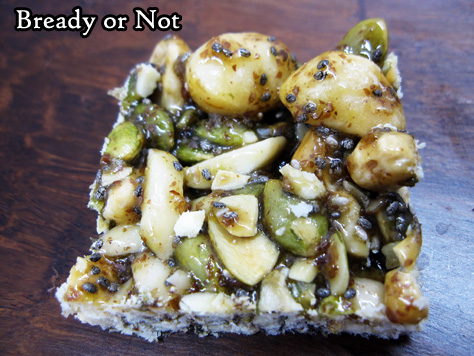
Plus, they are super-healthy, loaded with nuts and seeds, totally gluten-free, with honey as the sweetener and binding agent.
This is an easy recipe to customize, too. Keep the amounts of nuts and seeds the same, but switch in peanuts, hazelnuts, walnuts, wheat germ, sunflower kernels… whatever you like!
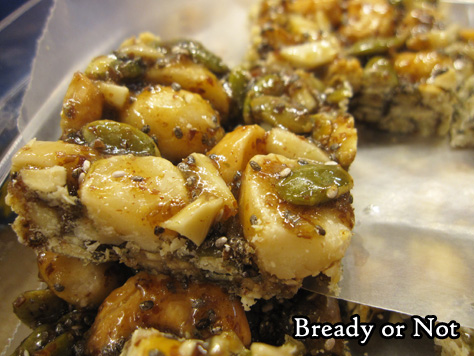
You can toast the nuts first, if you choose. I actually preferred it untoasted. Do note that some smaller add-ins like pepitas can burn quickly, and burned pepitas don’t taste that great. (Voice of experience here.)
I can report that these keep well in the freezer for at least a month, too. Just make sure to have something like waxed paper between the layers–and even then, in a few spots with heavy honey, the bars might stick.
Oh, and did I mention that this is entirely made on stovetop? No need to heat up the house by turning on the oven! Whip out your candy thermometer and you’ll have Nutty Bites ready in no time flat.
Bready or Not Original: Nutty Bites
Ingredients
- 1/2 cup macadamia nuts
- 1/2 cup pecans
- 1/2 cup almonds
- 1/2 cup pepitas
- 1/4 cup chia seeds
- 1/4 cup ground flaxseed
- 3/4 cup honey
- 1/4 cup water
- sprinkle salt
Instructions
- Mix the nuts and seeds together in a large glass or metal bowl. Prepare an 8x8 pan with parchment paper or aluminum foil, and grease well.
- Heat the honey and water in a medium saucepan on medium-high. Use a candy thermometer to track the temperature as it rises to 275-degrees (soft crack stage). Stay close to the pan at all times! Once the honey starts boiling, it will bubble excessively, so keep stirring and use great caution.
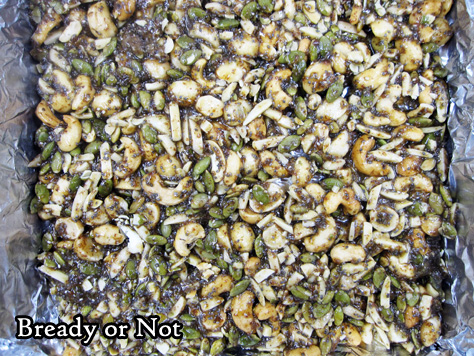
- As soon as it reaches 275-degrees, pour the honey mix over the nuts and seeds. Stir to coat. It will harden quickly, so move fast! Pour everything into the ready pan and press out evenly.
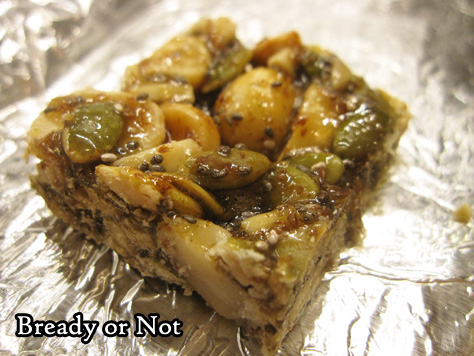
- Let set out for an hour. Use a knife or bench knife to chop into squares. Store at room temperature in a sealed container between wax paper layers; they can also be frozen.
- OM NOM NOM!
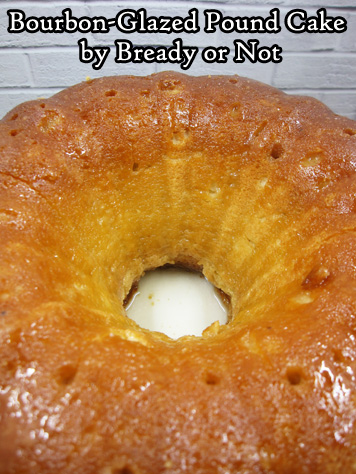
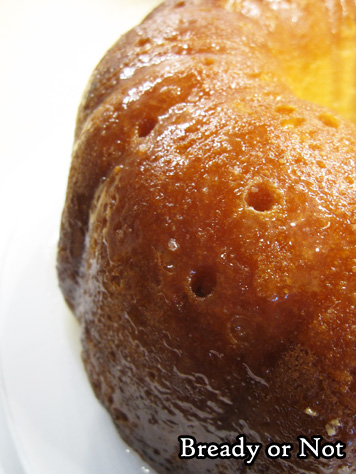
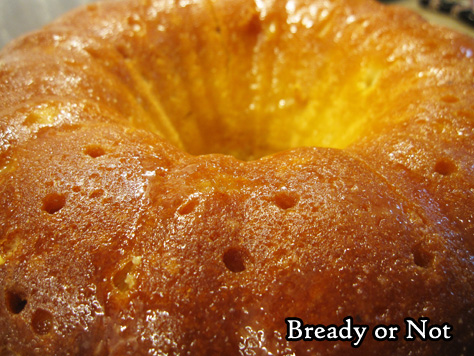
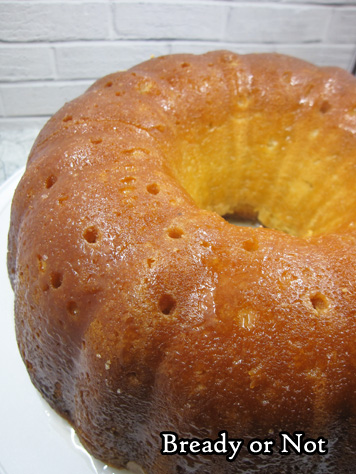
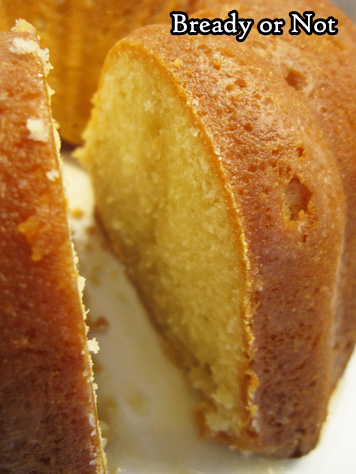
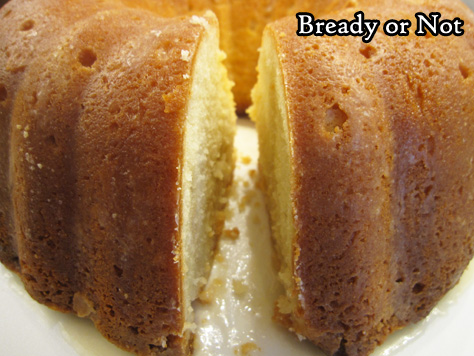
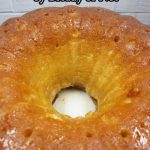
Bready or Not: Bourbon-Glazed Pound Cake (Tube/Bundt Cake)
Bourbon. Glazed. Pound. Cake. This thing is easy to make and tastes like a boozy version of a cruller.
Yes, a cruller. Those yummy braided-style glazed donuts. Slathered in bourbon.
Do I have your attention now?
I based this recipe on one in Bake From Scratch Magazine (Holiday 2016) but I altered it a good bit, especially in regards to the glaze.
When I use a thin, sugary glaze on a bundt cake, I like to use a method I learned from the Great British Bake Off. I use the pan to help me make sure the glaze soaks into the entire cake.
I’ve had too many cakes where the bottom middle of the cake ends up devoid of glaze. Not so with this technique!
Yes, you can taste the bourbon in the end result. No, I have no substitutions to offer. I don’t know what this recipe would be without that particular reinforcement.
Bready or Not: Bourbon-Glazed Pound Cake (Tube/Bundt Cake)
Ingredients
Cake:
- 2 cups unsalted butter 4 sticks, softened
- 2 3/4 cup white sugar
- 6 large eggs room temperature
- 3 3/4 cups all-purpose flour
- 1/4 teaspoon ground nutmeg
- 1/8 teaspoon kosher salt
- 1/2 cup milk or half & half
- 1 lemon zested
- 1 teaspoon vanilla extract
Bourbon Glaze:
- 1 cup white sugar
- 1/2 cup bourbon
- 7 Tablespoons unsalted butter
Instructions
The Cake:
- Preheat oven at 325-degrees. Grease and flour a 10-inch-or-larger tube pan or bundt pan.
- In a large bowl, beat butter until creamy, about 2 minutes. Add sugar, and beat until fluffy and white, about 7 minutes. Add eggs, one at a time, beating well after each addition.
- In a separate bowl, sift together flour, nutmeg, and salt. Gradually add it to the butter mixture, alternating with the milk. Follow up with the zest and vanilla. Pour into the ready pan.
- Bake until it passes the toothpick test, about 1 hour to 1 hour 15 minutes. Let cool in pan for 15 minutes, then upend onto wire rack. Set aside the pan--don't wash it! Let the cake completely cool for a few hours.
The Glaze:
- Combine the sugar, bourbon, and butter in a small saucepan. Constantly whisk at a low heat until the butter melts and sugar dissolves. Take off heat. It will look like a lot of liquid, but the cake will soak it up.
- Place the cake back in the pan. Poke holes all over the base with a chopstick or skewer. Spoon about half the glaze over holes and sides of cake. Let sit a minute. Upend cake onto a serving platter or plate. Poke more holes all over top. Spoon rest of glaze into holes and over sides. Use a basting brush to mop up drippings and make sure cake is fully glazed.
- Store under a cake dome at room temperature or in fridge. Can also be cut into slices and individually frozen. Eat cold, at room temperature, or warmed in microwave.
- OM NOM NOM!
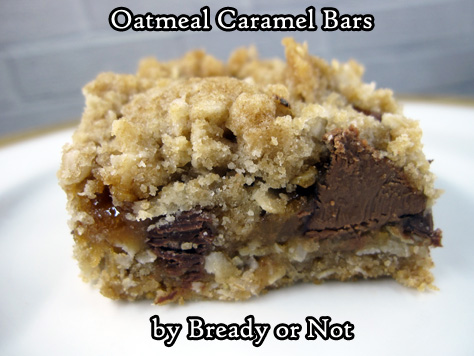
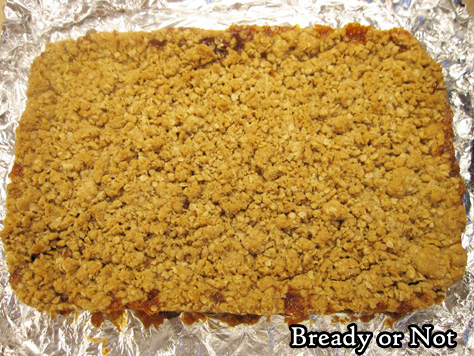
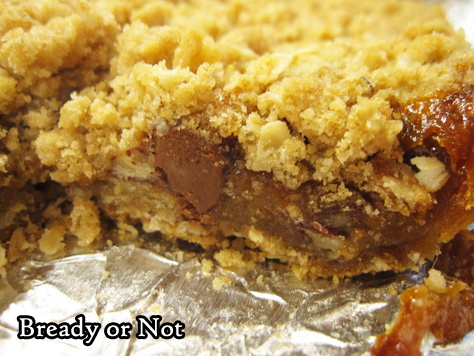
Bready or Not: Oatmeal Caramel Bars
I’d like to thank my past self for setting me up to re-discover this Oatmeal Caramel Bars recipe.
When I was home last Thanksgiving, my mom gave me a stack of her old recipes and food magazines to go through. A lot of the material dated to the 1970s and ’80s and went straight in the recycle pile.
Mixed in with everything else, though, I found some little food magazines I had bought back in 1999 as I looked toward getting married. One of them highlighted favorite recipes from the Pillsbury Bake-Off.
This recipe, originally titled Oatmeal Carmelitas, dated from the 1960s. I knew I had to make it.
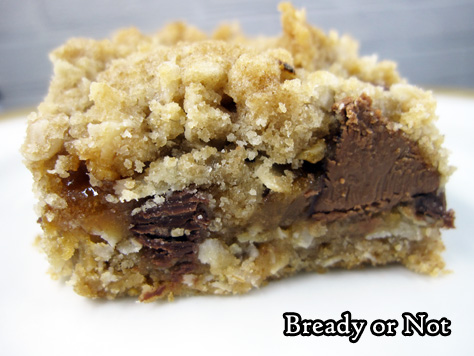
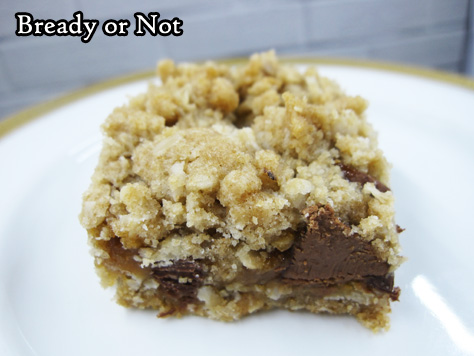
The recipe essentially makes a big, fat candy bar. Oatmeal forms the crust, while the middle consists of chocolate chips and gooey caramel.
Yeah. This isn’t a health recipe, but wow, is it good. This was worth being published again in 1999–and again now, with some new tweaks.

Bready or Not: Oatmeal Caramel Bars
Ingredients
Crust:
- 2 cups all-purpose flour
- 2 cups quick oats
- 1 1/2 cups brown sugar packed
- 1 teaspoon baking soda
- 1/2 teaspoon salt
- 1 1/4 cups unsalted butter 2 1/2 sticks, room temperature
Filling:
- 14 ounce caramel jar
- 4 Tablespoons all-purpose flour
- 1 cup semi-sweet chocolate chips
- 1/2 cup pecans chopped
Instructions
- Preheat oven at 350-degrees. Line a 13x9 pan with aluminum foil and apply nonstick spray.
- In a large bowl, combine all crust ingredients until crumbly. Reserve half, about 3 cups, for the topping, and press the rest into the bottom of the pan. Bake for 10 minutes.
- Meanwhile, in a medium bowl, stir together the caramel and 4 Tablespoons of flour.
- When the crust is done baking, sprinkle chocolate chips and pecans over the top, then drizzle evenly with the caramel mixture. Add the reserved crumb mixture on top.
- Return to the oven for about 20 minutes, or until golden brown. Cool for an hour or so, then set in fridge to completely chill for several hours or overnight. To cut, use the foil to lift contents to a cutting board. Slice into bars.
- Store in sealed container in fridge with layers between pieces of parchment or wax paper. Bars will stay more cohesive if chilled; they are gooier at room temperature.
- OM NOM NOM!
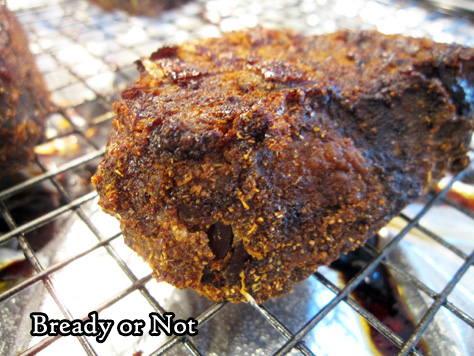
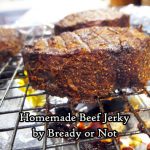
Bready or Not: Homemade Beef Jerky
Beef jerky is expensive to buy. If you can catch a good sale on an eye of round roast, this recipe makes cheap and delicious Homemade Beef Jerky.
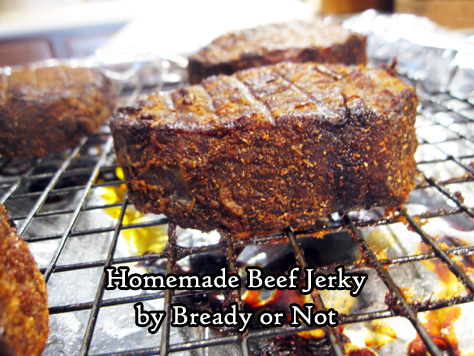
It’s really amazing how easy this recipe is. Cut up roast into chunks. Cover pieces in spices. Marinate for a day in the fridge. Bake for 6 to 7 hours. Done.
I’ve made this recipe a couple times now, and honestly, the weirdest thing is keeping the meat at room temperature after baking.
I mean, I’m used to doing that with store-bought jerky, but it feels weird to do that with home-cooked meat. However, I haven’t sickened or killed myself or various loved one with my homemade jerky, so I take that as a positive.
Most of the eye of round roasts I find on sale tend to be over 2 1/2 pounds. I just use more generous measures of spices for the rub. This isn’t a recipe where everything needs to be exact. Just make sure there’s enough rub to cover everything.
Also, the amount of cayenne looks like a lot, but the heat in this recipe is pleasant, not set-your-mouth-on-fire level. I can testify that myself and others who can’t stand spicy-hot have eaten this jerky without any issues.
And if you want more heat, by all means. Dump in more cayenne!
Modified from Michael Symon’s Beef Jerky recipe in Food Network Magazine, December 2017.
Bready or Not: Homemade Beef Jerky
Ingredients
- 2 - 2 1/2 pounds eye of round roast trimmed of fat
- 1 1/2 Tablespoons kosher salt
- 2 teaspoons white sugar
- 2 teaspoons garlic powder
- 1 teaspoon onion powder
- 1 teaspoon cayenne pepper
- 1 teaspoon chipotle chili powder
- 1/2 teaspoon coriander
- 1/2 teaspoon smoked paprika
Instructions
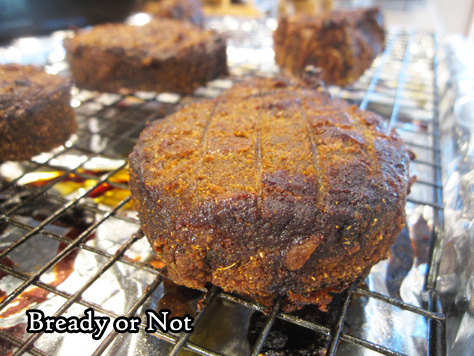
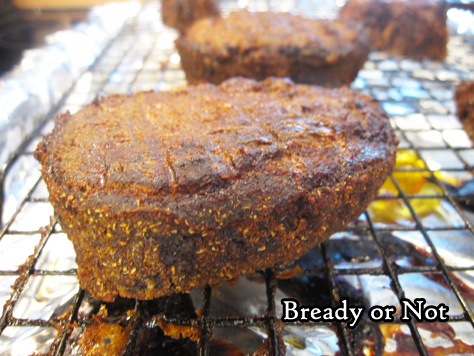
- Slice the beef against the grain into chunks roughly 1 inch by 3 inches long. If the pieces look large, that's fine; they'll shrink a lot as they cook.
- In a mixing bowl, combine all of the spices. Liberally cover the beef pieces, using the entire mix. Place beef in a gallon bag, and keep sealed in the fridge for 24 hours or so.
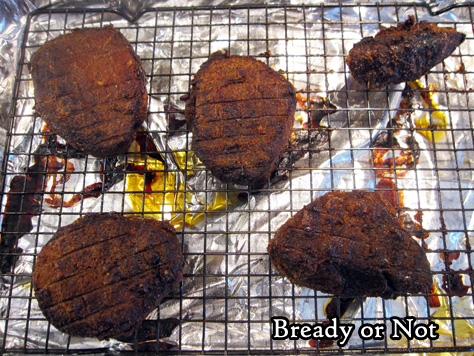
- Preheat oven at 250-degrees. Line a baking sheet with foil and place a metal rack on top; apply nonstick spray. Set the meat on the rack so that no pieces are touching.
- Bake for 6 to 7 hours, until quite dry. If you want pieces chewier, remove closer to 6 hour point.
- Let cool completely to finish drying. Store in sealed container at room temperature for up to several months.
- OM NOM NOM!
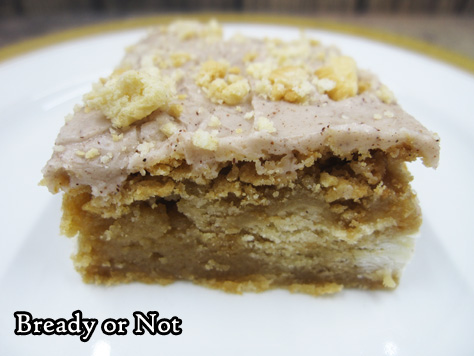
Bready or Not Original: Glazed Maple Blondies
This is a repost of an old favorite recipe: Glazed Maple Blondies.
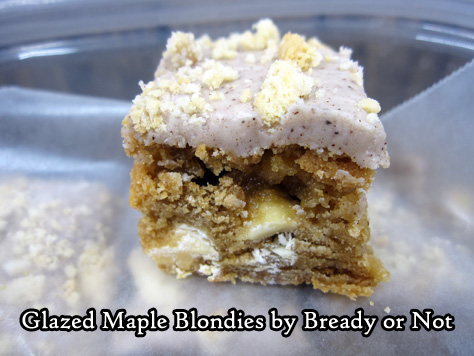
Last fall when I prepared my Sweet Maple Cookbook, I remade and rewrote my original recipe. This wasn’t just to check the wording in the recipe, but to double check a major modification: using Golden Oreos.
That’s because some of us, in blighted wastelands (aka Arizona), don’t have a wide variety of maple products available year-round. Maple cream sandwich cookies are a brief Christmastime dream. Golden Oreos, however, are available year-round just about everywhere.
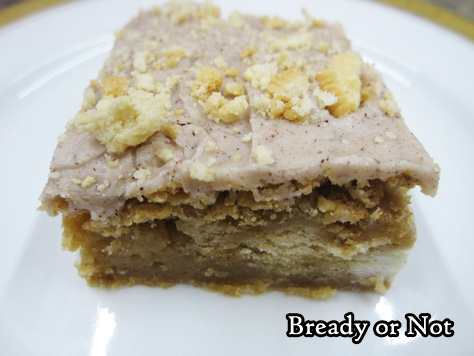
I found just the right balance of Golden Oreos and additional maple flavor to compensate for the lack of maple cookies. I tell you, my job is so strenuous at times.
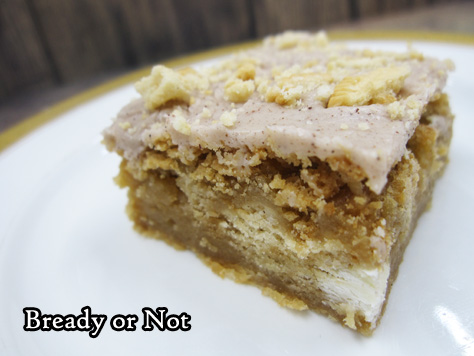
My husband’s co-workers test and comment on most of my sweet recipes, and for them, this is an all-time favorite. Bake it up yourself, and see why!

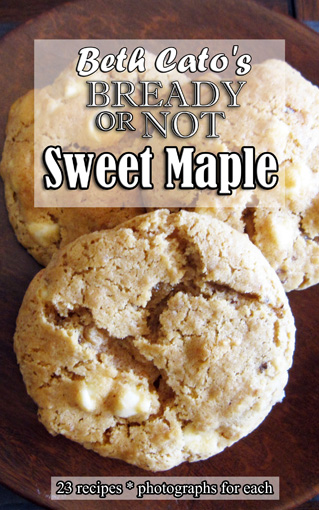
Also, be sure to grab the Sweet Maple Cookbook over on Amazon! It includes this maple recipe and so much more.
Bready or Not Original: Glazed Maple Blondies
Ingredients
Blondies:
- 2 cups all-purpose flour
- 1 teaspoon baking powder
- 1/4 teaspoon baking soda
- 3/4 teaspoon salt
- 1 box maple cream cookies
- 10 Tablespoons butter melted
- 1 cup brown sugar packed
- 1/2 cup pure maple syrup
- 2 eggs room temperature
- 1 teaspoon vanilla extract
- 1 cup white chocolate chips
Glaze:
- 2 cups confectioners' sugar sifted
- 1 teaspoon cinnamon
- 2 Tablespoons butter melted
- 3/4 teaspoon maple flavor
- 2 Tablespoons + milk almond milk works
Instructions
Blondies:
- Line a 9x13 pan with aluminum foil and apply nonstick spray. Preheat oven to 350-degrees. Combine the dry ingredients in a bowl. Set aside. Coarsely chop the cookies. Reserve 1/4 cup of the finer crumbs.
- In a mixing bowl, blend the butter, brown sugar, and maple syrup. Add the eggs and vanilla. Pour in the flour mix until just combined, then stir in the white chocolate chips and cookie pieces.
- Spread batter in the pan. Bake for 20 minutes, or until a toothpick comes out clean. Let the blondie layer cool completely. Place in fridge to speed the process along, if necessary.
Glaze:
- Combine glaze ingredients in bowl. Add enough milk to make the icing spreadable, not runny. Immediately dollop over blondies and smooth out. Quickly sprinkle on the reserved crumbs. Use fingers to gently press in.
- Place pan in fridge to set for hour or two. Use the foil to lift the blondies onto a cutting board for easy slicing. Store refrigerated in a sealed container, between wax paper layers.
- OM NOM NOM!
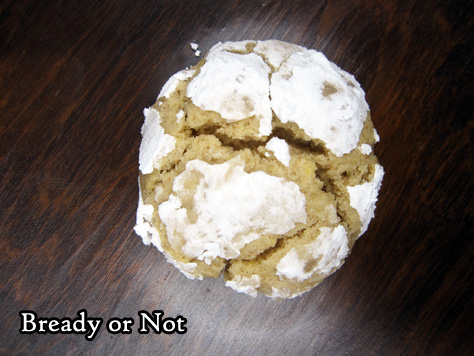
Bready or Not: Lemon Brown Butter Crinkle Cookies
Today’s recipe involves a bit of cookie alchemy: Lemon Brown Butter Crinkle Cookies.
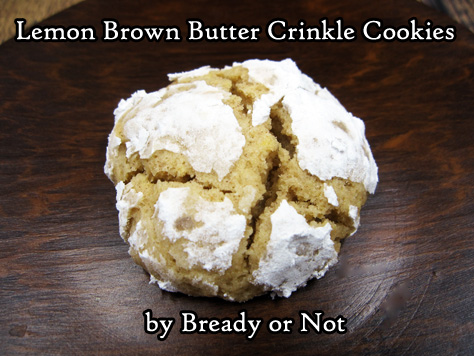
They combine a lot of elements that you don’t normally see together, but the result is an amazing and unique lemon cookie that is spicy and fresh.
This is a nuanced cookie. You take a bite, and different levels of flavor evolve on your taste buds.
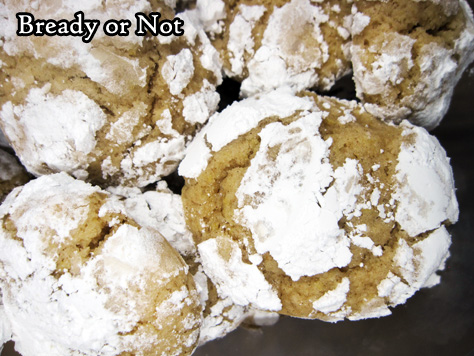
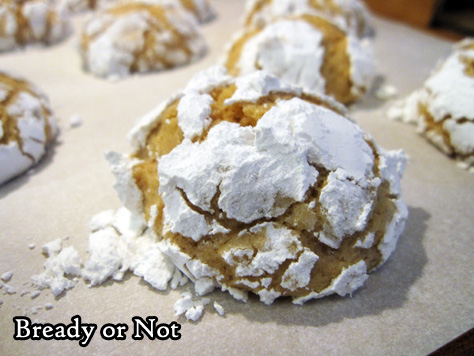
It’s also messy because the cookies are rolled in confectioners’ sugar, so this isn’t a cookie to eat before a fancy meeting or on the go.
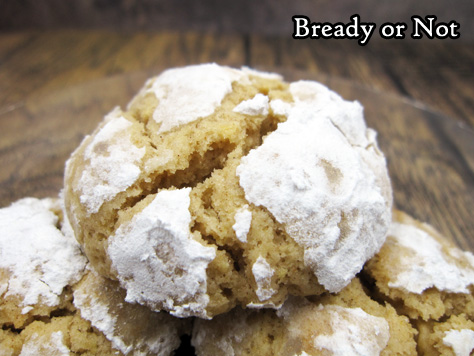
Note that the sugar coating will be absorbed and/or fall off the cookie over time, so if you want them to look fully coated, eat them fresh. But the flavor is fine if you wait. The presentation changes, that’s all.
If you need tips on how to brown butter, there is a lot of advice to be found online, including videos! Browned butter really does make a different in a recipe, as it has a nutty new flavor going on. It’s well worth the effort for certain recipes.

Modified from Martha Stewart Living.
Bready or Not: Lemon Brown Butter Crinkle Cookies
Ingredients
- 1/2 cup unsalted butter 1 stick
- 2 1/4 cups all-purpose flour
- 3/4 teaspoon baking powder
- 1/2 teaspoon ground cinnamon
- 3/4 teaspoon kosher salt
- 1/2 cup white sugar
- 1/2 cup brown sugar packed
- 2 large eggs
- 1 lemon reserve 1 teaspoon zest and 3 Tablespoons fresh lemon juice
- 1 teaspoon vanilla extract
- 3/4 cup confectioners' sugar
Instructions
- Brown butter in a saucepan, watching carefully to make sure it doesn't burn. Set aside to cool.
- Mix together the flour, baking powder, cinnamon, and salt. Set aside.
- In a large bowl, place the two sugars. Stir in the browned butter, followed by the eggs, zest and juice, and vanilla. Slowly add the flour mix. Dough will be loose and oozy. Wrap it up well in plastic wrap and set in fridge to chill for a day or two.
- Preheat oven at 350-degrees. Place parchment paper on cookie sheet.
- Measure out confectioners' sugar into a small bowl. Scoop a tablespoon of dough, roll it between palms to shape, then roll it in the powdered sugar. Set on parchment paper. Repeat process with other cookies, spacing them out, though expect minimal spreading.
- Bake 15 to 18 minutes, until cookies spread a smidgen and crackle. Let cool on cookie sheet for 10 minutes, then transfer to a rack to completely cool.
- Store between strips of parchment or wax paper in a sealed container. Will keep up to two days, but note the confectioners' sugar will absorb more over time.
- OM NOM NOM!
