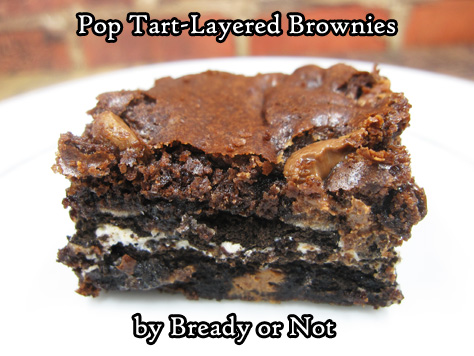
Bready or Not: Pop Tart-Layered Brownies
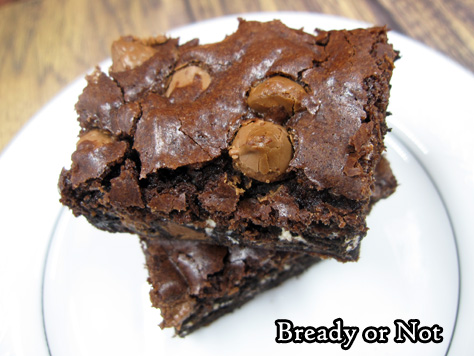
These brownies are what happened after I bought a box of Cookies & Crème Pop Tarts for my son. He didn’t like them.
Well, darn. I can’t eat them myself. I didn’t want them wallowing in my pantry forever.
Therefore, I decided to use up the remaining packets by baking them into brownies. The layered technique works out well with Oreos, after all!
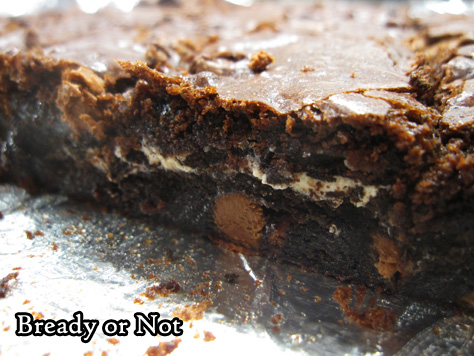
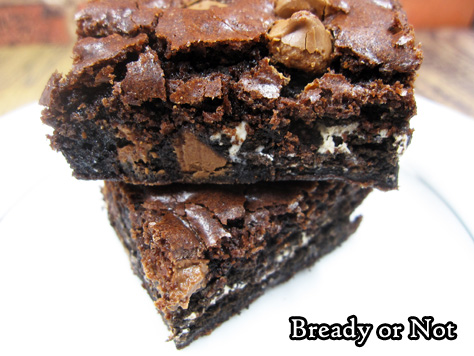
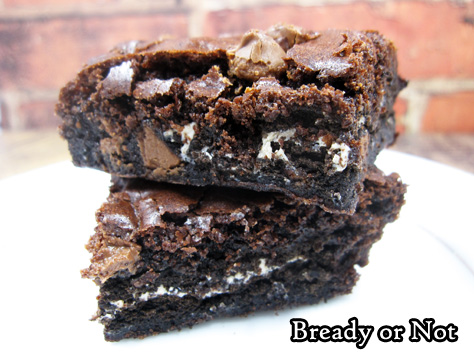
Turns out, Pop Tarts are fantastic baked into brownies. They are thinner than Oreos, and meld more with the surrounding dough. The mild Oreo-like taste still shines through.
Plus, the resulting brownie isn’t quite as dense. Just in case you aren’t in the mood for brick-like brownies.
The original recipe is from King Arthur Flour. I rewrote it and added in the Pop Tarts and chocolate chips (because, why not?!).
I’ve only done the recipe with Cookies & Crème Pop Tarts, but I think this technique would be great with all kinds of Pop Tarts–try strawberry (frosted or not), or Peanut Butter, or Smores.
Plus, then you can tell people you had Pop Tarts for breakfast, and no one has to know it was encased in a brownie.
Bready or Not: Pop Tart-Layered Brownies
Ingredients
- 1 cup all-purpose flour
- 3/4 cup cocoa powder sifted
- 2 cups white sugar
- 1/4 teaspoon salt
- 1 teaspoon espresso powder optional but awesome
- 3 large eggs room temperature
- 1/2 cup unsalted butter melted
- 1/4 cup vegetable oil
- 2 teaspoons vanilla extract
- 1 cup semisweet chocolate chips or milk chocolate
- 3 packets Cookies & Creme Pop Tarts or other variety, 6 total pieces
Instructions
- Preheat oven at 350-degrees. Line a 9x13 pan with parchment paper or foil, and grease with butter or apply nonstick spray.
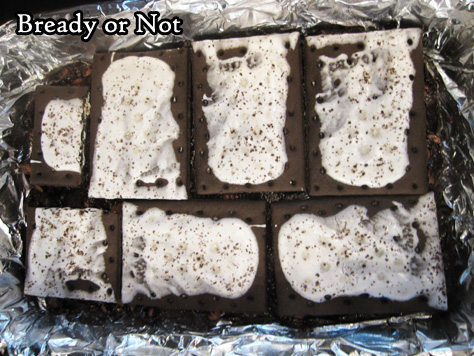
- Stir together, in order, all of the ingredients up to the Pop Tarts. Dollop about half the dough in the prepared pan, and try to spread out as evenly as possible; the dough will be thick. Layer the Pop Tarts over the dough, breaking pieces as necessary to fit. Dollop the rest of the dough on top, and again, smooth out as much as possible.
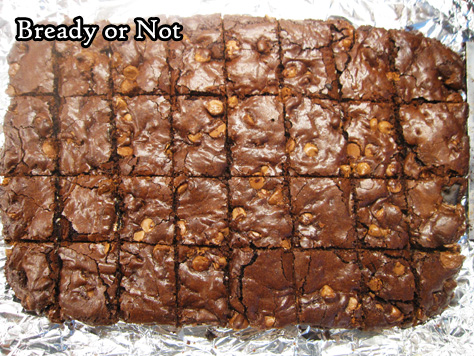
- Bake brownies for 25 to 30 minutes, until the middle passes the toothpick test. Cool completely before lifting the brownies onto a cutting board to slice up.
- Store in a sealed container at room temperature, or freeze to make them last longer.
- OM NOM NOM!
Bready or Not: High Fiber Muffins
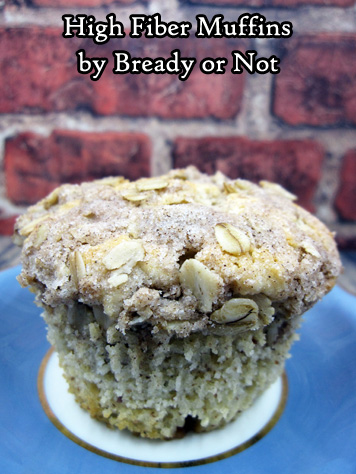
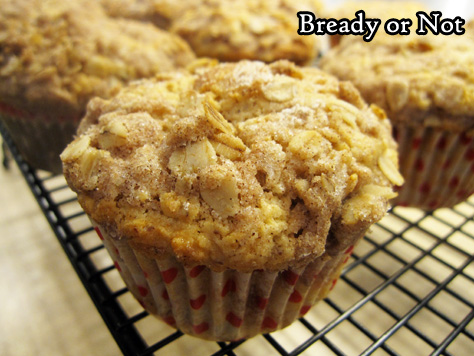
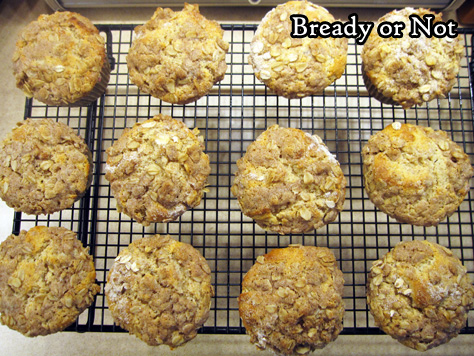
These High Fiber Muffins are a delicious way to start your day!
When I was challenged to make high-fiber muffins, this turned out to be more of a challenge than I anticipated. I wanted them to be delicious but to include ingredients I already had in the kitchen.
In other words, I didn’t want to order some fancy high fiber mix-ins that I would never use again.
I found a good base recipe from King Arthur Flour and set to work modifying it. Instead of Hi-Maize Fiber, I tried almond flour. I switched in white whole-wheat flour instead of all-purpose flour.
When the topping portion of the recipe made way, way too much, I tested out reduced amounts in my next attempt. I judged how well the muffins held up after being frozen for weeks.
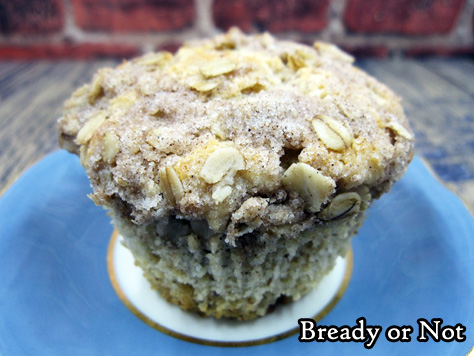
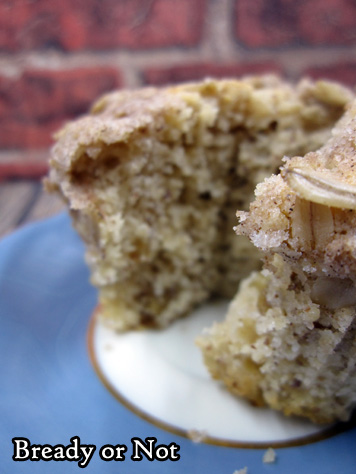
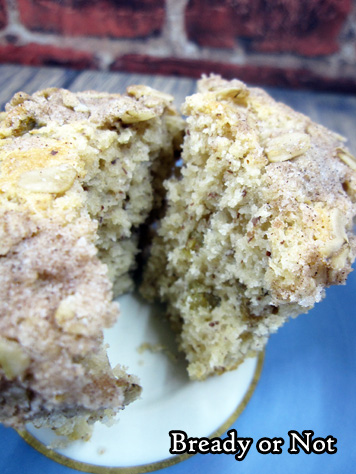
The end result in a higher-fiber muffin recipe that’s light, cakey and delicious.
Note that the muffin tops will get soggy after about two days at room temperature. Make them last a lot longer by freezing them! Remove the paper liners and set muffins on waxed paper to freeze, then store them in a gallon bag or other freezer-safe container.
Modified from King Arthur Flour.
Bready or Not: High Fiber Muffins
Ingredients
Muffins:
- 1 1/2 cups white whole wheat flour
- 2/3 cup white sugar
- 3/4 cup almond flour
- 2 1/2 teaspoons baking powder
- 1/2 teaspoon salt
- 1 Tablespoon King Arthur Flour Cake Enhancer optional
- 1/3 cup milk or half & half
- 3/4 cup full-fat Greek vanilla yogurt a single serving size; could also use fruit-flavored kind
- 2 large eggs room temperature
- 1 teaspoon vanilla extract
- 1/4 cup unsalted butter half stick, melted
- 1 cup golden raisins or other dried fruit
Topping:
- 2 Tablespoons white whole wheat flour
- 2 Tablespoons white sugar
- 1/4 cup old-fashioned rolled oats
- 1/2 teaspoon ground cinnamon
- 3 Tablespoons unsalted butter softened
Instructions
- Preheat oven at 400-degrees. Place muffin liners in pan and apply nonstick spray.
- In a big bowl, whisk together the flour, sugar, almond flour, baking powder, salt, and cake enhancer (if using). Mix in the milk, yogurt, eggs, and vanilla, followed by the melted butter. Stir in the dried fruit until just distributed.
- Using a muffin scoop or heaping spoonfuls, fill muffin cups until mostly full.
- Combine topping ingredients. Spoon onto the top of each muffin and lightly press in with fingertips.
- Bake muffins for 16 to 18 minutes, until lightly domed and center muffin passes the toothpick test. Immediately remove them from the pan to cool on a rack.
- Store in a sealed container at room temperature for up to two days; after that, tops will start to get soggy, though muffins will still taste good. To freeze, remove paper liners and place on a wax-paper lined pan in freezer. Then place in gallon freezer bag or plastic container to store in freezer up to several weeks.
- OM NOM NOM!
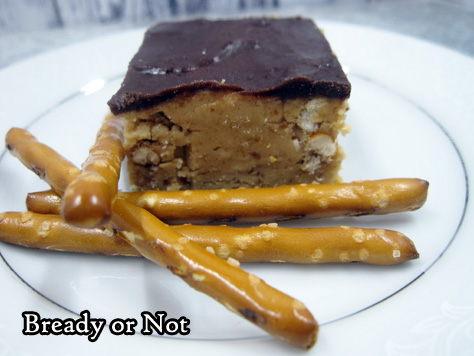
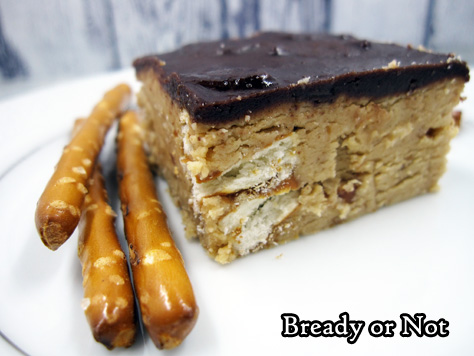
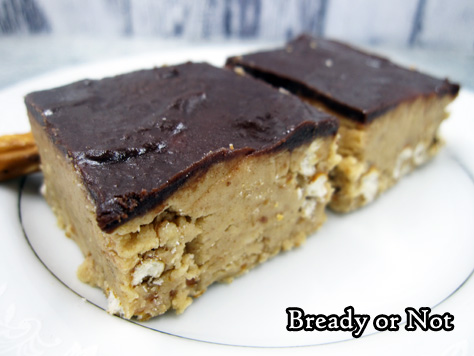
Bready or Not: No-Bake Peanut Butter Pretzel Fudge
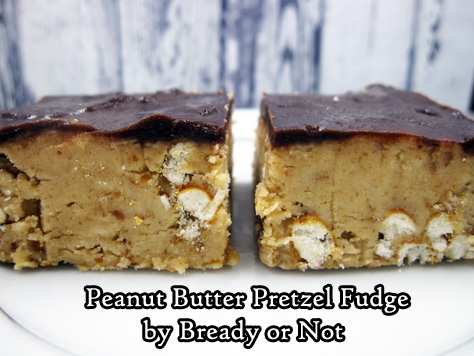
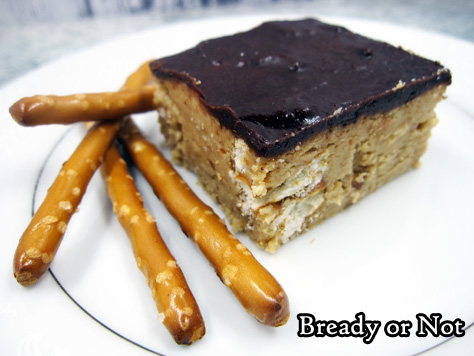
These easy-to-make No-Bake Peanut Butter Pretzel Fudge pieces are basically like homemade candy bar bites.
They are a fantastic combination of savory, salty, sweet, and crunchy. They have it all going on.
Plus, you don’t even have to turn on the oven–just a food processor, microwave, and maybe a stand mixer. The fridge does all the lengthy work.
These went over so well at my husband’s work that a guy immediately logged onto my website via his phone to try to find the recipe. Uh, sorry, dude. There is quite a lead time between the initial baking/making and the online post.
However, by his enthusiasm, maybe he’ll find this post is worth the long wait.
Modified from America’s Test Kitchen, Christmas Cookies 2013.
Bready or Not: No-Bake Peanut Butter Pretzel Fudge
Ingredients
Fudge:
- 5 ounces thin pretzel sticks 2 cups, divided, broken into pieces
- 12 Tablespoons unsalted butter melted
- 1 1/2 cups creamy peanut butter
- 1 teaspoon vanilla extract
- 1/4 teaspoon salt
- 3 cups confectioners' sugar
Chocolate Ganache:
- 3 Tablespoons unsalted butter
- 3 1/2 ounces bittersweet chocolate chips or semi-sweet chocolate chips
- 1 Tablespoon light corn syrup
Instructions
- Line an 8x8 or 9x9-inch pan with aluminum foil and apply nonstick spray.
- In a food processor, process 1 cup of broken pretzels until finely ground. Stir together the pretzel crumbs and melted butter in a large mixing bowl and let sit to cool a few minutes.
- Add peanut butter, vanilla extract, and salt to the butter mixture, and mix until the peanut butter is smooth. Slowly mix in the confectioners' sugar until it all comes together. Add the additional 1 cup of pretzel sticks and stir to combine.
- Transfer the mix to the prepared pan and spread into an even layer. Cover surface directly with plastic wrap or waxed paper and smooth out more, then stash in fridge for 30 minutes.
- Microwave the three ganache ingredients at 50% power, stirring often, until melted and smooth. This will total about 1 minute or so. Let cool slightly.
- Remove plastic cover from atop the fudge and use an uneven spatula to spread ganache on top.
- Chill pan for about 4 hours. Use the foil sling to lift contents from pan and onto a cutting board to parcel into bars.
- Keeps well in fridge for days in a sealed container.
- OM NOM NOM!
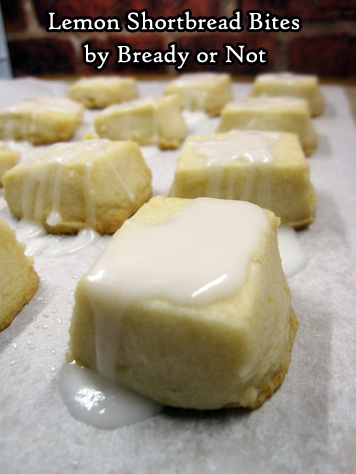
Bready or Not: Lemon Shortbread Bites
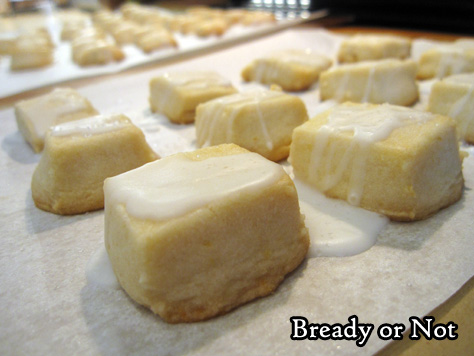
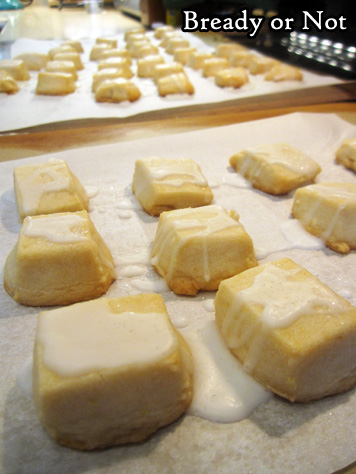
If you love lemon, brace yourself. These Lemon Shortbread Bites are small, delicious, and poppable like potato chips.
This recipe would be perfect for a potluck or picnic or shower. Anywhere where you need small cookies that aren’t necessarily filling… if you manage to restrain yourself.
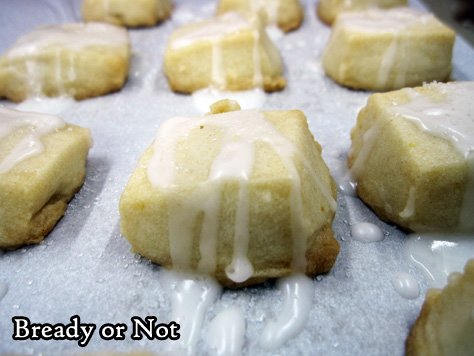
These things are sandy and light in texture, and the lemon glaze gives a refreshing, bright flavor that isn’t hardcore sweet.
That’s what makes these so dangerous. They are cookies you can easily grab by the handful.
If you have clear vanilla extract, that’s ideal for this recipe so that it doesn’t tint the glaze. But regular ol’ vanilla will certainly do.
I don’t know how long these cookies will keep. They tend to vanish rather quickly.
Modified from Pink Cake Plate.
Bready or Not: Lemon Shortbread Bites
Ingredients
Cookies:
- 1 cup unsalted butter 2 sticks, softened
- 1/2 cup confectioners' sugar
- 2 cups all-purpose flour
- 1 teaspoon lemon extract
- 1 lemon zested and juiced
Glaze:
- 1/2 cup confectioners' sugar
- 1/2 Tablespoon fresh lemon juice more as needed
- 1/2 teaspoon vanilla extract clear, if available
- yellow or white sanding sugar optional
Instructions
- In a large bowl, beat together butter and sugar until fluffy. Gradually add in the flour, lemon extract, and zest.
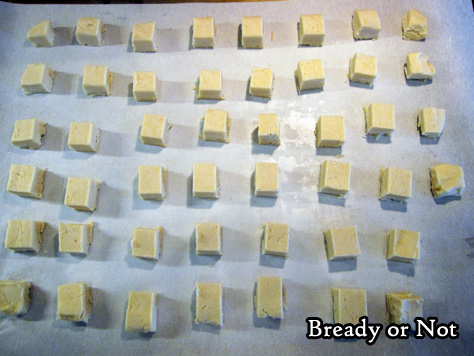
- Lay out plastic wrap. Dump dough onto the surface and form into a 6-inch square about 3/4 inch thick. Completely wrap dough and set in fridge for at least two hours or overnight.
- Preheat oven to 325-degrees. Using a knife or bench knife, cut dough into small squares; note that they will spread in the oven. Set up on parchment-covered cookie sheet, with cookies spaced out.
- Bake 22 to 26 minutes, or until cookies are set and turning golden. Use parchment to slide them onto another surface to cool or let cool on cookies sheet.
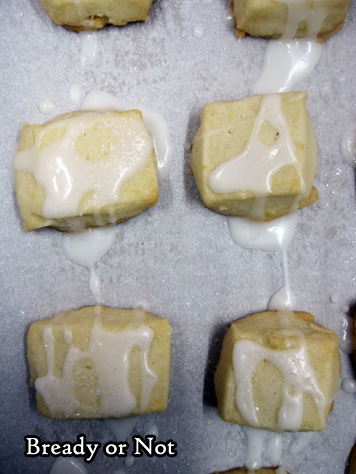
- Mix confectioners' sugar, lemon juice, and vanilla extract, until it forms thick but oozy consistency. Drizzle glaze over cookies. If desired, immediately sprinkle sanding sugar on top to create a glittery shine.
- OM NOM NOM!
Bready or Not Original: Apple Butter Bars
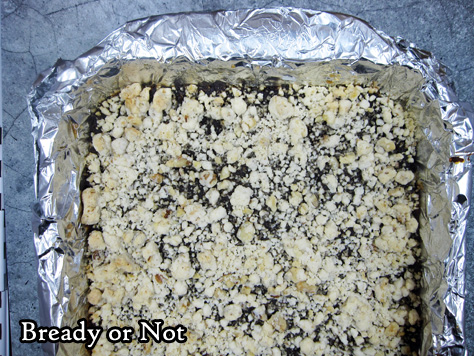
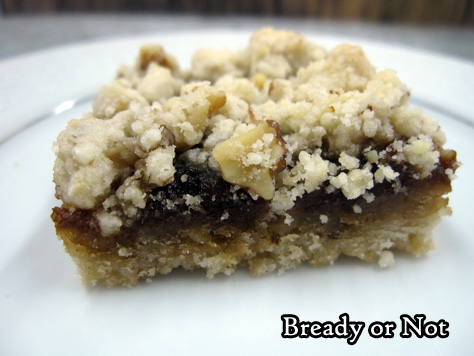
Last month I shared a recipe for Apple Butter Oatmeal Bars. This time around, I’m sharing easy and straightforward Apple Butter Bars.
This is a totally original recipe out of necessity. I tried another recipe, and ended up with a crumbly mess. Therefore, I decided to adapt my Lemon Cheesecake Bar recipe.
That attempt turned out perfect. It’s fast to make, as you don’t have to bake in stages, and the end result was cohesive.
Do note that these are best chilled. They will get softer if kept at room temperature for a while.
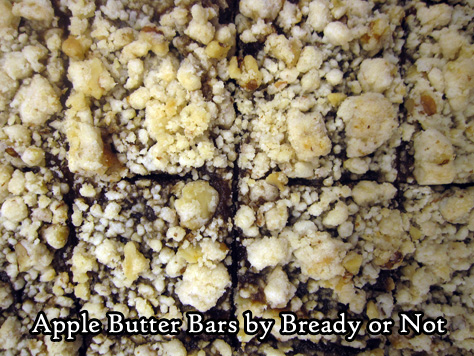
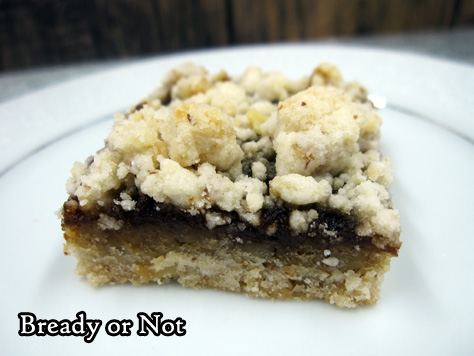
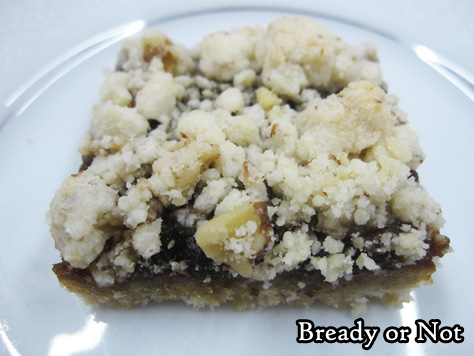
The taste is phenomenal. The crumb layers taste like vanilla shortbread, with a sporadic crunch from nuts. The thin layer of apple butter adds just the right about of spice and flavor.
This would be great with other fruit butters, too!
Bready or Not Original: Apple Butter Bars
Ingredients
- 2 cups all-purpose flour
- 1 cup walnuts chopped finely
- 1 cup confectioners' sugar
- 3/4 cup unsalted butter 1 1/2 sticks, softened
- 2 teaspoons vanilla extract
- 1 1/2 cups apple butter or other fruit butter
Instructions
- Preheat oven at 350-degrees. Line a 9x13 pan with aluminum foil and apply nonstick spray or butter.
- In a large bowl, blend together flour, walnuts, confectioners' sugar, butter, and vanilla, until it is crumbly. Reserve 1 1/2 cups of crumbs; press the rest into the ready pan.
- Bake for 18-20 minutes, until the edges are turning golden brown and crust is set.
- Pour apple butter over crust and smooth to edges. Crumble reserved flour mixture all over the top. Return the pan to the oven and bake for another 20 to 25 minutes.
- Cool to room temperature then chill in fridge. Use foil to lift out bars to slice. Store in sealed container in the fridge for maximum flavor and cohesiveness.
- OM NOM NOM!
Bready or Not: Maple Pound Cake
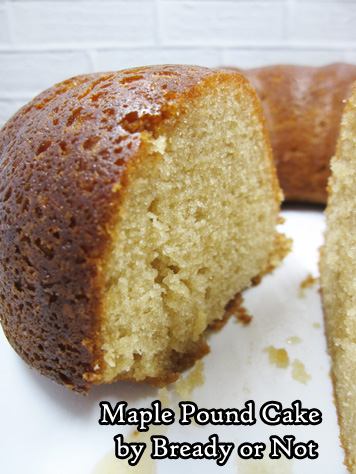
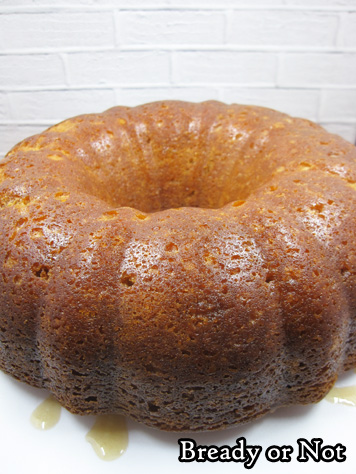
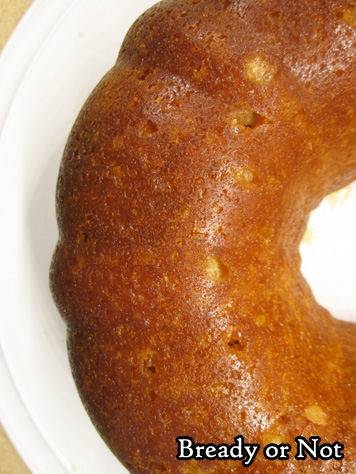
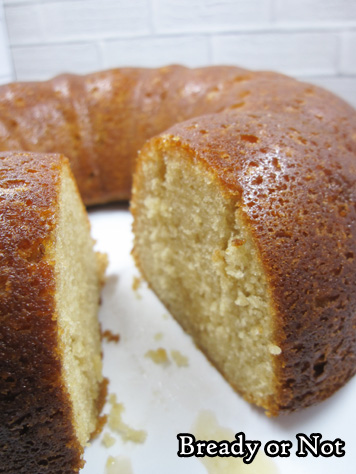
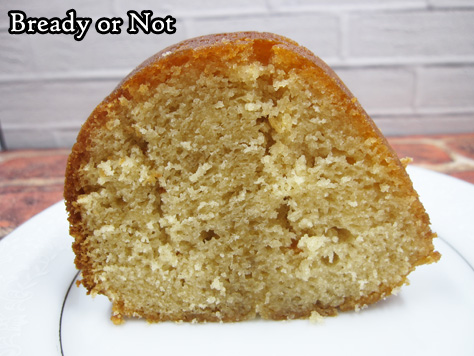
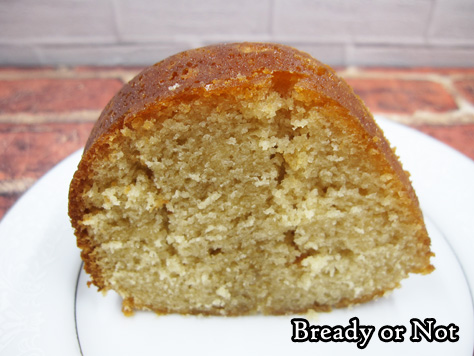
This bundt cake tastes just like a fluffy pancake with maple syrup. I am dead serious.
On this date, my 18th anniversary, I celebrate by sharing this amazing not-a-pancake-but-tastes-like-pancake cake. It’ll blow your mind.
The original recipe was from King Arthur Flour, but I turned it into a poke cake because I didn’t want all the glaze on the outside. I wanted to infuse it. I wanted the dough to marinate in glorious maple.
If you love maple, this is your new favorite pound cake.
This would be great for breakfast if you need to feed a crowd. Bake this up the day before, and slice this up in the morning. No fussing over individual pancakes! Just eat more cake!
Plus, no worries about leftovers. Bundt cakes like this are awesome because you can cut them into slices, freeze them up waxed paper, then transfer them to a freezer bag or container. Thaw them to eat, or zap them in the microwave straight from the freezer.
In case it didn’t come across, you should know that this cake is awesome. You should make it.
Modified from King Arthur Flour.
Bready or Not: Maple Pound Cake
Ingredients
Cake
- 2 cups cake flour
- 1 teaspoon baking powder
- 1/4 teaspoon baking soda
- 1 teaspoon salt
- 3/4 cup unsalted butter 1 1/2 sticks, softened
- 2/3 cup light brown sugar packed
- 2 large eggs
- 1/2 cup real maple syrup
- 1 cup sour cream 8 ounces
- 1 teaspoon vanilla extract
- 1/2 teaspoon maple flavor
Glaze
- 2 Tablespoons unsalted butter
- 1/4 cup real maple syrup
- 1/4 cup water
Instructions
- Preheat oven at 350-degrees. Grease a 9-or-10-cup bundt pan.
- In a medium bowl, sift together the cake flour, baking powder, baking soda, and salt. Set aside.
- In a big mixing bowl, beat together the butter and brown sugar until light and fluffy. Add eggs one at a time, scraping sides of bowl in between. Pour in the maple syrup.
- Mix in half the flour mixture. Then stir in the sour cream, vanilla, and maple flavor. Add the rest of the flour mix, until everything is just combined.
- Pour into the prepared pan. Bake for 45 to 50 minutes, until a cake tester inserted into the middle comes out clean. Let cool on rack for 10 minutes, then invert the cake onto the rack. Don't wash the pan! Set it aside for now.
- After an hour and a half--or longer--begin making the glaze. In a medium saucepan, combine all three glaze ingredients. Bring it a rapid boil, then reduce to a simmer for 5 to 8 minutes, until it thickens to a syrupy consistency. Remove pan from heat.
- Carefully invert the cooled cake into the pan again. Use a chopstick or skewer to stab all over the cake. Slowly spoon or pour about half the glaze into the holes and edges. Let it rest a few minutes. Invert the cake again onto the cake pan base or a storage plate. Again, stab the top of the cake to create holes, then spoon the rest of the glaze on. Can also use a basting brush to cover the exterior of the cake and sweep up any drippings.
- Store cake covered at room temperature. Slices can also be frozen.
- OM NOM NOM!


