


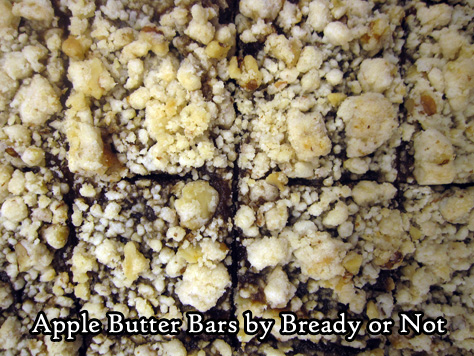
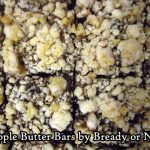
Bready or Not Original: Apple Butter Bars
Last month I shared a recipe for Apple Butter Oatmeal Bars. This time around, I’m sharing easy and straightforward Apple Butter Bars.
This is a totally original recipe out of necessity. I tried another recipe, and ended up with a crumbly mess. Therefore, I decided to adapt my Lemon Cheesecake Bar recipe.
That attempt turned out perfect. It’s fast to make, as you don’t have to bake in stages, and the end result was cohesive.
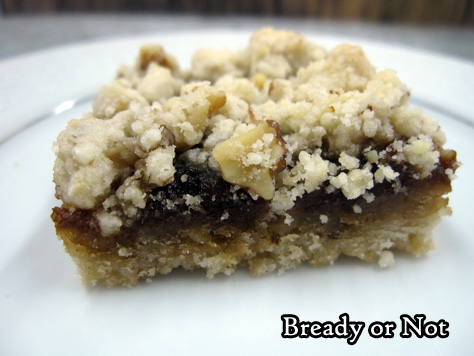
Do note that these are best chilled. They will get softer if kept at room temperature for a while.
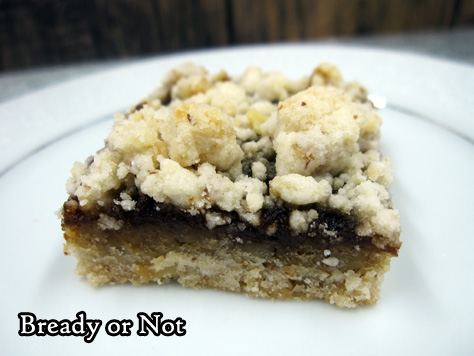
The taste is phenomenal. The crumb layers taste like vanilla shortbread, with a sporadic crunch from nuts. The thin layer of apple butter adds just the right about of spice and flavor.

This would be great with other fruit butters, too!
Bready or Not Original: Apple Butter Bars
Ingredients
- 2 cups all-purpose flour
- 1 cup walnuts chopped finely
- 1 cup confectioners' sugar
- 3/4 cup unsalted butter 1 1/2 sticks, softened
- 2 teaspoons vanilla extract
- 1 1/2 cups apple butter or other fruit butter
Instructions
- Preheat oven at 350-degrees. Line a 9x13 pan with aluminum foil and apply nonstick spray or butter.
- In a large bowl, blend together flour, walnuts, confectioners' sugar, butter, and vanilla, until it is crumbly. Reserve 1 1/2 cups of crumbs; press the rest into the ready pan.
- Bake for 18-20 minutes, until the edges are turning golden brown and crust is set.
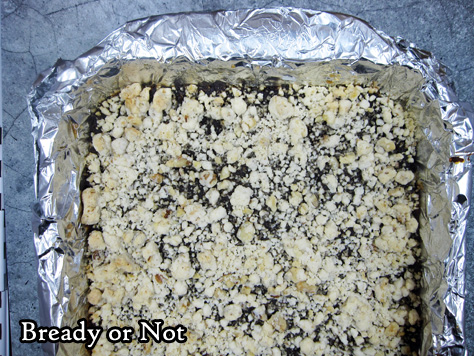
- Pour apple butter over crust and smooth to edges. Crumble reserved flour mixture all over the top. Return the pan to the oven and bake for another 20 to 25 minutes.
- Cool to room temperature then chill in fridge. Use foil to lift out bars to slice. Store in sealed container in the fridge for maximum flavor and cohesiveness.
- OM NOM NOM!
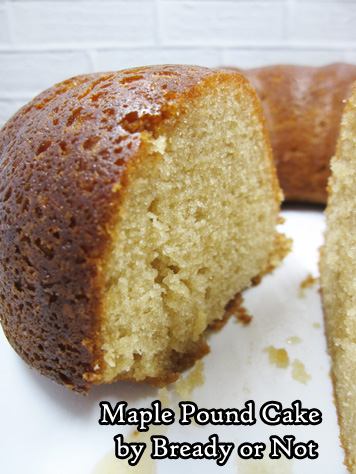
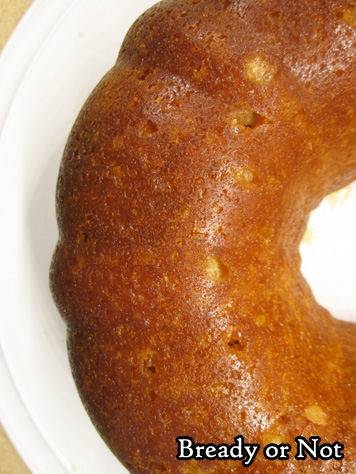
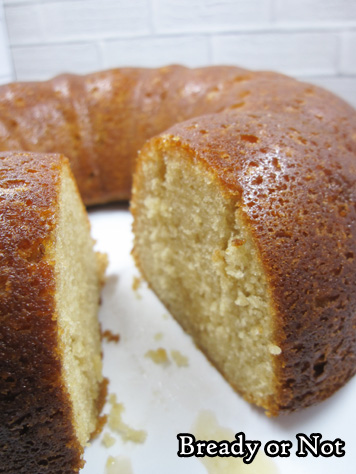
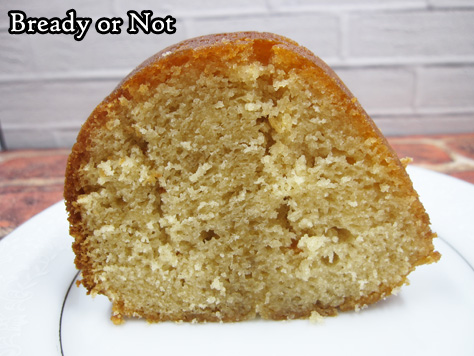
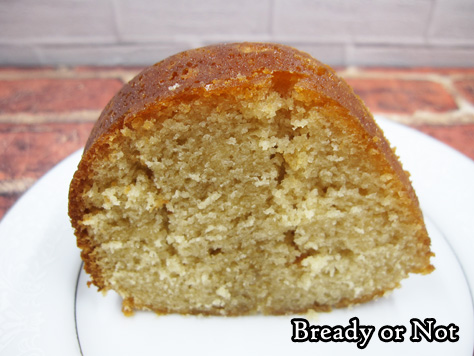
Bready or Not: Maple Pound Cake
This bundt cake tastes just like a fluffy pancake with maple syrup. I am dead serious.
On this date, my 18th anniversary, I celebrate by sharing this amazing not-a-pancake-but-tastes-like-pancake cake. It’ll blow your mind.
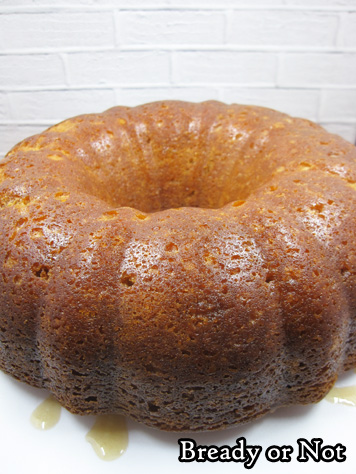
The original recipe was from King Arthur Flour, but I turned it into a poke cake because I didn’t want all the glaze on the outside. I wanted to infuse it. I wanted the dough to marinate in glorious maple.
If you love maple, this is your new favorite pound cake.
This would be great for breakfast if you need to feed a crowd. Bake this up the day before, and slice this up in the morning. No fussing over individual pancakes! Just eat more cake!
Plus, no worries about leftovers. Bundt cakes like this are awesome because you can cut them into slices, freeze them up waxed paper, then transfer them to a freezer bag or container. Thaw them to eat, or zap them in the microwave straight from the freezer.
In case it didn’t come across, you should know that this cake is awesome. You should make it.
Modified from King Arthur Flour.
Bready or Not: Maple Pound Cake
Ingredients
Cake
- 2 cups cake flour
- 1 teaspoon baking powder
- 1/4 teaspoon baking soda
- 1 teaspoon salt
- 3/4 cup unsalted butter 1 1/2 sticks, softened
- 2/3 cup light brown sugar packed
- 2 large eggs
- 1/2 cup real maple syrup
- 1 cup sour cream 8 ounces
- 1 teaspoon vanilla extract
- 1/2 teaspoon maple flavor
Glaze
- 2 Tablespoons unsalted butter
- 1/4 cup real maple syrup
- 1/4 cup water
Instructions
- Preheat oven at 350-degrees. Grease a 9-or-10-cup bundt pan.
- In a medium bowl, sift together the cake flour, baking powder, baking soda, and salt. Set aside.
- In a big mixing bowl, beat together the butter and brown sugar until light and fluffy. Add eggs one at a time, scraping sides of bowl in between. Pour in the maple syrup.
- Mix in half the flour mixture. Then stir in the sour cream, vanilla, and maple flavor. Add the rest of the flour mix, until everything is just combined.
- Pour into the prepared pan. Bake for 45 to 50 minutes, until a cake tester inserted into the middle comes out clean. Let cool on rack for 10 minutes, then invert the cake onto the rack. Don't wash the pan! Set it aside for now.
- After an hour and a half--or longer--begin making the glaze. In a medium saucepan, combine all three glaze ingredients. Bring it a rapid boil, then reduce to a simmer for 5 to 8 minutes, until it thickens to a syrupy consistency. Remove pan from heat.
- Carefully invert the cooled cake into the pan again. Use a chopstick or skewer to stab all over the cake. Slowly spoon or pour about half the glaze into the holes and edges. Let it rest a few minutes. Invert the cake again onto the cake pan base or a storage plate. Again, stab the top of the cake to create holes, then spoon the rest of the glaze on. Can also use a basting brush to cover the exterior of the cake and sweep up any drippings.
- Store cake covered at room temperature. Slices can also be frozen.
- OM NOM NOM!
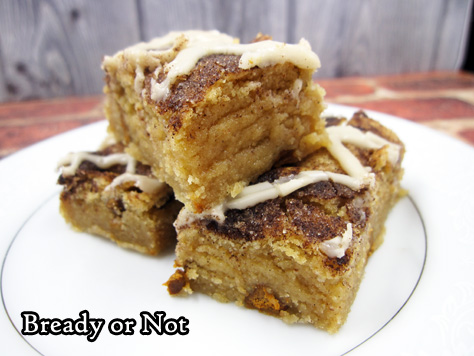
Bready or Not: Maple-Glazed Cinnamon Chip Bars
Most of the sweet treats I make go with my husband to his work. These Maple-Glazed Cinnamon Chip Bars left everyone there dazzled and amazed.
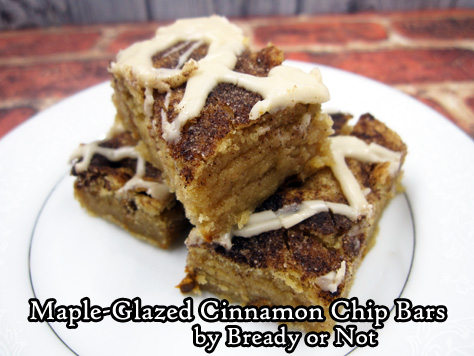
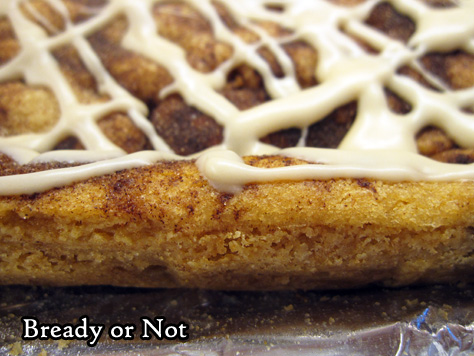
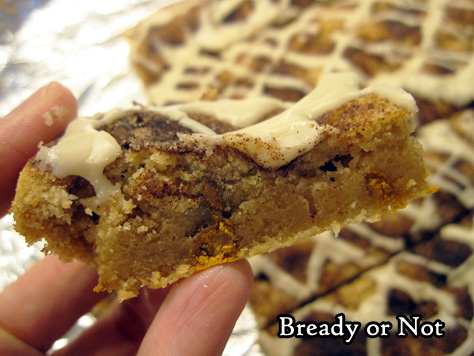
I confess, they turned out even better than I anticipated, too, though I knew from the start they combine many of my favorite things: soft and chewy blondie bars, cinnamon chips, more cinnamon and sugar on top, and a touch of maple glaze.
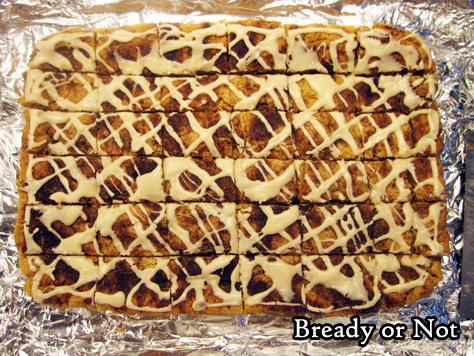
I actually debated whether or not the glaze was necessary. Would it be too sweet?
I soon found out that no, the glaze was not too sweet. It adds just a little extra oomph to complement the existing sweetness in the bars.
The bars travel keep and travel well, too. I kept them chilled in the fridge–I live near Phoenix, after all, my kitchen tends to be warm year-round–in sealed containers, with waxed paper between stacked layers. We found the bars were amazing after three days, but it’s kind of a miracle they lasted even that long.
These things are GOOD. Really good. Even by Bready or Not standards.
Modified from Taste of Home 13×9 Holiday Special Issue, 2015.
Bready or Not: Maple-Glazed Cinnamon Chip Bars
Ingredients
Bars
- 1 cup unsalted butter 2 sticks, softened
- 2 cups brown sugar packed
- 2 large eggs
- 2 teaspoons vanilla extract
- 2 2/3 cups all-purpose flour
- 2 teaspoons baking powder
- 1 teaspoon salt
- 3/4 cup cinnamon chips
Topping
- 1 Tablespoon white sugar
- 1 teaspoon cinnamon
Glaze
- 1/2 cup confectioners' sugar
- 3 Tablespoons pure maple syrup
- 1/2 teaspoon vanilla extract
Instructions
- Preheat oven at 350-degrees. Line a 13x9 baking pan with aluminum foil and apply nonstick spray.
- In a large bowl, cream together butter and brown sugar, followed by the eggs and vanilla.
- In a separate bowl, sift together flour, baking powder, and salt. Gradually beat the dry ingredients into the butter mixture. Fold in the cinnamon chips.
- Spread batter in the pan. Combine the topping ingredients and sprinkle them all across the top of the batter.
- Bake for 20 to 25 minutes, until golden brown and the middle passes the toothpick test. Cool completely in pan on a wire rack.
- To make the glaze, combine all three ingredients in a small bowl until smooth in texture. Drizzle over top of bars and let set for fifteen minutes.
- Use foil to lift contents onto cutting board. Slice into bars. Store in an airtight container between layers of wax paper, either at room temperature or refrigerated.
- OM NOM NOM!
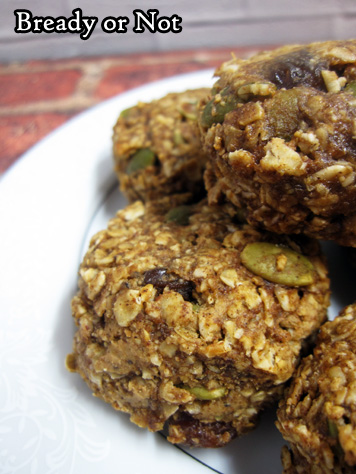
Bready or Not: Healthy Breakfast Cookies [Redux]
Cookies for breakfast. Healthy cookies. No refined sugars. Vegan. Also gluten-free, if you use GF oats.
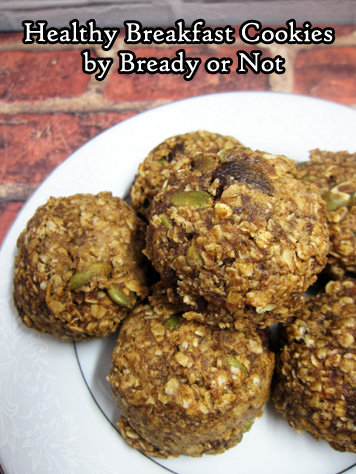
Even better: they taste delicious.
This is one of my favorite breakfast recipes, one I’ve made at least once a month for the past five years. In fact, I posted it on Bready or Not back in 2014. Delicious as the cookies are, I couldn’t finagle the lighting then to do the recipe justice. Now, thanks to my Shotbox, I can.

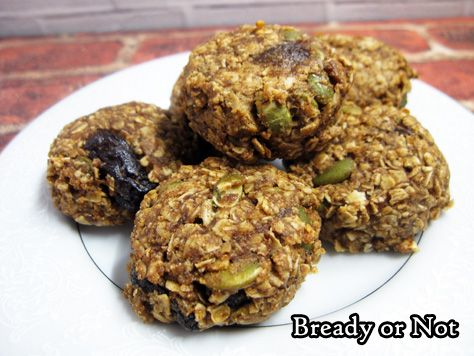
I customize these cookies based on my mood and what I have on hand. I’ve used macadamia nut butter, cashew butter, and almond butter–and combinations thereof. I’ve used apple butter, pumpkin butter, and date butter–and in a pinch, I’ve used applesauce and doubled the cinnamon.
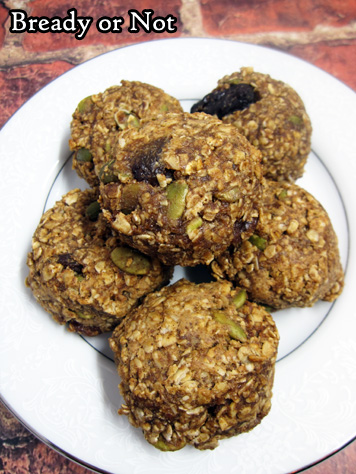
For the dried fruit, I often use a mix of golden raisins and dried cranberries, but I’ve thrown in dried blueberries, too. If you don’t have pepitas, use sunflower kernels or other chopped nuts.
I usually whip up a batch and freeze 2/3 of it right away. The cookies keep perfectly fine in a room temperature sealed container for over a week. Two or three cookies make for a great breakfast prior to exercising!
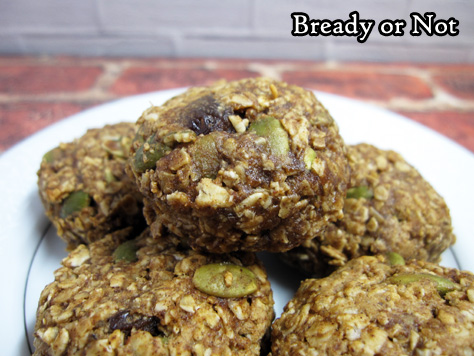
Did I mention they are also delicious?
Bready or Not: Healthy Breakfast Cookies [Redux]
Ingredients
- 2 cups quick oats not whole or old-fashioned oats
- 3/4 teaspoon salt
- 1 teaspoon ground cinnamon
- 1 cup nut butter
- 1/4 cup pure maple syrup or honey
- 3/4 cup fruit butter apple butter, date butter, etc
- 1 cup dried fruit raisins, cranberries, etc
- 1/2 cup pepitas shelled pumpkin seeds or other seeds or nuts
- 1/4 cup ground flaxseed or wheat germ
Instructions
- Preheat oven to 325-degrees. Prepare cookie sheets with parchment or silicone baking mats, or use seasoned stoneware.
- Combine all of the ingredients into a large bowl.
- Using a tablespoon or tablespoon scoop, drop dollops of dough onto cookie sheet. Note that it won't spread. Use fingers to gently tamp down top and press in stray oats on the sides; it will be a little sticky.
- Bake for 12 to 15 minutes or until the cookies are just set. Cool for several minutes before transitioning them to a rack to finish cooling.
- OM NOM NOM!
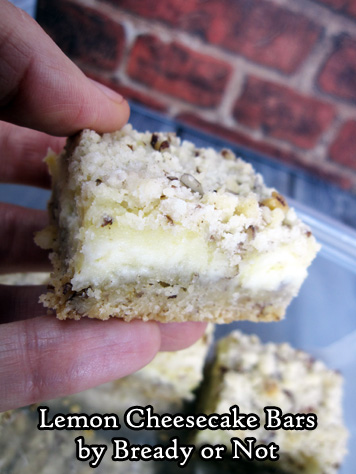
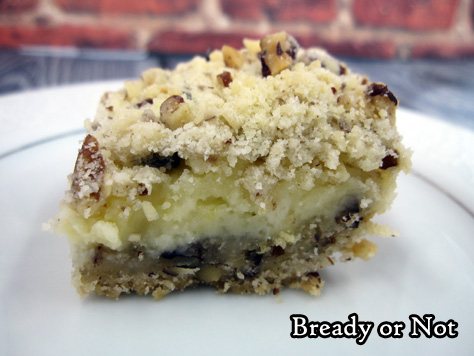
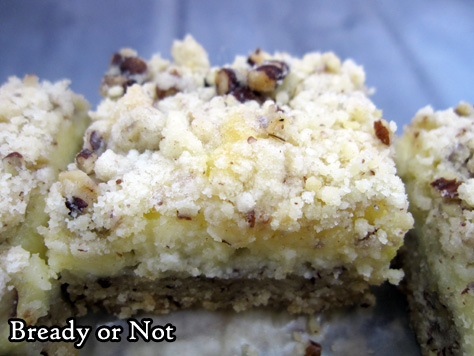
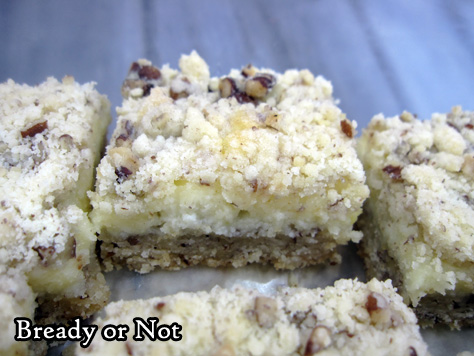
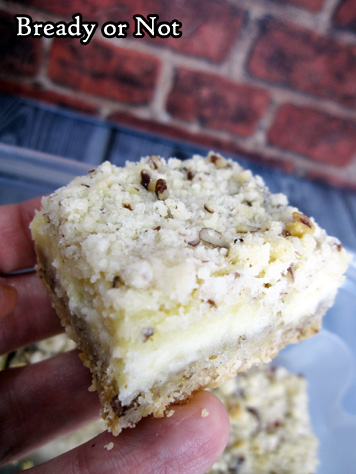
Bready or Not Original: Lemon Cheesecake Bars
Lemony. Fresh. Perfection. Those words are the best way to describe these incredible bars.
Not only are these delicious, but they are easy to make. A food processor is especially handy as you can chop up the nuts and then add in the rest of the crust ingredients, too.
To soften the cream cheese for the filling, leave it at room temperature for a bit, or do what I usually do: place the cheese on a plate and microwave for like 5 seconds. Then flip it over and zap again, if needed. It just needs to be soft enough to blend, not cooked.
I confess, I sometimes get nervous when I do dessert bars with bottom crusts. Because sometimes, no matter how I compress them into the pan, they fall apart when the bars are cut apart. Not so here! They were surprisingly cohesive. (Here’s hoping you have the same experience.)
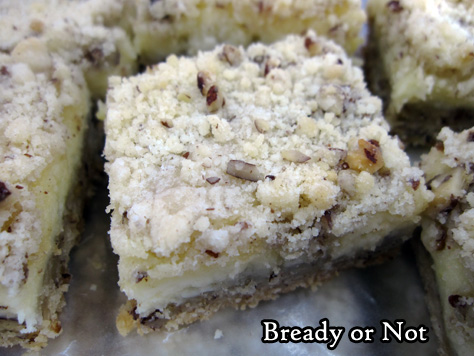
That cohesiveness makes these dangerously easy to eat. These bars have it all going on. Buttery crumb. Nutty crunches here and there. Vivid lemon flavor in the creamy filling.
I’d like to report how long these can last in the fridge, but I don’t know. I make these bars, and they are suddenly GONE. Poof.
Bready or Not Original: Lemon Cheesecake Bars
Ingredients
Crust
- 1 cup pecans
- 2 cups all-purpose flour
- 1 cup confectioners' sugar
- 3/4 cup unsalted butter 1 1/2 sticks , softened
Filling
- 2 cups confectioners' sugar
- 16 oz cream cheese 2 boxes, softened
- 2 lemons zested and juiced
- 1/3 cup fresh lemon juice
- 1 teaspoon lemon extract
- 2 eggs
Instructions
- Prepare a 9x13 pan with aluminum foil and nonstick spray. Preheat oven at 350-degrees.
- Use a food processor (or knife and cutting board) to chop up pecans to small pieces. Add flour, 1 cup confectioners' sugar, and butter to bowl, and blend with pecans until crumbly. Reserve 1 1/2 cups of the mix; press the rest into the prepared pan. Bake for 18 to 20 minutes, until it's just turning golden.
- As the crust bakes, combine all of the filling ingredients until fairly smooth.
- Pull the crust out of the oven. Pour filling over the top and smooth to the edges. Crumble the reserved crust across the top.
- Bake for another 30 to 35 minutes, until the edges are golden and the middle is set.
- Cool on a wire rack for 30 minutes to an hour, then place in the fridge to completely chill.
- Use the foil to lift the bars onto a cutting board for easy slicing. Store in a sealed container in the fridge.
- OM NOM NOM!
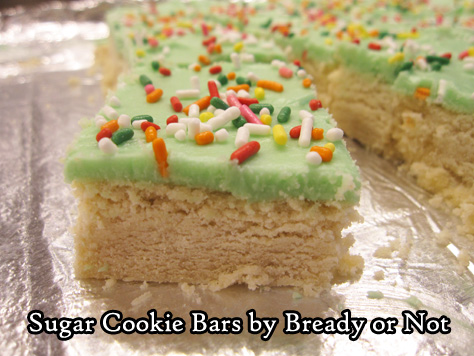
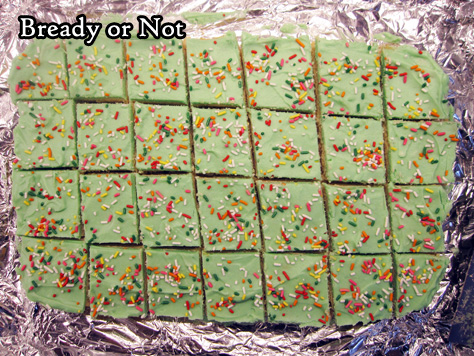
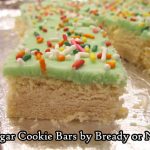
Bready or Not: Sugar Cookie Bars
Frosted sugar cookies are awesome, but let’s be honest–they are kind of a pain. Individual cookies that need to be frosted individually. It’s time-consuming and messy.
Simplify the process! Make sugar cookie bars. Bake up the whole pan in under 25 minutes. Let it cool. Frost. Slice. EAT.
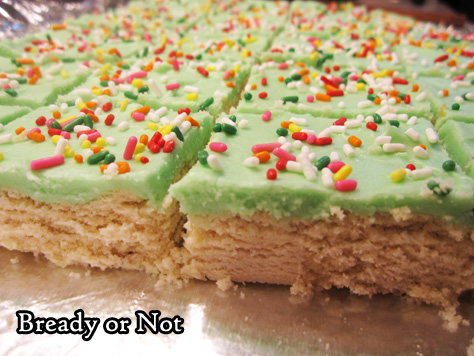
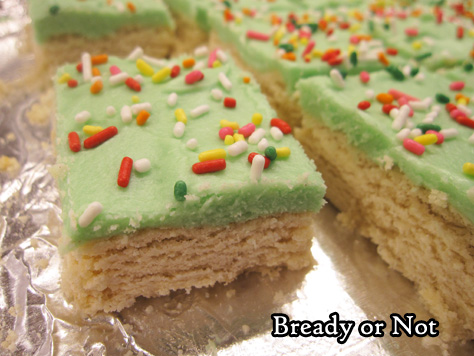
The cookies are like shortbread in texture, buttery and firm. The frosting layer is just the right thickness and sweetness.
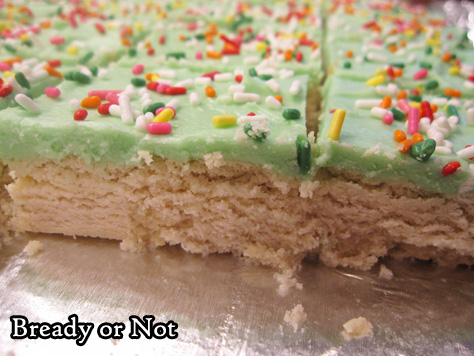
Color the frosting however you wish; I like to use Americolor dyes. And sprinkles. Sprinkles make everything better, right?
The end result is a basic and delicious frosted sugar cookie. They’re easy to pack for a party or potluck, too–stack them in a container with wax paper between the layers!
Modified from Lauren’s Latest.
Bready or Not: Sugar Cookie Bars
Ingredients
bars
- 1 cup unsalted butter 2 sticks , softened
- 1 cup white sugar
- 1 large egg
- 1 1/2 teaspoons vanilla extract
- 1 teaspoon almond extract
- 3 cups all-purpose flour
- 1 teaspoon baking powder
- 1/2 teaspoon salt
frosting
- 1/2 cup unsalted butter 1 stick, softened
- 2 cups confectioners' sugar
- 2 teaspoons vanilla extract
- 2 - 4 Tablespoons milk or half & half
- food dye
- sprinkles if desired
Instructions
- Preheat oven at 350-degrees. Line a 9x13 baking dish with aluminum foil and apply nonstick spray.
- In a large bowl, beat together the butter and white sugar until fluffy. Add the egg and both extracts, then the dry ingredients. Mix until just combined.
- Evenly compress the dough into the prepared pan. Bake for 20 to 25 minutes, until the edges are golden brown. Completely cool.
- To make the frosting, beat together the butter, confectioners' sugar, vanilla, two tablespoons milk, and a few drops of food dye. Add more milk to reach a spreadable consistency. Lift the uncut cookie bar out by the foil, then spread frosting on top. Add sprinkles. Slice bars. Store in a sealed container, stacked between wax paper layers.
- OM NOM NOM!
