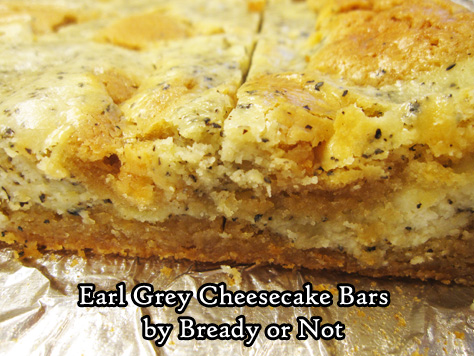
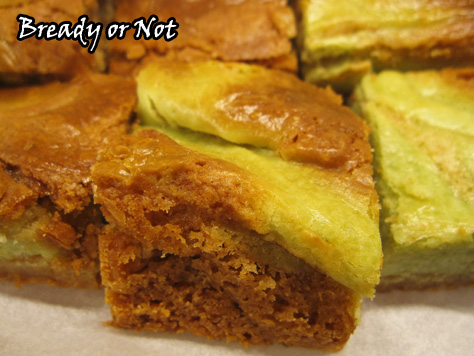
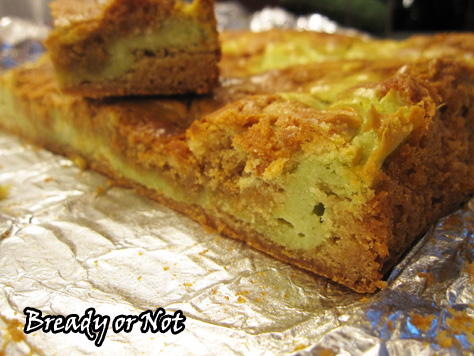
Bready or Not Original: Earl Grey Cheesecake Bars
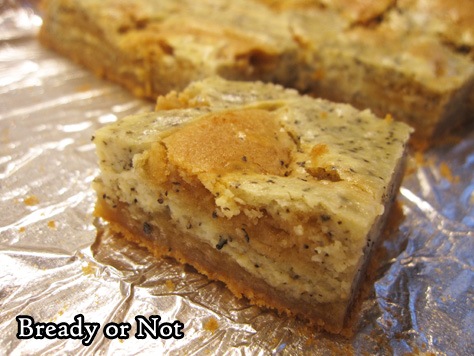
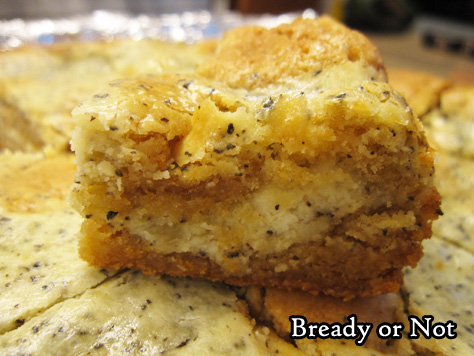
Earl Grey tea and cream cheese team up in delicious bar form in these delicious Earl Grey Cheesecake Bars.
Last August, I featured Matcha Cheesecake Bars. I decided to modify that recipe using Earl Grey.
The result: WOW. Earl Grey has a slight heat to it when eaten in baked goods (like, say, Earl Grey shortbread).
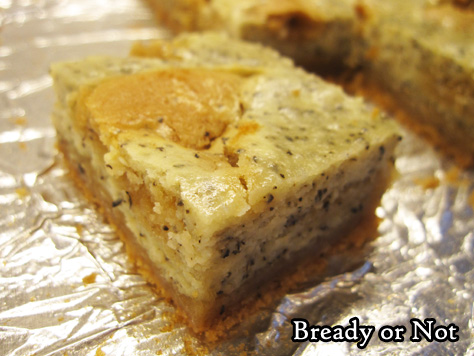
Here, that contrasts wonderfully with the smooth and creamy cheesecake swirls. I’m not a big cheesecake person, but I’m in awe of how good this basic recipe is.
This is a recipe to make cheesecake haters love cheesecake. That’s not a statement I’d make lightly.

I’ve been told these are excellent with coffee… but if I may, I suggest indulging while enjoying some Earl Grey tea. Hot. Captain Picard-style.
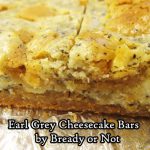
Bready or Not Original: Earl Grey Cheesecake Bars
Ingredients
Crust
- 1 1/2 cups all-purpose flour
- 1 tsp baking powder
- 1/2 tsp salt
- 10 Tb unsalted butter softened
- 1 1/2 cups light brown sugar packed
- 2 eggs room temperature
- 1 Tb vanilla extract
Cheesecake layer
- 8 oz cream cheese softened
- 1/4 cup sugar
- 2 Tb unsalted butter softened
- 2 Tb all-purpose flour
- 2 tea bags Earl Grey scant 1 tablespoon
- 1 egg room temperature
- 1/2 tsp vanilla extract
Instructions
- Preheat oven at 325-degrees. Line an 8x8 or 9x9 pan with aluminum foil and apply nonstick spray.
- In a medium bowl, sift together the flour, baking powder, and salt. Set aside.
- In a large mixer bowl, cream together the softened butter and brown sugar for about 3 minutes, until light and fluffy. Add 2 eggs and the vanilla extract, followed by the combined dry ingredients.
- Use an uneven spatula to smooth out HALF of the batter in the prepared pan. Place the other half in another bowl for now. Clean the bowl before the next stage, if desired.
- To make the cheesecake layer, beat together the softened cream cheese, sugar, butter, flour, and the contents of two bags of Earl Grey. Mix in the egg and vanilla until it is mostly smooth.
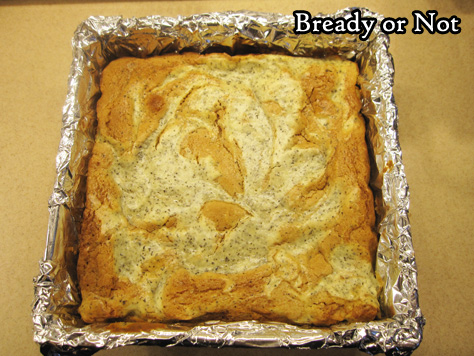
- Pour about HALF of the cream cheese mix on top of the batter in the pan and smooth it out. Dollop the remaining crust and cheesecake batters over the top, and use a butter knife to swirl them together.
- Bake for 45 to 55 minutes, until it passes the toothpick test in the middle. Let cool at room temperature for an hour, then place in fridge to continue to chill and set for another hour or two.
- Lift it up by the aluminum foil and place on a cutting board to slice into bars. Store in a lidded container in fridge, with waxed paper or parchment between stacked layers.
- OM NOM NOM!
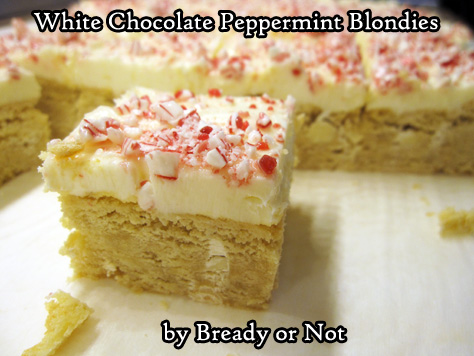
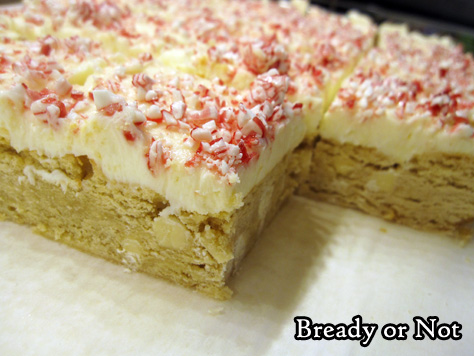
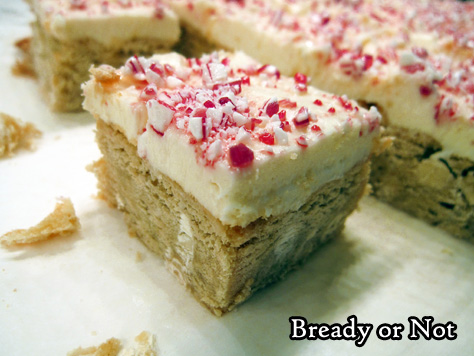
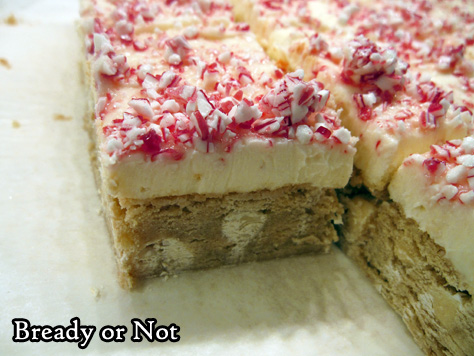
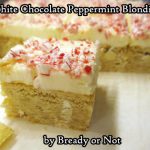
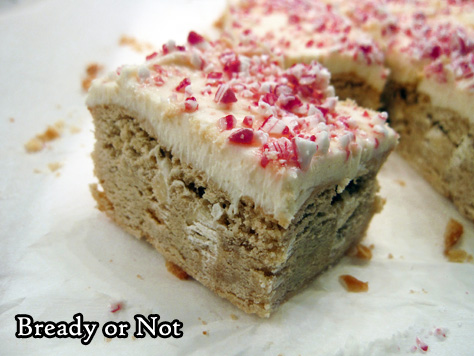
Bready or Not: White Chocolate Peppermint Blondies
If you want a treat that is decadent, gorgeous, and loaded with peppermint, bake this up.
But once you put the peppermint bits on, eat them within a few hours. That’s right, this recipe has the same issue as the Peppermint Chocolate Chip Cookie Sticks a few weeks ago.
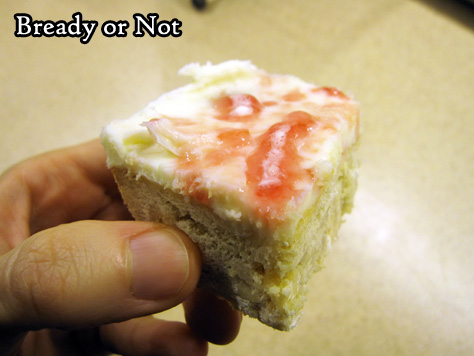
See that picture above? That’s what the peppermint does, melting to look like stained glass. It’s a purely cosmetic issue; the bars still taste fine and the peppermint even retains a slight crunch.
The solution to this is pretty easy, though. Add the peppermint bits right before serving, or just omit them. Or be prepared to eat them with oozy peppermint on top, as they’ll still taste fine!
With that disclaimer done, I can say these things taste absolutely delicious. I mean, hello, blondies topped with cream cheese frosting! These are practically a cake.
Modified from County Living, December 2015.
Bready or Not: White Chocolate Peppermint Blondies
Ingredients
blondies
- 3/4 cup unsalted butter 1 1/2 sticks, softened
- 3/4 cup white sugar
- 2/3 cup brown sugar packed
- 3 large eggs room temperature
- 2 teaspoons vanilla extract divided
- 3/4 teaspoon pure peppermint extract
- 2 2/3 cups all-purpose flour
- 3/4 teaspoon baking powder
- 1/4 teaspoon kosher salt
- 1 3/4 cup white chocolate chips 1 bag
frosting
- 16 ounces cream cheese 2 boxes
- 1 cup confectioners' sugar
- 1/2 cup peppermints crushed
Instructions
- Preheat oven to 325-degrees. Apply nonstick spray or butter to an aluminum foil-lined 9x13 baking pan.
- Beat together butter, both sugars, eggs, 1 teaspoon vanilla, and peppermint extract. In a separate bowl, whisk together the flour, baking powder, and salt.
- Stir the dry mix into the butter mix. Add the chocolate chips. Spread the batter evenly in the prepared pan.
- Bake until golden brown and the middle passes the toothpick test, about 30 to 35 minutes. Cool in pan on rack until room temperature, or place in fridge to chill.
- When the blondie base is no longer hot, beat together the cream cheese and confectioners' sugar until they are light and fluffy, about 1 to 2 minutes. Beat in the remaining 1 teaspoon vanilla.
- Spread frosting over blondies. Freeze for 30 minutes or chill in fridge for several hours to set.
- Add crushed peppermints just before serving. NOTE: after a few hours, the peppermints will melt, regardless of the temperature of the bars. It looks weird, but tastes the same, even retaining a slight crunch. Other than that, the bars keep fine in the fridge for at least 5 days.
- OM NOM NOM!
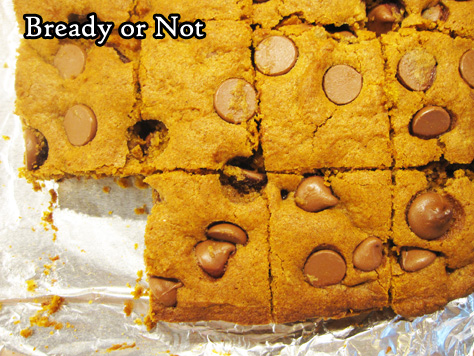
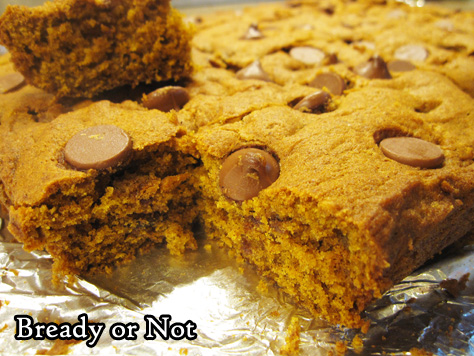
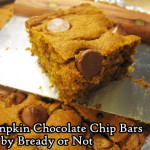
Bready or Not: Pumpkin Chocolate Chip Bars
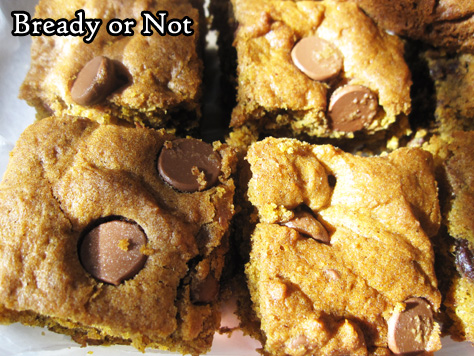
Pumpkin and chocolate make for the perfect pairing in these Pumpkin Chocolate Chip Bars!
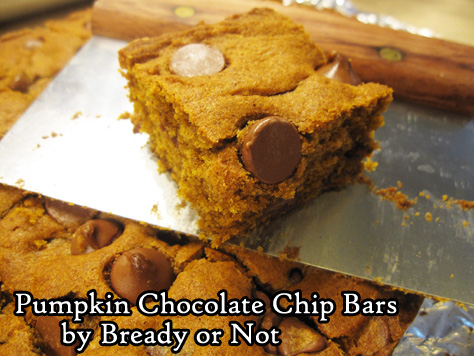
I modified the original recipe to incorporate bread flour, creating bars that are fabulously dense and chewy.
This is essentially pumpkin spice cake with freckles of chocolate chips.
Unlike a standard frosted cake, these travel very well. The bars are nice and cohesive.
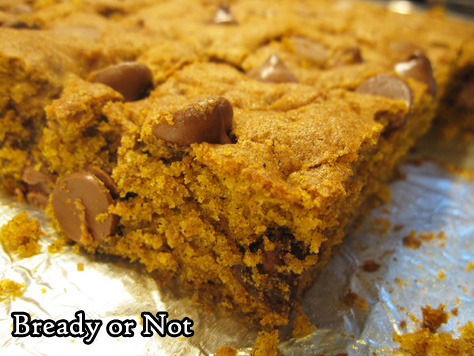
I like to place waxed paper between layers to prevent sticking and melting chocolate (because in Arizona, well, it’s still hot at this time of year).
On the subject of chocolate chips, be sure to toss the majority of your chips in with the flour. This will prevent them from sinking to the bottom as it bakes!
Modified from What’s Gabby Cooking.
Bready or Not: Pumpkin Chocolate Chip Bars
Ingredients
- 1 cup all-purpose flour
- 1 cup bread flour
- 2 teaspoons cinnamon
- 3/4 teaspoon ginger
- 1/2 teaspoon allspice
- 1/2 teaspoon cloves
- 1 teaspoon baking soda
- 1 teaspoon salt
- 2 cups chocolate chips divided
- 1 cup unsalted butter 2 sticks, softened
- 1/2 cup brown sugar packed
- 3/4 cup white sugar
- 1 large egg room temperature
- 2 teaspoons vanilla extract
- 1 cup pumpkin puree
Instructions
- Preheat oven to 350-degrees. Line a 13x9 pan with aluminum foil and apply nonstick spray or butter.
- In a medium bowl, combine the flours, cinnamon, ginger, allspice, cloves, baking soda, and salt. Stir in most of the chocolate chips; coating them with flour will keep them from sinking as they bake. Set bowl aside.
- In a big mixing bowl, combine the butter and two sugars until light and fluffy, scraping down the sides of the bowl as needed. Add the egg, vanilla extract, and pumpkin puree. Once that's mixed, slowly blend in the dry ingredients until just combined.
- Pour the batter into the ready pan and smooth out. Sprinkle the remaining chocolate chips over the top.
- Bake for 30 to 35 minutes, until it passes the toothpick test in the middle. Cool completely. Lift up by the foil and place on a cutting board to cut bars. Store in a sealed container at room temperature or chilled.
- OM NOM NOM!
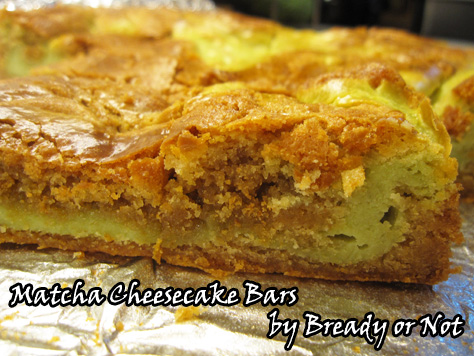
Bready or Not: Matcha Green Tea Cheesecake Bars
I’m presenting many wonderful matcha baked goods this month, but this one, dear readers, is the most delicious. The most divine. The most appropriate way to celebrate the release of Call of Fire.
My husband takes most all of my baked goods to work. These Matcha Cheesecake Bars earned a rare and vociferous response.
To directly quote, with expletives replaced Mad Lib style to make this work-safe and kid-safe:
“She needs to laminate that [noun for excrement].”
“Those were [verb for copulation, -ing] on point.”
Yeah. This recipe is a winner.
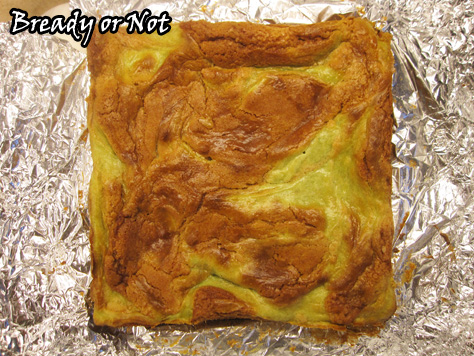
Plus, these bars are ridiculously easy to make. You make a crust. Mix up some green cheesecake. Do some layering and swirling.

Mind you, I’m not a big cheesecake person, but thanks to the cookie-like crust, these are not rich like standard cheesecakes. You really get the best of everything here, and the matcha powder adds a wonderful fresh flavor and a lovely green tint.
Do note that the type of green tea you use may produce different results. I used a Rishi sweet green tea blend that includes sugar, making it ideal for lattes or baked goods. [Addendum: Readers have baked this recipe using standard matcha powder and have been delighted with the results! So use whatever green tea you have handy. If you want it sweeter, just add a touch more sugar.]
I plan on re-making this with a variety of teas. Look for another version of this recipe in the coming months!
Adapted from Every Day Dishes.
Bready or Not: Matcha Green Tea Cheesecake Bars
Ingredients
Crust
- 1 1/2 cups all-purpose flour
- 1 tsp baking powder
- 1/2 tsp salt
- 10 Tb unsalted butter softened
- 1 1/2 cups light brown sugar packed
- 2 eggs room temperature
- 1 Tb vanilla extract
Cheesecake layer
- 8 oz cream cheese softened
- 1/4 cup white sugar
- 2 Tb unsalted butter softened
- 2 Tb all-purpose flour
- 1 Tb matcha sweet or regular
- 1 egg room temperature
- 1/2 tsp vanilla extract
Instructions
- Preheat oven at 325-degrees. Line an 8x8 or 9x9 pan with aluminum foil and apply nonstick spray.
- In a medium bowl, sift together the flour, baking powder, and salt. Set aside.
- In a large mixer bowl, cream together the softened butter and brown sugar for about 3 minutes, until light and fluffy. Add 2 eggs and the vanilla extract, followed by the combined dry ingredients.
- Use an uneven spatula to smooth out HALF of the batter in the prepared pan. Place the other half in another bowl for now. Clean the mixing bowl before the next stage, if desired.
- To make the cheesecake layer, beat together the softened cream cheese, sugar, butter, flour, and matcha powder. Mix in the egg and vanilla until it is mostly smooth.
- Pour about HALF of the cream cheese mix on top of the batter in the pan and smooth it out. Dollop the remaining crust and cheesecake batters over the top, and use a butter knife to swirl them together.
- Bake for 45 to 55 minutes, until it passes the toothpick test in the middle. Let cool at room temperature for an hour, then place in fridge to continue chill and set for another hour or two.
- Lift it up by the aluminum foil and place on a cutting board to slice into bars. Store in a lidded container in fridge, with waxed paper or parchment between stacked layers.
- OM NOM NOM!
Read More
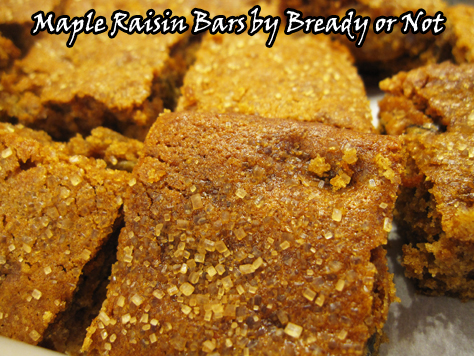
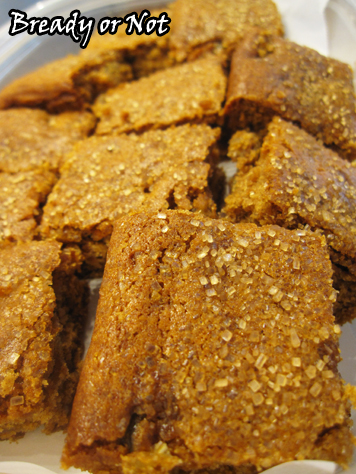
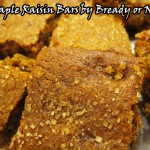
Bready or Not: Maple Raisin Bars
If you like chewy maple goodness, then these Maple Raisin Bars are for you!
So you ever look at a recipe and think, “Hey, that looks good, but I want to change half the ingredients around?” That’s how this recipe came about. I look at another recipe and decided to give it an overhaul. Golden raisins instead of apricots. Honey instead of molasses. And so on.
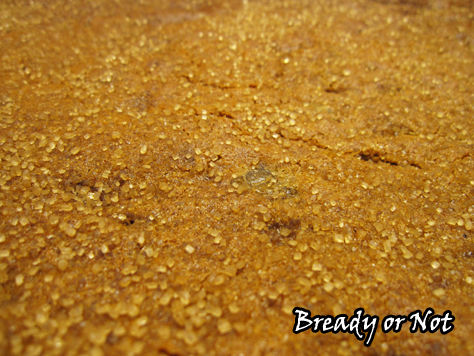
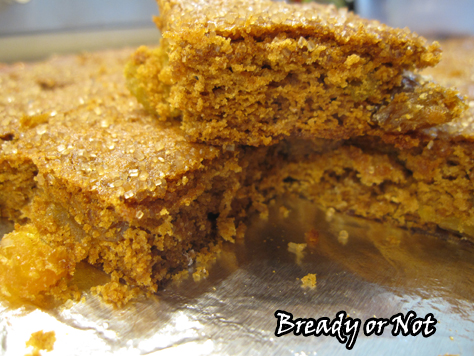
The result? Chewy, cakey bars with delightful gems of golden raisins sprinkled throughout. The turbinado sugar on top adds a special sparkle.
They taste kind of like gingerbread just, well, without any ginger. That’s the closest comparison I can make.
Even better, these keep well for days at room temperature, and they can also be frozen for later enjoyment.
Yep, these will be greatly enjoyed. Now or later.
Bready or Not: Maple Raisin Bars
Ingredients
- 1 cup bread flour
- 1/2 cup all-purpose flour
- 1 teaspoon baking soda
- 1 teaspoon ground cinnamon
- 1/2 teaspoon ground nutmeg
- 1/4 teaspoon ground cloves
- 1/4 teaspoon salt
- 1 cup golden raisins
- 3/4 cup maple sugar
- 1/2 cup avocado oil or canola oil
- 1/3 cup honey
- 1/2 cup milk or almond milk
- 3 teaspoons turbinado sugar
Instructions
- Preheat oven at 350-degrees. Line a 9x13 pan with aluminum foil and apply nonstick spray or butter.
- In a large bowl, combine the flours, baking soda, cinnamon, nutmeg, cloves, and salt. Stir in the raisins. Set bowl aside.
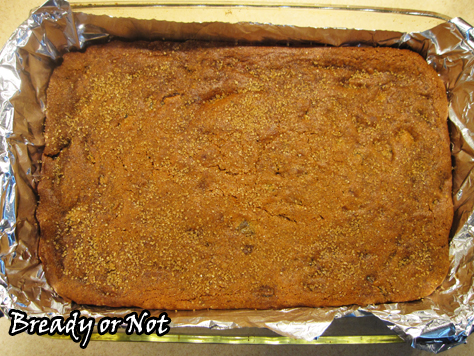
- In a medium bowl, whisk together maple sugar, oil, honey, and milk. Slowly pour the wet ingredients into the dry until fully combined. Scrape the dough into the prepared pan, making sure the raisins are well distributed. Sprinkle turbinado sugar all over the top.
- Bake for 24 to 28 minutes, until the dough has puffed and it passes the toothpick test in the middle.
- Let it cool completely. Lift out of pan with the foil and cut into squares. Store in a sealed container with waxed paper or parchment paper between the layers. Will keep well at room temperature for days, or can be frozen for weeks.
- OM NOM NOM!

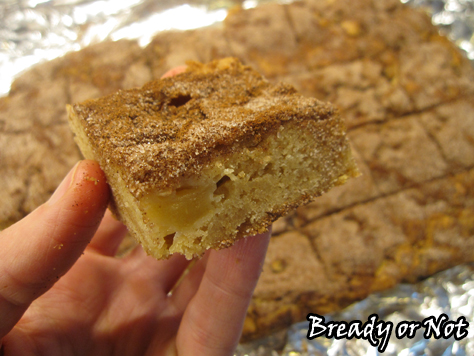
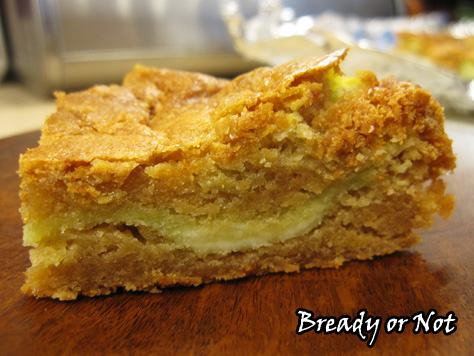
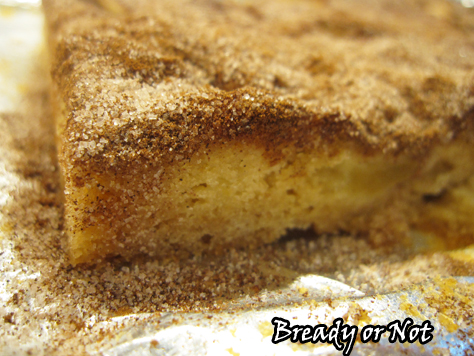
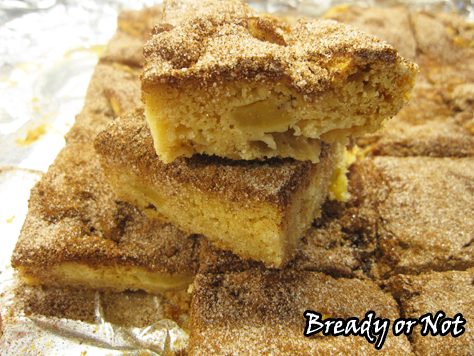
A Bready or Not Original: Apple Snickerdoodle Bars
I have shared many takes on snickerdoodles and many versions of apple cake and pie. This time, I combine apple cake and snickerdoodles to make something especially awesome.
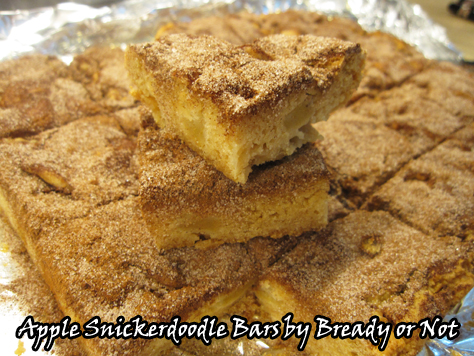
These Apple Snickerdoodle Bars are incredibly straightforward to make. The most time-consuming thing is peeling and dicing the apples. The batter comes together fast, the apples mix right in, and you top the whole thing with a cinnamon-sugar layer.
In under thirty minutes of baking, BOOM. You have created a masterpiece.
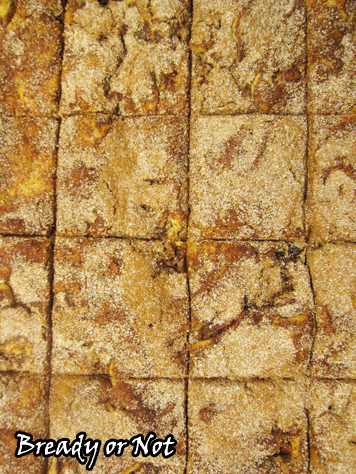
Seriously, if you love apples and snickerdoodles, a piece of this will be like heaven. It is dense and tender, not crumbly at all. The topping crisps up in an amazing way.
I store these cut-up between wax paper layers in the fridge. They also freeze well.
If you’re bonkers for these bars, freezing them might help with the matter of restraint.
A Bready or Not Original: Apple Snickerdoodle Bars
Ingredients
Bars
- 2 cups baking apples 2 medium apples, peeled & diced
- 2 cups all-purpose flour
- 1 tsp salt
- 2 teaspoons baking powder
- 1 tsp cream of tartar
- 1/2 cup butter 1 stick, melted
- 2 cups brown sugar packed
- 2 eggs room temperature
- 2 teaspoons vanilla extract
Topping
- 1/4 cup white sugar
- 3 teaspoons cinnamon
Instructions
- Line a 13x9 pan with aluminum foil or parchment paper. Apply nonstick spray or butter. Preheat oven at 350-degrees.
- Peel and dice the apples; stir in some flour to lightly coat to prevent browning as you prepare the batter.
- In a medium bowl, combine the flour, salt, baking powder, and cream of tartar. Set aside.
- In a large bowl, mix the melted butter and brown sugar. Add the eggs and vanilla. Slowly stir in the dry ingredients. Once that is just combined (it will be very thick), add the diced apples.
- Dollop the batter into the prepared pan and spread it out evenly. In another small bowl, combine the white sugar and cinnamon. Use a spoon to cover the top of the batter with the cinnamon-sugar.
- Bake for 28 to 32 minutes, until the top is set and the middle passes the toothpick test. Let cool at room temperature and then chill in the fridge. Use the parchment or foil to lift the bars out for easy cutting on a board. Store bars in a sealed container in the fridge.
- OM NOM NOM!