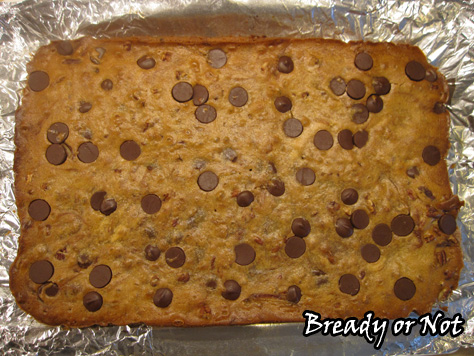
Bready or Not: Honey Blondies
It’s my birthday (Whoo hoo! Thirty-six!) so let’s bake up something that’s likewise blonde and nutty.
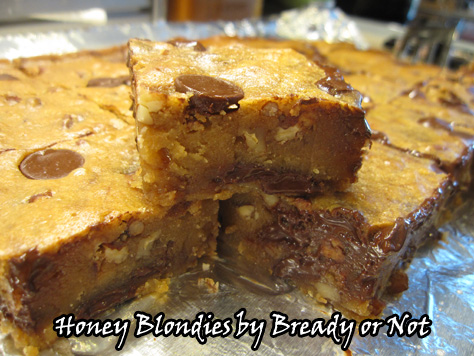
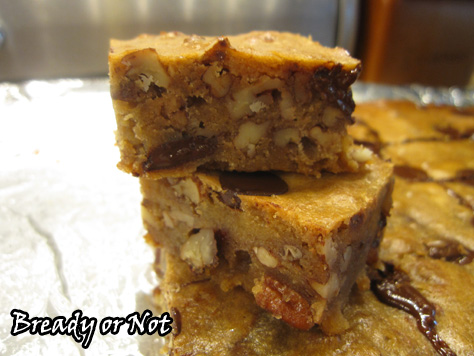
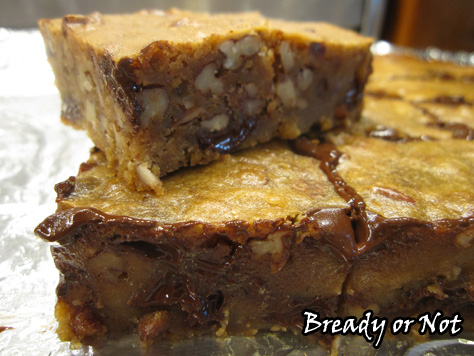
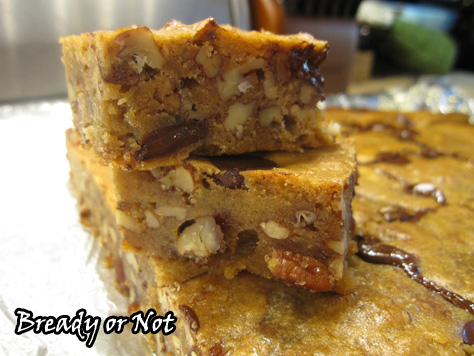
These blondies aren’t purely sweet things because they are cut by bittersweet chocolate. The pecans add a crunch that’s a great contrast to the smoothness.
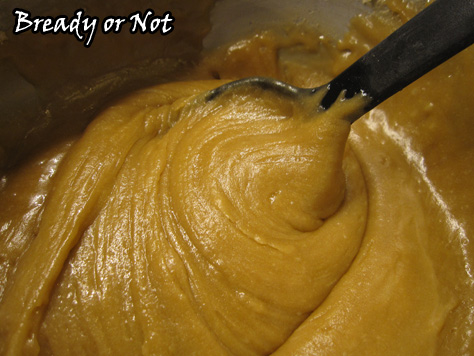
Actually, the word “smooth” is the best way to describe these bars. The batter is very thick and reminds me of caramel candy. It bakes up in a smooth layer. It cuts smoothly, even with the pecans in there. The blondies almost melt in your mouth, too.
Plan ahead to make these because the batter needs to cool in stages because you 1) don’t want to scramble the eggs, and 2) you don’t want the chocolate chips to melt when you stir them in (not like this would be a total disaster, but still).
I’m not sure how long these stay fresh. My husband took them to work and they were GONE in hours. I imagine the bars would freeze well between layers of wax paper, but I haven’t tried that yet.
Oh darn. I guess I should make them again.
Greatly modified from Martha Stewart Living.
Bready or Not: Honey Blondies
Ingredients
- 1 cup unsalted butter 2 sticks
- 2/3 cup honey
- 1 1/2 cups brown sugar packed
- 2 1/2 cups all-purpose flour
- 2 eggs room temperature
- 1 1/2 Tablespoons vanilla extract
- 2 teaspoons coarse salt
- 1 cup pecan pieces
- 8 ounces bittersweet chocolate
Instructions
- Melt butter and honey in a large saucepan. Stir in the brown sugar. Remove from heat and set aside to cool for about 20 minutes.
- Since the contents are still likely a bit warm, add some of the flour and stir in to cool things off. Stir in the eggs and vanilla extract followed by the rest of the flour and the salt. Mix until just combined, and let it continue to cool about 30 minutes.
- Preheat the oven to 350-degrees. Prepare a 9x13 pan by lining with foil and spraying with Pam or buttering the surface well.
- Mix the pecan pieces and chocolate into the batter, then spread into the pan.
- Bake for about 30 minutes; the edges will just be turning brown. Let the blondies cool completely on a wire rack. Use the foil to lift them out to cut into squares. Store in an airtight container.
- OM NOM NOM!
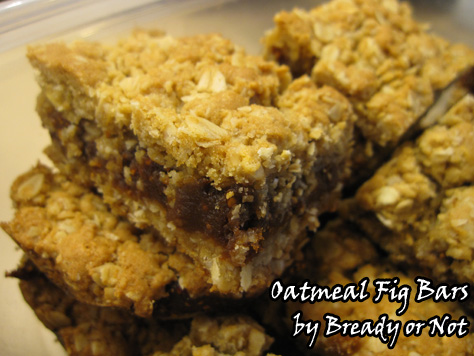
Bready or Not: Oatmeal Fig Bars (aka Homemade Fig Newtons)
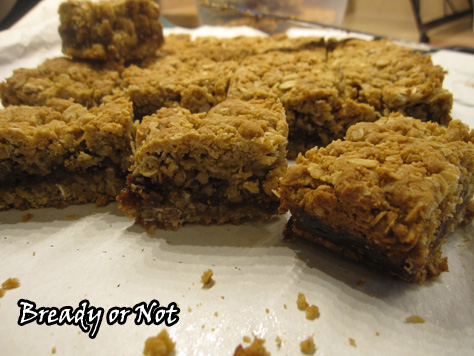
These are like Fig Newtons, but better. They are thicker. Fresher. The top has the slightest crunch.
This recipe is what happened after I thought I was buying dates to use for my breakfast truffles. It took me a few weeks to notice I really had figs in my cupboard. Whoops?
An awesome kind of whoops!
I doubled the original recipe so I could use as many figs as I could. My immersion blender pulsed the fruit on the stovetop. Everything came together fast and easy. I used the double sided parchment-aluminum foil for easy clean up, too.
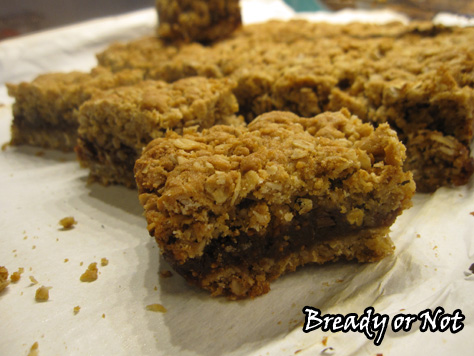
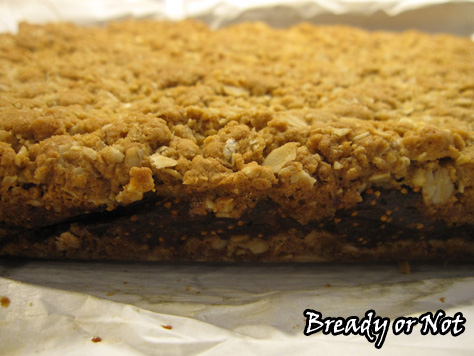
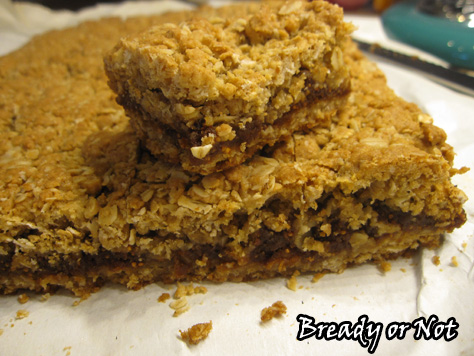
These bake up with golden, crispy tops while the rest of the bar is dense and chewy. These things are hearty. They’d make for a good breakfast or snack for kids or adults, and I imagine they would even freeze well.
I’m not sure how well they keep beyond a day, though. My husband took them to work and they kinda vanished. All that remained were crumbs and rave reviews.
Recipe doubled and adapted from Alida’s Kitchen.
Bready or Not: Oatmeal Fig Bars (aka Homemade Fig Newtons)
Ingredients
For fig filling
- 2 cups dried figs about 16 ounces, chopped, stems removed
- 1 cup water
- 2 Tablespoons lemon juice
For dough
- 3 cups oats old fashioned or quick oats, or a mix
- 2 cups all-purpose flour
- 1 1/2 cups brown sugar packed
- 1 tsp baking soda
- 1/2 tsp salt
- 3/4 cup unsalted butter 1 1/2 sticks, melted
- 2 eggs room temperature
Instructions
- In a small sauce pan, bring figs, water, and lemon juice to a boil. Simmer for several minutes until it starts to thicken. Remove from heat and let it cool for ten minutes or so.
- Use a food processor or an immersion blender to process the fruit unless smooth. Be very careful--hot fruit splatter is not fun! Set it aside to cool as you ready everything else.
- Preheat oven to 350 degrees. Line a 9x13 casserole pan with parchment paper and apply nonstick spray. Melt the butter and let it cool a few minutes.
- In a large bowl, whisk together the oats, flour, sugar, baking soda and salt. Add the butter and eggs and stir until just combined.
- Press half of the oat mixture into the prepared baking dish. [Handy tip: use a sheet of wax paper and a heavy glass to compress the layer.] Evenly spread the fig mixture to the edges.
- Use your hands to compress the remaining dough into small discs and pieces, and set this on top as evenly as you can. Gently compress it again.
- Bake for about 30 minutes, or until lightly browned at edges. Completely cool on wire rack.
- OM NOM NOM!
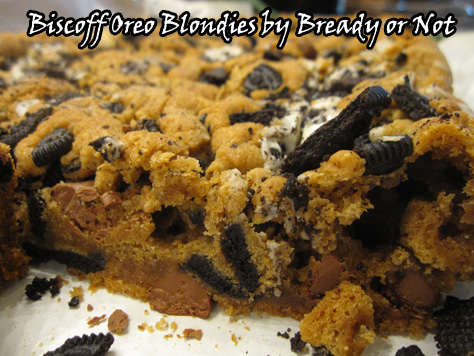
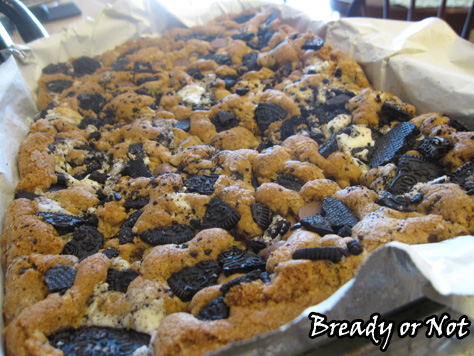
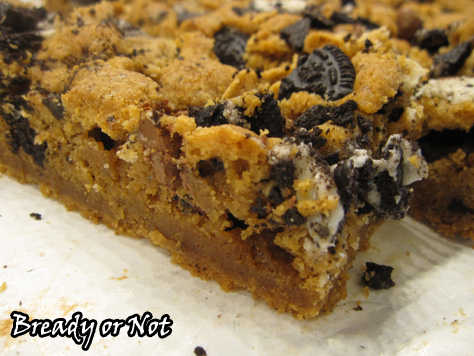
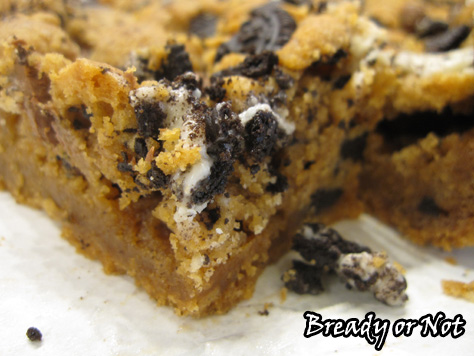
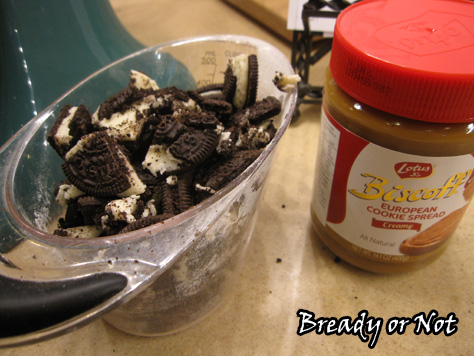
Bready or Not: Biscoff Oreo Blondies (Redux)
This week, as I dash off to WorldCon, I share a re-do of a Biscoff Oreo Blondies recipe I first featured on my LiveJournal back in 2013. I modified it from the original Peanut Butter Oreo Blondies at Crepes of Wrath.
But this time when I made it, I modified it more. MORE OREOS. MORE CHOCOLATE CHIPS. MORE HAPPINESS.
I love Biscoff spread (also known as Speculoos at Trader Joe’s). It’s crack in a jar. If you’re not familiar with it, it’s cookie butter: yes, really, the consistency of a nut butter, but made of cookies.
Yeah. This is not health food. It ain’t gluten-free, either.
If it’s paleo, I want to join that tribe.
If you don’t like Biscoff (BLASPHEMER! BEGONE!) or can’t find it (though it’s at a lot of Wal-marts, Targets, and World Markets), you can substitute nut butter for this recipe, too. Not the natural type, though. You want it moister.
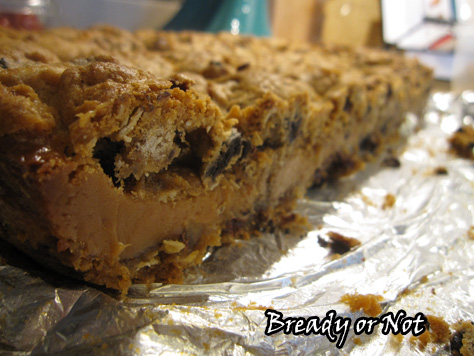
Oh yeah. I used Double-Stuf Oreos, too. Because those are the best kind.
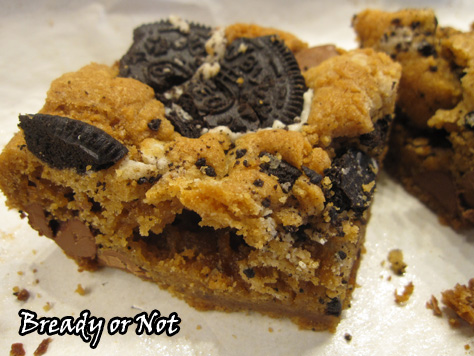
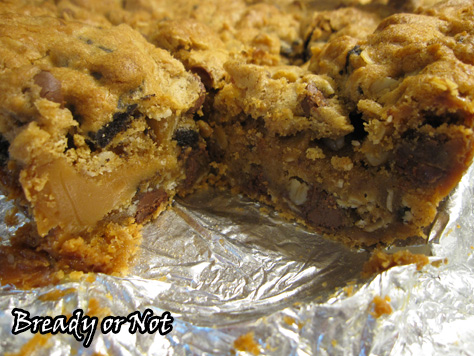
The end result is a luscious, thick, chewy bar that’s like a cookie on steroids. Cookie butter does that to baked goods. It’s magic.
Mix up the add-ins if you want. Use dark chocolate. Use different kinds of Oreos or different cookies all together.
Live dangerously. And scrape clean that Biscoff jar when it’s empty.
Bready or Not: Biscoff Oreo Blondies (Redux)
Ingredients
- 2 1/2 cups all-purpose flour
- 1 1/2 teaspoon baking powder
- 1/2 teaspoon baking soda
- 1 cup brown sugar packed
- 1 cup white sugar
- 1/2 cup unsalted butter 1 stick, melted
- 2/3 cup Biscoff spread or other cookie butter brand
- 2 large eggs room temperature
- 2 teaspoons vanilla extract
- 2 cups Oreos roughly crushed
- 1 cup chocolate chips
Instructions
- Preheat your oven to 350-degrees. Line a 9x13 pan with aluminum foil or parchment and apply nonstick spray.
- Whisk together your flour, baking powder, and baking soda. Set aside.
- In a large bowl, beat together the sugars and melted butter. Add cookie butter and mix to combine. Add in the eggs, one at a time, beating after each addition, then the vanilla extract. Gradually add in the flour mixture, mixing until just moistened. The dough will be very thick. Fold in most of the Oreos and chocolate chips; save some to make the top pretty, if you want.
- Press the thick dough into the pan as evenly as possible. Press in the remaining Oreos and chips.
- Bake for 24-30 minutes, until the blondies are lightly golden and set.
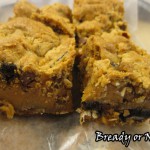
- Allow them to cool completely before cutting into bars and serving. These will keep well in an airtight container at room temperature for up to a week, if they last that long.
- OM NOM NOM!

Read More
Bready or Not: Snickerdoodle Blondies
Snickerdoodles are awesome. But what do you do when you need to make a lot but don’t have the time to make individual cookies?
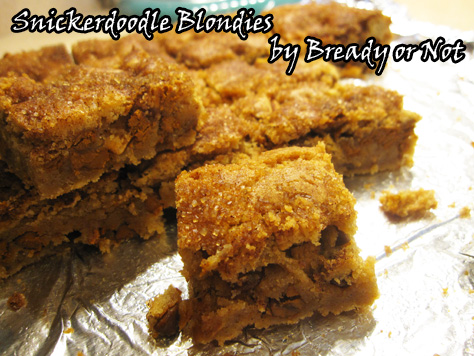
Make blondies, my friend.
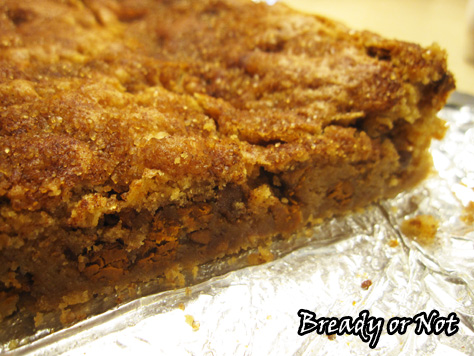
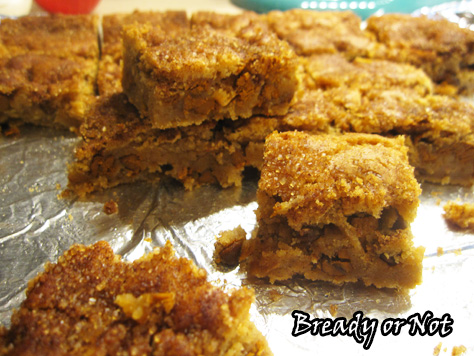
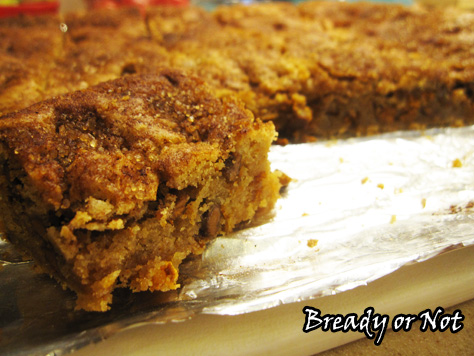
These are packed with all the Snickerdoodle flavor you know and love, all in a convenient new shape. The cinnamon chips add a potent oomph of flavor that takes these to a whole new level.
Oh yeah. These are chewy, dense, and all kinds of amazing.
I’d like to tell you how long these keep fresh, but I don’t know. My husband took them to work and they just kinda vanished. I take that as a good sign.
Modified from Can’t Stay Out of the Kitchen.
Bready or Not: Snickerdoodle Blondies
Ingredients
- 1 cup unsalted butter 2 sticks, room temperature
- 2 cups brown sugar packed
- 1 Tablespoon vanilla extract
- 2 eggs room temperature
- 2 2/3 cup all-purpose flour
- 1 tsp kosher salt
- 1/4 tsp ground nutmeg
- 1/2 tsp cream of tartar
- 1 tsp cinnamon
- 2 tsp baking powder
- 10 oz Hershey’s cinnamon chips 1 bag
Topping:
- 2 Tablespoons turbinado or other raw sugar
- pinch nutmeg
- 2 tsp cinnamon
Instructions
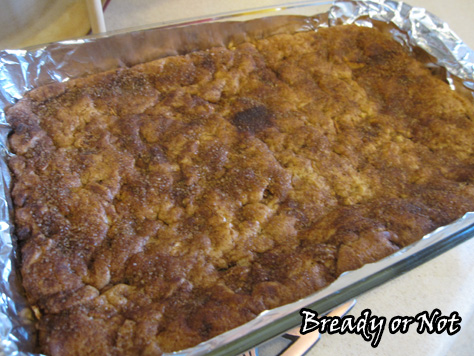
- Prepare a 9x13 pan by lining it with aluminum foil and applying nonstick spray. Preheat oven at 350-degrees.
- In a large bowl, cream together the butter, brown sugar, and vanilla extract. Add the eggs one at a time.
- In a separate bowl, sift together the dry ingredients: flour, salt, nutmeg, cream of tartar, cinnamon, and baking powder. Gradually add the dry mix into the large bowl. Once everything is mixed, add the bag of cinnamon chips.
- Evenly spread the dough into the prepared pan. In a small bowl, mix the turbinado sugar, nutmeg, and cinnamon. Sprinkle the topping mix over the dough.
- Bake for 30 to 40 minutes, until toothpick inserted in center comes out clean. Cool completely. Use the foil to lift out the contents and cut into bars. Store at room temperature.
- OM NOM NOM!
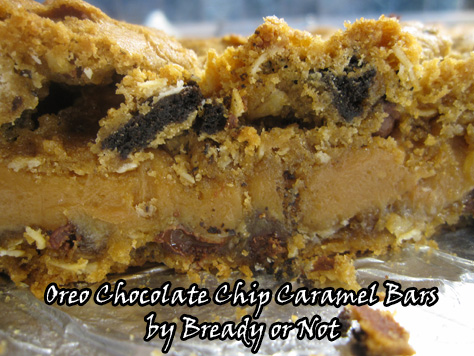
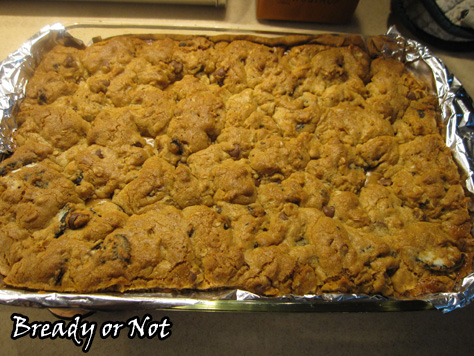
Bready or Not: Oreo Chocolate Chip Caramel Cookie Bars
A picture is worth a thousand words, right?
The original version at Mom on Time Out looked pretty darn amazing to start, but as usual I decided to improve something by adding 1) Biscoff spread, and 2) Oreos.
These things will blow your mind and your waistline. Imagine dense bricks of caramel and goodness. I stored these in the fridge–because I live in Arizona and even at room temp chocolate goes too soft–and to my surprise, these bars didn’t harden. Nope. Even chilled, they were chewy and amazing. The Biscoff probably helped with the soft and chewy aspect.
Of course, you can also make this using any nut butter instead of the Biscoff spread, or substitute another cookie for the Oreos. Mix it up. So many things pair well with a thick layer of caramel.
Make these. You know you want to.
Modified from Mom on Time Out.
Bready or Not: Oreo Chocolate Chip Caramel Cookie Bars
Ingredients
Caramel Filling
- 11 oz bag caramels Caramel Bits work well
- 14 oz can sweetened condensed milk
- 4 Tbsp butter
Cookie Dough
- 1 1/2 sticks 3/4 cups unsalted butter
- 2 cups light brown sugar
- 1/2 cup creamy Biscoff spread or nut butter
- 2 eggs room temperature
- 1 Tbsp vanilla extract
- 2 cups flour
- 1 cup old fashioned rolled oats
- 2 1/2 teaspoons baking powder
- 1/4 teaspoon salt
- 1 cup chocolate chips
- 2 cups chopped Oreos about 1/3 of package, a little over 1 row
Instructions
- Preheat oven to 350 degrees. Line a 9x13 inch baking dish with parchment paper or aluminum foil, and butter or use nonstick spray. Chop the Oreos and set them aside.
- Place caramels in a small saucepan with butter and sweetened condensed milk. On medium-low heat, stir often until caramels are melted and mixture smooth. Set aside.
- In a large mixing bowl, cream together the butter and sugar. Add the Biscoff spread (or nut butter) and mix. Add eggs and then vanilla, and mix well.
- Combine the dry ingredients: flour, oats, baking powder, and salt in a small mixing bowl. Slowly pour the flour mix into the large mixing bowl. Stir in the chocolate chips and then the Oreo pieces.
- Drop about 2/3 of the dough into the prepared casserole pan and smooth it out over the bottom. Slowly pour the caramel mixture over the dough and spread out to the edges. Dollop the rest of the dough on top; don't worry about covering all of the caramel.
- Bake for 28-32 minutes. Cool completely and then cut into bars.
OM NOM NOM!
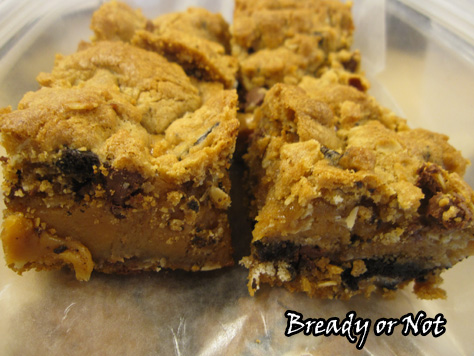
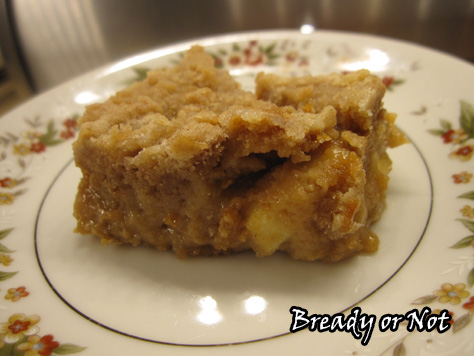
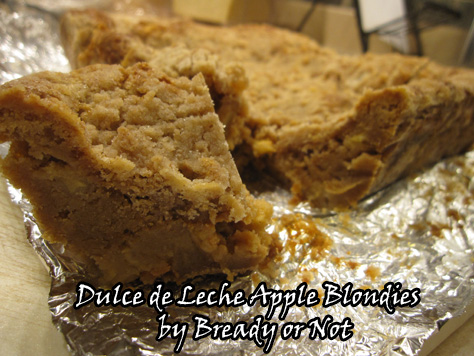
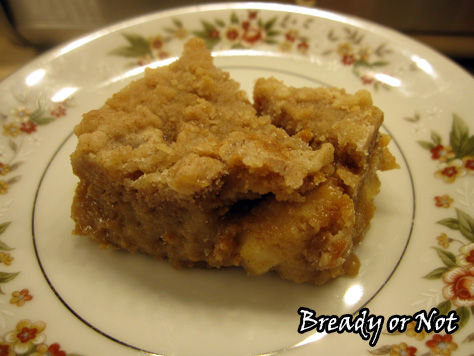
Bready or Not: Dulce de Leche Apple Blondies
Dessert. Breakfast. Brunch. Hunger. These are all good times to whip up these Dulce de Leche Apple Blondies.
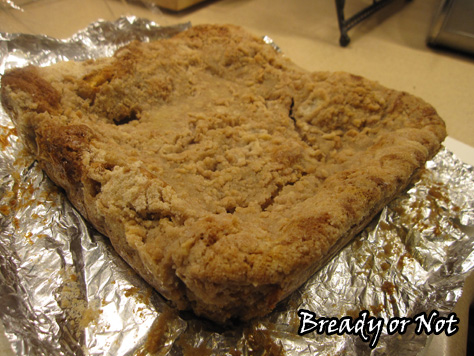
This is kinda like a cross between an apple crisp and a pie. The apples are mixed into batter and then topped with layers of caramel and sweetened crumbs.
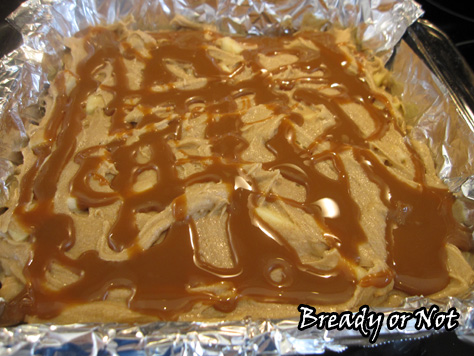
I confess, I didn’t measure the amount of dulce de leche I used here. The measurement below is a total guess. Really, get a squeeze bottle or an open jar and drizzle. Don’t worry about covering the whole surface.
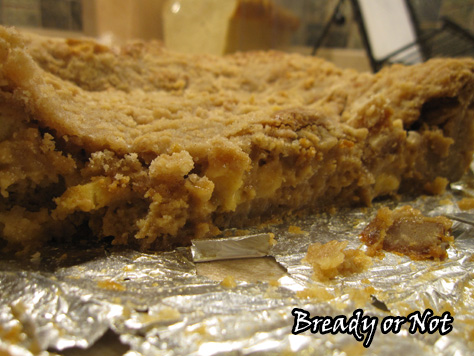
The edges here bake up solid and chewy. The middle passed the toothpick test for doneness, but once it was cut into, it was still a little gooey. That was fine. I knew it was baked through. It’s just a pie-like consistency in the middle.
Serve this cold straight out of the fridge. Maybe add a scoop of ice cream. Or warm it up a touch in the microwave. These blondies are versatile. They can take many paths to end up in your happy belly.
Modified from Foodie Crush
Bready or Not: Dulce de Leche Apple Blondies
Ingredients
For the blondies
- 1 1/2 cups all-purpose flour
- 1 teaspoon baking powder
- 1 teaspoon ground cinnamon
- 1/2 teaspoon cream of tartar
- 1/4 teaspoon salt
- 1 2/3 cups light brown sugar packed
- 3/4 cup unsalted butter room temperature
- 2 large eggs room temperature
- 2 teaspoons vanilla
- 2 medium apples peeled and diced (1 1/2-2 cups)
- 1/4 to 1/2 cup dulce de leche or caramel topping
For the strudel
- 5 Tablespoons cold butter chopped
- 2/3 cup all-purpose flour
- 1/2 cup white sugar
- 1 teaspoon ground cinnamon
Instructions
- Preheat the oven to 350 degrees. Line a 8 X 8 inch pan (or 9 X 9 inch) pan with aluminum foil so that it hangs over the sides. Apply non-stick spray.
- Whisk together the flour, baking powder, cinnamon, cream of tartar and salt in a medium size bowl and set aside.
- In a large bowl, mix the brown sugar and butter. Add the eggs and vanilla and mix until well combined. Add the dry ingredients. Add the apple pieces. Spread the batter in the prepared pan.
- Whip out a squeeze bottle or jar of dulce de leche or caramel. Drizzle over the batter.
- Combine the strudel ingredients in another bowl and chop together until the butter is mostly down to pea-size chunks. Sprinkle evenly over the top of the batter.
- Bake for 40-45 minutes or until the top is lightly golden and a toothpick inserted into the center of the pan comes out clean. Allow to cool completely. Lift the bars out by the overhanging foil and cut into bars. The edges will be crisper and more solid, while the center may be messier and sticky with caramel. It's all good.
OM NOM NOM.