


Bready or Not: Chocolate Almond Biscotti
Continuing the breakfast theme for the month, we now venture into the realm of chocolaty goodness with these Chocolate Almond Biscotti.
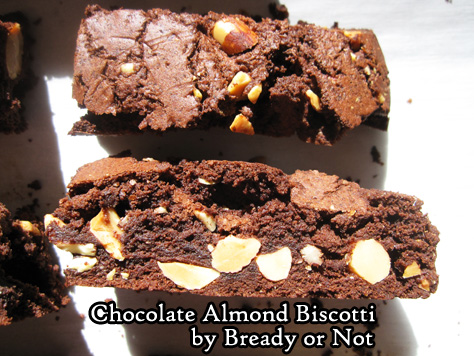
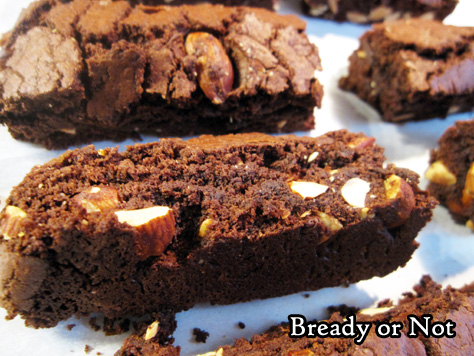
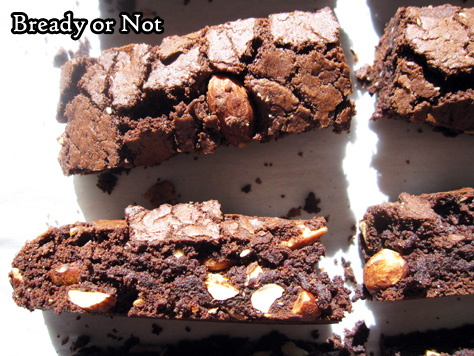
These taste like brownies… brownies that are firm enough to dip into coffee or hot chocolate or tea or your waiting mouth.
Almonds go wonderfully with chocolate–a lot of candy bars are proof of that–though they do complicate this recipe in one way. They get stuck on the knife blade when the biscotti are chopped apart.
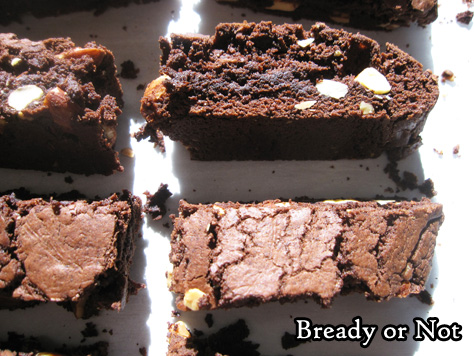
The good news is, the biscotti at still kind of soft then, so you can press them back together a bit–just don’t burn your fingers!
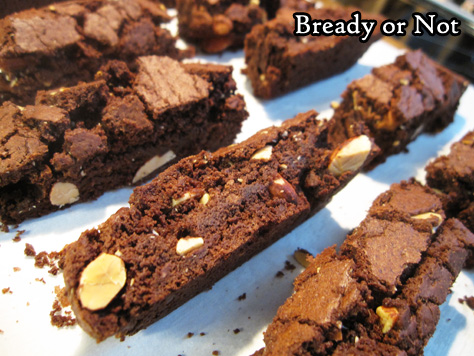
I can’t say I mind that some chocolate crumbles and almond bits are left on the cookie sheet, either. Oh darn. Can’t let those go to waste.
Do check out other biscotti featured on Bready or Not: Maple Walnut White Chocolate Biscotti and Snickerdoodle Biscotti.
This new recipe was modified from the original at McCormick.
Bready or Not: Chocolate Almond Biscotti
Ingredients
- 1 3/4 cups all-purpose flour
- 3/4 cup unsweetened cocoa powder sifted
- 1 teaspoon baking powder
- 1/4 teaspoon salt
- 4 ounces semi-sweet chocolate
- 1/2 cup unsalted butter 1 stick, softened
- 1 1/4 cups white sugar
- 2 eggs room temperature
- 1 teaspoon almond extract
- 1 cup almonds coarsely chopped
Instructions
- Preheat oven to 325-degrees. Prepare a large baking sheet with parchment paper. In a medium bowl, mix the flour, cocoa powder, baking powder, and salt; set aside.
- Melt the chocolate in the microwave, using short, careful bursts. Once it is melted, set aside to cool for a few minutes.
- In a large bowl, beat the butter and sugar until light and fluffy. Add the eggs followed by almond extract. Scrape in the melted chocolate. Gradually mix in the dry ingredients, and add the almonds last.
- Divide the dough in half. Drop each half onto the ready cookie sheet with lots of space between them. Use a spatula to shape them into logs roughly four inches across, eight inches long, and about an inch high.
- Bake 35 minutes, until the logs spring back when gently touched.
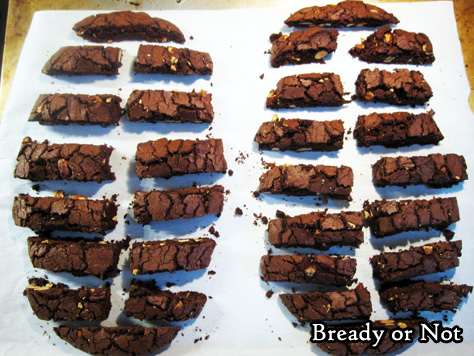
- Cool on stove top for 10 minutes. Use a sharp, serrated knife to chop the logs into 1/2-inch thick slices. The almonds will likely get stuck on the blade and cause the biscotti to crumble some; the biscotti is still somewhat soft, so try to wedge almonds back in and reshape the sticks. Do take care, as they are hot!
- Place the slices upright, if they will stay, or lay them on their sides. Bake for another 20 minutes, flipping them halfway, if necessary.
- Allow the biscotti to cool and dry out for several hours before placing them into sealed containers.
- OM NOM NOM!
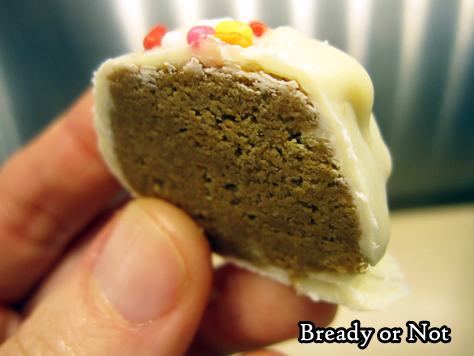
Bready or Not: No-Bake Cookie Butter Truffles
We’ll finish off the year with a sinfully sweet treat that acts in stark contrast to those diet ads already clogging the TV: No-Bake Cookie Butter Truffles.
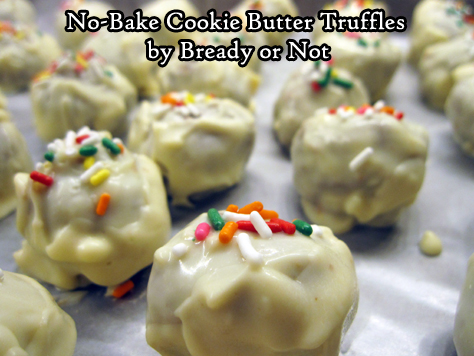
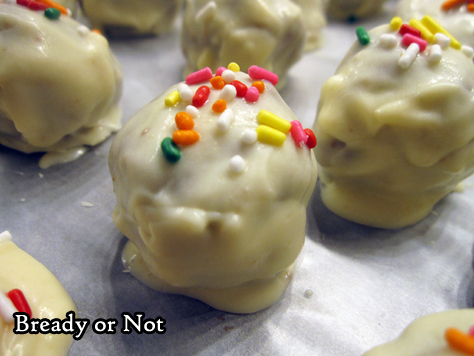
I’ll be honest. I hate making truffles. No matter how many times I do it, or what equipment or chocolate I use, they never end up “pretty” like on other food blogs.
But heck, I’m posting pics and this recipe anyway, because these things are DELICIOUS.
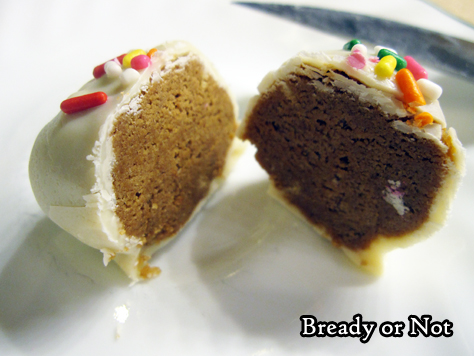
White chocolate (with a touch of oil) is used to coat balls made of crushed graham crackers and cookie butter. Those are the ingredients. It’s that easy.
It’s also that good. You see those ingredients, you know exactly how this will taste.
Cookie butter has gone mainstream at this point. Speculoos and Biscoff are the traditional options, but Walmart is even carrying their own brand now! If you haven’t tried cookie butter yet… I’m sorry/not sorry about the joy I am introducing to your life.
Modified from No-Bake Speculoos Truffle Cookies in Foot Network Magazine, December 2015.

Bready or Not: No-Bake Cookie Butter Truffles
Ingredients
- 9 graham crackers 1 sleeve, about 8 ounces
- 1 1/3 cup creamy cookie butter spread
- 11 ounces white chocolate chips 1 bag
- 1 Tablespoon coconut oil or vegetable shortening
- nonpareils or sprinkles for decoration
Instructions
- Line a baking sheet with wax paper. Pulse the graham crackers in a food processor until finely ground but not powdery. Add the cookie butter and pulse the two together, scraping down the sides as needed. If the mix isn't cohesive, add a touch more cookie butter.
- Use a teaspoon scoop or spoon to form 1-inch balls. Arrange them on the cookie sheet and cover with plastic wrap. Let them set in fridge at least one hour or overnight.
- Melt the white chocolate chips and coconut oil by your preferred method, on stove top, a stand-alone melter, or microwave; note that white chocolate burns quickly, so take care!
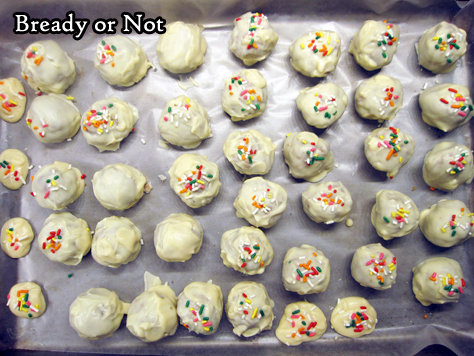
- One at a time, drop cookie butter balls into the chocolate and flip to coat. Allow excess chocolate to drip off before returning the truffle to the wax paper sheet. Continue to coat truffles, warming chocolate as necessary. Decorate truffles with nonpareils or sprinkles.
- Let set in fridge at least 30 minutes, then transfer to a lidded container. Store in fridge. Truffles will keep at least a week.
- Recipe makes about 35 teaspoon-sized balls.
- OM NOM NOM!
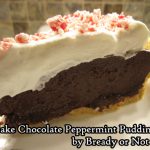
Bready or Not Original: No Bake Chocolate Peppermint Pudding Pie
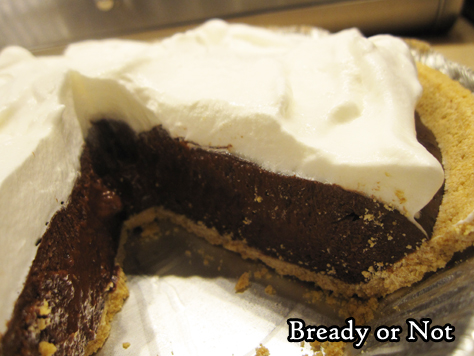
If you need a dessert that is no bake and no fuss, here’s a pie recipe to come to the rescue: No Bake Chocolate Peppermint Pudding Pie!
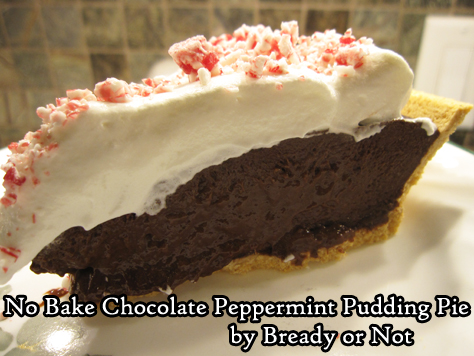
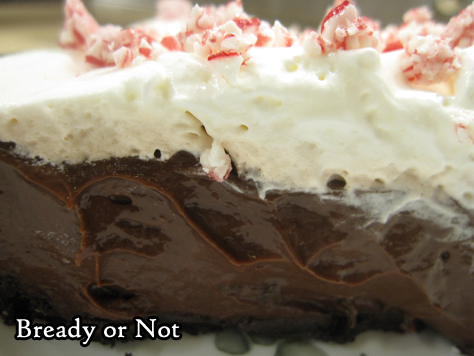
This is chocolatey. Minty. Smooth. All the things.
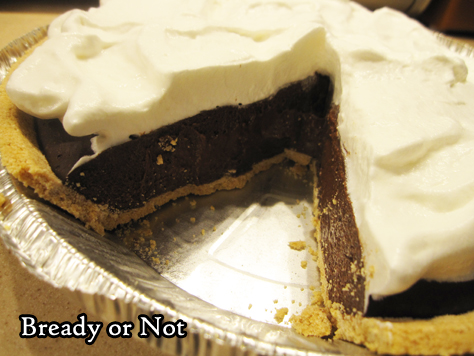
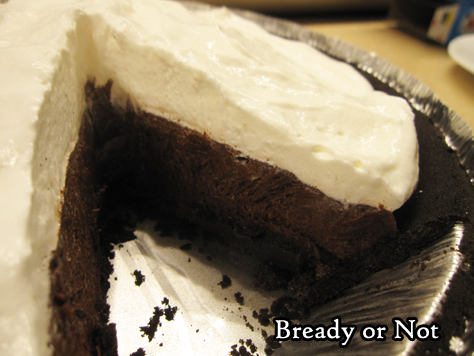
The filling works with either graham cracker or Oreo crusts. You can’t go wrong with either, honestly.
There is something liberating about a good no-bake pie at this time of year. Oven space is at a premium–as is time. This pie comes together in about 15 minutes or so, depending on the speed of your burners.
Bready or Not Original: No Bake Chocolate Peppermint Pudding Pie
Ingredients
- 1 graham cracker crust or Oreo pie crust
- 2 boxes chocolate fudge pudding (NOT instant) or other chocolate pudding; 1.3-ounce
- 3 Tb cocoa powder sifted
- 1 teaspoon white sugar
- 2 1/2 cups milk
- 1 Tb vanilla extract
- 2 teaspoons peppermint extract
- 1 Tb butter
- 4 ounces Cool Whip about half small container
- crushed peppermints optional
Instructions
- Set out the crust so that it's ready.
- In a large saucepan at low heat, whisk together the two packs of chocolate pudding along with the cocoa powder, sugar, milk, and both extracts. Stir until it becomes smooth and thick, about 5 to 10 minutes.
- Turn off the heat and add the pat of butter, whisking until the pudding is silky. Pour everything into the pie crust.
- Allow to cool for a few minutes, then place it in fridge to set overnight (or place in freezer for a few hours, then set in fridge to thaw a few hours more).
- Cover the top with Cool Whip. Adorn individual pieces with peppermint bits, if desired.
- OM NOM NOM!
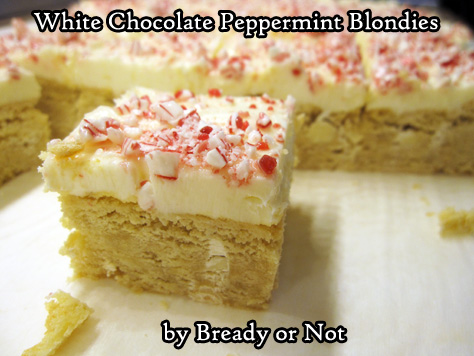
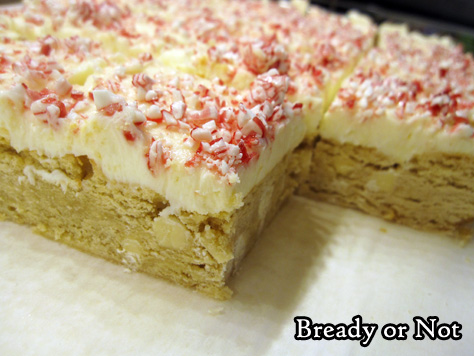
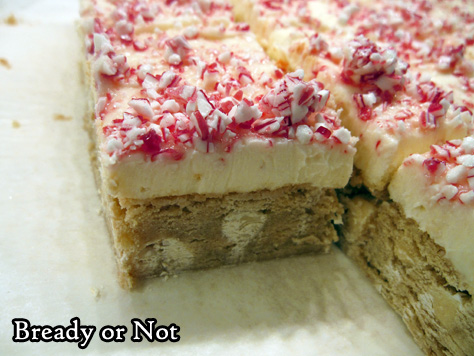
Bready or Not: White Chocolate Peppermint Blondies
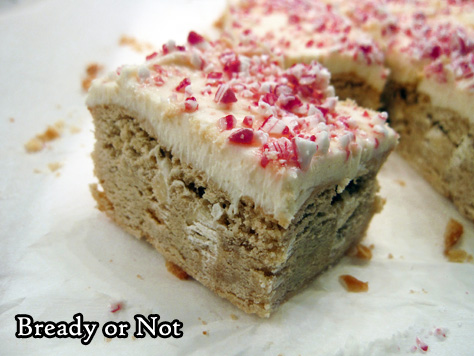
If you want a treat that is decadent, gorgeous, and loaded with peppermint, bake this up.
But once you put the peppermint bits on, eat them within a few hours. That’s right, this recipe has the same issue as the Peppermint Chocolate Chip Cookie Sticks a few weeks ago.
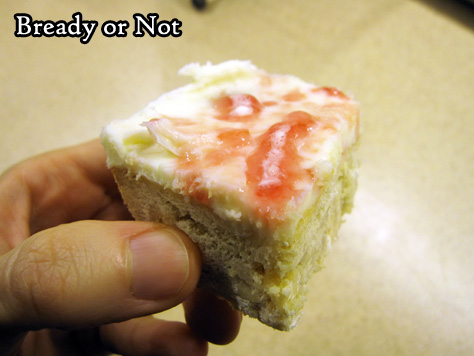
See that picture above? That’s what the peppermint does, melting to look like stained glass. It’s a purely cosmetic issue; the bars still taste fine and the peppermint even retains a slight crunch.
The solution to this is pretty easy, though. Add the peppermint bits right before serving, or just omit them. Or be prepared to eat them with oozy peppermint on top, as they’ll still taste fine!
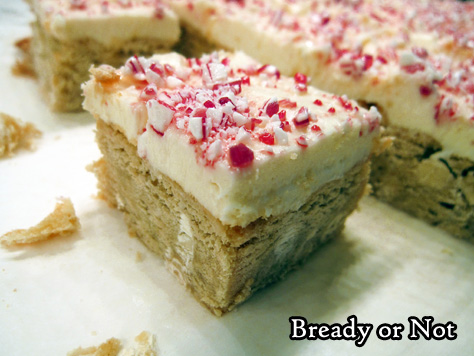
With that disclaimer done, I can say these things taste absolutely delicious. I mean, hello, blondies topped with cream cheese frosting! These are practically a cake.
Modified from County Living, December 2015.
Bready or Not: White Chocolate Peppermint Blondies
Ingredients
blondies
- 3/4 cup unsalted butter 1 1/2 sticks, softened
- 3/4 cup white sugar
- 2/3 cup brown sugar packed
- 3 large eggs room temperature
- 2 teaspoons vanilla extract divided
- 3/4 teaspoon pure peppermint extract
- 2 2/3 cups all-purpose flour
- 3/4 teaspoon baking powder
- 1/4 teaspoon kosher salt
- 1 3/4 cup white chocolate chips 1 bag
frosting
- 16 ounces cream cheese 2 boxes
- 1 cup confectioners' sugar
- 1/2 cup peppermints crushed
Instructions
- Preheat oven to 325-degrees. Apply nonstick spray or butter to an aluminum foil-lined 9x13 baking pan.
- Beat together butter, both sugars, eggs, 1 teaspoon vanilla, and peppermint extract. In a separate bowl, whisk together the flour, baking powder, and salt.
- Stir the dry mix into the butter mix. Add the chocolate chips. Spread the batter evenly in the prepared pan.
- Bake until golden brown and the middle passes the toothpick test, about 30 to 35 minutes. Cool in pan on rack until room temperature, or place in fridge to chill.
- When the blondie base is no longer hot, beat together the cream cheese and confectioners' sugar until they are light and fluffy, about 1 to 2 minutes. Beat in the remaining 1 teaspoon vanilla.
- Spread frosting over blondies. Freeze for 30 minutes or chill in fridge for several hours to set.
- Add crushed peppermints just before serving. NOTE: after a few hours, the peppermints will melt, regardless of the temperature of the bars. It looks weird, but tastes the same, even retaining a slight crunch. Other than that, the bars keep fine in the fridge for at least 5 days.
- OM NOM NOM!
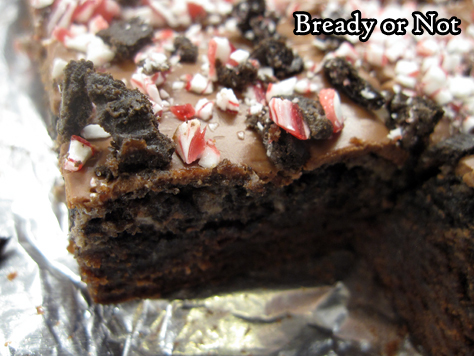
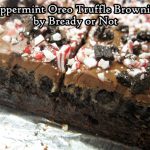
Bready or Not Original: Peppermint Oreo Truffle Brownies
If you’ve ever had Oreo Truffles–those luscious bon-bons of pulverized Oreo encased in chocolate–you’ll love my original take, which is a heck of a lot easier and prettier, too.
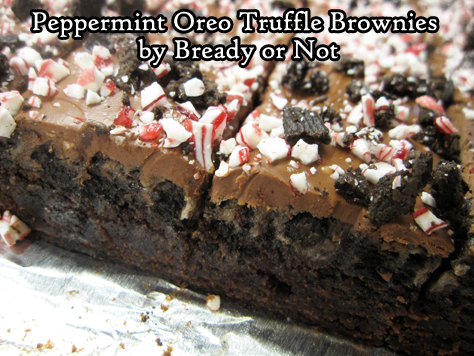
The original Oreo Truffles always irritate me because I can never get a nice, smooth chocolate covering on the balls. You’ll see what I mean next month when I feature a different take on such truffles.
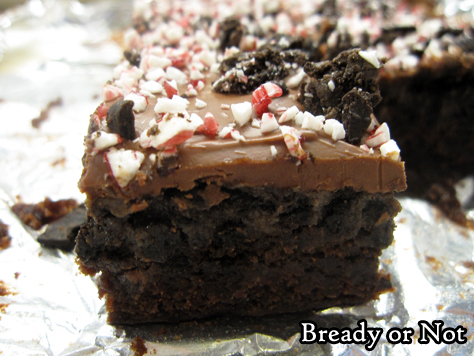
Therefore, I removed the balls from the equation. This recipe has a brownie base, topped with an Oreo-cream cheese mix, then topped with a ganache. Oreo crumbs and peppermint bits give it a showy finish.

No dipping balls in chocolate for an hour. No mess everywhere. This recipe is easy-peasy.
Plus, the cut-up bars will keep for as long as a week if they are sealed in the fridge. That makes them convenient to make-ahead for holiday gatherings… and lets you finish them off at your leisure afterward.
You can use a number of different kinds of Oreos here, too. Mint Oreos are great, but regular Oreos are fine if you add some extra peppermint extract. You can use all-chocolate kinds of Oreos–even the new Thin Oreo version–but I don’t advise using Double Stuf. You do want a lot of cookie crumbs.
Bready or Not Original: Peppermint Oreo Truffle Brownies
Ingredients
brownie base
- 1 cup unsalted butter 2 sticks, softened
- 2 cups white sugar
- 4 eggs room temperature
- 1 tsp vanilla extract
- 1/2 tsp peppermint extract
- 1/2 tsp salt
- 1/2 cup unsweetened cocoa sifted
- 1/2 tsp espresso powder optional but awesome
- 1 1/3 cups all-purpose flour
Oreo layer
- 1 package Cool Mint Oreos* or Peppermint Oreos
- 8 ounces cream cheese 1 block, softened
topping
- 10 - 12 ounces chocolate chips mint, semi-sweet, dark, or milk; add more peppermint extract if desired
- 1/4 cup crushed peppermint bits
Instructions
- Preheat oven at 350-degrees. Line a 9x13 pan with aluminum foil and coat with nonstick spray or butter well.
- In a mixing bowl, cream together the butter and sugar. Add eggs, followed by the two extracts, salt, cocoa, and flour. Don't overbeat.
- Pour batter into the prepared pan. Bake for 22 to 27 minutes. Cool completely.
- While the brownies are cooling, make the Oreo truffle layer. Crush Oreos in a food processor or by putting them in a sealed gallon bag and smashing them with a rolling pin until rendered to crumbs.
- Reserve 1/4 cup of Oreo crumbs for topping. Place the rest of the crumbs in a large bowl, and use a big spoon to mash the Oreos into the softened cream cheese until the color is consistently black.
- Smooth the Oreo-cream cheese mix atop the cooled brownies, using an offset spatula to get right to the edges.
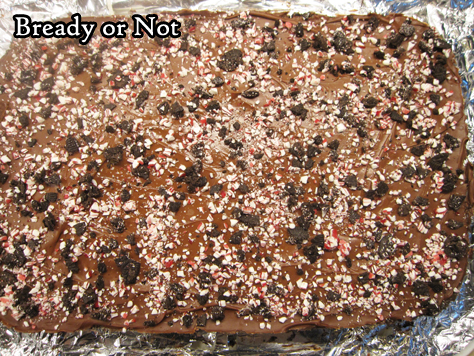
- To finish off the truffles, melt the chocolate either on the stovetop or in the microwave, and pour it over the Oreo layer. Smooth it out evenly. Immediately top with the reserved Oreo crumbs and peppermint bits.
- Refrigerate until set, about 15 to 20 minutes. If it's too soft, and it will smear when cut; too hard, and it will crack. Use the foil to lift the brownies onto a cutting board, then slice into bars.
- Store in a sealed container in the fridge, with waxed paper between the stacked layers. Keeps for at least a week.
- OM NOM NOM!
Read More
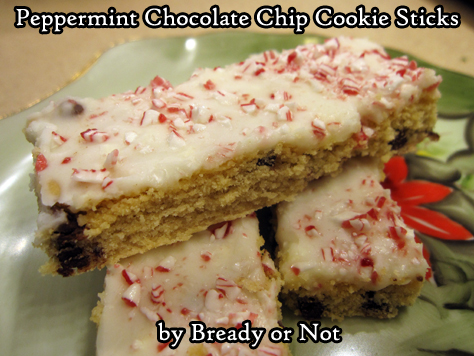
Bready or Not: Peppermint Chocolate Chip Cookie Sticks
Imagine chocolate chip-flecked shortbread sticks adorned with a thin sheen of frosting with dazzling gems of peppermint.
If you love peppermint and chocolate, these cookie sticks will bring you bliss. But do heed a rather important warning.
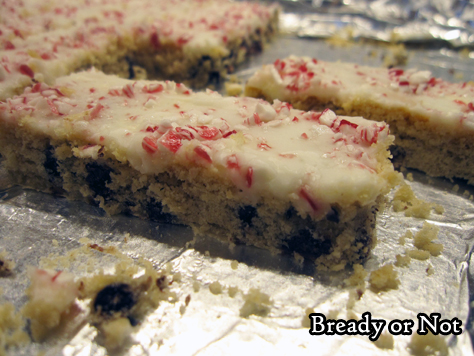
If the peppermint bits sit in the frosting for more than a day or so, they’ll actually melt. Seriously. It’s some kind of chemical reaction. Puddles of red goop everywhere.
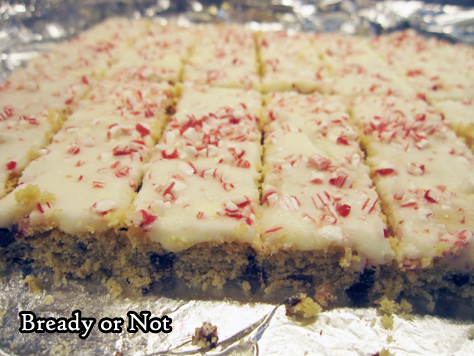
But here’s the thing: the sticks still taste fine if that happens! They just look like they stared at the Arc of the Covenant.
So make a big ol’ jelly roll pan of these, and hold off on adding the peppermints adornments until soon before serving. Or put them on, and use it as a kind of science experiment.
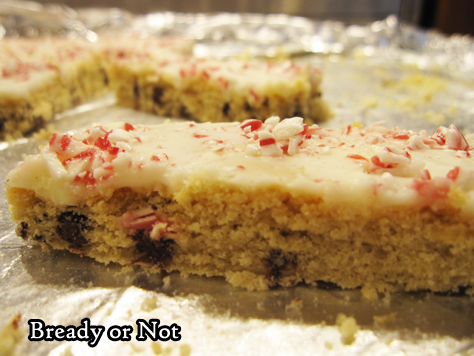
A very delicious experiment. Did I mention these were like shortbread sticks loaded with chocolate chips and slathered with frosting? Oh yeah. These are good.
Modified from Crazy for Crust at Challenge Dairy.
Bready or Not: Peppermint Chocolate Chip Cookie Sticks
Ingredients
Cookie Sticks
- 3/4 cup unsalted butter
- 3/4 cup white sugar
- 1 large egg room temperature
- 1 Tablespoon vanilla extract
- 1/4 teaspoon peppermint extract
- 1/2 teaspoon baking soda
- 1/2 teaspoon cream of tartar
- 1/2 teaspoon salt
- 2 cups all-purpose flour
- 1 cup mini chocolate chips
Frosting:
- 1/4 cup unsalted butter softened
- 2 cups confectioners' sugar sifted
- 1 Tablespoon vanilla extract
- 3 - 4 Tablespoons milk or cream or half & half
- 1/4 teaspoon salt
- 1/3 cup candy canes crushed; or peppermints
Instructions
- Preheat oven to 350-degrees. Line a jelly roll pan (10x15-inches) with foil and apply nonstick cooking spray all over the surface.
- Cream together the butter and sugar until fluffy. Mix in egg and both extracts, followed by the baking soda, cream of tartar, and salt. Add flour until just incorporated, then the chocolate chips.
- Use your hands to press the dough evenly into the prepared pan. Bake for 15-18 minutes, until it's just starting to turn golden brown at the edges. Cool completely before frosting.
- For the frosting, cream butter until smooth. Slowly mix in powdered sugar until it starts to become crumbly, then add the salt and vanilla extract. Stir in 2 tablespoons of milk, then add more until it is spreadable consistency.
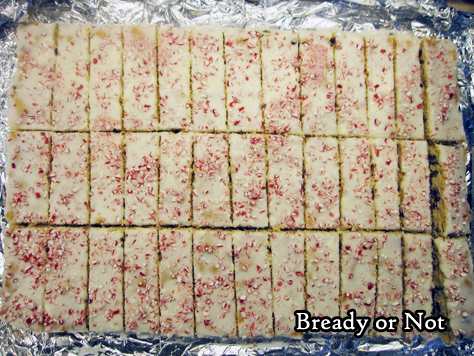
- Use the foil to lift the cookie slab onto a cutting board. Use an uneven spatula to frost the full surface. Let the frosting set for a short while. Slice cookies into sticks.
- DO NOT sprinkle crushed peppermints on until soon before serving--the candies will actually dissolve into the frosting after a day or so, which looks bad though they still taste fine.
- OM NOM NOM!
Bready or Not: Peppermint Chocolate Chip Cookie Sticks
Ingredients
Cookie Sticks
- 3/4 cup unsalted butter
- 3/4 cup white sugar
- 1 large egg room temperature
- 1 Tablespoon vanilla extract
- 1/4 teaspoon peppermint extract
- 1/2 teaspoon baking soda
- 1/2 teaspoon cream of tartar
- 1/2 teaspoon salt
- 2 cups all-purpose flour
- 1 cup mini chocolate chips
Frosting:
- 1/4 cup unsalted butter softened
- 2 cups confectioners' sugar sifted
- 1 Tablespoon vanilla extract
- 3 - 4 Tablespoons milk or cream or half & half
- 1/4 teaspoon salt
- 1/3 cup candy canes crushed; or peppermints
Instructions
- Preheat oven to 350-degrees. Line a jelly roll pan (10x15-inches) with foil and apply nonstick cooking spray all over the surface.
- Cream together the butter and sugar until fluffy. Mix in egg and both extracts, followed by the baking soda, cream of tartar, and salt. Add flour until just incorporated, then the chocolate chips.
- Use your hands to press the dough evenly into the prepared pan. Bake for 15-18 minutes, until it's just starting to turn golden brown at the edges. Cool completely before frosting.
- For the frosting, cream butter until smooth. Slowly mix in powdered sugar until it starts to become crumbly, then add the salt and vanilla extract. Stir in 2 tablespoons of milk, then add more until it is spreadable consistency.
- Use the foil to lift the cookie slab onto a cutting board. Use an uneven spatula to frost the full surface. Let the frosting set for a short while. Slice cookies into sticks.
- DO NOT sprinkle crushed peppermints on until soon before serving--the candies will actually dissolve into the frosting after a day or so, which looks bad though they still taste fine.
- OM NOM NOM!
