


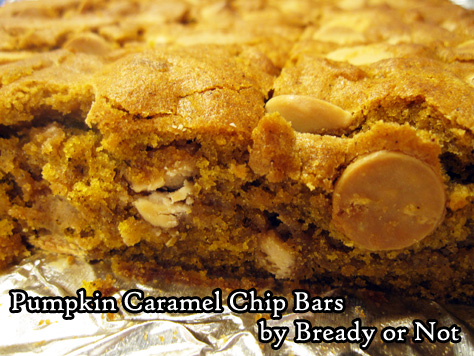
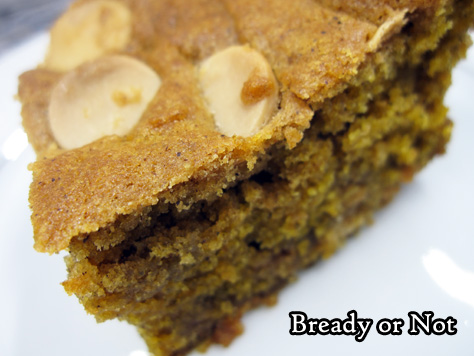
Bready or Not: Pumpkin Caramel Chip Bars
Caramel chips are a new and awesome thing in stores, and I couldn’t help but try pairing them with pumpkin in these bars. The result? YUM.
This is modified from a recipe I shared about a year ago for Pumpkin Chocolate Chip Bars.
I didn’t simply switch out the kinds of chips. I also decreased the spices. I wanted enough to add some flavor, but I didn’t want them to be spice cake-like as in the old version.
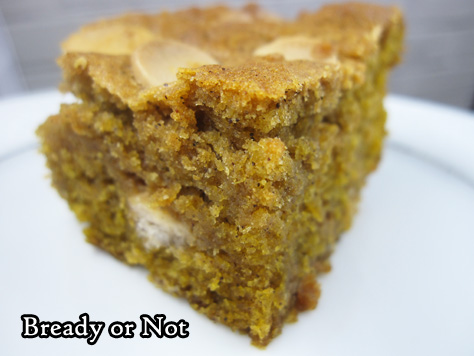
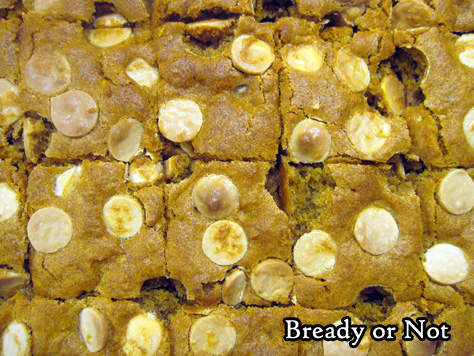
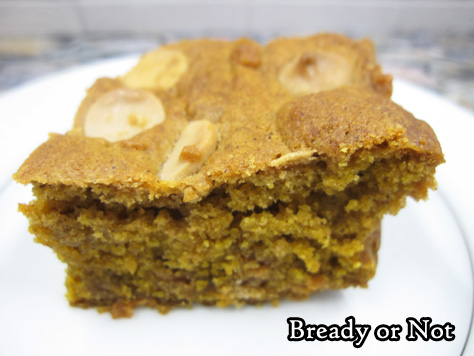
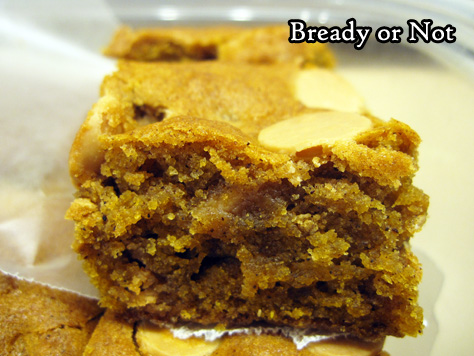
The use of bread flour creates bars that are especially thick and cakey. Unlike a standard frosted cake, these travel very well. The bars are nice and cohesive.
I like to place waxed paper between layers to prevent sticking and melting chips (because in Arizona, well, it’s still hot at this time of year).
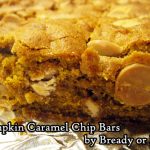
Bready or Not: Pumpkin Caramel Chip Bars
Ingredients
- 1 cup all-purpose flour
- 1 cup bread flour
- 2 teaspoons cinnamon
- 1/2 teaspoon ginger
- 1/4 teaspoon allspice
- 1/4 teaspoon cloves
- 1 teaspoon baking soda
- 1 teaspoon salt
- 2 cups caramel chips divided
- 1 cup unsalted butter 2 sticks, softened
- 1/2 cup brown sugar packed
- 3/4 cup white sugar
- 1 large egg room temperature
- 2 teaspoons vanilla extract
- 1 cup pumpkin puree
Instructions
- Preheat oven to 350-degrees. Line a 13x9 pan with aluminum foil and apply nonstick spray or butter.
- In a medium bowl, combine the flours, cinnamon, ginger, allspice, cloves, baking soda, and salt. Stir in most of the caramel chips; coating them with flour will keep them from sinking as they bake. Set bowl aside.
- In a big mixing bowl, combine the butter and two sugars until light and fluffy, scraping down the sides of the bowl as needed. Add the egg, vanilla extract, and pumpkin puree. Once that's mixed, slowly blend in the dry ingredients until just combined.
- Pour the batter into the ready pan and smooth out. Sprinkle the remaining caramel chips over the top.
- Bake for 30 to 35 minutes, until it passes the toothpick test in the middle. Cool completely. Lift up by the foil and place on a cutting board to cut bars. Store in a sealed container at room temperature or chilled. Since pumpkin can be a little sticky, use parchment or wax paper between stacked layers of bars.
- OM NOM NOM!
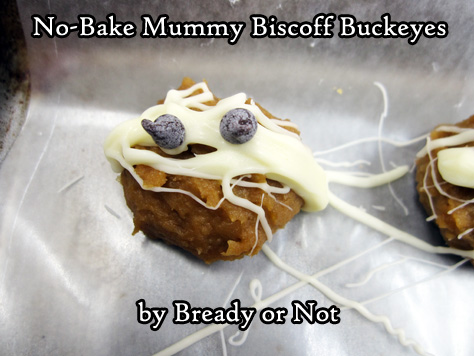
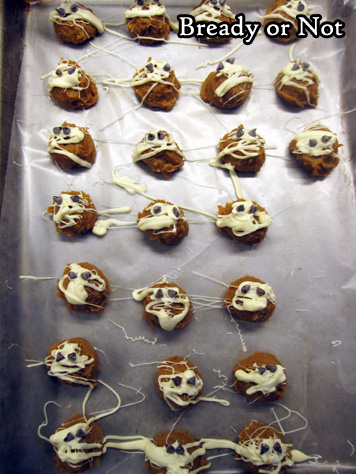
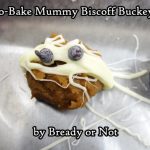
Bready or Not: No-Bake Mummy Biscoff Buckeyes
Here’s a great recipe to make with kids! These No-Bake Mummy Biscoff Buckeyes are quick, cute, and secretly healthy.
Buckeye treats typically include peanut butter and brown chocolate. I switched in Biscoff (aka cookie butter, available by the peanut butter in most American grocery stores these days) but you can use peanut butter instead.
What makes these secretly healthy, you ask, since I made them unhealthier with cookie butter? Well, the base ingredient of this recipe is… CHICKPEAS. Also known as garbanzo beans.
You cannot tell there are beans in this. All you taste is Biscoff and chocolate. They keep in the fridge for up to a week, too; they get a little sweaty, that’s it.
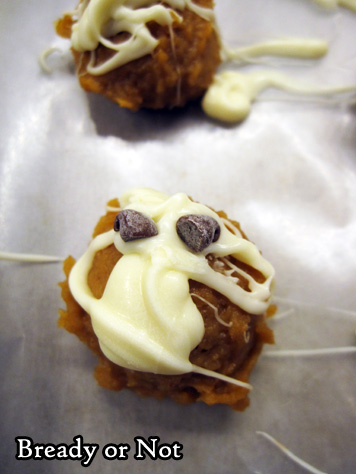
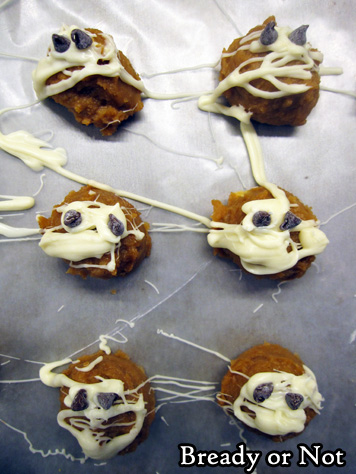
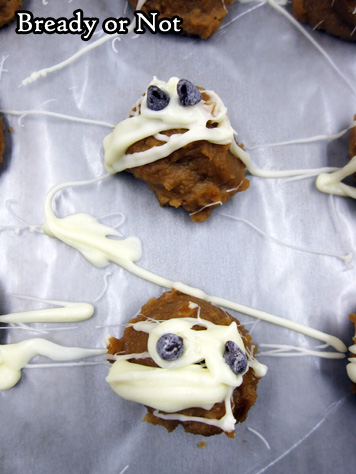
The white chocolate drizzle is pretty fun. There’s no art to it. Just drizzle every which way, then very quickly add the mini chocolate chip eyes. (Hopefully your mini chips won’t have bloomed like mine did! That means the chocolate has a white cast to it. Perfectly fine to eat, it just doesn’t look as pretty. FYI Mummies don’t care about being pretty.)
Modified from Cooking Light October 2017.
Bready or Not: No-Bake Mummy Biscoff Buckeyes
Ingredients
- 15 1/2 ounce chickpeas rinsed and drained
- 1/2 cup cookie butter Biscoff, Speculoos, store brand, etc
- 2 Tablespoons honey
- 1/2 teaspoon vanilla extract
- 1/4 teaspoon kosher salt
- 1/3 cup white chocolate chips
- 2 teaspoons mini chocolate chips
Instructions
- Pulse chickpeas in a food processor until smooth. Add cookie butter, honey, vanilla, and salt, and pulse more. Use a teaspoon scoop to measure out the dough; place on a wax paper-lined baking sheet that will fit in the fridge. Use hands to smooth out each ball. Chill until firm, at least 30 minutes.
- Carefully melt white chocolate in the microwave at 20% power in 15 second bursts, stirring well between each pass, until it's smooth. Dip fork prongs in the chocolate and drizzle back and forth over the buckeyes to create a mummy bandage effect. Immediately place two mini chocolate chips for eyes on each mummy head. If need be, melt white chocolate again to use some dots of it as glue for the eyes.
- Store in the fridge for up to a week, but expect them to sweat and get moister.
- OM NOM NOM!
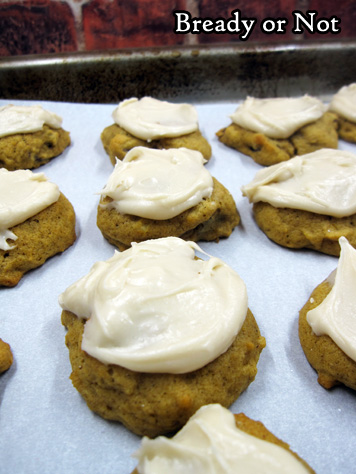
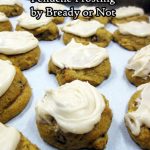
Bready or Not: Pumpkin Cookies with Penuche Frosting
October is here, and that means pumpkin recipes! Let’s kick things off right with Pumpkin Cookies with Penuche Frosting!
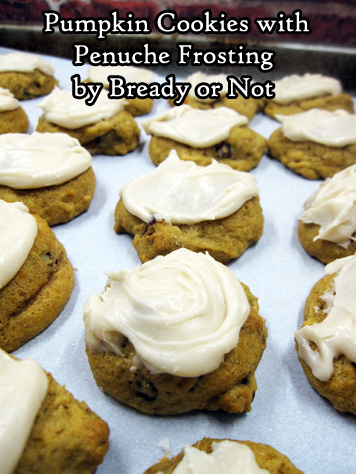
What is penuche, you ask? It’s a fudge-like candy made from brown sugar, butter, and milk. It has a very caramel-like vibe going on.
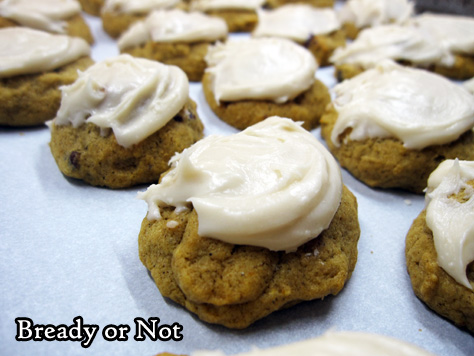
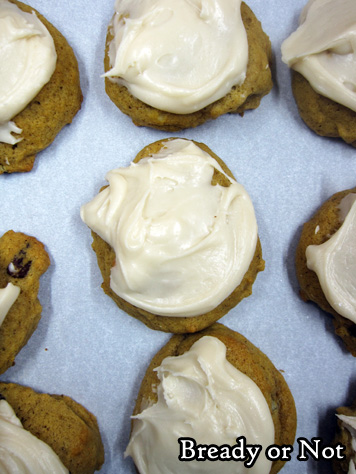
That makes it the perfect complement for these incredible cookies. The pumpkin-filled base is soft and cakey, with fragrant fall spices.

These are really, really good. Pumpkin, spices, penuche. Oh yeah.
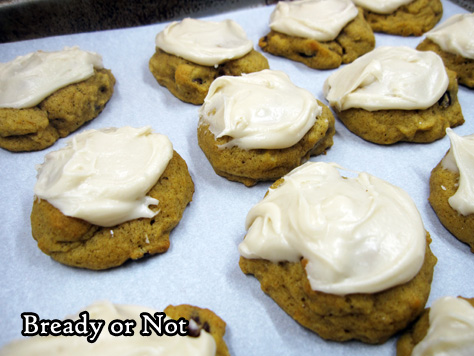
The recipe makes about 60 cookies if you use a teaspoon scoop, and they hold up best if eaten in one day. They get softer after that, but are still good.
Recipe modified from Taste of Home magazine.
Bready or Not: Pumpkin Cookies with Penuche Frosting
Ingredients
Cookies
- 1 cup unsalted butter 2 sticks, softened
- 1/2 cup white sugar
- 1/2 cup light brown sugar packed
- 1 large egg
- 1 cup pumpkin puree
- 2 teaspoons vanilla extract
- 2 cups all-purpose flour
- 1 teaspoon baking powder
- 1 teaspoon baking soda
- 1 teaspoon ground cinnamon
- 1/2 teaspoon salt
- 3/4 cup pecans chopped
Frosting
- 1/4 cup brown sugar packed
- 3 Tablespoons butter
- 1/4 cup milk or half & half
- 2 1/2 - 3 cups confectioners' sugar
Instructions
- Preheat oven at 350-degrees. In a large bowl, cream butter and sugars together until they are light and fluffy. Beat in the egg, pumpkin, and vanilla.
- In a separate bowl, sift together the flour, baking powder, baking soda, cinnamon and salt. Gradually mix the dry ingredients into the wet. Fold in the pecans.
- Spread parchment paper on two large baking sheets. Drop dough by rounded teaspoon scoops spaced out to allow for a small amount of spreading. Bake for 9 to 11 minutes. Move cookies to wire racks to cool, which won't take long.
- Meanwhile, in a small saucepan, bring the brown sugar and butter to a boil. Keep on medium heat for 1 minute, continuing to stir, then remove from heat. Cool for 10 minutes. Transfer to a larger bowl and beat in the milk. Slowly add in enough confectioners' sugar to reach a spreadable consistency. Immediately frost cookies. Let set for an hour or so before packing up.
- Makes about 60 cookies. Best eaten within 1 day; they will still taste okay after that, but will soften more. Store cookies between wax paper layers in sealed containers.
- OM NOM NOM!
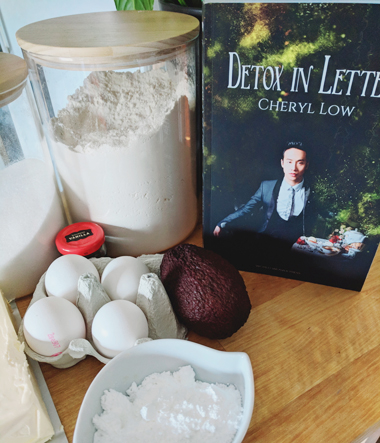
Bready or Not Guest: DETOX IN LETTERS Sugar Cookies with Avocado Frosting by Cheryl Low
I’m happy to welcome Cheryl Low with a Bready or Not guest post today! The second book in her Crowns & Ash series, Detox in Letters, is out TODAY. Her unique take on cookies here includes a frosting that mixes powdered sugar and avocado. That sounds like my kind of alchemy! Read on to find out more about her cookies and her series from World Weaver Press.

SUGAR COOKIES WITH AVOCADO FROSTING & PIXIE DUST
&
DETOX IN LETTERS
Sweet, unexpected, and addictive. One is never enough.
The Crowns & Ash series takes place in a fantasy world where magic is a drug steeping in every cup of tea and baked into the cakes eaten at every meal. The characters are indulgent, born in a city with few rules and too much time filled with parties and duels. But they quickly realize that their comfort is orchestrated by the Queen, their magic stolen and fed back to them in drugs to keep them sedate.
The fine veneer of their posh city is cracking and soon not even Vaun, Prince of the Realm, can turn a blind eye to the mounting dangers in their midst. Flesh-eating pixies, poisoned dust, soul-snatching wolves and so much more.
The first book in the series, Vanity in Dust, introduces the Realm, the prince, and a deadly ploy to undermine the Queen’s monopoly on the city’s dust.
And the second, Detox in Letters, is available now! The Realm finds out exactly where their magic comes from, Prince Vaun tries to survive his mother’s terrible demands, a rebel group threatens the High, and Princess Fay eyes the Queen’s throne.
All while eating cake and sipping tea, because some things just never change.

Detox in Letters – About the book:
Welcome to the Realm, where magic is your drug, your poison, and your only hope.
An illness is spreading through the city, marking the sick in mysterious letters scrawled across their skin. What is first thought to be madness reveals itself to be an awakening as residents rediscover themselves, their pasts, and their long-forgotten magic… things the Queen wants to remain buried. Things she will sacrifice her own children to suppress.
Mercy has never been a staple of the Realm. Treachery, blood, and magic steeps the city as the rebel leader, Red, seeks to topple the Tower, Princess Fay eyes her mother’s throne, and Prince Vaun must decide whether to submit to his mother’s terrible demand.
Where to buy Detox in Letters:
Amazon
Amazon UK
Goodreads
World Weaver Press
Barnes & Noble
Kobo
iBooks

Bready or Not Guest Recipe: DETOX IN LETTERS Sugar Cookies with Avocado Frosting by Cheryl Low
Ingredients
Cookie Ingredients:
- 3/4 cup butter
- 1 cup white sugar
- 2 eggs
- 1/2 teaspoon vanilla extract
- 2 1/2 cups all-purpose flour
- 1 teaspoon baking powder
- 1/2 teaspoon salt
Frosting Ingredients:
- 1 avocado
- 2 cups confectioners' sugar
- Cake dust
Instructions
- Cream together butter and sugar. Add eggs and vanilla.
- In a separate bowl mix flour, baking powder and salt.
- Add flour mixture to butter mixture and then chill at least 1 hour in the refrigerator.
- Preheat oven to 350 degrees.
- Roll out dough onto a floured surface and cut into cookie shapes.
- Bake 8-10 minutes. I take them out before the edges brown so they’ll be super soft. Let cool.
- Mash avocado and mix with powdered sugar into a frosting.
- Frost cookies. Let the frosting harden and then dust with glittery cake dust so you can pretend their coated in magic pixie dust.
About the Author:
Cheryl Low might be a dragon with a habit of destroying heroes, lounging in piles of shiny treasure, and abducting royals—a job she fell into after a short, failed attempt at being a mermaid. She can’t swim and eventually the other mermaids figured it out. She can, though, breathe fire and crush bones, so being a dragon suited her just fine.
…Or she might be a woman with a very active imagination, no desire to be outdoors, and more notebooks than she’ll ever know what to do with.
Find out by following her on social media @cherylwlow or check her webpage, CherylLow.com. The answer might surprise you! But it probably won’t.
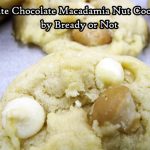
Bready or Not: White Chocolate Macadamia Nut Cookies
Welcome to MACADAMIA NUT MONTH! Why is this Macadamia Nut Month? Because next month on the 23rd, the final book in my Blood of Earth trilogy comes out! Hawaii–with its groves of delicious macadamia nuts–is a major setting in Roar of Sky.

If you love macadamia nuts, get ready to bliss out. This month you’ll get recipes for:
White Chocolate Macadamia Nut Pie
White Chocolate Macadamia Nut Cookies (today)
Lemony Macadamia Nut Bars
Mini Fruit Cake Loaves to make now for the holidays (macadamia nuts optional)
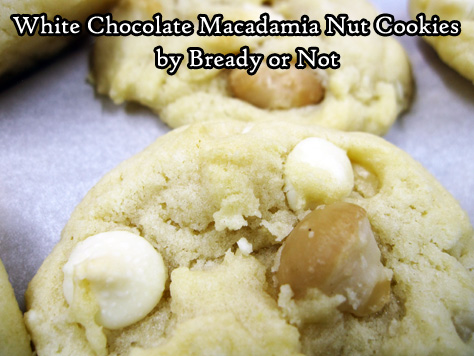
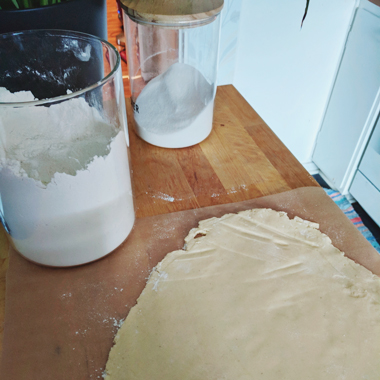
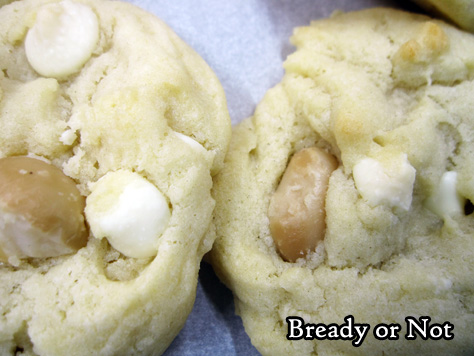
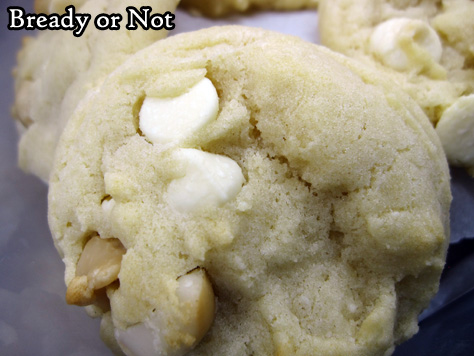
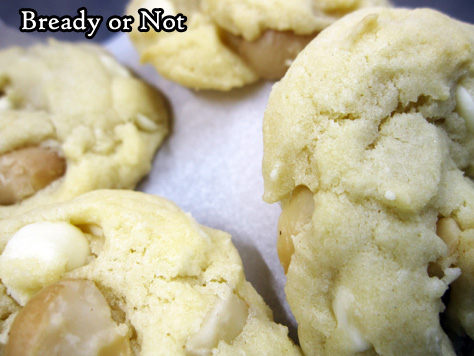
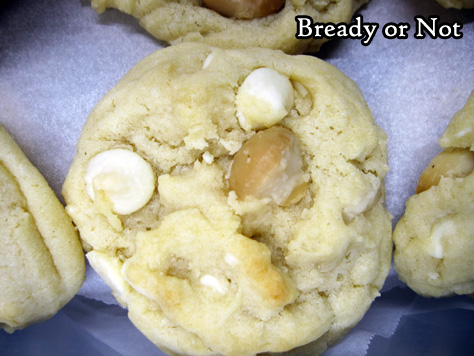
White Chocolate Macadamia Nut Cookies. One of the best cookies in existence. There are a lot of recipes out there and I’ve tried many, but I say with no doubt that this is the best.
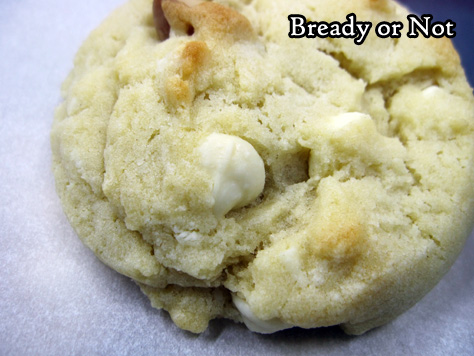
The melted white chocolate in the dough makes all the difference by adding slight sweetness and a smooth texture.
Be cautious when you melt the chips, though. It can burn quickly in the microwave. Zap it on low power for short stints of time, and stay close.
Did you know that macadamia nuts should always be stored in the fridge? They have a high fat content, and can go rancid at room temperature! Trust me, you’ll know by the smell when you open the bag. Voice of experience.
So don’t let good nuts go bad. Keep them chilled, and use them up in yummy recipes like this one! If you love this kind of cookie, this recipe will be a keeper for you.
Come back next week for a lemony bar recipe with macadamia nuts, and please preorder Roar of Sky!
Original recipe from Betty Crocker Magazine #172 April 2001, page 8.
Bready or Not: White Chocolate Macadamia Nut Cookies
Ingredients
- 10 oz white chocolate chips divided
- 2/3 cup white sugar
- 11 Tablespoons unsalted butter room temperature
- 1 teaspoon vanilla extract
- 2 eggs room temperature
- 2 1/2 cups all-purpose flour
- 1 teaspoon baking soda
- 1 teaspoon cream of tartar
- 1 cup macadamia nuts coarsely chopped
Instructions
- Preheat oven to 325-degrees. Place 1 cup of white chocolate chips in a microwave safe bowl. Microwave on 50% power in short increments, 20-25 seconds, and stop to stir between passes until the chips blend smoothly. Set aside to cool.
- In a large mixing bowl, beat together the sugar, butter, vanilla, and eggs until they're creamy. Mix in the melted chips. Stir in flour, baking soda, and cream of tartar. Add the remaining chips and nuts.
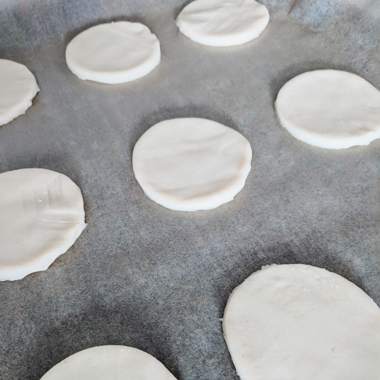
- Use a tablespoon cookie scoop or spoon to place dough in rounded lumps on cookie sheet. Bake 10 to 12 minutes, until the tops just begin to turn light golden brown. Cool on the sheet for several minutes, then move to a rack to cool.
- OM NOM NOM!
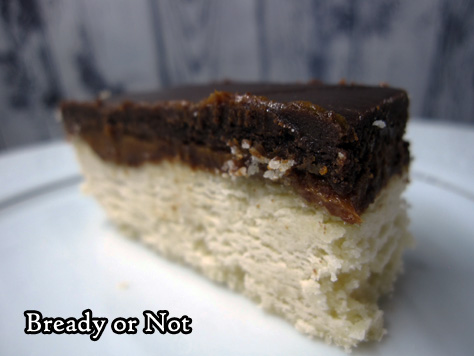
Bready or Not: Homemade Twix Bars
If you’re craving candy bars–a lot of candy bars–this recipe will result in a casserole dish of Twix-like yumminess.
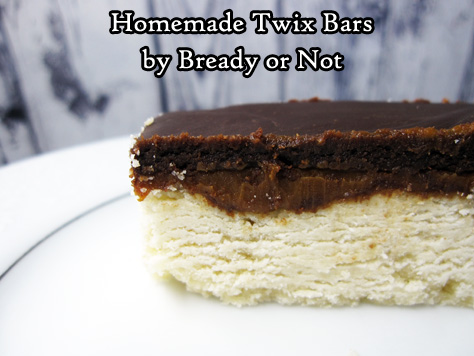
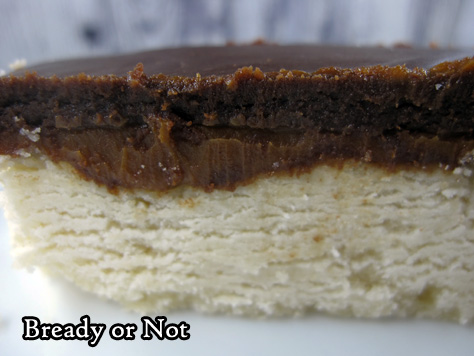
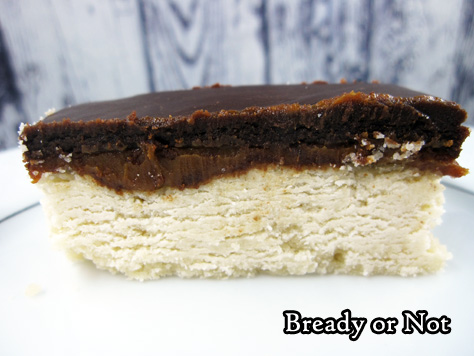
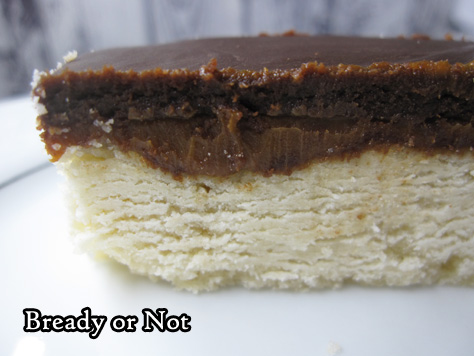
These are a bit softer than Twix, but the similarities are there. The crust is like cakey shortbread topped with caramel-sweet dulce de leche. Chocolate finishes off the top.

As the pictures show, there are some crumbs. Very delicious crumbs. I found the chocolate layer on top stayed soft, even after chilling.
This is the perfect recipe for feeding a large crowd. If you cut them into long rectangles, like Twix, you’ll have a lot!
But if you have leftovers, no worries–these keep well for days in the fridge, and you can also freeze them between waxed paper layers. Just thaw them in the fridge when your craving strikes again.
Modified from Twixy Shortbread Bars in Better Homes & Gardens.
Bready or Not: Homemade Twix Bars
Ingredients
Cookie base:
- 1 1/2 cups unsalted butter 3 sticks, softened
- 1/2 cup white sugar
- 1 1/2 teaspoons vanilla extract
- 3 cups all-purpose flour
Middle:
- 13.4 oz dulce de leche can
Chocolate top:
- 3/4 cup whipping cream
- 6 Tablespoons unsalted butter
- 3 Tablespoons light corn syrup
- 12 ounces semisweet chocolate chips 1 bag
- 3/4 teaspoon vanilla extract
Instructions
- Line a 13x9-inch pan with aluminum foil and apply nonstick spray.
- In a large bowl beat the 1 1/2 cups butter until soft and creamy. Add the sugar and vanilla. Beat in the flour. Press the dough into the prepared pan and set in fridge to chill for at least 30 minutes.
- Preheat oven at 350-degrees. Bake the pan with dough for 20 to 25 minutes, until set and turning light brown. Cool on rack.
- Spread contents of dulce de leche can evenly over the crust.
- In a saucepan on medium heat, warm up the whipping cream, 6 tablespoons of butter, and corn syrup until they are just boiling. Remove from heat. Add the chocolate and vanilla but don't stir! Let it sit for 5 minutes. Stir until nice and smooth. Cool another 10 minutes, then pour chocolate over the dulce de leche. Spread it evenly over the top. Cover and chill for an hour or two.
- Use the foil to lift contents of pan onto a large cutting board. Slice into bars.
- These homemade candy bars keep best in the fridge, and can also be frozen (and later thawed in fridge). If at room temperature for a prolonged period, the bottom crust may get soggy.
- OM NOM NOM!
