


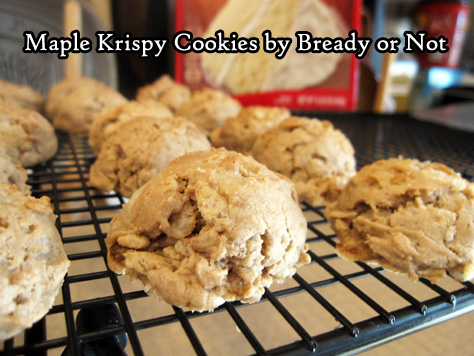
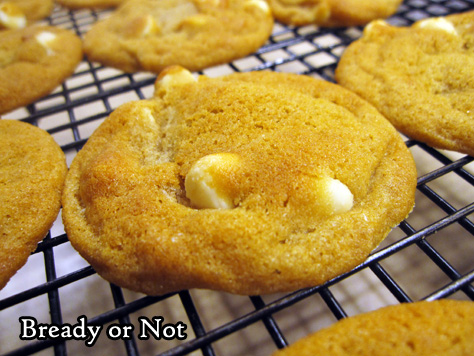
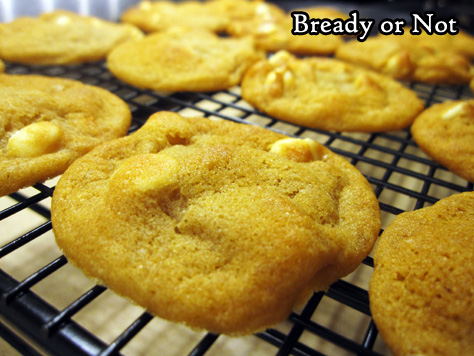
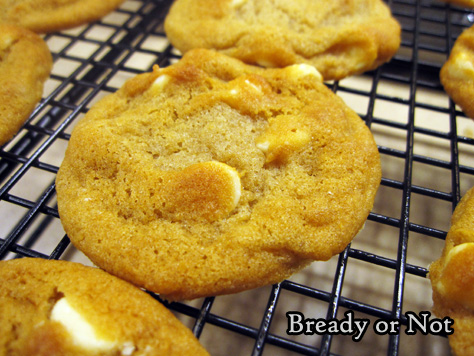
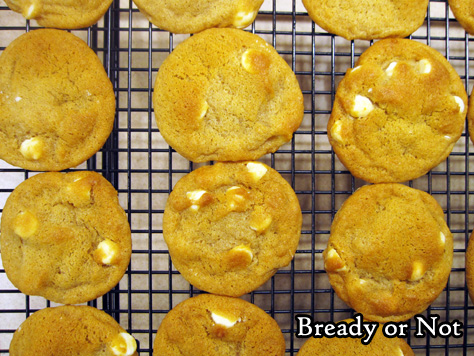
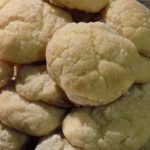
Bready or Not: Maple Krispy Cookies [uses cake mix]
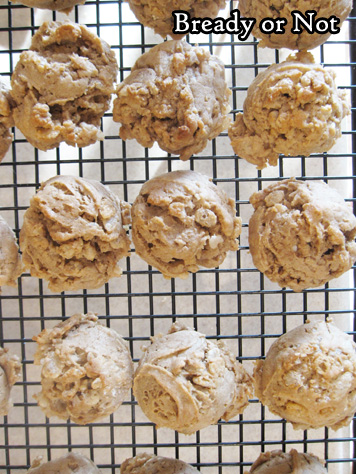
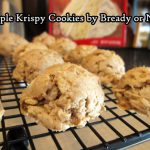
If you need a cookie recipe that comes together in five minutes, this recipe for Maple Krispy Cookies is perfect!
I love to highlight cake mix recipes every so often for a couple reasons. First of all, doctored cake mix can produce really tasty desserts. Second, it’s an ingredient that is cheap and accessible to people on a tight budget.
Third, it can be used as a fantastic shortcut in recipes like this, where everything comes together in a matter of minutes.
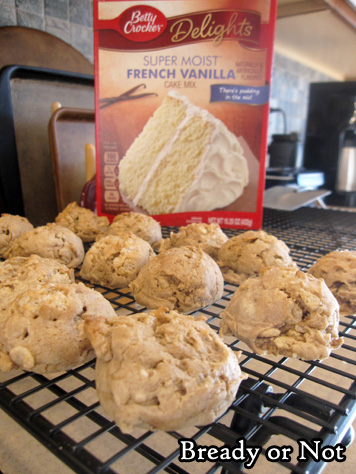
I used a French Vanilla Betty Crocker box for these, but any kind of white or vanilla mix should do. You want a good base to infuse with maple flavor.

My husband described these cookies as “maple krispies in cookie form.” (I do have a maple krispies recipe. It’s also included in my Sweet Maple cookbook.)
These cookies end up with a lovely, fresh maple flavor which does a good job of masking the undeniably chemical taste of cake mix. Plus, the cereal pieces give each cookie a lovely, light crunchiness.
Bready or Not: Maple Krispy Cookies [uses cake mix]
Ingredients
- 18 white cake mix or vanilla
- 1/2 cup unsalted butter melted
- 1 large egg
- 2 teaspoons maple flavor
- 1 teaspoon vanilla extract
- 1 1/4 cup puffed rice cereal like Rice Krispies
Instructions
- Preheat oven at 350-degrees.
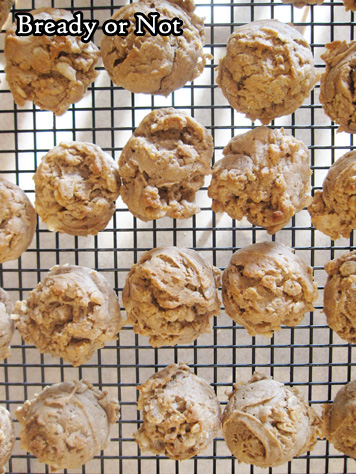
- In a large bowl, stir together the cake mix, butter, egg, maple flavor, and vanilla extract. When those are just combined, carefully stir in the cereal, trying not to crush it.
- Use a teaspoon scoop or spoon to dole out dough onto a cookie sheet. Bake for 10 to 12 minutes; also to set on sheet for about 10 minutes, then move cookies to a rack to finish cooling. Store in a sealed container.
- OM NOM NOM!
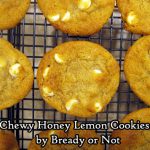
Bready or Not Original: Chewy Honey Lemon Cookies
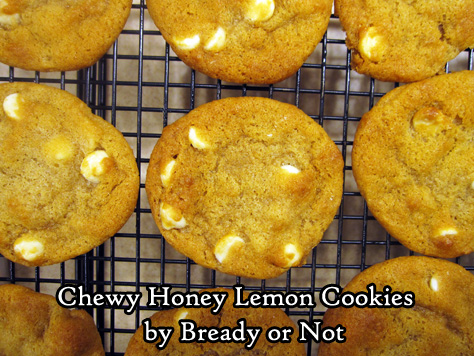
I modified an old favorite recipe with delicious results: Chewy Honey Lemon Cookies!
This recipe is derived from my Chewy Honey Maple and Chewy Honey Snickerdoodles. It uses a combination of two flours to add extra chewiness, and cornstarch for tenderness and longevity.
However, my first attempt at this recipe was a total bust. I tried to rely on lemon juice and zest for flavor… and while the flavor was there, the cookies turned out FLAT.
That would not do. I wanted cookies that were chewy with just the right thickness. Therefore, I removed the lemon, amped up the lemon extract, and added white chocolate chips.
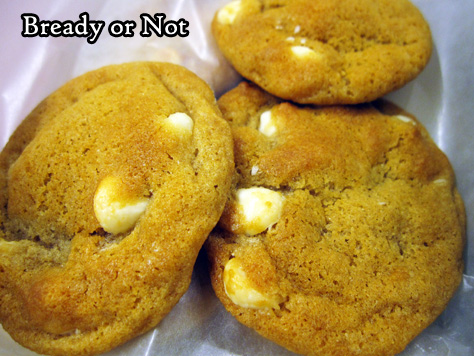
That was the right choice. The lemon flavor was just right (and the taste of that and the honey actually grows stronger after a day), and the white chocolate chips added smoothness and mellow sweetness.
In other words, if you love lemon cookies, you will LOVE these. And like the other recipes in the same family, these cookies keep well for weeks!
Bready or Not Original: Chewy Honey Lemon Cookies
Ingredients
- 3/4 cup unsalted butter 1 1/2 sticks, softened
- 1 cup light brown sugar packed
- 1/4 cup honey
- 1 large egg room temperature
- 1 teaspoon vanilla extract
- 2 teaspoons lemon extract
- 1 cup bread flour or all-purpose flour, but cookies will be less chewy
- 1 cup all-purpose flour
- 2 teaspoons cornstarch
- 1 teaspoon baking soda
- 1/2 teaspoon salt
- 1 cup white chocolate chips
Instructions
- In a large bowl, beat the butter until smooth. Add sugar and honey and beat until creamy and fluffy, about 3 minutes. Scrape down the sides of the bowl and then mix in the egg and both extracts.
- In a separate bowl, combine the dry ingredients: bread flour, all-purpose flour, cornstarch, baking soda, and salt.
- Slowly stir together the wet and dry ingredients until just combined. Mix in the white chocolate chips. Encase the dough in plastic wrap and stash in the fridge for several hours or days.
- When ready to bake, preheat the oven to 350-degrees. Use greased stoneware, parchment paper, or silpat mats. The cookie dough, even straight from the fridge, has a soft Play-Doh-like consistency, so it will spread when it bakes.
- Teaspoon-sized cookies need to bake 9 to 12 minutes; tablespoon-sized take 11 to 13 minutes. Let set on cookie sheets for 10 to 15 minutes before moving to a rack to cool completely.
- Cookies will keep in a sealed container for weeks. The lemon and honey flavors will grow stronger after the first day. They are excellent for travel or shipping.
- OM NOM NOM!
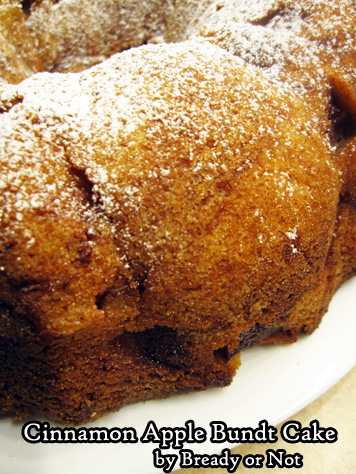
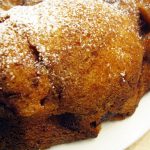
Bready or Not: Cinnamon Apple Bundt Cake
Apple cake and apple pie are the favorites of the men in my family, and this Cinnamon Apple Bundt Cake met their full approval!
I try out different apple recipes on a regular basis; my apple tag on the site attests to that.
This recipe resembles another old favorite of mine, my basic apple cake that is made in a square baking pan.

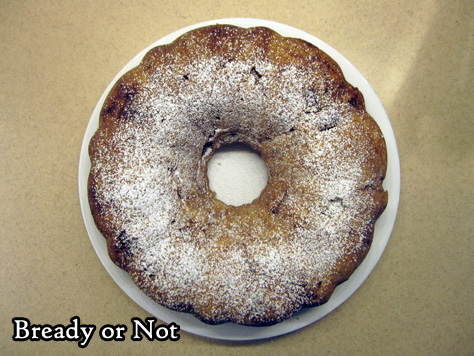
The new recipe, however, makes more cake with an overall showier presentation. I love that sprinkle of confectioners’ sugar on top!

The most difficult thing about making this cake is peeling and chopping up the apples. After that, everything comes together quite quickly.
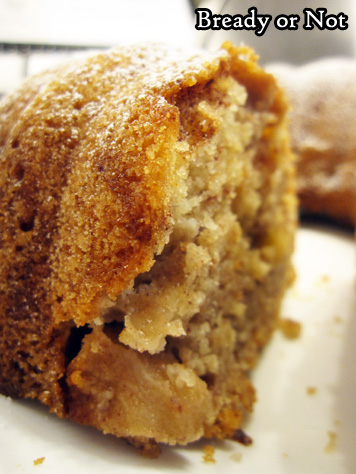
The end result is a tender, moist cake flecked with apple chunks. It’s the perfect breakfast, snack, or dessert, and is tasty hot or cold.
Modified from Taste of Home Sunday Best 2015.
Bready or Not: Cinnamon Apple Bundt Cake
Ingredients
- 3 medium apples peeled and chopped
- 2 teaspoons cinnamon
- 2 cups white sugar
- 1 cup canola oil
- 3 large eggs room temperature
- 2 teaspoons vanilla extract
- 3 cups all-purpose flour
- 1 teaspoon salt
- 1 teaspoon baking powder
- confectioners' sugar to sift over top optional
Instructions
- Preheat oven to 350-degrees. Grease and flour a bundt cake pan.
- In a large bowl, stir cinnamon to coat the chopped apples. Set aside.
- In another big bowl, beat together sugar, oil, eggs, and vanilla. Combine the flour, salt and baking powder in another bowl, then slowly add it into the liquid mixture. Stir in the apples.
- Pour the batter into the ready pan. Bake for 60 to 70 minutes, until it passes the toothpick test. Let cool in pan for 15 minutes, then carefully invert the cake out of the pan and onto a wire rack to completely cool.
- Keep stored in fridge. If desired, before serving, sift confectioners' sugar over the top. Slices may be eaten cold or warmed up in the microwave. Cake can also be frozen in slices for later enjoyment.
- OM NOM NOM!
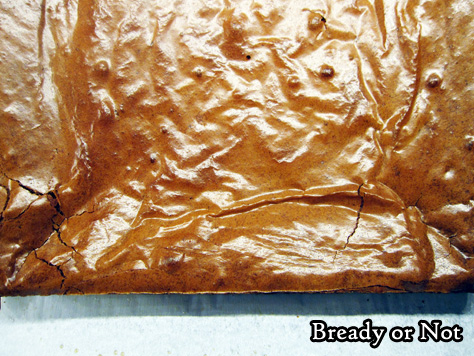
Bready or Not: Chewy Brownies
These are some seriously amazing brownies.

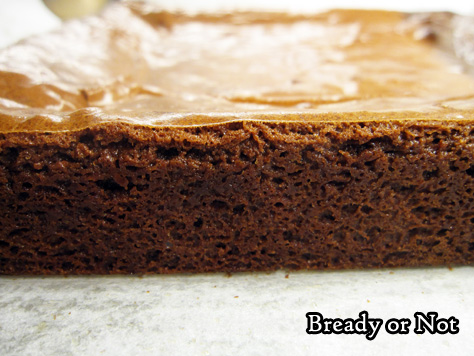
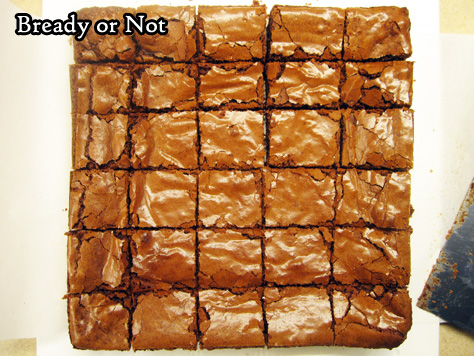
Chewy, fudgy, chocolaty, the type that makes you moan the second that flavor hits your tongue. Yeah.
I had to do a brownie recipe for Valentine’s Day. This recipe comes together super-fast, so maybe you have time to whip it up today instead of buying some overpriced not-so-good version at the store.
Because these brownies?
LOOK AT THEM.
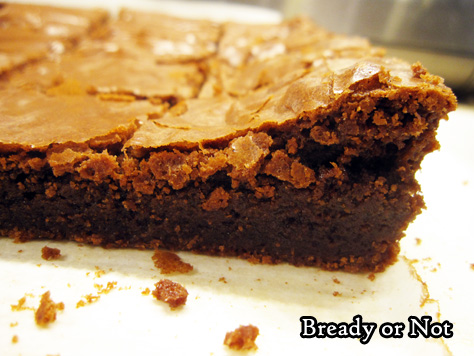
LOOOOK.
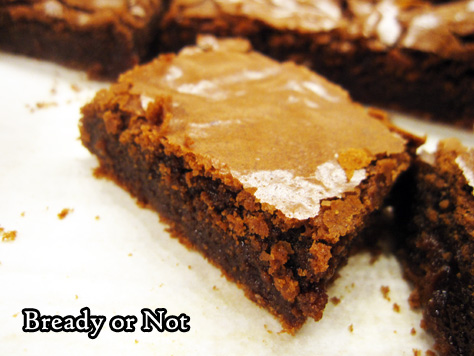
I don’t think I need to say anything else.
Modified from Chewy Brownies in Martha Stewart Living, November 2016.
Bready or Not: Chewy Brownies
Ingredients
- 3/4 cup plus 2 Tablespoons all-purpose flour
- 1/4 teaspoon baking powder
- 1/2 teaspoon kosher salt
- 3/4 teaspoon espresso powder optional
- 7 Tablespoons unsalted butter room temperature
- 7 ounces unsweetened chocolate chips or semisweet
- 3 Tablespoons coconut oil
- 1 cup white sugar
- 1 cup brown sugar packed
- 3 large eggs room temperature
Instructions
- Preheat oven at 350-degrees. Line an 8x8 or 9x9 baking pan with parchment paper and apply nonstick spray.
- In a medium bowl, combine the flour, baking powder, salt, and espresso powder (if using). Set aside.
- Place the butter, chocolate, and oil in a large microwave-safe bowl. Heat in short bursts, stirring well between each, until the chocolate is melted. Add both sugars and stir together. Whisk in the eggs until the batter is glossy and smooth.
- Pour in the dry ingredients and mix until just combined. Pour batter into the prepared pan and smooth out the top.
- Bake until the brownies pass the toothpick test in the middle, about 35 to 40 minutes. Let cool in pan for about 30 minutes, then lift the block out by the parchment to completely cool on a rack. Slice into bars. Keep stored in an airtight container.
- OM NOM NOM!
Bready or Not Guest: Author Dan Koboldt with Gooey Butter Cake Cookies
I’m happy to welcome friend and fellow author Dan Koboldt! The third book in his fantastic Gateways to Alissia series is out today, and Dan is here to celebrate in proper Bready or Not fashion: with COOKIES. But first, a bit about The World Awakening:
Quinn Bradley has learned to use the magic of another world. And that world is in danger.
Having decided to betray CASE Global, he can finally reveal his origins to the Enclave and warn them about the company’s imminent invasion. Even if it means alienating Jillaine…and allying with someone he’s always considered his adversary.
But war makes for strange bedfellows, and uniting Alissians against such a powerful enemy will require ancient enmities–as well as more recent antagonisms–to be set aside. The future of their pristine world depends on it.
As Quinn searches for a way to turn the tide, his former CASE Global squad-mates face difficult decisions of their own. For some, it’s a matter of what they’re willing to do to get home. For others, it’s deciding whether they want to go home at all.
Continuing the exciting adventures from The Rogue Retrieval and The Island Deception, The World Awakening is the spellbinding conclusion to the Gateways to Alissia fantasy series from Dan Koboldt.

I grew up in St. Louis, a place that specializes in delicious food and drink that’s not necessarily good for you. It’s home, for example, to Anheuser-Busch, the makers of Budweiser. When a new employee starts at Anheuser-Busch, they receive another local specialty as a welcome gift: a gooey butter cake. This delicious concoction is exactly what it sounds like. It has an almost pie-like consistency, however, so it’s not very portable. The solution to that problem is today’s recipe, gooey butter cake cookies.
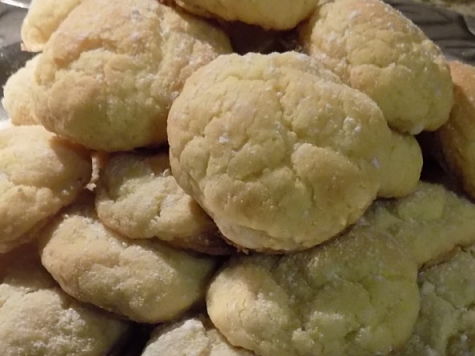
These are easy to make and require only six ingredients. They taste like yellow butter cake. You really can’t go wrong.
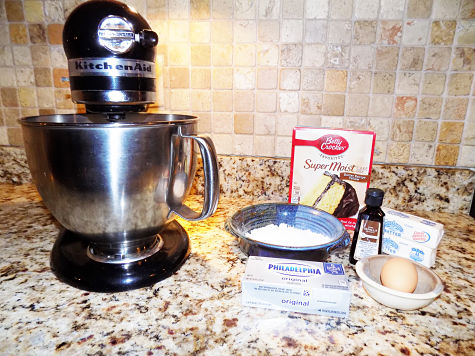
Ingredients:
1/2 cup butter, softened
1 (8 ounce) package cream cheese
1 egg
1/4 teaspoon vanilla extract
1 (18.25 ounce) package yellow cake mix
1/4 cup confectioners’ sugar
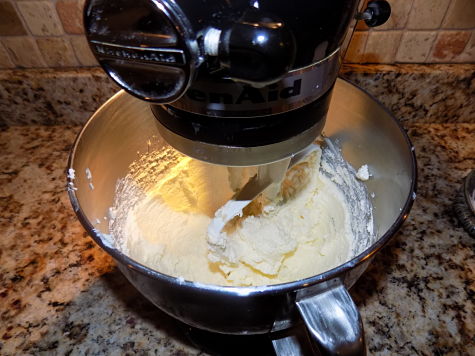
Preheat oven to 175 degrees Celsisus. For you non-scientists, that’s 350 degrees Fahrenheit. In a medium bowl, cream together the butter and cream cheese. Once that’s consistent, blend in the egg and vanilla. Then, add cake mix, and continue mixing/stirring until it’s smooth and well blended.
Optional pro tip: chill the dough for 30 minutes, which will make the next step much easier.
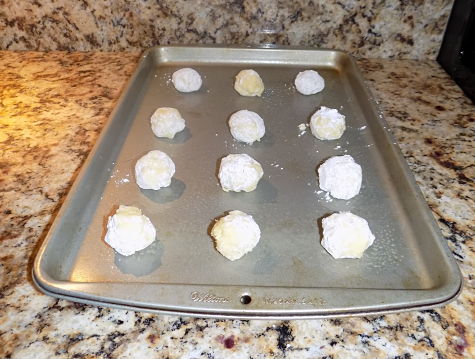
Pour the powdered sugar into a separate shallow bowl. You’ll use this to coat the doughballs before you lay them on the cookie sheet.
Roll the dough into 1-inch balls. I like to use a cookie dough scooper for this part, but you can also use a spoon. Optional pro tip: spray whatever you use with non-stick spray before you start.

Drop each into the powdered sugar to form a light coating. This can be a little messy if you didn’t chill the dough. Once you get some powdered sugar on them, the doughballs are easier to handle. Place sugar-coated balls at least an inch apart on a greased cookie sheet.
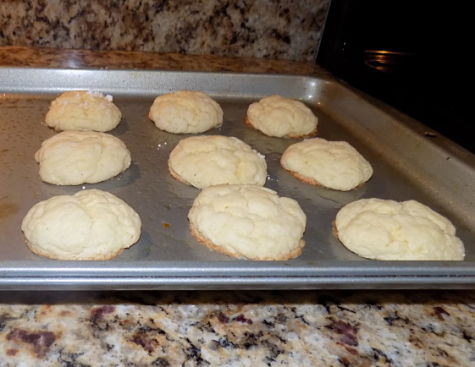
Bake for 11-13 minutes, until the edges begin to turn brown. Let them cool for a few minutes before you transfer them.
These cookies keep remarkably well in an airtight container. Enjoy them with a good book!

Author Bio
Dan Koboldt is a genetics researcher and fantasy/science fiction author from the Midwest. He is the author of the Gateway to Alissia series (Harper Voyager) about a Las Vegas magician who infiltrates a medieval world. He is currently editing Putting the Science in Fiction, (Writers Digest), a reference for writers slated for release in Fall 2018.
By day, Dan is a genetics researcher at a major children’s hospital. He has co-authored more than 70 publications in Nature, Science, The New England Journal of Medicine, and other scientific journals. He lives with his wife, daughter, and twin boys in Ohio.
Find out more about Dan’s books:
The World Awakening
Bready or Not Guest: Gooey Butter Cake Cookies By Dan Koboldt
Ingredients
- 1/2 cup butter softened
- 8 ounce cream cheese
- 1 egg
- 1/4 teaspoon vanilla extract
- 18.25 ounce yellow cake mix
- 1/4 cup confectioners' sugar
Instructions
- Preheat oven to 175 degrees Celsisus. For you non-scientists, that’s 350 degrees Fahrenheit. In a medium bowl, cream together the butter and cream cheese. Once that’s consistent, blend in the egg and vanilla. Then, add cake mix, and continue mixing/stirring until it's smooth and well blended.
- Optional pro tip: chill the dough for 30 minutes, which will make the next step much easier.
- Pour the powdered sugar into a separate shallow bowl. You’ll use this to coat the doughballs before you lay them on the cookie sheet.
- Roll the dough into 1-inch balls. I like to use a cookie dough scooper for this part, but you can also use a spoon. Optional pro tip: spray whatever you use with non-stick spray before you start.
- Drop each into the powdered sugar to form a light coating. This can be a little messy if you didn’t chill the dough. Once you get some powdered sugar on them, the doughballs are easier to handle. Place sugar-coated balls at least an inch apart on a greased cookie sheet.
- Bake for 11-13 minutes, until the edges begin to turn brown. Let them cool for a few minutes before you transfer them.
- These cookies keep remarkably well in an airtight container. Enjoy them with a good book!
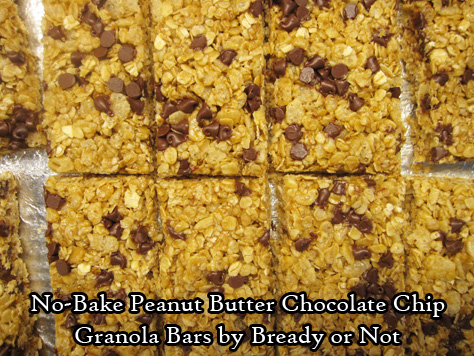
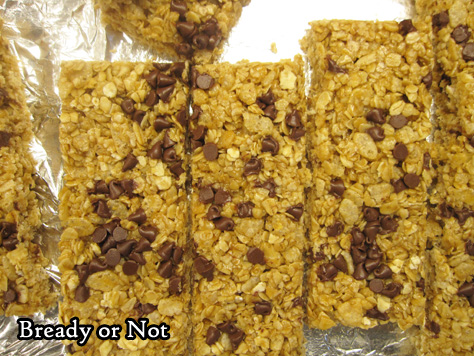
Bready or Not: No-Bake Peanut Butter Chocolate Chip Granola Bars
Homemade granola bars! These things are delicious and great for breakfast or snacks, for kids or adults.
Making these requires some brief time at the stove. This is a great recipe to get kids or grandkids involved, as they can help measure the dry ingredients and help to stir.
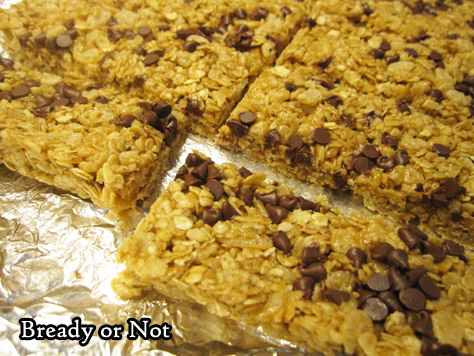
Do note that these bars won’t be quite as firm as the store-bought stuff, so keep that in mind if you’re transporting them around.
However, they taste a lot better than the store stuff. They taste FRESH. And peanut butter-chocolatey. Plus, they can be even more chocolatey if you use Nutella instead of peanut butter.
Speaking of chocolate, for Valentine’s Day next Wednesday, gird yourself (i.e. bust out the stretchy pants) in preparation of a Chewy Brownie recipe!

Bready or Not: No-Bake Peanut Butter Chocolate Chip Granola Bars
Ingredients
- 2 cups quick oats
- 1 cup puffed rice cereal like Rice Krispies
- 1/4 cup peanut butter creamy or crunchy
- 1 teaspoon vanilla extract
- 2 Tablespoons coconut oil
- 1/4 cup honey
- 1/4 cup light brown sugar packed
- 2 Tablespoons mini chocolate chips
Instructions
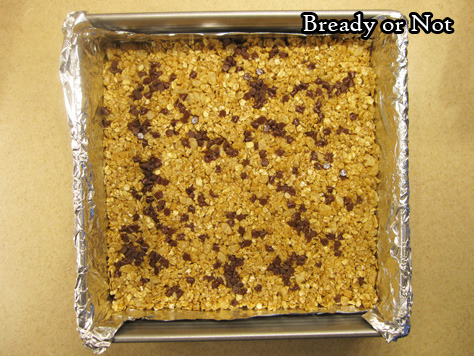
- Line an 8x8 or 9x9 baking pan with aluminum foil and apply nonstick spray.
- In a big bowl, stir together the oats and cereal. Set that aside. Measure out the peanut butter and vanilla extract and set near stove.
- Place the coconut oil, honey, and brown sugar in a small saucepan. Cook on medium heat, stirring often, as sugar dissolves, and continue to heat until it just starts boiling. Remove pot from burner. Quickly add the peanut butter and vanilla, and stir until everything is incorporated.
- Pour the hot mix into the bowl with the oats and cereal. Stir until everything is coated, then pour into the prepared pan. Use a spatula to press down evenly. Sprinkle mini chocolate chips over the top. To compress the granola even more, line waxed paper over the pan, then use the bottom of a glass or other flat, heavy implement to press down.
- Allow pan to set for several hours. Slice into bars. Pack up individually with plastic wrap or keep in a sealed container with plastic wrap or waxed paper between layers. At room temperature, keeps well for up to a week; bars can also be frozen.
- OM NOM NOM!
