


The Beth Cato Kitchen Gift Guide
‘Tis the season to buy stuff. Permit me to help. Since you’re here, you probably know I have a lot of books out, including my brand new collection Red Dust and Dancing Horses and the 2nd book in my Blood of Earth trilogy, Call of Fire.
I also have a new cookbook, an Amazon exclusive for just $1.99: Sweet Maple!

I mention a lot of cooking ingredients and implements on Bready or Not. Today, I’m recommending my favorite stuff. Note that all of the links in the photographs are Amazon-affiliated, but this is all stuff I’ve bought with my own money. No corporate freebies involved (but if any corporation wants to reach out *coughs and points to Contact Me link above*).
My food blog is called Bready or Not, so let’s start with a necessary accessory for bready things: a breadbox. I bake my own loaf bread every week, and it doesn’t fit in standard gallon Ziploc bags. No, I rely on this expandable breadbox. It stretches out to accommodate a full loaf, and as the bread is cut down, you slide the box inward. It’s easy to clean with soap and water. It even has built-in vents to open if you have a still-warm loaf. (As an aside to certain friends: yes, this is a firm breadbox.)

I’ve been using Coombs Maple Sugar for a few years now. I LOVE this stuff. The sugar is a range of sizes, from fine to coarse, which adds wonderful texture to recipes; sprinkle this on top of a milk-brushed pie crust about to go in the oven! The container is large, but it’s narrow and stores easily. Which is good, because even if you bake a lot of maple goodies, this thing will probably last awhile.

On the subject of maple, I buy my maple flavor from Amazon as well. (I live in Arizona, people. I can’t find this on the shelf here.) I like this Frontier Co-op brand. The flavor is strong and the liquid provides a nice brown tint to baked goods.

Cookie scoops are important. I advise having at least teaspoon and tablespoon size around, and an even larger one is great to use if you’re doling our muffin batter. I’ve been using a tablespoon-sized Oxo scoop for over five years now, and it puts up with a lot of use and abuse.

I used to buy bulk quinoa and rice and try to drain it using cheese cloth. It was horrible, especially with the quinoa. I have no issues washing rice and grains now that I have this nifty rice washer. The holes are really tiny; quinoa can’t even escape through the bottom. Plus, it ends up being a handy extra colander for washing things like vegetables.

The $200+ price tag on this bread machine might make you blanch, but this is THE bread machine. I use this to make most of my bread dough in exactly 1 hour 50 minutes. I’ve now had this machine over 10 years, use it several times a week, and it continues to work like a champ. You can bake full loaves in it, too–and the shape is a nice horizontal loaf, unlike other bread machines–but I much prefer to use this for making dough and then bake the bread in my oven.

I loved my bread machine so much, I bought the Zojirushi rice cooker as well. Again, it’s pricey, but it is reliable and wow, the quality of rice it makes will spoil you quite quickly. Plus, the rice cooker SINGS. It does little songs when it begins and ends. When it’s done, the machine will keep the rice piping hot for a long time, too. You can also make quinoa in this in 30 minutes.

Read More
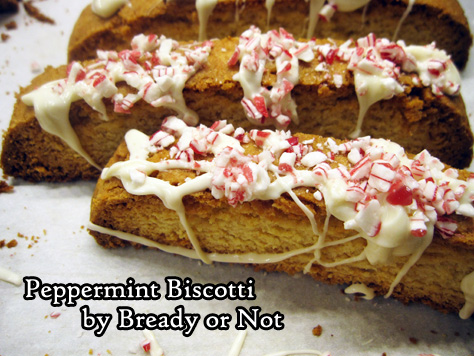
Bready or Not: Peppermint Biscotti
In recent months, I have shared recipes for Snickerdoodle Biscotti and Maple Walnut White Chocolate Biscotti. Now we’re gearing up for the holidays with Peppermint Biscotti.
I found this recipe in a Food Network Magazine from December 2015. I made it following their instructions, wasn’t pleased with the results, and made it again with numerous changes. This one worked.
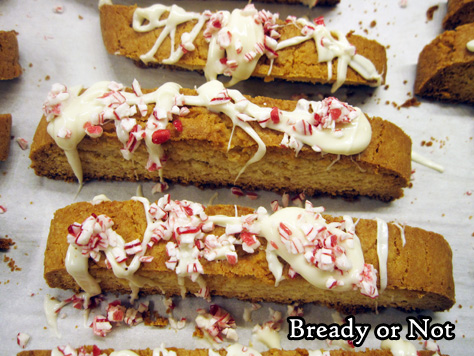
I love how white chocolate chips work in biscotti. Since they bake up to be extra crispy, the chips add just the right touch of sweetness to complement the crunchiness.
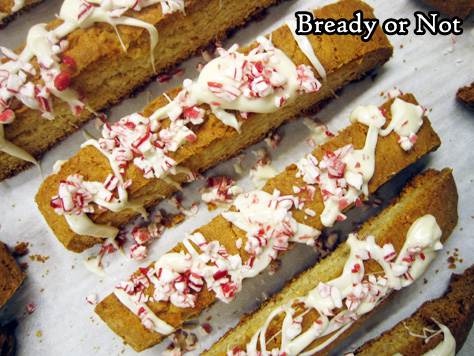
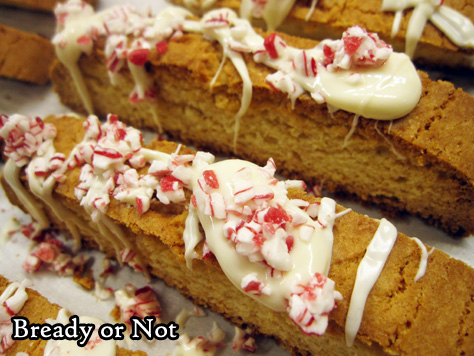
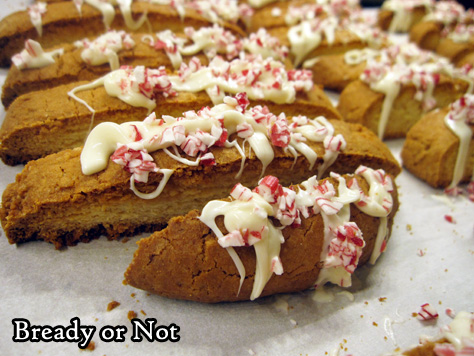
The topping is what makes these scream “Holiday season!” I love the goopy drizzles atop these sticks, with generous amounts of crushed peppermints on top.
As these are biscotti, they keep well for days and weeks. If you’re mailing these, of course, be wary of the temperatures the package may encounter in transit. That’s something I always must consider here in Arizona!
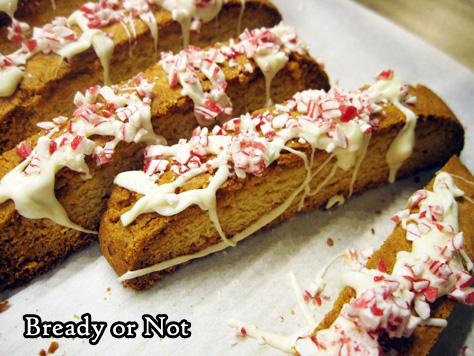
Eat these biscotti on their own, or totally bliss-out and dip them in coffee or tea.
Bready or Not: Peppermint Biscotti
Ingredients
biscotti
- 2 1/3 cups all-purpose flour
- 1 teaspoon baking powder
- 1/2 teaspoon salt
- 6 Tablespoons unsalted butter room temperature
- 3/4 cup white sugar
- 2 large eggs
- 1/2 teaspoon peppermint extract
- 1/2 cup white chocolate chips
topping
- 4 oz white chocolate
- drizzle oil if needed
- 2 candy canes crushed
Instructions
- Preheat oven to 350-degrees. Line a baking sheet with parchment paper; set aside.
- In medium bowl, measure out the flour, baking powder, and salt; set aside.
- In a big bowl, beat together the butter and sugar until light and fluffy. Add the eggs and peppermint extract. Slowly stir in the dry mix until just incorporated, then add the white chocolate chips.
- Divide the dough in half on the prepared baking sheet. Form each into a log about 4 inches wide and 10 inches long; make sure there is space between the two logs, as they'll grow in the oven.
- Bake about 25 minutes, until the biscotti is lightly browned. Remove the baking sheet, but be sure to leave the oven on.
- Let the biscotti cool for 10 minutes. Use a large knife, such as a bread knife, to diagonally slice the logs 1/2-inch apart. Use a straight-down motion to cut; don't saw.
- Arrange the biscotti spaced out on the baking sheet. Stand them up if possible, or lay them on their sides. Bake for another 25 minutes, flipping them over halfway if necessary, to equally crisp both sides.
- Cool completely on the baking sheet. Crush the candy canes.
- Melt the white chocolate on the stovetop or in the microwave; if necessary, stir in a drizzle of coconut oil or vegetable oil to make the chocolate loose enough to dribble.
- Drizzle the chocolate all over the biscotti, then immediately sprinkle peppermint chunks over them. Let them set for a few hours at room temperature or in the fridge.
- Store in an airtight container as long as a few weeks.
- OM NOM NOM!
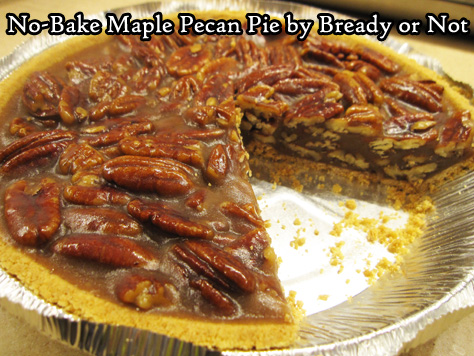
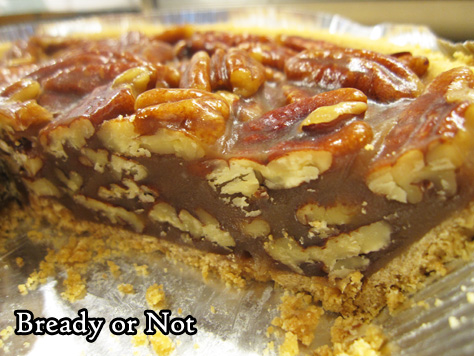
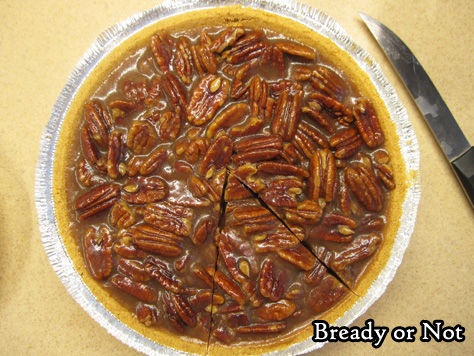
Bready or Not: No-Bake Maple Pecan Pie
I am never baking a pecan pie again. This will be my go-to recipe forever more: No-Bake Maple Pecan Pie.
Depending on how fast your stovetop heats up, you may have your pie assembled in 15 to 20 minutes without ever having to heat up the oven.
No worries about making a crust or pre-baking a crust or any of that. Every time I’ve made this, I’ve used a graham cracker crust from Wal-mart. You could make a from-scratch graham crust if you want, but I’m all about making this pie as quickly and conveniently as possible.
The way the filling solidifies once chilled is kind of amazing. It’s easy to cut but stays intact, with the exception of some graham cracker crumbles. My husband was able to cut slices and wrap them in plastic wrap to take with his lunch to work, then eat the pieces right out of hand. No need for a fork.
This is the perfect holiday pie, to my way of thinking. It dirties almost no dishes. It doesn’t use the oven. It keeps perfectly well, tucked in the fridge.
Oh yeah, and it’s DELICIOUS. Sweet, slightly-crunchy, and decadent, just as a pecan pie should be.

Modified from Southern Plate.
Bready or Not: No-Bake Maple Pecan Pie
Ingredients
- 3/4 cup brown sugar light or dark, packed
- 3/4 cup unsalted butter 1 1/2 sticks
- 1/4 cup pure maple syrup
- 1/4 cup honey
- 3 Tablespoons milk or cream or half & half
- 1 teaspoon vanilla extract
- 2 1/2 cups whole pecans
- 1 graham cracker crust homemade or store-bought
Instructions
- Place the brown sugar, butter, maple syrup, and honey in a medium-sized pot. Set the heat to medium high and stir constantly as it comes to a boil.
- Once it's boiling, add the pecans and milk/cream. Reduce to a low boil and keep it there for 10 to 12 minutes, stirring often. Remove from heat and add vanilla extract.
- Pour everything into the graham cracker crust. Let cool on counter to set. Cover and place in fridge to completely chill for several hours before cutting.
- Keep pie stored in fridge. Pie keeps well for at least a week.
- OM NOM NOM!
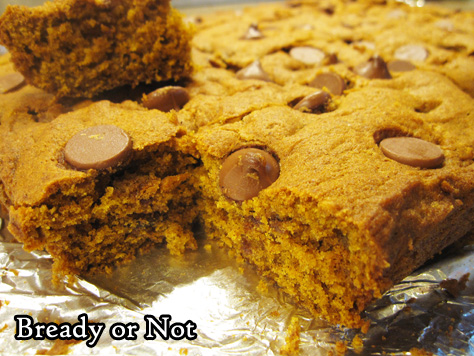
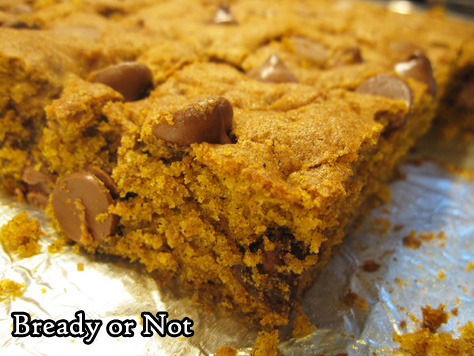
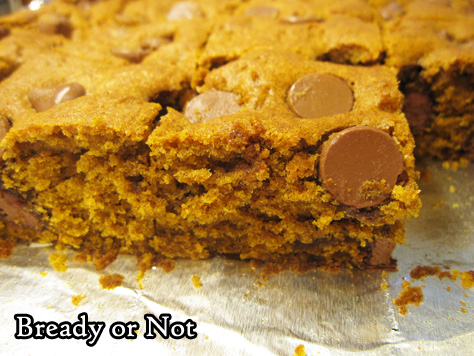
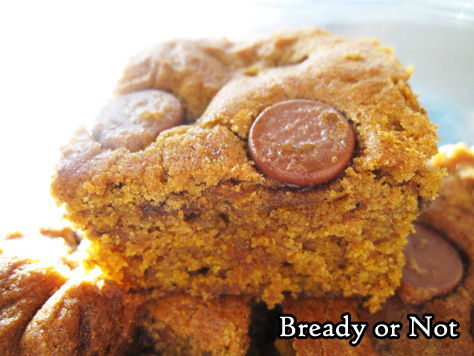
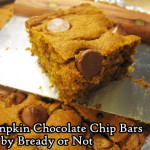
Bready or Not: Pumpkin Chocolate Chip Bars
Pumpkin and chocolate make for the perfect pairing in these Pumpkin Chocolate Chip Bars!
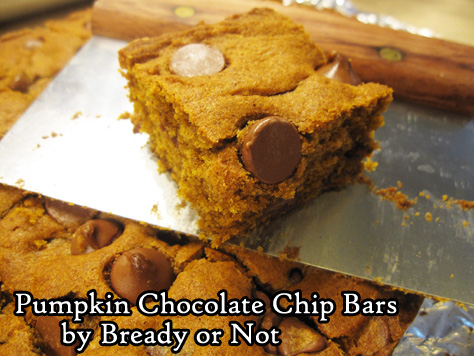
I modified the original recipe to incorporate bread flour, creating bars that are fabulously dense and chewy.
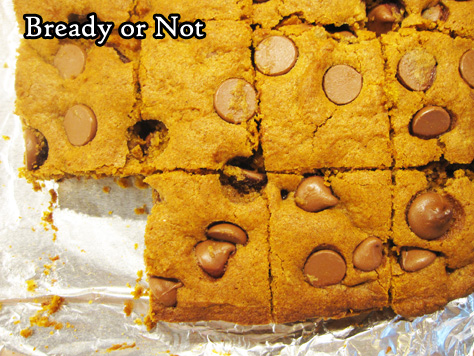
This is essentially pumpkin spice cake with freckles of chocolate chips.
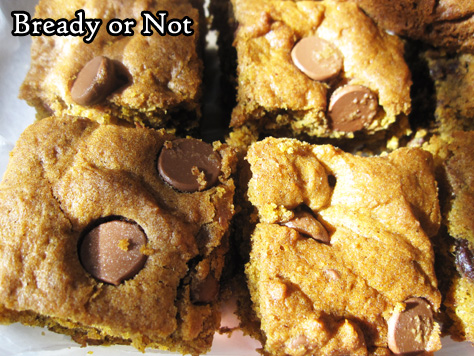
Unlike a standard frosted cake, these travel very well. The bars are nice and cohesive.
I like to place waxed paper between layers to prevent sticking and melting chocolate (because in Arizona, well, it’s still hot at this time of year).
On the subject of chocolate chips, be sure to toss the majority of your chips in with the flour. This will prevent them from sinking to the bottom as it bakes!
Modified from What’s Gabby Cooking.
Bready or Not: Pumpkin Chocolate Chip Bars
Ingredients
- 1 cup all-purpose flour
- 1 cup bread flour
- 2 teaspoons cinnamon
- 3/4 teaspoon ginger
- 1/2 teaspoon allspice
- 1/2 teaspoon cloves
- 1 teaspoon baking soda
- 1 teaspoon salt
- 2 cups chocolate chips divided
- 1 cup unsalted butter 2 sticks, softened
- 1/2 cup brown sugar packed
- 3/4 cup white sugar
- 1 large egg room temperature
- 2 teaspoons vanilla extract
- 1 cup pumpkin puree
Instructions
- Preheat oven to 350-degrees. Line a 13x9 pan with aluminum foil and apply nonstick spray or butter.
- In a medium bowl, combine the flours, cinnamon, ginger, allspice, cloves, baking soda, and salt. Stir in most of the chocolate chips; coating them with flour will keep them from sinking as they bake. Set bowl aside.
- In a big mixing bowl, combine the butter and two sugars until light and fluffy, scraping down the sides of the bowl as needed. Add the egg, vanilla extract, and pumpkin puree. Once that's mixed, slowly blend in the dry ingredients until just combined.
- Pour the batter into the ready pan and smooth out. Sprinkle the remaining chocolate chips over the top.
- Bake for 30 to 35 minutes, until it passes the toothpick test in the middle. Cool completely. Lift up by the foil and place on a cutting board to cut bars. Store in a sealed container at room temperature or chilled.
- OM NOM NOM!
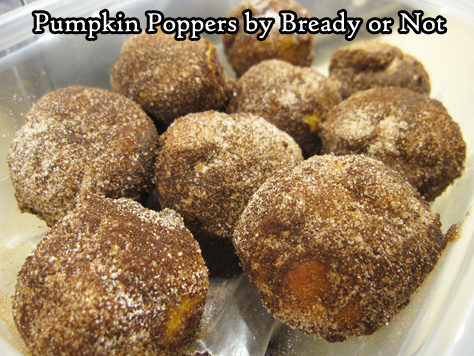
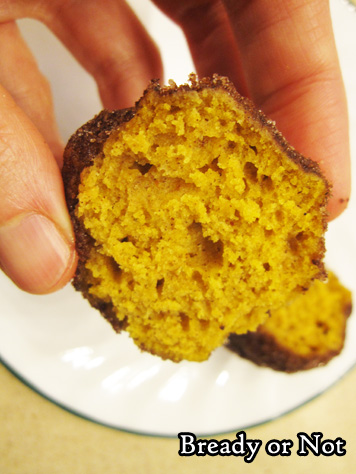
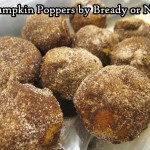
Bready or Not: Pumpkin Poppers
I first featured these Pumpkin Poppers on my LiveJournal four years ago. It’s time to revisit them, because these things are SO GOOD.
My husband’s co-workers like to snicker and call them “pumpkin balls.”
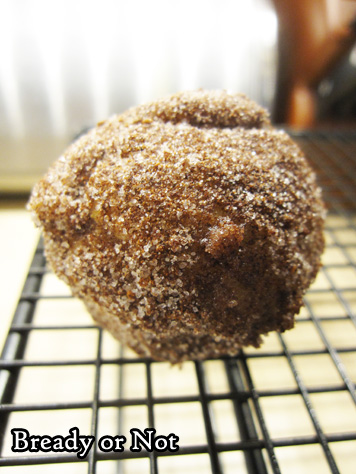
You could also call them “pumpkin donut holes.” That’s what they are, really. You can make them in a donut hole or a mini muffin pan–I use the latter.
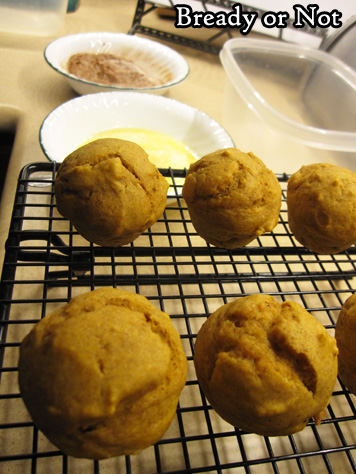
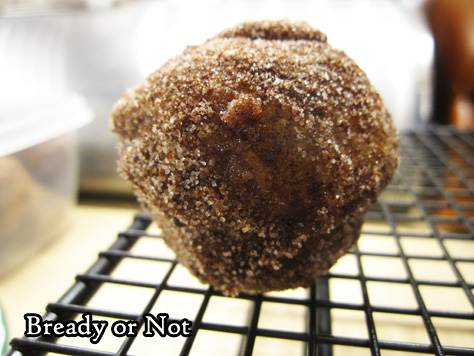
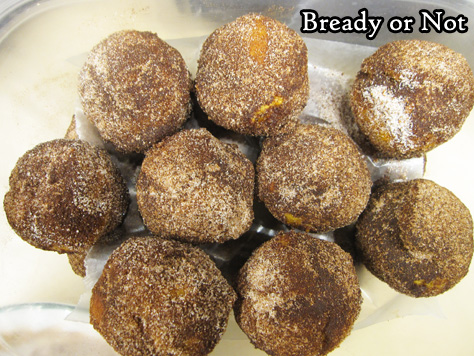
This makes 24 of these tender balls of joy. Once they are baked, set up an assembly line with bowls of melted butter, and cinnamon and sugar. Slather those balls with butter, and roll’em in the sweet stuff!
Hey, I never claimed this was health food.
The end result is an orange puff that is light and fluffy, and pretty much melts in your mouth.
Make these to share, or they might prove dangerous.
Bready or Not: Pumpkin Poppers
Ingredients
Dough
- 1 3/4 cups all-purpose flour
- 2 teaspoons baking powder
- 1/2 teaspoon salt
- 1/2 teaspoon cinnamon
- 1/2 teaspoon nutmeg
- 1/2 teaspoon allspice
- 1/8 teaspoon ground cloves
- 1/3 cup vegetable oil
- 1/2 cup brown sugar packed
- 1 egg room temperature
- 1 teaspoon vanilla extract
- 3/4 cup pumpkin puree
- 1/2 cup milk almond milk works
Coating
- 1/2 cup unsalted butter 1 stick or more as needed, melted
- 2/3 cup white sugar more as needed
- 2 Tablespoons cinnamon more as needed
Instructions
- Preheat oven to 350-degrees. Use nonstick spray on a mini muffin or donut hole pan.
- Combine the dry ingredients. In another bowl, mix together the oil, brown sugar, egg, vanilla, pumpkin, and milk.
- Pour the dry ingredients into the wet and mix until just combined. Fill the pan cavities about 2/3 full; the dough will poof up a lot in the oven.
- Bake for 10 to 12 minutes. In the meantime, melt the butter in a bowl. In a separate small bowl, combine the topping sugar and cinnamon.
- Remove poppers from oven. Give them a few minutes to cool, then start the assembly line. Use a spoon to roll them in the melted butter, then roll them in the cinnamon sugar. (Note: topping bowls may run low near the end, but it's easy to melt an extra tablespoon of butter or mix up some more sugar and cinnamon.)
- Store in a sealed container at room temperature. The cinnamon-sugar mix will absorb into the balls over time and make them darker, but they taste great for several days.
- OM NOM NOM!
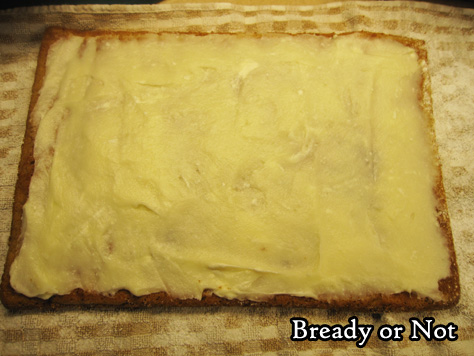
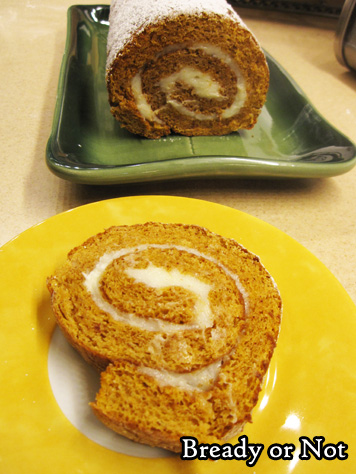
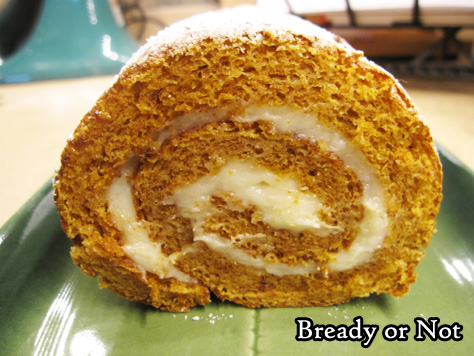
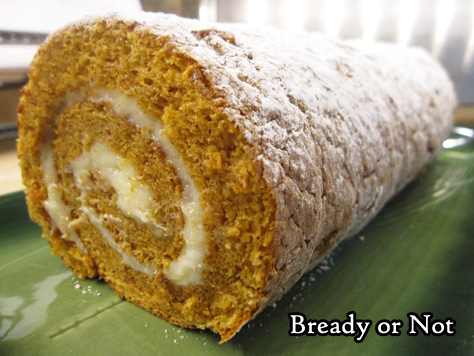
Bready or Not: Pumpkin Roll
The Great British Bake Off inspired me to finally try making a cake roll of my own, and this is the result: a delicious, successful Pumpkin Roll.

No lie, these things have intimidated me for a decade. I was certain I’d try to roll it up, and it’d crack and be a total disaster.
In reality, I ended up with only a few minor cracks, and the roll maintained its shape without any issue.
But let’s talk about the taste. Cream cheese and pumpkin make for the perfect pairing. Both are mild and complement each other, and the amounts here are perfect. The filling doesn’t gush all over the place like some of the disastrous results on Bake Off.
The most time-consuming part of all of this was beating the whites to stiff peaks… which wasn’t helped by the fact that my hand mixer was dying and could barely beat at all. I like to think it met a noble end in the making of this recipe.
RIP hand mixer, a well-used wedding gift from the year 2000.
This cake is super-easy to store in the fridge because it’s small and narrow. The original recipe said it could be frozen, too, though I didn’t try that myself.
Be bold and crazy. Conquer your fear. Make a Pumpkin Roll. And salute the work of your noble hand mixer.
Bready or Not: Pumpkin Roll
Ingredients
Sponge
- 3/4 cup all-purpose flour
- 1 teaspoon baking soda
- 1/2 teaspoon cinnamon
- 1/4 teaspoon salt
- 3 eggs with separated yolks and whites
- 1 cup white sugar divided in half
- 2/3 cup pumpkin puree
Filling
- 8 ounces cream cheese 1 box, softened
- 2 Tablespoons unsalted butter softened
- 1 1/2 cups confectioners' sugar sifted, plus more
- 1/2 teaspoon vanilla extract
Instructions
- Preheat oven at 375-degrees.
- Cut parchment paper to fit inside a 15x10-inch pan. Grease and flour the pan and the top of the paper.
- In a small bowl, mix together the flour, baking soda, cinnamon, and salt. Set aside.
- In a large bowl, beat the egg yolks until they are thick. Slowly add 1/2 cup white sugar and the pumpkin puree. Beat until the sugar is completely blended in.
- In another small bowl, use a hand mixer to beat the egg whites until soft peaks form. Gradually pour in the remaining white sugar, and continue beating until stiff peak stage. Fold the egg whites into the pumpkin mixture, then fold in the dry ingredients; be gentle and do not overmix.
- Pour the sponge batter into the pan and use an uneven spatula to spread it to the edges.
- Bake for 13 to 15 minutes, or until the cake springs back when touched. Lay a cotton kitchen towel out on the counter and sprinkle it all over with confectioners' sugar. After the cake has cooled for 5 minutes, turn it out onto the prepared towel. Peel away the parchment paper. Roll the cake up by the short side. Leave it rolled up and cool it completely on the towel.
- To make the filling, in a small bowl beat together the cream cheese, butter, confectioners' sugar, and vanilla, until smooth.
- Unroll the cake on the towel again. Spread the filling. Roll it up again.
- Wrap the cake in plastic wrap and chill for 2 hours. When ready to serve, cut thin slices off both ends of the cake to make for a pretty presentation. Dust confectioners' sugar all over the top.
- OM NOM NOM!

Read More
