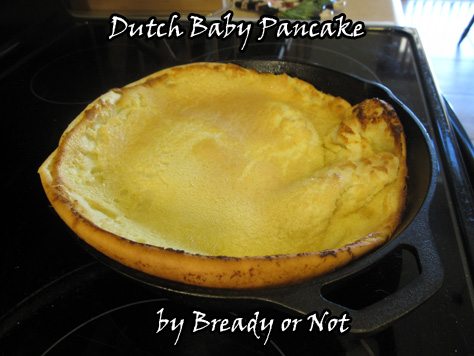
Bready or Not: Dutch Baby Pancake
Need a small batch of pancakes? Or don’t want to stand there and flip individual pancakes?
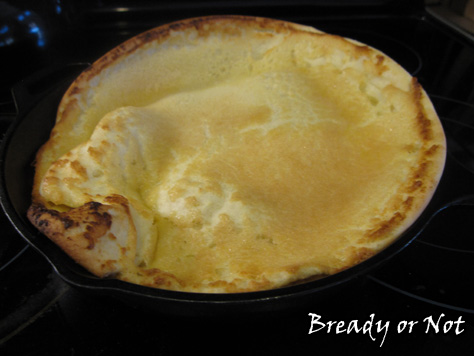
Go big!
I had Dutch pancake baby recipes pinned for years. For some reason, they looked intimidating to me. Shows what I know. It turned out, these are much easier than standard pancakes. Mix, pour, bake.
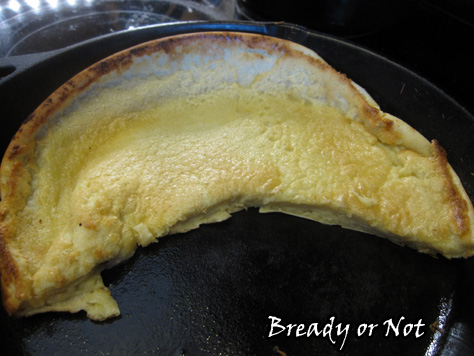
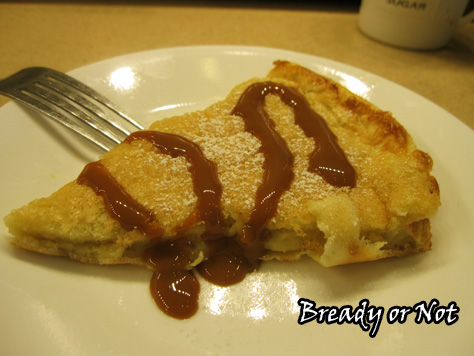
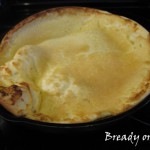
The only tragedy here is that they look beautiful as soon as you pulled them from the oven, and as soon as you cut it, they deflate. The taste is fabulous, though–that doesn’t go flat!
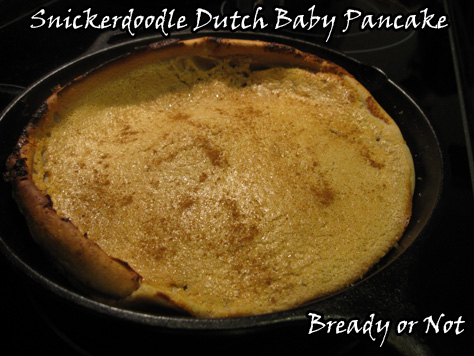
I tried out a Snickerdoodle variation as well. Just add a little cinnamon to the batter and more on top. It’d be just as easy to add some chocolate chips or fresh or dried fruit. Mix it up!
Modified from Martha Stewart.
Bready or Not: Dutch Baby Pancake
Ingredients
- 2 tablespoons unsalted butter
- 3 large eggs
- 3/4 cup milk almondmilk works fine
- 1/2 cup all-purpose flour (spooned and leveled)
- 1/4 teaspoon salt
- 1/2 teaspoon pure vanilla extract
- 1/4 cup plus 1 tablespoon sugar
Snickerdoodle variation:
- 1/2 teaspoon cinnamon in batter plus more sprinkled on top
Instructions
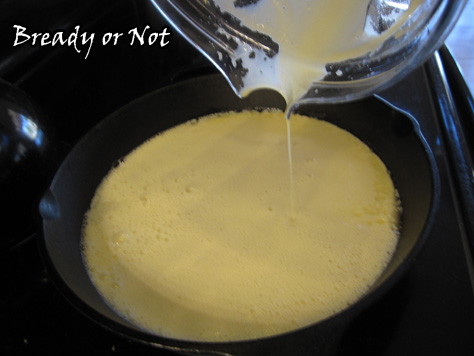
- Preheat oven to 425 degrees. In a medium cast-iron or ovenproof nonstick skillet, add 2 tablespoons butter and stick it in oven as it warms up.
- In a blender, combine eggs, milk, flour, salt, vanilla, and 1/4 cup sugar. Blend until foamy, about 1 minute. Pull skillet from oven--be careful, that handle is hot! Pour batter into skillet and bake for about 19 to 20 minutes. The pancake should be puffed and lightly browned.
- Slice into wedges--it will deflate and look a lot less pretty, but it's still delicious. Serve with butter and any other desired toppings (maple syrup, dulce de leche, powdered sugar, etc).
Serves one hungry person, or along with sides can feed several people.
OM NOM NOM!
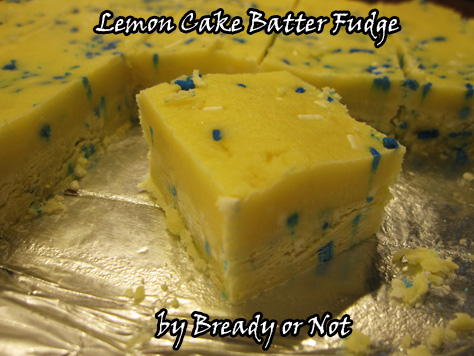
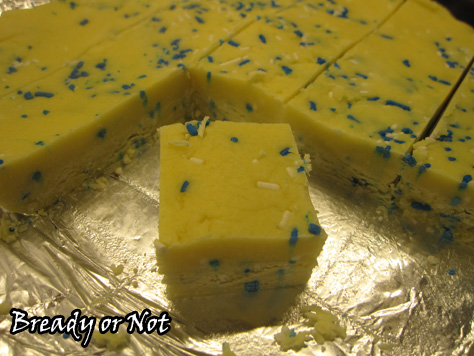
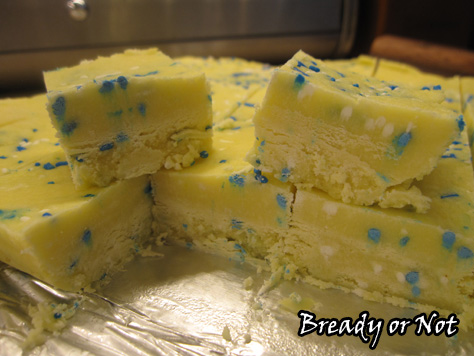
Bready or Not: Lemon Cake Batter Fudge
No foolin’. Back in December, I shared my Cake Batter Fudge to rave reviews. Soon after that, I noted a box of lemon cake mix in my pantry that I needed to use.
I got to thinking, “What if…?” I searched on Pinterest and couldn’t find any recipes that used cake mix for lemon fudge.
Therefore, I resolved to make my own.
I figured the amount of lemon extract used for a cookie recipe should also work for a fudge recipe. Bingo!
The crazy thing about this fudge is that it tastes just like lemon cake and icing all in one. It’s weird in a way, because your brain realizes that the texture isn’t right for either, but the taste nails it.
No joke!
Based on my recipe for Cake Batter White Chocolate Fudge.
Bready or Not: Lemon Cake Batter Fudge
Ingredients
A Bready or Not Original
- 2 cups + 2 Tbsp lemon cake mix any brand, sifted
- 2 cups confectioners' sugar sifted
- 1/2 cup salted butter (1 stick) cut into chunks (or use unsalted and add a pinch of salt)
- 1/4 cup milk almond milk works
- 2/3 cup white chocolate chips
- 3/4 teaspoon lemon extract
- 1/2 cup rainbow sprinkles/non pareils/jimmies
Instructions
- Line an 8×8 baking pan with aluminum foil or parchment and spray with nonstick spray. Set aside. Measure the white chocolate chips and the sprinkles in separate dishes so they are ready to add quickly.
- Mix sifted cake mix and powdered sugar in a large bowl. Add milk and butter, without stirring, and microwave for 2 minutes.
- Promptly mix ingredients until the butter is fully melted and incorporated. The batter will be very thick. Fold in white chocolate and lemon extract. Add the sprinkles last and stir gently so they don't leak too much color.
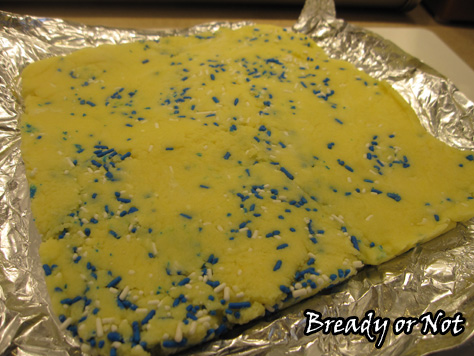
- Scoop into prepared baking pan. Level it across the top. Chill the fudge in the refrigerator for at least 2 hours before cutting into small blocks.
- Fudge will keep upwards of a week in the fridge, if it lasts that long.
OM NOM NOM
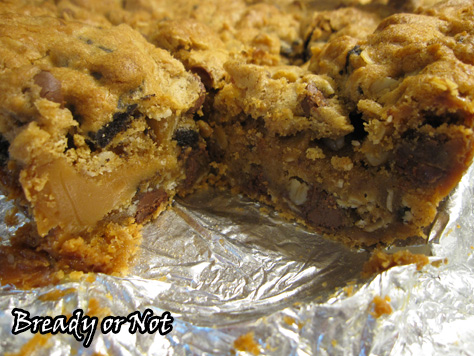
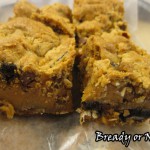
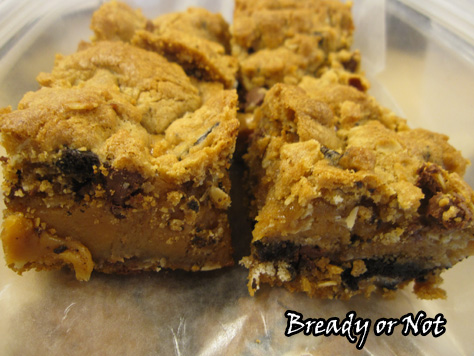
Bready or Not: Oreo Chocolate Chip Caramel Cookie Bars
A picture is worth a thousand words, right?
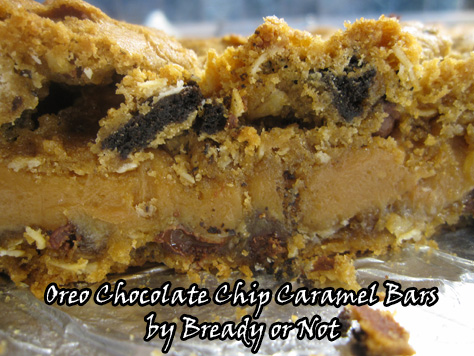
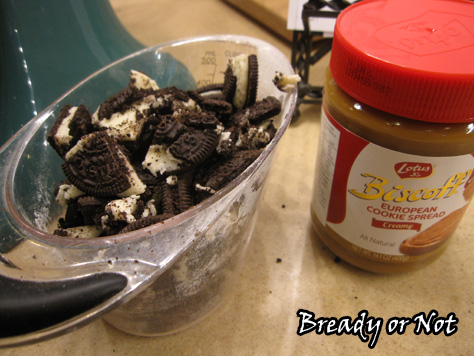
The original version at Mom on Time Out looked pretty darn amazing to start, but as usual I decided to improve something by adding 1) Biscoff spread, and 2) Oreos.
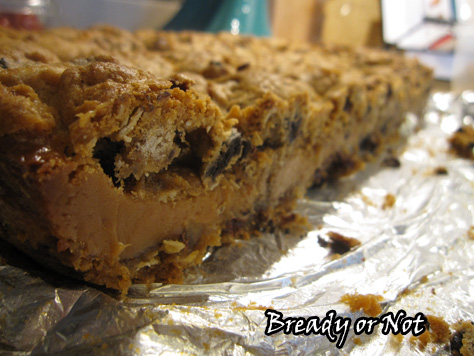
These things will blow your mind and your waistline. Imagine dense bricks of caramel and goodness. I stored these in the fridge–because I live in Arizona and even at room temp chocolate goes too soft–and to my surprise, these bars didn’t harden. Nope. Even chilled, they were chewy and amazing. The Biscoff probably helped with the soft and chewy aspect.
Of course, you can also make this using any nut butter instead of the Biscoff spread, or substitute another cookie for the Oreos. Mix it up. So many things pair well with a thick layer of caramel.
Make these. You know you want to.
Modified from Mom on Time Out.
Bready or Not: Oreo Chocolate Chip Caramel Cookie Bars
Ingredients
Caramel Filling
- 11 oz bag caramels Caramel Bits work well
- 14 oz can sweetened condensed milk
- 4 Tbsp butter
Cookie Dough
- 1 1/2 sticks 3/4 cups unsalted butter
- 2 cups light brown sugar
- 1/2 cup creamy Biscoff spread or nut butter
- 2 eggs room temperature
- 1 Tbsp vanilla extract
- 2 cups flour
- 1 cup old fashioned rolled oats
- 2 1/2 teaspoons baking powder
- 1/4 teaspoon salt
- 1 cup chocolate chips
- 2 cups chopped Oreos about 1/3 of package, a little over 1 row
Instructions
- Preheat oven to 350 degrees. Line a 9x13 inch baking dish with parchment paper or aluminum foil, and butter or use nonstick spray. Chop the Oreos and set them aside.
- Place caramels in a small saucepan with butter and sweetened condensed milk. On medium-low heat, stir often until caramels are melted and mixture smooth. Set aside.
- In a large mixing bowl, cream together the butter and sugar. Add the Biscoff spread (or nut butter) and mix. Add eggs and then vanilla, and mix well.
- Combine the dry ingredients: flour, oats, baking powder, and salt in a small mixing bowl. Slowly pour the flour mix into the large mixing bowl. Stir in the chocolate chips and then the Oreo pieces.
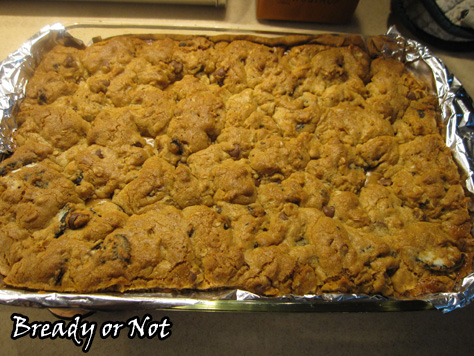
- Drop about 2/3 of the dough into the prepared casserole pan and smooth it out over the bottom. Slowly pour the caramel mixture over the dough and spread out to the edges. Dollop the rest of the dough on top; don't worry about covering all of the caramel.
- Bake for 28-32 minutes. Cool completely and then cut into bars.
OM NOM NOM!
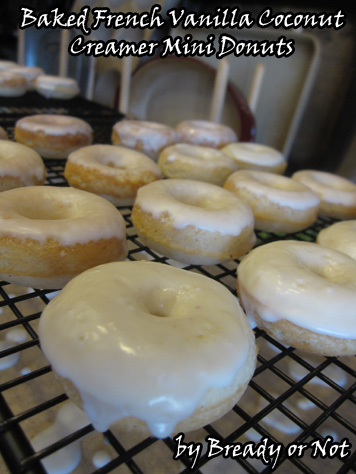
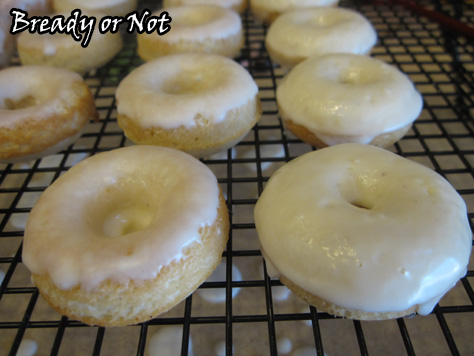
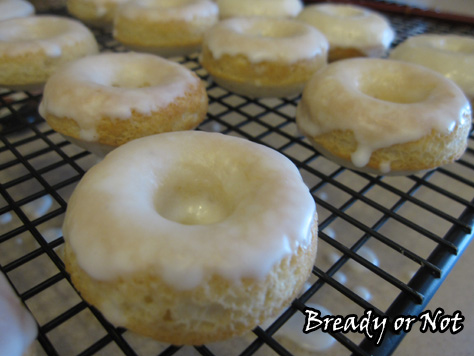
Bready or Not: Baked French Vanilla Mini Donuts
It’s been far too long since we’ve done mini donuts. They’re just so gosh darned cute.
I did a similar recipe to this ages ago and the results were meh. I used plain milk and the donuts tasted BLAND. It was like putting delicious glaze on cardboard.
However, when company came and left behind some So Delicious French Vanilla Coconut Creamer, I knew I needed to use it up somehow. I decided to try donuts.
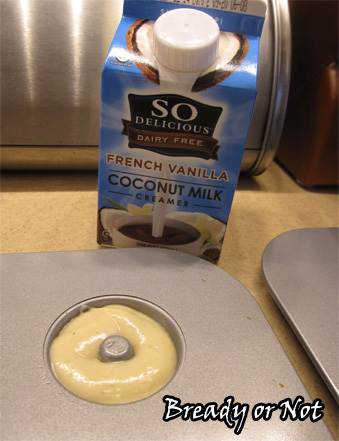
I’d never tried coconut creamer before. The stuff was fabulous. The flavor added the mildest touch of coconut and strong vanilla, and it carried through in both the donuts and the glaze.
I think the recipe would also work very well with other French Vanilla-flavored creamers, too. Or other flavored creamers, period. From my experience, the stuff is a great substitute for milk/liquid in all kinds of baked goods.
Donut recipe modified from Bakers Royale; glaze recipe modified from Averie Cooks

Bready or Not: Baked French Vanilla Mini Donuts
Ingredients
Donuts
- 1 1/4 cups cake flour sifted
- 1/2 cup granulated sugar
- 1 1/4 tsp baking powder
- 1/8 tsp ground nutmeg
- 3/4 tsp salt
- 1/2 cup French Vanilla Coconut Creamer or other flavored creamer
- 1 egg lightly beaten
- 2 Tbsp butter melted and briefly cooled
Glaze
- 3/4 cup confectioner's sugar sifted
- 1/2 tsp vanilla extract
- 3 + teaspoons of French Vanilla Coconut Creamer or water, milk, half & half, etc
Instructions
- Preheat oven to 400 degrees. Apply nonstick spray to mini donuts pan(s).
- In a large mixing bowl, mix the flour, sugar, baking powder, nutmeg and salt. Add the creamer, egg and butter and stir until just combined.
- To fill the pan, it's easiest to use a pastry bag or a sandwich bag with the corner snipped. Only fill the cavity to half full, which is usually about three circuits of batter.
- Bake 4 to 6 minutes or until the top of the donuts spring back when touched. Let cool in pan for about 5 minutes before removing. Makes about 32 donuts. Unglazed, they can be frozen.
To make the glaze:
- Combine ingredients and stir. Add more liquid as needed for the right consistency. Dip one side of the donut into the glaze, then immediately add sprinkles, if desired. Let donuts sit out an hour or so, until set.
Once glazed, the donuts keep best for about a day.
OM NOM NOM!
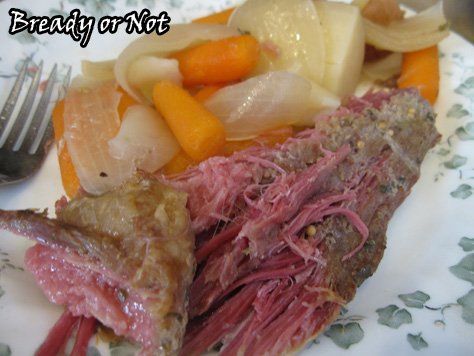
Bready or Not: Crock Pot Corned Beef & Vegetables
Corned beef in the slow cooker. This is by far the easiest, tastiest way I’ve found to make this dish!
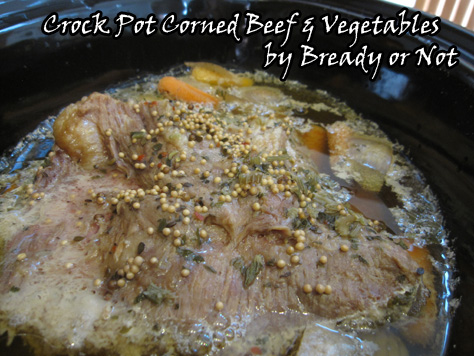
It’s become an annual tradition for me to make a St. Patrick’s Day corned beef brisket. I boiled the meat one year, and baked it in the oven the next. It’s turned out delicious both ways (though the quality of the Kroger-branded brisket was lousy with fat) but I found that the crock pot is the best way to go. No watching the pot for boil-overs! Plus, it makes side dish veggies at the same time.
I dislike celery so I replaced the cut stalks with celery flakes, which provides flavor without the icky texture. You’ll want to cut the potatoes into big chunks that are all of like size. It’ll depend on the size of the potato if you need to cut them into halves or quarters. I had pretty big potatoes, so I did quarters. Do get red potatoes, though. They cook all day and get tender, not mushy.
Make this along with the Mini Muffin Irish Soda Bread from last week, and your St. Paddy’s Day meal is all set! … Oh, you want dessert? How about these Irish Coffee Blondies from a few years ago?
Don’t forget to wear green on the 17th… unless you want to get pinched…
Modified from TheSkinnyFork.com

Bready or Not: Crock Pot Corned Beef & Vegetables
Ingredients
- 3 lb corned beef brisket + seasoning packet
- 1 Tb celery flakes or chopped celery stalks
- 1 yellow onion in wedges
- 1/2 lb red potatoes cut into halves or quarters
- 8 ounces baby carrots
- 4-6 cups water
Instructions
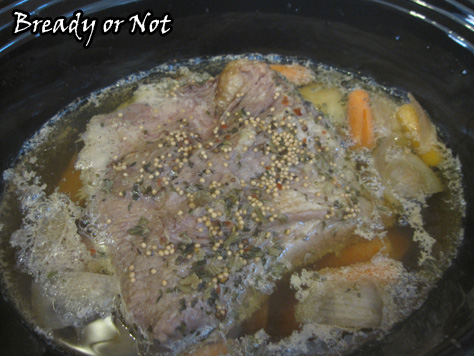
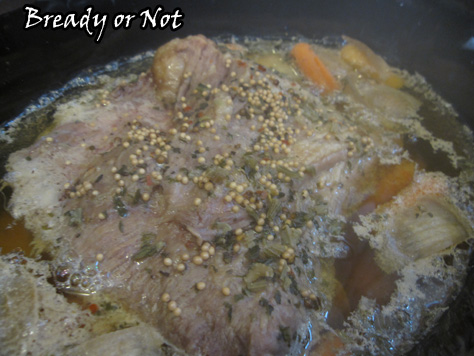
- Place celery flakes, onion slices, potatoes and carrots into the crock pot. Trim fat from the brisket and place it on top of the veggies.
- Add 4-6 cups of water to the crock pot until the brisket is almost covered. Sprinkle the brisket's seasoning packet over the top.
- Put the lid on and cook on high for 4 1/2 hours, or 8 to 9 hours on low.
- Remove the brisket and slice thinly or pull into chunks. Serve with the cooked veggies.
OM NOM NOM!
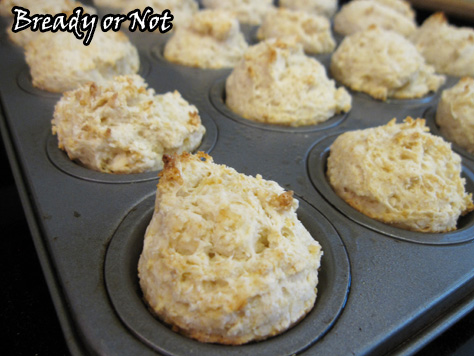
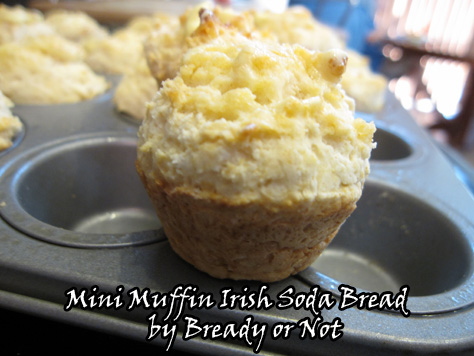
Bready or Not: Mini Muffin Irish Soda Bread
Irish soda bread is traditionally a big round. I took a shrink ray to it.
Here’s the problem: standard recipes make way too much bread for the two of us to eat. I halved the recipe a few years ago, and that worked out better but it was still a lot. I got to thinking, what if I made it in a form that was a lot easier for my husband to take to work?
I searched online, and to my surprise, no one else had made Irish soda bread like that. Huh. So I resolved to try it, using a halved version of the same Irish soda bread recipe I posted back in 2012.
It turned out FANTASTIC. The bread cooked up in only ten minutes. It was already portioned out so I didn’t go bread crazy.
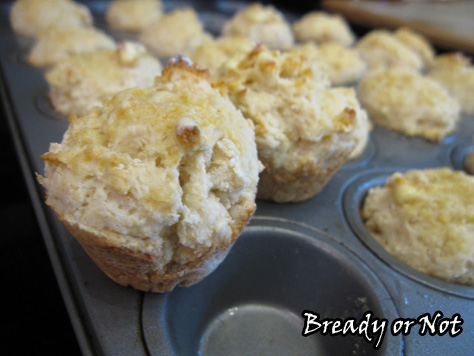
My husband happily took the leftovers in his work lunches–plus, the mini bread froze and thawed and tasted just as good weeks later. This recipe produces very soft, tender soda bread–not dense like some recipes I’ve tried.
This is the only way I’ll make Irish soda bread from here on. If I need to feed more people, I’ll just use the old, full version of the recipe and pull out another mini muffin pan.
Be sure to come back next week when I feature my favorite corned beef recipe–cooked in the crock pot!

Bready or Not: Mini Muffin Irish Soda Bread
Ingredients
- 2 cups all-purpose flour don't overfill
- 2 Tb cornstarch
- 1 Tb white sugar
- 3/4 ts baking soda
- 3/4 ts cream of tartar
- 3/4 ts kosher salt
- 2 Tb butter
- 3/4 cup buttermilk
- 1 Tb butter melted, for tops afterward (optional)
Instructions
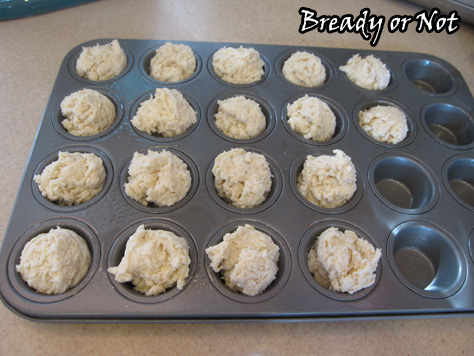
- Preheat oven to 385-degrees. Prepare mini muffin pan by applying nonstick spray in each well, though not all will be filled.
- Whisk together all of the dry ingredients. Work the butter into mixture with a pastry blender or your fingertips until it resembles coarse crumbs; just as with making pie crust, you want those bits of butter in there.
- Add the buttermilk and stir until just combined. Knead in the bowl until the dough just starts to come together and is still craggy and bumpy, adding more buttermilk if necessary. Don't over-knead or the bread will be tough and dense.
- Use a tablespoon scoop or spoon to evenly dole out dough into the pan. Expect about eighteen mini muffins.
- Bake for ten minutes. Use the toothpick test to check middle ones for doneness. Melt the remaining tablespoon of butter and brush it on the tops of the little rounds.
Leftovers freeze well, and are the perfect size to fit in lunches.
OM NOM NOM!