


Bready or Not: French Rolls Mixed in the Bread Machine
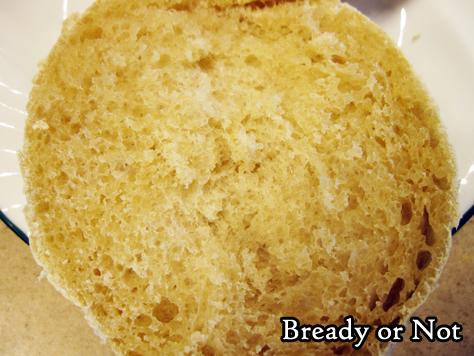
These French Rolls Mixed in the Bread Machine take some planning–including awakening the starter a day ahead of time–but are well worth the effort due to the sheer deliciousness.
This is one of those recipes that isn’t a huge time drain, but does require work in little bursts. Begin the starter. Get the rest of the dough going. Do another rise. Shape the rolls and rise a third time. Bake.
Also, just like the real thing in France, these are intended to be eaten fresh. However, that’s no big problem so long as you have room in your freezer. Freeze extra rolls the day they are made, and they’ll thaw and heat later and still be amazing.
This recipe is modified from Making Artisan Breads in the Bread Machine by Michelle Anderson, which I highly recommend to any bread machine owners. [affiliate link]
Bready or Not: French Rolls Mixed in the Bread Machine
Equipment
- bread machine
- kitchen scale
- plastic wrap
- parchment paper
- basting brush
Ingredients
Starter (make 12 to 18 hours ahead)
- 1 1/4 cups bread flour
- 1/4 cup whole wheat flour
- 3/4 cup lukewarm water 100-110-degrees F
- 1/8 teaspoon active dry yeast
Dough
- 3/4 cup lukewarm water 100-110-degrees F
- 1 3/4 teaspoon sea salt
- 3 cups bread flour plus more for work surface
- 1/2 teaspoon active dry yeast
- nonstick spray or olive oil
Finish
- 1 large egg
- 1 Tablespoon water
Instructions
Make the starter
- In the bucket of a bread machine or in a separate pitcher, stir together all of the starter ingredients until combined. Cover the top with plastic wrap and let set to rise at room temperature for 12 to 18 hours.
Make the dough
- If the starter didn’t rise in the bread machine, place it there now and add the additional water, salt, flour, and yeast. Start the dough cycle.
- Once the full cycle is done, apply nonstick spray or olive oil in a large bowl. Gather the dough into a ball and place it in the bowl, flipping it to completely coat. Cover with plastic wrap and let rise until it doubles, about an hour. Prepare one or two large baking sheets with parchment paper.
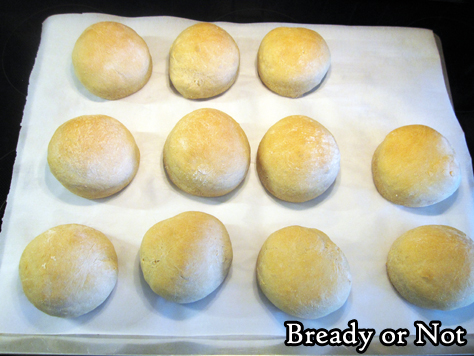
- Weigh the dough and then turn it out in a lightly floured work space. Determine the desired size of rolls; for standard dinner-sized ones, twelve is ideal. Divide the dough accordingly, forming into balls by tucking the lumpier bits and seams underneath. Fill a saucer with water to dab fingertips to make smoothing the dough easier. Space rolls out on prepared pan(s). Lightly cover with plastic wrap.
- Let rolls rise about 45 minutes. They should puff up. Preheat oven at 450-degrees.
Make the egg wash
- Whisk together the egg and water. Remove and discard plastic wrap from rolls. Brush egg wash over the rolls.
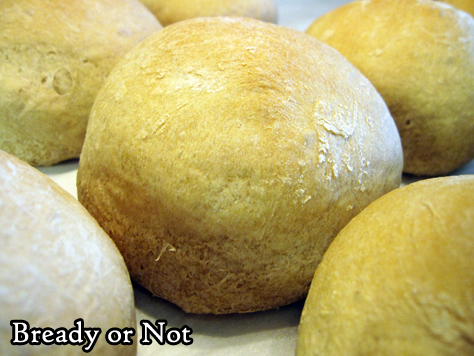
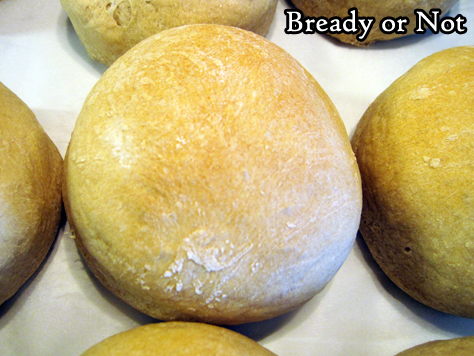
- Bake until golden brown, about 12 to 15 minutes. Rolls should sound hollow when tapped. They are best eaten hot the day they are made, but if frozen promptly, they will reheat later for same-day eating and still taste delicious!
OM NOM NOM!
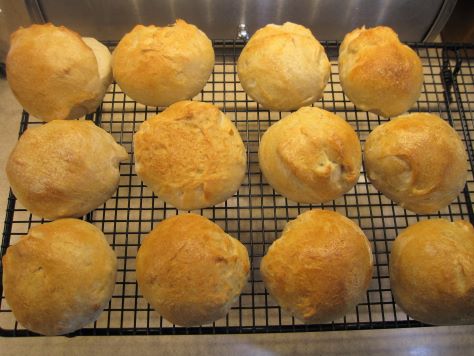
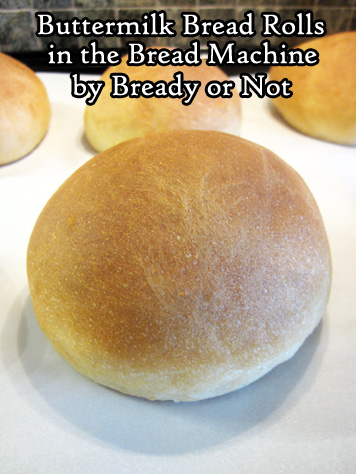
Bready or Not Original: Buttermilk Bread Rolls in the Bread Machine
The blog is called Bready or Not, and today we’re decidedly bready with these Buttermilk Bread Rolls that are conveniently made in the bread machine!
I can make bread by hand or use my KitchenAid, but the bread machine is my favorite way to mix dough. I never use it for the full baking process.
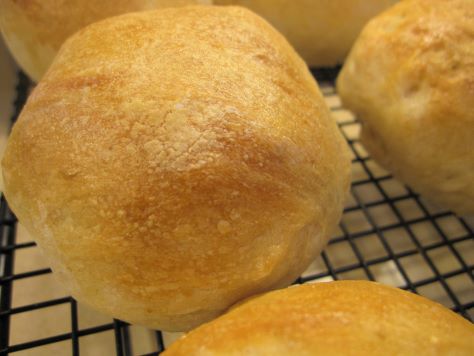
This dough is soft and dreamy to work with. Buttermilk is great for baking because it not only adds dairy to enrich the dough, but acid that causes a chemical reaction resulting in a tender crumb and great flavor.
If you don’t keep buttermilk around, no problem: look at the Note at the bottom of the recipe for advice on how to create soured milk as a substitute. I should also add that powdered buttermilk, which is reconstituted with water, also works well in recipes, though I haven’t tried it with this one in particular.
These sandwich-sized rolls are great to eat fresh, and like so many breads, is also fantastic to freeze. Throw them in a gallon freezer bag and then thaw a roll as needed in the coming weeks.
Bready or Not Original: Buttermilk Bread Rolls in the Bread Machine
Equipment
- bread machine
- food scale
- parchment paper
- baking sheet
Ingredients
- 1 1/2 cups buttermilk lukewarm (100-110-degrees); can substitute soured milk, see NOTE
- 3 Tablespoons unsalted butter melted
- 2 Tablespoons white sugar
- 1 teaspoon sea salt
- 3 3/4 cups bread flour
- 2 1/4 teaspoon instant dry yeast
Instructions
- Place all of the ingredients in the bucket of a bread machine. Start on DOUGH cycle. Set out a baking sheet with parchment paper.
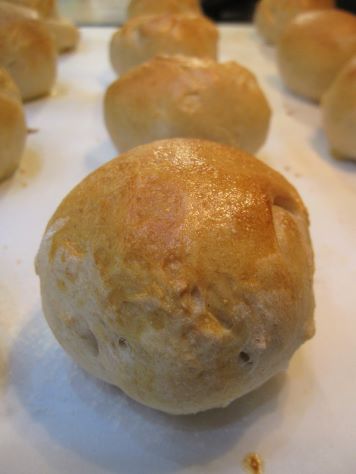
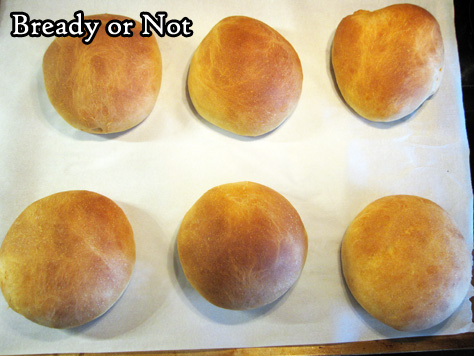
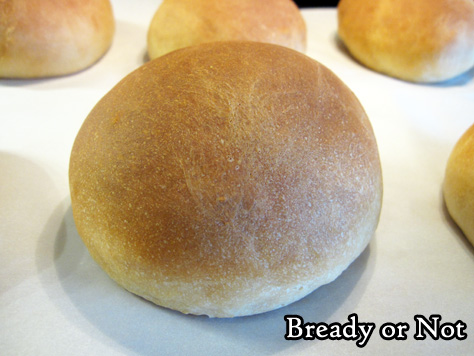
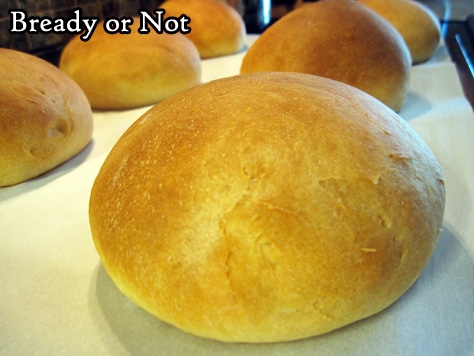
- When the cycle is done, weigh the dough on a food scale. Divide it by six to create large sandwich rolls. Split up the dough, using hands form nicely rounded balls, with any rough bits tucked underneath. Place spaced out on baking sheet. When all of the rolls are formed, cover with plastic wrap or a towel to rise in a warm place until puffed, about 45 minutes.
- Preheat oven at 350-degrees. Uncover the rolls and bake them for about 25 minutes. They should be golden brown and sound hollow when tapped. A digital thermometer discreetly plunged into the center should read about 190-degrees.
- Cool rolls for at least 20 minutes before slicing open. Store in a sealed bag for up to 3 days. Rolls can also be frozen for later enjoyment.
OM NOM NOM!
Notes
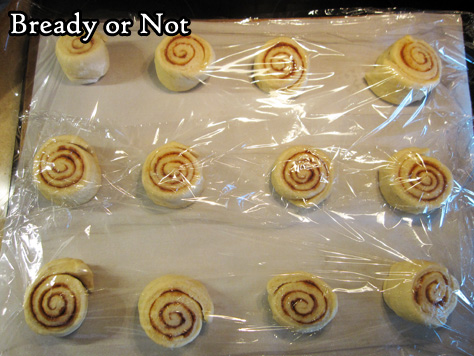
Bready or Not: Swedish Cinnamon Rolls in the Bread Machine
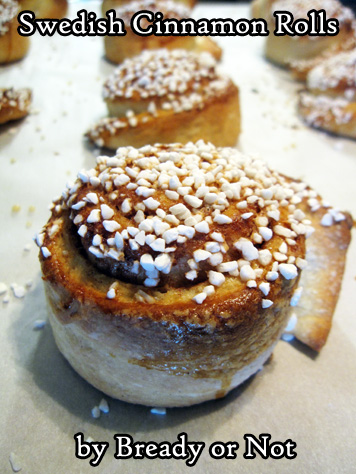
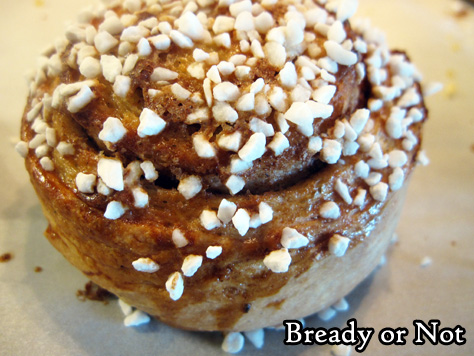
Cinnamon Rolls in most any form are awesome. This version, with a top of crusted Swedish Pearl Sugar, is wonderfully crunchy and not as hardcore-sweet as frosting variations.
First of all, I know people are already asking: what is Swedish Pearl Sugar? It’s sugar that consists of large granules that hold their shape while baking at moderate temperatures. No, you cannot substitute with regular sugar or even turbinado sugar. Pearl Sugar is unique.
I like Lars’ Own brand. I get it off of Amazon, and you can, too. [affiliate link] I have a number of other recipes on Bready or Not that utilize Pearl Sugar as well. I can help you use up that bag!
So, enough about the sugar. The recipe here is written for the bread machine, but of course, modify to make it in a stand mixer or by hand. This is an enriched dough, meaning it has eggs and butter, so expect it to have a yellow tint.
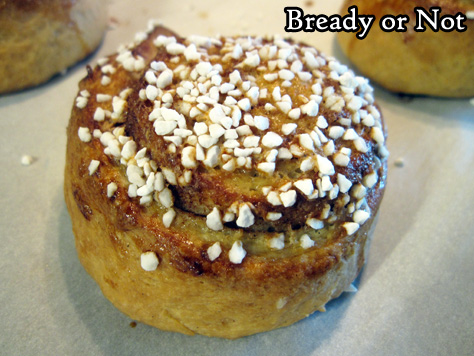
The baked-up rolls are divine little swirls that are incredibly fun to unspool. The Pearl Sugar adds a satisfying crunch in contrast to the soft, buttery bread.
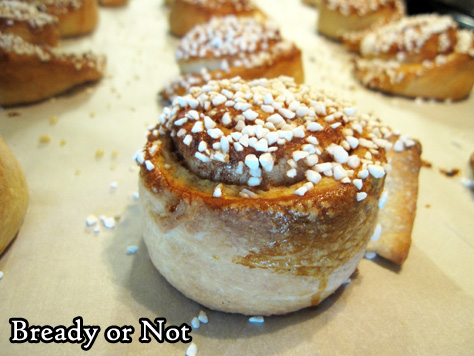
This is a great recipe for a special breakfast or dessert–but do keep in mind that they are best eaten within a day. After that, they get stodgy, but they are still edible. I highly recommend freezing some rolls very soon after baking, as they will thaw later as if they were just made!
Bready or Not: Swedish Cinnamon Rolls in the Bread Machine
Equipment
- bread machine
- large baking sheet
- parchment paper
Ingredients
Dough
- 1 1/2 sticks unsalted butter 3/4 cup
- 1 cup milk
- 1/4 teaspoon sea salt
- 1/4 cup white sugar
- 3 cups all-purpose flour
- 1 teaspoon cardamom
- 2 1/4 teaspoons dry yeast one packet
Filling
- 2 Tablespoons unsalted butter softened
- 3 Tablespoons white sugar
- 1/2 Tablespoon ground cinnamon
Glaze
- 1 egg room temperature, lightly beaten
- 1/4 cup Swedish pearl sugar
Instructions
- Melt butter on the stove top or in the microwave. Add milk and heat until they are lukewarm. Place in bread machine. Add sugar, salt, flour, cardamom, and yeast. Begin dough cycle on machine. Check on dough as it mixes, adding more flour or milk, if needed. Let it complete its first rise.
- Line a large baking sheet with parchment paper.
- Lightly flour a surface. Dump out dough and roll it out into a rectangle about 1/3″ thick. Spread softened butter all over the surface. Stir together the sugar and cinnamon, then sprinkle it over the butter. Roll the dough up to form a long log.
- Use a sharp knife or a piece of unwaxed dental floss to slice up 12 individual rolls. Set spaced out on prepared pan. Cover with plastic wrap or a towel to rise for 30 minutes. In the meantime, preheat oven at 425-degrees.
- Brush beaten egg atop rolls. Sprinkle them with pearl sugar. Bake for 12-15 minutes, until golden brown. A digital thermometer in the middle of a center roll should read over 190-degrees. Cool for at least 15 minutes before eating.
- Swedish Cinnamon Rolls are best eaten within a day. If promptly frozen, they will keep for a prolonged period–just eat them soon after thawing.
OM NOM NOM!
Bready or Not: Soft Breadsticks from the Bread Machine
Soft Breadsticks are so very cozy and comforting. They are even better when they are easy to make from-scratch at home, thanks to a bread machine.
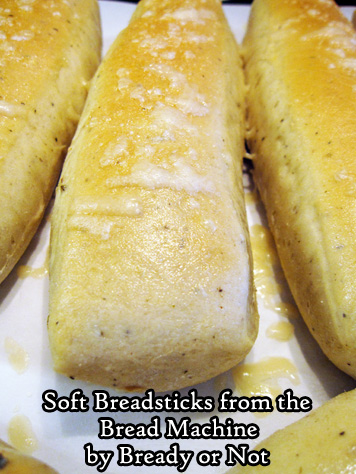
These are truly classic breadsticks. Doughy. Buttery. Just a touch of cheese on top.
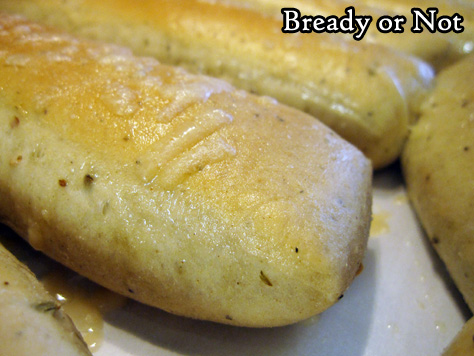
Season these however you want. Italian seasoning is great; I have Penzey’s pizza seasoning around, and I found it delicious in this recipe.
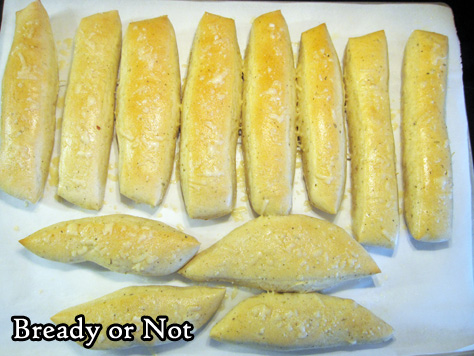
Sometimes I try to be precise with bread recipes when it comes to the baking stage–I pull out my food scale and weigh each round to get equal rolls. Not so here. I just wanted things that were, generally, in stick form.
If you have any leftovers, the sticks do keep well for two days at room temp, or you can freeze them for later. Just wrap them in foil to reheat in an oven or toaster oven.
Modified from the fantastic cookbook Making Artisan Breads in the Bread Machine by Michelle Anderson, available at Amazon, Bookshop, and other stores. [affiliate links]
Bready or Not: Soft Breadsticks from the Bread Machine
Equipment
- large baking sheet
- parchment paper
- pastry brush
Ingredients
- 1 1/4 cups lukewarm water (100-110 F degrees)
- 2 Tablespoons olive oil
- 1 Tablespoon white sugar
- 1 Tablespoon dry Italian seasoning or pizza seasoning
- 1 1/2 teaspoons sea salt
- 3 3/4 cups bread flour plus more for the work surface
- 2 1/4 teaspoons instant dry yeast
- 2 Tablespoons melted butter
- 1/4 cup grated Parmesan cheese or Grana Padano
Instructions
- Follow ingredient order for your bread machine; for most, that means liquids first. Place water, oil, sugar, seasoning, and salt in the bread machine bucket. Add the flour and the yeast. Start the machine on DOUGH cycle.
- Check on the dough as it mixes, if possible, and add a touch more liquid or flour as necessary. Dough should be soft and plush.
- Prepare a large baking sheet with parchment paper. Once the dough cycle is done, transfer the dough to a clean, floured work surface. If equal breadsticks are desired, use a food scale to weigh the dough and divide–or simply pat out the dough and use a pizza cutter or bench knife to slice the bread into stick form. Transfer them to the baking sheet. Cover them with plastic wrap or a towel and let them rise for another 45 minutes to an hour, until nicely puffed.
- Preheat oven at 350-degrees.
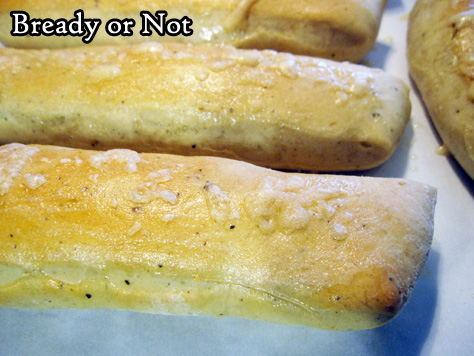
- Bake time will vary dependent on their size. If about 12 breadsticks are on the sheet, bake for about 12 minutes. Pull out of oven briefly to brush on melted butter. Sprinkle cheese all over top. Place breadsticks back in oven to bake for another 3 to 5 minutes, until sticks are more golden and cheese is melted.
- Eat breadsticks warm. Store any leftovers in a sealed plastic bag at room temperature for up to 2 days. They can also be frozen for later enjoyment.
OM NOM NOM!
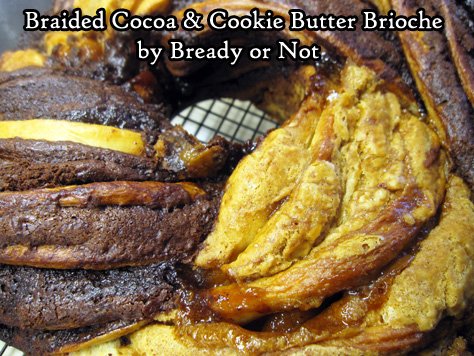
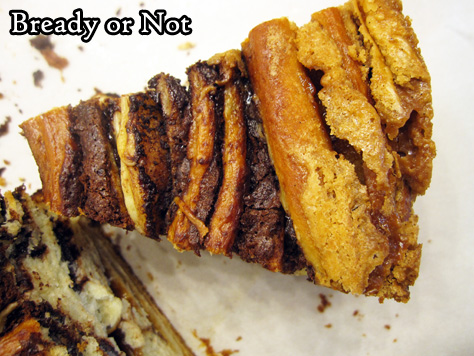
Bready or Not: Braided Cocoa and Cookie Butter Brioche
This Braided Cocoa and Cookie Butter Brioche is stunning in appearance and taste, so be warned: there are more pictures than usual for this post, including some process photos.
When I set out to rewrite the original recipe, featured in the January/February 2019 issue of Bake from Scratch, I knew this bread would be time-consuming. Intimidating, even.
The braiding process, shown here, had me worried to start, but that turned out to not be so bad after all.

What ended up being the most tedious aspect was all the necessary dishwashing between the various stages! This recipe would be a great time to have some helpful assistants around.
The original recipe used special black cocoa paired with peanut butter. I went with normal baking cocoa (Penzey’s), which is less dramatic in color but great with flavor, and my stalwart baking favorite, cookie butter.
Despite my evangelizing, some people are always meeting cookie butter for the first time. It’s found in jars near the nut butters in stores. Trader Joe’s carries it under the name Speculoos. The other major brand is Biscoff. It tastes like spice cookies pureed in oil, because that’s exactly what it is.
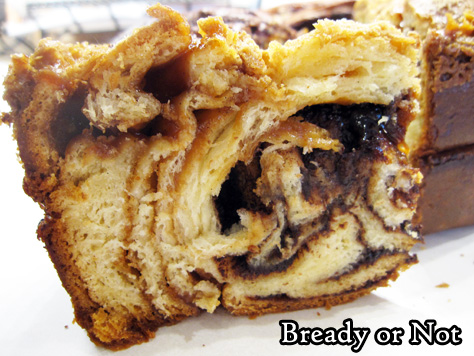
It’s also incredible to bake with because it can even make cookies taste inherently more cookie-like. Here, when it’s used with chocolate, cocoa, and fresh bread, it’s truly amazing.
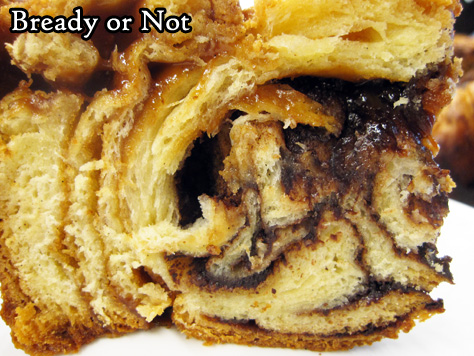
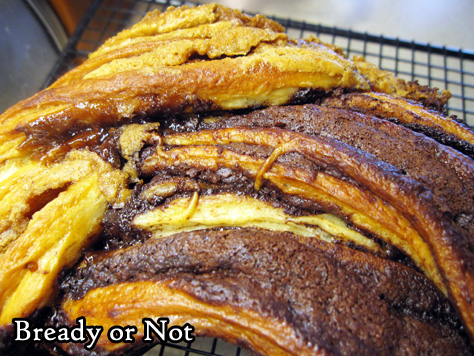
During baking, I found the exposed swirls of cookie butter actually caramelized, creating a wonderful crunch in the same bite as tender enriched bread. That, along with chocolate?
Oh wow. Oh wow.
Bready or Not: Braided Cocoa and Cookie Butter Brioche
Equipment
- stand mixer
- food scale
- Rolling Pin
- uneven spatula
- bench knife
- pastry brush
Ingredients
- 1 cup warm milk (105-110-degrees F)
- 2 1/4 teaspoons active dry yeast
- 2 large eggs room temperature
- 1/2 cup unsalted butter (1 stick) melted
- 4 teaspoons vanilla extract or vanilla bean paste, divided
- 4 1/2 cup all-purpose flour plus more if needed
- 1/4 cup white sugar
- 1 Tablespoon kosher salt
- 3/4 cup plus 2/3 cup confectioners' sugar divided
- 2/3 cup creamy cookie butter
- 3 Tablespoons unsalted butter melted
- 1/2 cup unsalted butter softened
- 1/2 cup semisweet chocolate melted
- 1/3 cup cocoa powder sifted
- 1 large egg white
- 1 Tablespoon water
Instructions
- In a stand mixer with a paddle attachment, stir together warm milk and yeast, letting it stand about 5 minutes to get foamy.
- Mix in the eggs, 1 stick melted butter, and 2 teaspoons vanilla. Follow up with the flour, sugar, and salt, beating until combined. Switch to the dough hook and beat for about 4 minutes, until smooth.
- Use nonstick spray on a large bowl. Lightly flour a flat surface and turn out the dough to form it into a round. Place it in a bowl, rotating it to grease the entire surface. Cover and let rise for about 1 hour, until it doubles in size.
- Clean everything and return to the stand mixer. Using the paddle attachment, beat the 2/3 cup confectioners’ sugar with the cookie butter, 1 teaspoon vanilla, and 3 Tablespoons melted butter, until smooth. Transfer the mixture to another bowl. set aside.
- Clean the mixer and paddle attachment again. Beat the final stick of softened butter, the melted chocolate, cocoa, remaining 3/4 cup confectioners’ sugar, and last 1 teaspoon vanilla, until smooth. Set aside.
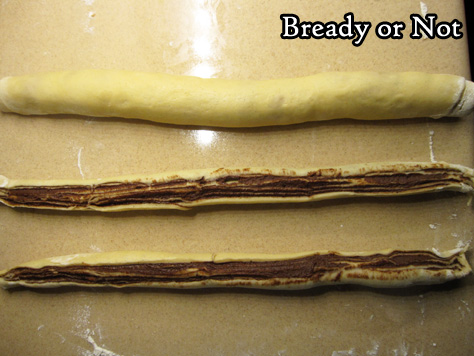
- Lightly flour a flat surface again. Punch down the dough and turn it onto the surface. Use a food scale to divide the dough in half. Stash one half back in the bowl for now, covered to prevent drying. Roll the other half into a 20 by 9 rectangle. Use an uneven spatula to spread the cookie butter filling onto the dough, up to 1/2-inch of the edges all the way around. Starting on a long side, tightly roll up the dough, pinching the seam to seal. Set aside with the seam faced down.
- Roll out the other dough in the same way, this time spreading on the chocolate-cocoa filling. Roll it up as well, placing the two dough rolls side by side. Use a bench knife to cut each roll in half, lengthwise. With the multi-layered middles facing up, twine the strips together.
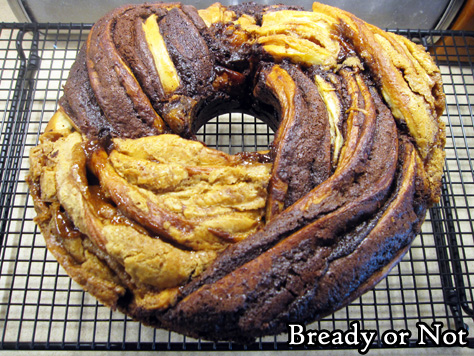
- Apply nonstick spray on tube pan. Lift braid into the pan and tug it to form a complete circle, tucking the ends beneath. Cover the bread and let it rise in a warm spot until it’s puffed, about 30 minutes.
- Preheat oven 350-degrees.
- In a small bowl, whisk together the egg white and water. Brush the top of the dough, touching the cookie butter strands first, then the chocolate; this will prevent the chocolate from smearing too much.
- Bake for about 50 to 55 minutes, covering the bread with foil halfway through to prevent too much browning. When done, the top should be golden and an instant-read thermometer should be above 190-degrees.
- Let cool in pan for about 15 minutes. Turn out onto a plate, then tip it back onto a rack to completely cool, top-up.
- The bread is best eaten within a day, but it can also be sliced up and frozen in pieces. It'll thaw later and taste beautifully fresh! Eat at room temperature or slightly warmed.
OM NOM NOM!
Bready or Not Original: Bread Machine Beer Bread Rolls
Your home bread machine makes delicious carbs super-easy with these Bread Machine Beer Bread Rolls!
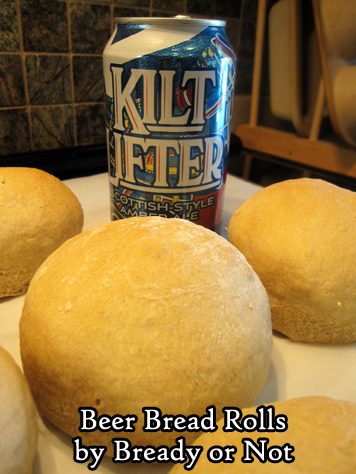
First things first: the type of beer. You could try this with any number of beers, but I suggest a darker one. I’ve tried this with Kiltlifter (a major local beer in Arizona) and also Guinness. Guinness definitely created rolls that were darker with a deeper flavor. I have not tried this with a nonalcoholic beer.
Really, choose a beer that will go well with the meal. Don’t worry about alcohol amounts in the final product, either. It’ll burn off in the baking process. Also, you don’t have to like beer to like these rolls. I do not like beer (seriously, I really do not like beer) but I do enjoy the hoppy flavor it imbues in this bread!
A food scale will be an immense help in creating like-sized rolls. I’ve used this recipe to make medium-sized rolls, good for a butter-lacquered side dish, as well as big rolls suitable for BBQ-sauce shredded pork or other heaped-on fixings.
The rolls are fantastic fresh and will keep fine for a few days, and they are great to freeze. If you freeze them soon after they come out from the oven, they will taste just that fresh when you later thaw them!
Bready or Not Original: Bread Machine Beer Bread Rolls
Equipment
- bread machine
- food thermometer
- food scale
Ingredients
- 12 ounces dark beer such as Kiltlifter or Guinness
- 1/2 cup water
- 1 1/2 teaspoons sea salt
- 4 to 4 1/2 cups bread flour plus more for dusting
- 1 1/2 teaspoons instant dry yeast
Instructions
- This may be a travesty for some, but place the beer and water in a large microwave-safe dish. Give the liquid a brief zap in the microwave to raise the temperature to 100 to 110-degrees. Place in the pan of the bread machine. Add the salt, 4 cups bread flour, and yeast. Start the machine on the dough setting.
- Check on the dough as it begins mixing. If your bread machine allows, as the cycle is on-going, add more flour if the dough looks too loose, or add a touch more water if it is too dense and lumpy.
- When the cycle is done, weight the dough and do the math to divide into rolls of desired size. Prepare a large baking sheet with parchment paper. Divide the dough with the help of the food scale, shaping and smoothing each piece into a roll. Set spaced out on sheet.
- Cover dough balls with plastic wrap or towels and set in a place to rise, 30 minutes to an hour.
- Preheat oven at 350-degrees. Remove cover from dough and baking sheet. For medium rolls, bake for around 24 minutes; for larger rolls, bake for about 28 minutes. Check for doneness by tapping rolls and listening for a hollow sound, or plunge the food thermometer into a discreet place to verify the temperature in the middle if above 190-degrees.
- Cool at least 20 minutes before eating. Rolls will keep in a sealed bag at room temperature for up to 2 days, and can also be frozen to enjoy much later.
