


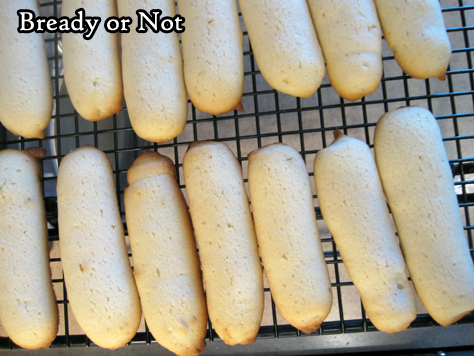
Bready or Not: Cat Tongue Cookies (Langues de Chat)
Cat Tongue Cookies! NO CATS WERE HARMED IN THE MAKING OF THESE COOKIES.

I first heard about these cookies on the Great British Bake Off, where they were used as part of another recipe. My curiosity was piqued.
I am trying out a lot more French recipes. This seemed like a good, basic one to try… even though I HATE piping things. Did I say hate? I meant LOATHE.
That said, this recipe wasn’t too awful in that regard. The dough wasn’t a big sticky mess. I used a gallon Ziploc bag and cut the corner off, the old basic method, and that worked just fine.
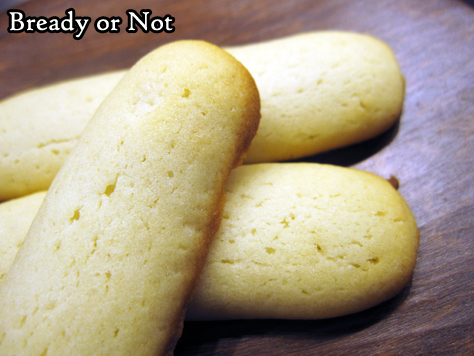
The end result reminded me a lot of the old American stand-by, Nilla Wafers. Nothing fancy by themselves, but crisp and refreshing. They would be easy to dress up by dipping them in chocolate, Nutella, jam, whatever–if you want.
I thought they were just fine by themselves, with my cats lurking close by–tongues intact.

Bready or Not: Cat Tongue Cookies (Langues de Chat)
Equipment
- parchment paper
- piping bag or gallon Ziploc
Ingredients
- 9 Tablespoons unsalted butter softened
- 1/2 cup white sugar plus 2 Tablespoons
- 3 egg whites
- 1 1/2 teaspoons vanilla extract
- 1 1/2 cups all-purpose flour
Instructions
- Preheat oven at 400 degrees. Line a large baking pan with parchment. Use pencil to draw 3-inch lines spaced several inches apart in rows upon the paper, then flip over so the pencil lines still show through as guides.
- In a medium bowl, cream together butter and white sugar (1/2 cup and 2 Tablespoons) until smooth. Beat in egg whites one at a time until batter is light and fluffy. Stir in vanilla followed by flour. Dough might be stiff.
- Put about half of dough into a Ziploc bag (then cut off corner) or a piping bag with a medium star tip. Squeeze out dough onto the lines on parchment.
- Bake for 10 to 11 minutes, until edges are starting to brown. Move to cooling rack. Pipe and bake remaining dough, reusing parchment.
- Store in a sealed container. Good dipped into chocolate or spread with Nutella--or all by itself.
OM NOM NOM!
New story at Daily Science Fiction: “The Best Horses Are Found in the Sea…”
“The Best Horses Are Found in the Sea, and Other Horse Tales to Emerge Since the Rise” might be my longest story title ever, and it’s the title of my latest story at Daily Science Fiction. It’s a thousand-word look at a far-future California where horses are the stuff of mythology.
#SFWAPro

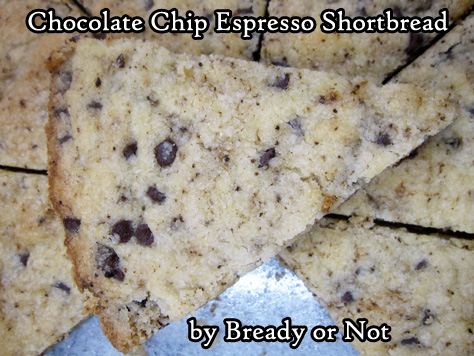
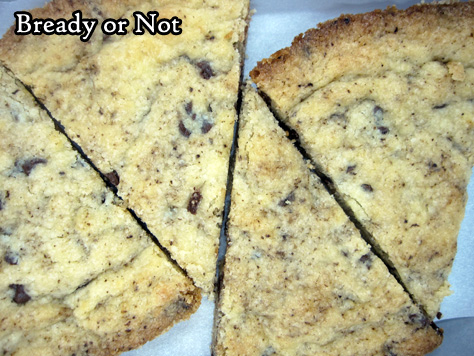
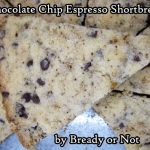
Bready or Not Original: Chocolate Chip Espresso Shortbread
Basic Scottish shortbread is one of the awesomest things in the world. It’s also a blank canvas for variations beyond count. Chocolate chips and a jolt of espresso add extra oomph to this new spin!
Pride O’ Scotland Shortbread was one of the first recipes I considered ‘mine’ as a teenager. It became the one thing I made each year for our family’s Thanksgiving potluck.
Appropriately, it’s also something I made for my husband the very first day I met him when I was 18. (Yes, he was an almost total stranger. Yes, I welcomed him with shortbread. Because that’s what I do.)
I considered the recipe sacrosanct the past two decades… and then I got an idea. Chocolate. Espresso powder. It had to be good, right? Or would it be a crumbly mess?

Yes indeed, it turned out to be delicious. No, it remained as cohesive as ever. Yay!
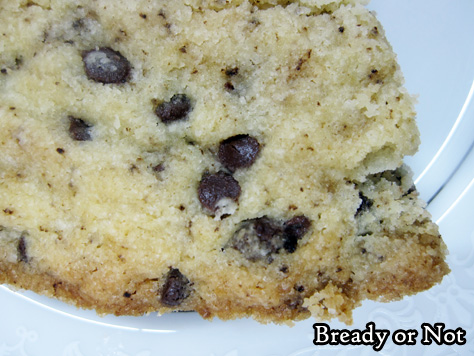
Espresso powder is fantastic along with chocolate; I include it in most every brownie recipe. The coffee flavor doesn’t come in strong (I actually hate coffee), but it make the chocolate taste bolder and more nuanced.
Bready or Not Original: Chocolate Chip Espresso Shortbread
Equipment
- two basic 9-inch pie plates
Ingredients
- 2 cups all-purpose flour
- 3/4 cups white sugar
- 1 teaspoon espresso powder
- 1/4 teaspoon salt
- 1 cup unsalted butter softened, 2 sticks
- 1 egg yolk
- 1 teaspoon vanilla extract
- 1/2 cup mini chocolate chips
Instructions
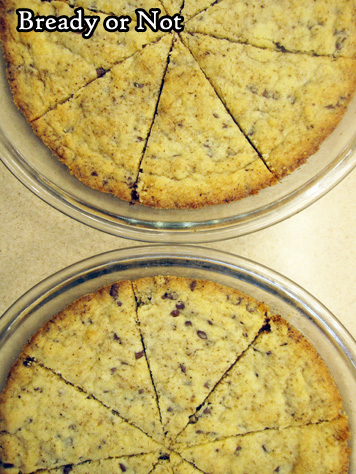
- Place flour, sugar, espresso powder, and salt in mixing bowl; add butter, egg yolk, and vanilla. Mix with fingers until dough holds together, then fold in the mini chocolate chips. Once chips are distributed, divide dough into two balls and press each ball into a pan. Flatten evenly with palms and prick surface all over with floured fork. Slash into wedges.
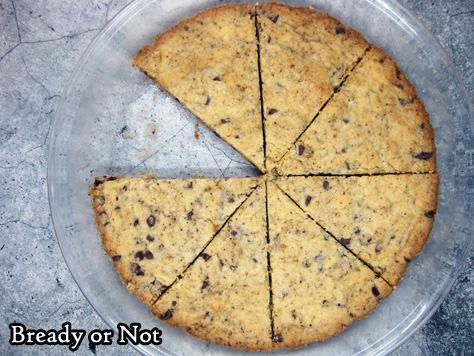
- Bake for 17 to 22 minutes, until the edges are golden brown. Remove from oven. Immediately cut again following slash marks and carefully run the blade around the edge of the crust to loosen the shortbread.
- Let shortbread cool. Cut again along slash marks and the crust, then remove wedges to eat. Shortbread keeps in sealed container for several days.
OM NOM NOM!
Book Blog: The Dark Lord Clementine by Sarah Jean Horwitz
I review everything I read and post reviews on Goodreads and LibraryThing. That’s not enough. Good books are meant to be shared. Therefore, I’m spotlighting some of my favorite reads here on my site.

The Dark Lord Clementine by Sarah Jean Horwitz
out now; Indiebound, B&N, and Amazon
I received a gratis copy of the ebook for award consideration.
The Dark Lord Clementine is an incredibly witty, fun middle grade frolic in a fresh new fantasy world. I would have adored this book as a kid and enjoyed it as an adult too–and had to fight the urge to giggle aloud more than once as I read in a waiting room.
Clementine is the only child of the Dark Lord Elithor. She’s been raised in isolation, instructed in the importance of villainy as she helps to manage their silent farm with nightmares and flaming chickens. When her father comes down with a dreadful curse, Clementine does her best to manage the estate, but as loneliness and desperation sets in, she is determined to take on the witch who cursed her father… and instead falls in with some people who might, possibly be her first friends.
What I loved about this book was that it’s delightfully amusing and that the moral lesson of the book is always kept fun, never preachy. Clementine–and her dad–can’t be TOO evil, after all. The end of the book is packed with surprises, too. Really, it’s a fantastic read start to finish. How can I not love a book that has a spell-book-turned-into-a-chicken?
Read MoreBready or Not Original: Hazelnut Praline Bars
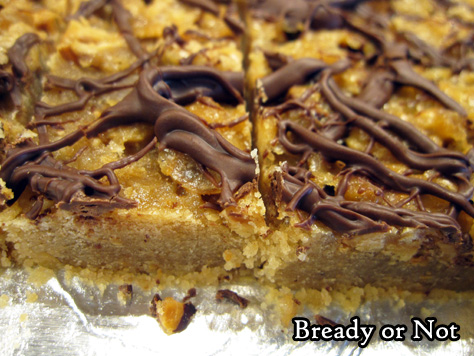
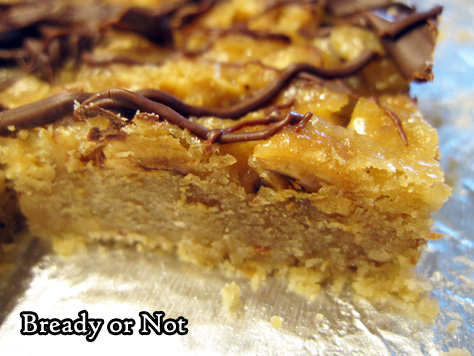
These delicious Hazelnut Praline Bars are a lot like praline candy, but it fantastic bar form.
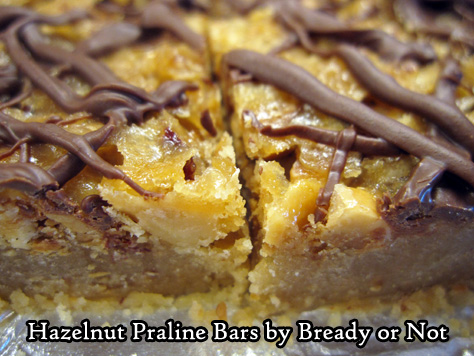
The top of these bars caramelizes. These things are very sweet, with the nuts rendered softly crunchy. The combination of textures is just divine.
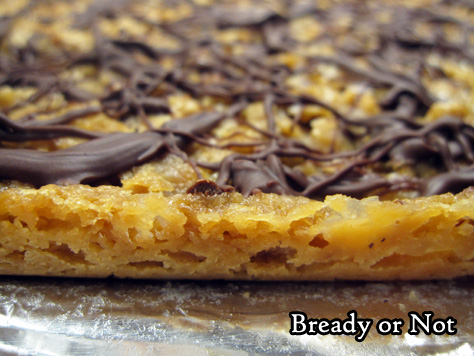
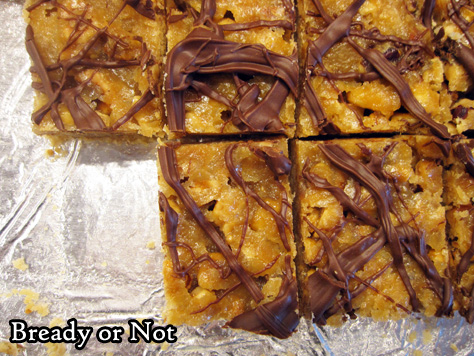
The slight drizzle of chocolate on top is the perfect accent, too. Funny how the tiniest bit of chocolate adds so much in terms of flavor.
A 6 ounce bag of hazelnuts will be the perfect amount for both the crust and nut layer, too.
Can you use other nuts? I haven’t tried it in this recipe, but why not? Praline candy traditionally uses pecans, after all. I bet using other nuts–or a combo–would be fine.
Hazelnuts are sure delicious and fun, though!

Bready or Not Original: Hazelnut Praline Bars
Equipment
- 13x9 pan
- food processor
- small saucepan
Ingredients
Crust
- 1/2 cup hazelnuts
- 1 cup brown sugar packed
- 3/4 cup unsalted butter softened, 1 1/2 sticks
- 2 cups all-purpose flour
Nut Layer
- 1 cup hazelnuts
- 13 Tablespoons unsalted butter
- 1/2 cup brown sugar packed
Topping
- 1/2 cup milk chocolate chips
Instructions
- Preheat oven at 350-degrees. Line a 13x9-inch pan with foil and apply nonstick spray or butter.
- Place the 1/2 cup hazelnuts in a food processor. Process until finely ground.
- In a medium bowl, beat together the next two crust ingredients, the brown sugar and butter. Add the flour and ground hazelnuts. Press crust into pan; a piece of wax paper and a heavy glass makes it easy to form an evenly compressed layer. Bake for 10 minutes.
- In the meantime, put the remaining hazelnuts in the food processor and give them a quick pulse, just to coarsely chop them.
- As soon as the crust comes out, sprinkle the hazelnuts over the top. In a small saucepan, warm the butter and brown sugar to boiling at medium heat. Boil for a minute. Pour over hazelnuts.
- Bake for 15 to 18 minutes, until edges are bubbling and center is set. Cool completely.
- In a small microwave-safe bowl, zap the chocolate in 25 second bursts, stirring well between each pass, until it can be stirred smooth. Use a fork to drizzle the chocolate over the bars.
- Chill in fridge for 30 minutes, or until chocolate is set. Use the foil to lift contents onto a cutting board and slice into bars.
- Store in a sealed container at room temperature or in the fridge with waxed paper or parchment between the layers.
