


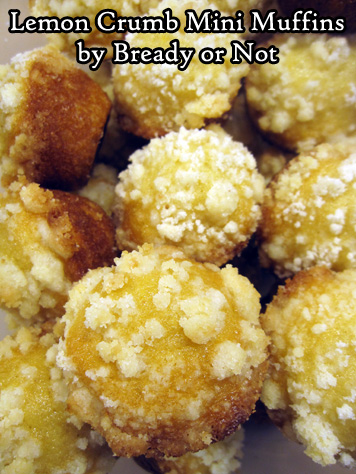
Bready or Not: Lemon Crumb Mini Muffins (potluck-sized)
I found a lemon muffin recipe and thought, hey, I’ll rewrite this to be original and I’ll do mini muffins instead!
Um. Yeah. The original recipe made a couple dozen muffins. My version? 113.

I swear, I felt like I had created a Bowl of Holding. There was so much batter. So very, very much batter.
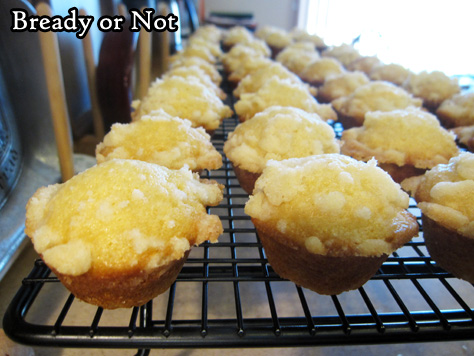
The good news? My efforts were not in vain. The muffins were delicious. They were lemony and light, like puffs of flavor, the perfect remedy to the doldrums of winter.
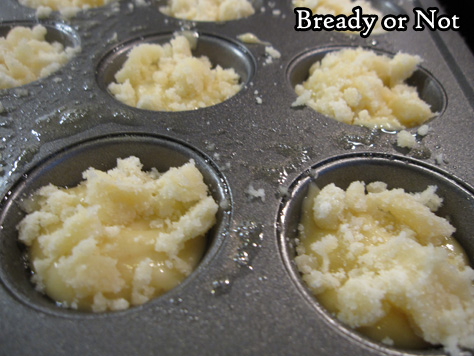
The recipe itself is pretty straightforward. Grease your mini muffin pans well (make SURE you have two pans to bake at once) and don’t overfill them. A touch of crumb topping makes them prettier and extra yummy.

Bready or Not: Lemon Crumb Mini Muffins (potluck-sized)
Ingredients
Crumb topping:
- 1 1/4 cups all-purpose flour
- 1 cup white sugar
- 1/4 teaspoon salt
- 1/2 cup unsalted butter 1 stick, melted
Mini muffins:
- 4 eggs room temperature
- 2 cups white sugar
- 1 cup vegetable oil
- 1 large lemon zested and juiced
- 1 teaspoon lemon extract
- 1 teaspoon vanilla extract
- 2 teaspoons baking soda
- 1 teaspoon salt
- 16 ounce sour cream 2 cups
- 4 cups all-purpose flour
Instructions
- Preheat oven at 375-degrees. Prepare two mini muffin pans with a heavy dose of nonstick spray.
- Combine the topping ingredients with a fork. Set aside.
- In a very large bowl, mix the eggs until they are thick and frothy. Add the sugar and oil, and beat until they become creamy. Add the lemon zest and juice, both extracts, baking soda, and salt.
- At this point, if you are using an electric mixer, you likely need to switch to a big spoon because of the sheer amounts involved. Add the sour cream and flour, pouring in small increments of each to gradually combine everything. Make sure to scrape the bottom of the bowl. The batter might be somewhat lumpy.
- Use a teaspoon scoop to add batter to each muffin cup. Do NOT fill over 3/4 of each cup--these will grow in the oven! Use a spoon to add crumb topping to the tops.
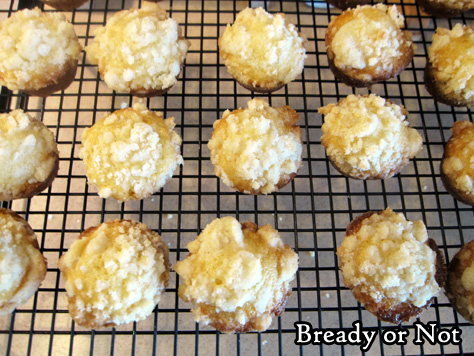
- Bake for 11 to 12 minutes, until muffins in the middle pass the toothpick test. Let them cool about 10 minutes, then use something like a chopstick to pry out each muffin to set on a cooling rack.
- Heavily apply nonstick spray to both pans again, then repeat the process. Using two pans, this will take three batches to bake.
- Store muffins in airtight containers at room temperature. They can also be frozen for weeks.
- OM NOM NOM!
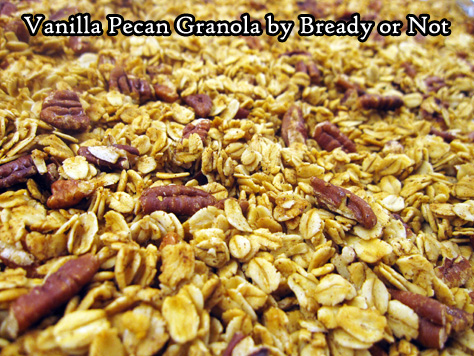
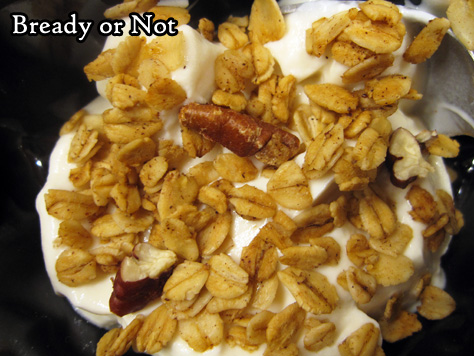
Bready or Not Original: (Gluten Free) Vanilla Pecan Granola
The breakfast theme goes healthy this week with my original recipe for Vanilla Pecan Granola!
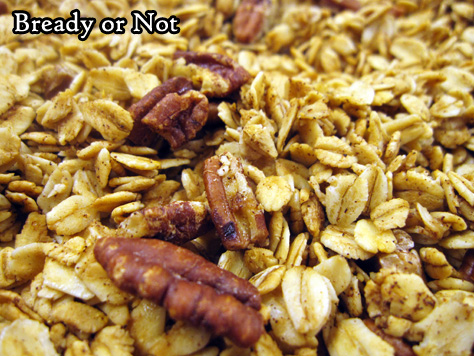
If you eat gluten-free, this should be of particular interest. Use GF oats and other contaminant-free ingredients, and this will be a delicious, fiber-full option for you.
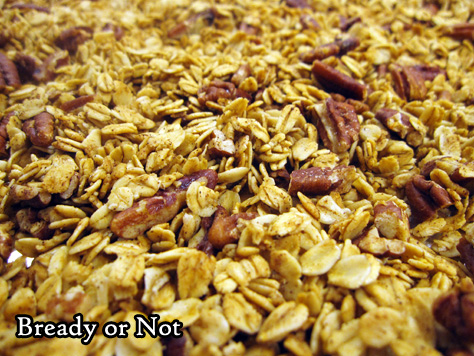
This is ridiculously easy to make, too. Combine, bake, stir every so often, then let it air out. Ta-da!
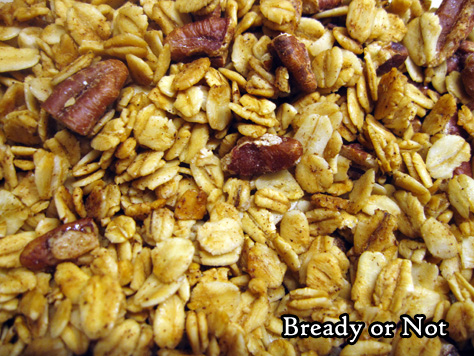
The granola keeps well for weeks, and the flavor is just so fresh. The recipe includes a full tablespoon of vanilla, which is a lot, yeah, but I do love that strong flavor. Some of the store granolas are wimpy in that regard.
Use this as a topping for yogurt or ice cream, or in milk like a cereal, or as a snack to munch out of your palm. However you eat it, it’ll be delicious!

Bready or Not Original: (Gluten Free) Vanilla Pecan Granola
Ingredients
- 2 1/2 cups old-fashioned rolled oats gluten-free or regular
- 3/4 cup pecans chopped
- 1/2 teaspoon ground cinnamon
- pinch salt
- 1/3 cup pure maple syrup
- 1/4 cup coconut oil melted
- 1 Tablespoon vanilla extract
Instructions
- Preheat oven at 300-degrees. Line a large rimmed baking sheet with aluminum foil or parchment paper.
- In a large bowl, toss together the oats, pecans, cinnamon, and salt. In another bowl, whisk together the maple syrup, coconut oil, and vanilla extract. Pour the wet ingredients over the dry, and stir well to coat completely.
- Spread the granola onto the prepared sheet. Bake for 45 minutes, with a pause to stir every 15 minutes. Then let the granola sit out to cool and dry for several hours.
- Granola will keep for weeks in a sealed container. Can also be frozen for several months.
- OM NOM NOM!
Read More
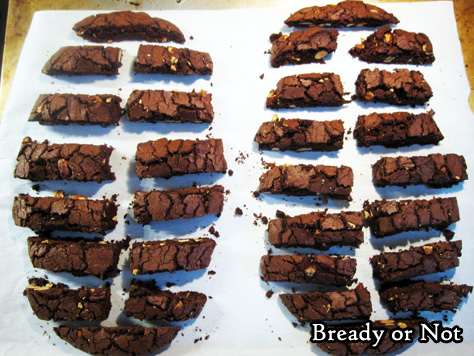
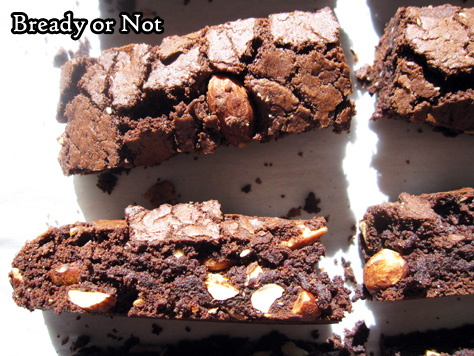
Bready or Not: Chocolate Almond Biscotti
Continuing the breakfast theme for the month, we now venture into the realm of chocolaty goodness with these Chocolate Almond Biscotti.

These taste like brownies… brownies that are firm enough to dip into coffee or hot chocolate or tea or your waiting mouth.
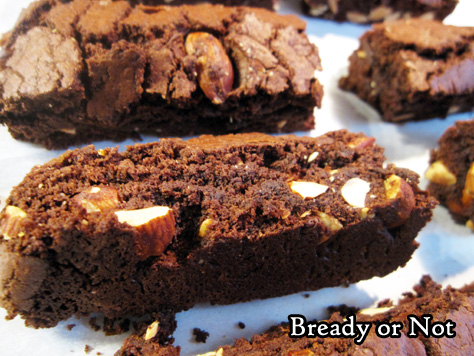
Almonds go wonderfully with chocolate–a lot of candy bars are proof of that–though they do complicate this recipe in one way. They get stuck on the knife blade when the biscotti are chopped apart.
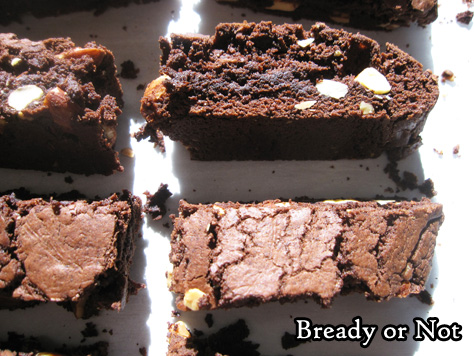
The good news is, the biscotti at still kind of soft then, so you can press them back together a bit–just don’t burn your fingers!

I can’t say I mind that some chocolate crumbles and almond bits are left on the cookie sheet, either. Oh darn. Can’t let those go to waste.
Do check out other biscotti featured on Bready or Not: Maple Walnut White Chocolate Biscotti and Snickerdoodle Biscotti.
This new recipe was modified from the original at McCormick.

Bready or Not: Chocolate Almond Biscotti
Ingredients
- 1 3/4 cups all-purpose flour
- 3/4 cup unsweetened cocoa powder sifted
- 1 teaspoon baking powder
- 1/4 teaspoon salt
- 4 ounces semi-sweet chocolate
- 1/2 cup unsalted butter 1 stick, softened
- 1 1/4 cups white sugar
- 2 eggs room temperature
- 1 teaspoon almond extract
- 1 cup almonds coarsely chopped
Instructions
- Preheat oven to 325-degrees. Prepare a large baking sheet with parchment paper. In a medium bowl, mix the flour, cocoa powder, baking powder, and salt; set aside.
- Melt the chocolate in the microwave, using short, careful bursts. Once it is melted, set aside to cool for a few minutes.
- In a large bowl, beat the butter and sugar until light and fluffy. Add the eggs followed by almond extract. Scrape in the melted chocolate. Gradually mix in the dry ingredients, and add the almonds last.
- Divide the dough in half. Drop each half onto the ready cookie sheet with lots of space between them. Use a spatula to shape them into logs roughly four inches across, eight inches long, and about an inch high.
- Bake 35 minutes, until the logs spring back when gently touched.
- Cool on stove top for 10 minutes. Use a sharp, serrated knife to chop the logs into 1/2-inch thick slices. The almonds will likely get stuck on the blade and cause the biscotti to crumble some; the biscotti is still somewhat soft, so try to wedge almonds back in and reshape the sticks. Do take care, as they are hot!
- Place the slices upright, if they will stay, or lay them on their sides. Bake for another 20 minutes, flipping them halfway, if necessary.
- Allow the biscotti to cool and dry out for several hours before placing them into sealed containers.
- OM NOM NOM!
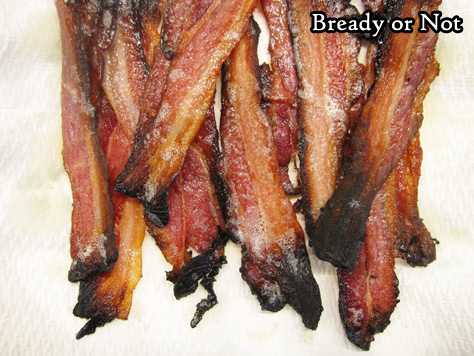
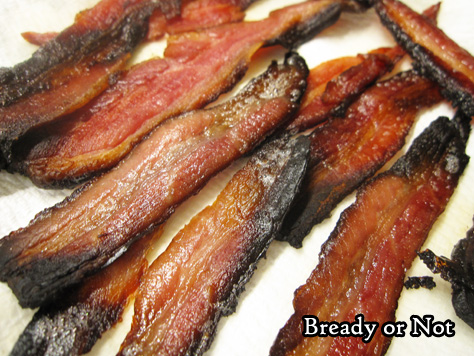
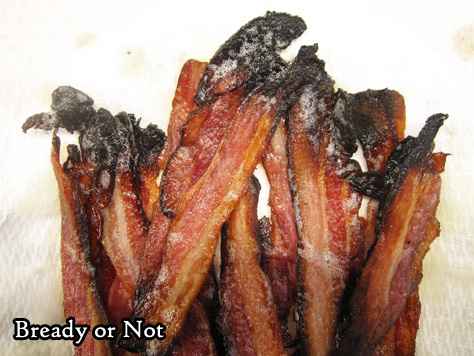
Bready or Not: Cato Home-Cured Bacon
We’re kicking off a breakfast theme for a month with a recipe that will step-by-step teach you how to cure your own bacon.
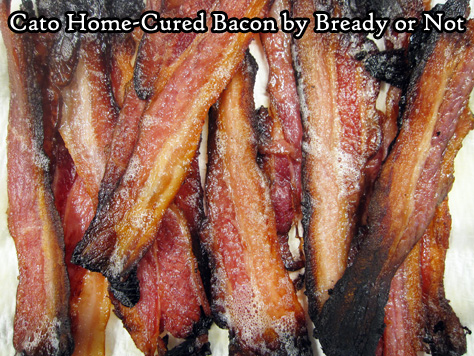
I guarantee this will be among the best, if not THE best, bacon you will have in your life. Fresh really makes the difference.
This recipe is not difficult. In all honesty, the greatest challenge is that the curing bacon takes up a lot of fridge space for about 10 days.
I completely modified this from a Michael Symon recipe featured in Food Network Magazine, March 2014. The only way that I can buy pork belly locally is from Costco (for about $2.69 a lb!), so this is a Costco-sized recipe.
If you can buy a smaller pork belly slab, then just halve the ingredients. Otherwise, buy the big belly and follow all of the steps I provide… which means you’ll have another slab of frozen bacon already seasoned and prepped to cure in a few weeks or months.
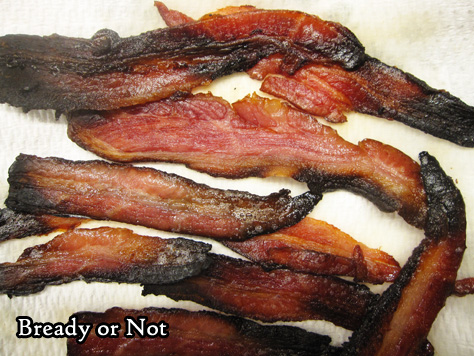
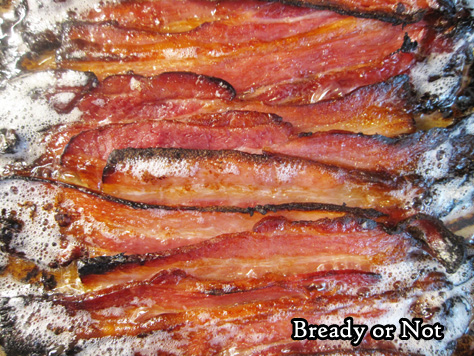
After the meat is smoked, slice it up and use it however you want. I find that home-cured bacon cooks much faster than the store stuff, though it can be much thicker, and the bits that look burned aren’t usually burned.
The smoked meat also freezes and keeps for weeks or months. Just thaw it in the fridge when you’re ready, and use it however you wish.
You’ll wish to eat every last morsel. Trust me.
This recipe does require some supplies that you likely don’t have in the cupboard, and might be hard to find locally. Amazon, of course, has everything. I recommend them for buying 2-gallon zipper bags as well as pink curing salt (plus, you get enough salt to last through the apocalypse). Note that pink curing salt is essential here because it has salt and sodium nitrate, which keeps the meat pink and kills bacteria. Normal salts don’t pack that wallop.

Bready or Not: Cato Home-Cured Bacon
Ingredients
- 9 to 10 lb pork belly
- 1/2 cup kosher salt
- 4 teaspoons pink curing salt
- 2 teaspoons cumin
- 1/2 cup brown sugar packed
- 1/2 cup honey
- 1/4 cup red pepper flakes
- 1/4 cup paprika sweet or smoky
Instructions
- Cut the pork belly slab in half and rinse and pat dry both pieces. Place them in separate re-sealable 2-gallon plastic bags.
- Mix together the spice rub. It'll form a thick paste. Roughly divide it into quarters, and use a quarter on each side of a pork piece. The rub will be very lumpy. Don't worry about a perfect, even coating; the pork will release juices and the flavors will seep in during the curing process.
- Close both bags, pressing out as much air as possible. Freeze one bag for later; as a precaution against holes getting torn in the bag, wrap it well in plastic wrap, too. When ready to start the curing process for this half, add another day or two to the curing time in the fridge to account for thawing time.
- As for the ready piece of pork belly, set that bag in the fridge for the next 7 to 10 days, until it feels firm. Flip the meat once a day.
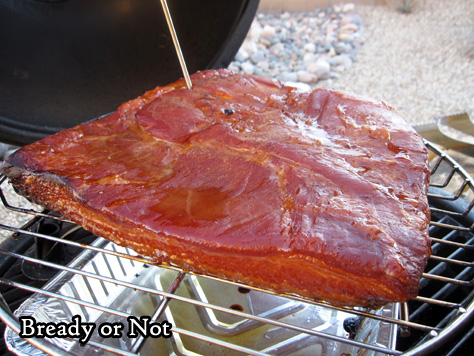
- Remove the pork belly from the bag. Rinse it well and pat it dry. Set it on a rack on a small cookie sheet in the fridge and let it dry for another two days. No need to flip it at this point.
- Set up your smoker at 200-degrees. Applewood chips are a great choice, but maple and hickory are fantastic as well. Smoke the pork belly for about 3 hours, until the bacon reaches an internal temperature of about 150-degrees.
- From this point, slice and cook the meat as you would regular bacon, but note that this fresher, homemade variety will cook much faster. Use plastic wrap or plastic bags to store the sliced meat in the fridge for upwards of a week, or freeze for up to 2 months.
- OM NOM NOM!
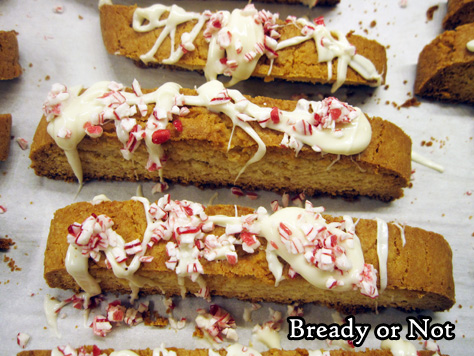
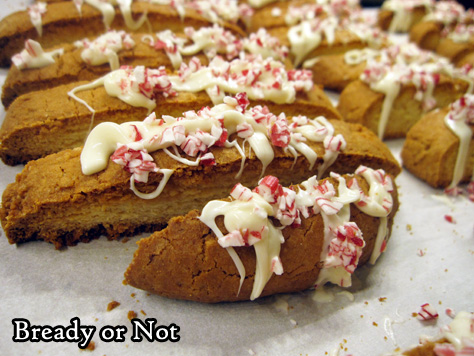
Bready or Not: Peppermint Biscotti
In recent months, I have shared recipes for Snickerdoodle Biscotti and Maple Walnut White Chocolate Biscotti. Now we’re gearing up for the holidays with Peppermint Biscotti.

I found this recipe in a Food Network Magazine from December 2015. I made it following their instructions, wasn’t pleased with the results, and made it again with numerous changes. This one worked.
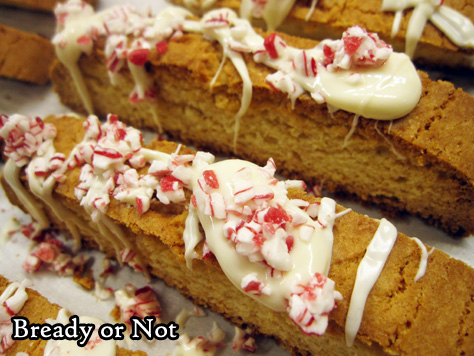
I love how white chocolate chips work in biscotti. Since they bake up to be extra crispy, the chips add just the right touch of sweetness to complement the crunchiness.
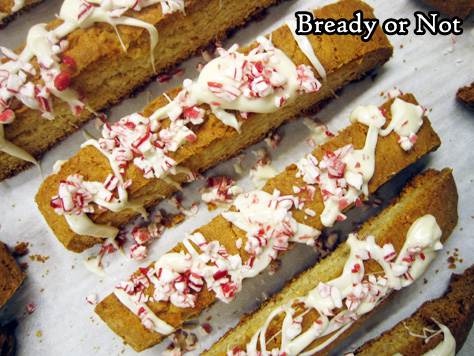
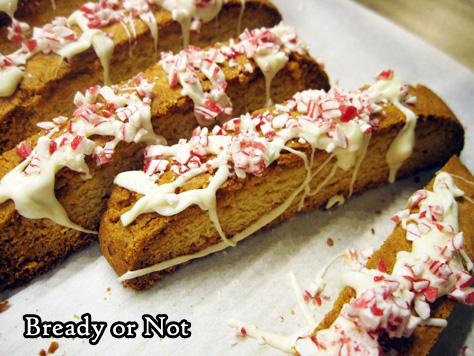
The topping is what makes these scream “Holiday season!” I love the goopy drizzles atop these sticks, with generous amounts of crushed peppermints on top.
As these are biscotti, they keep well for days and weeks. If you’re mailing these, of course, be wary of the temperatures the package may encounter in transit. That’s something I always must consider here in Arizona!
Eat these biscotti on their own, or totally bliss-out and dip them in coffee or tea.

Bready or Not: Peppermint Biscotti
Ingredients
biscotti
- 2 1/3 cups all-purpose flour
- 1 teaspoon baking powder
- 1/2 teaspoon salt
- 6 Tablespoons unsalted butter room temperature
- 3/4 cup white sugar
- 2 large eggs
- 1/2 teaspoon peppermint extract
- 1/2 cup white chocolate chips
topping
- 4 oz white chocolate
- drizzle oil if needed
- 2 candy canes crushed
Instructions
- Preheat oven to 350-degrees. Line a baking sheet with parchment paper; set aside.
- In medium bowl, measure out the flour, baking powder, and salt; set aside.
- In a big bowl, beat together the butter and sugar until light and fluffy. Add the eggs and peppermint extract. Slowly stir in the dry mix until just incorporated, then add the white chocolate chips.
- Divide the dough in half on the prepared baking sheet. Form each into a log about 4 inches wide and 10 inches long; make sure there is space between the two logs, as they'll grow in the oven.
- Bake about 25 minutes, until the biscotti is lightly browned. Remove the baking sheet, but be sure to leave the oven on.
- Let the biscotti cool for 10 minutes. Use a large knife, such as a bread knife, to diagonally slice the logs 1/2-inch apart. Use a straight-down motion to cut; don't saw.
- Arrange the biscotti spaced out on the baking sheet. Stand them up if possible, or lay them on their sides. Bake for another 25 minutes, flipping them over halfway if necessary, to equally crisp both sides.
- Cool completely on the baking sheet. Crush the candy canes.
- Melt the white chocolate on the stovetop or in the microwave; if necessary, stir in a drizzle of coconut oil or vegetable oil to make the chocolate loose enough to dribble.
- Drizzle the chocolate all over the biscotti, then immediately sprinkle peppermint chunks over them. Let them set for a few hours at room temperature or in the fridge.
- Store in an airtight container as long as a few weeks.
- OM NOM NOM!
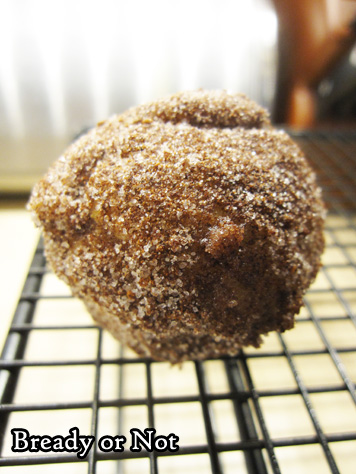
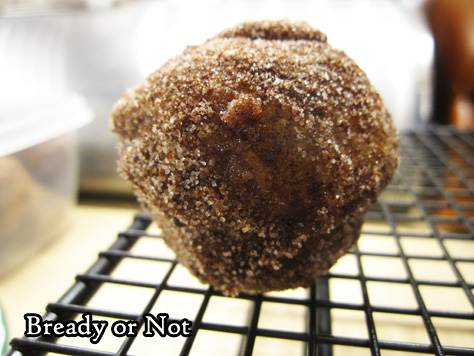
Bready or Not: Pumpkin Poppers
I first featured these Pumpkin Poppers on my LiveJournal four years ago. It’s time to revisit them, because these things are SO GOOD.
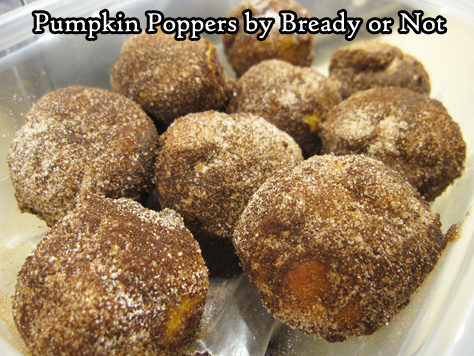
My husband’s co-workers like to snicker and call them “pumpkin balls.”
You could also call them “pumpkin donut holes.” That’s what they are, really. You can make them in a donut hole or a mini muffin pan–I use the latter.
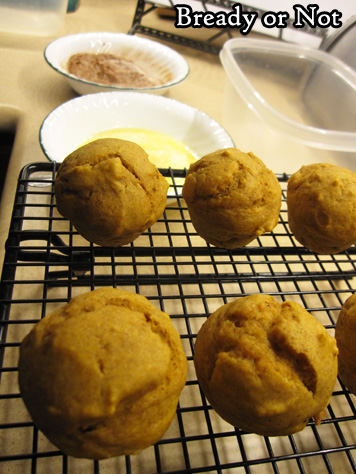
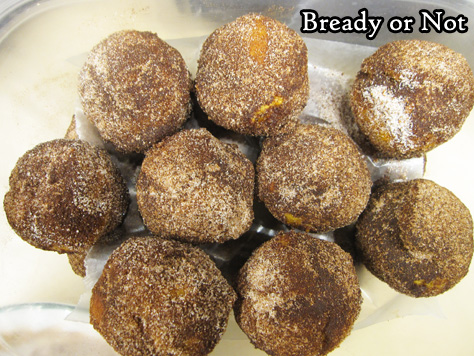
This makes 24 of these tender balls of joy. Once they are baked, set up an assembly line with bowls of melted butter, and cinnamon and sugar. Slather those balls with butter, and roll’em in the sweet stuff!
Hey, I never claimed this was health food.
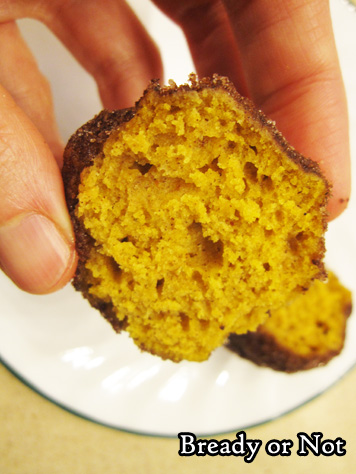
The end result is an orange puff that is light and fluffy, and pretty much melts in your mouth.
Make these to share, or they might prove dangerous.

Bready or Not: Pumpkin Poppers
Ingredients
Dough
- 1 3/4 cups all-purpose flour
- 2 teaspoons baking powder
- 1/2 teaspoon salt
- 1/2 teaspoon cinnamon
- 1/2 teaspoon nutmeg
- 1/2 teaspoon allspice
- 1/8 teaspoon ground cloves
- 1/3 cup vegetable oil
- 1/2 cup brown sugar packed
- 1 egg room temperature
- 1 teaspoon vanilla extract
- 3/4 cup pumpkin puree
- 1/2 cup milk almond milk works
Coating
- 1/2 cup unsalted butter 1 stick or more as needed, melted
- 2/3 cup white sugar more as needed
- 2 Tablespoons cinnamon more as needed
Instructions
- Preheat oven to 350-degrees. Use nonstick spray on a mini muffin or donut hole pan.
- Combine the dry ingredients. In another bowl, mix together the oil, brown sugar, egg, vanilla, pumpkin, and milk.
- Pour the dry ingredients into the wet and mix until just combined. Fill the pan cavities about 2/3 full; the dough will poof up a lot in the oven.
- Bake for 10 to 12 minutes. In the meantime, melt the butter in a bowl. In a separate small bowl, combine the topping sugar and cinnamon.
- Remove poppers from oven. Give them a few minutes to cool, then start the assembly line. Use a spoon to roll them in the melted butter, then roll them in the cinnamon sugar. (Note: topping bowls may run low near the end, but it's easy to melt an extra tablespoon of butter or mix up some more sugar and cinnamon.)
- Store in a sealed container at room temperature. The cinnamon-sugar mix will absorb into the balls over time and make them darker, but they taste great for several days.
- OM NOM NOM!
