


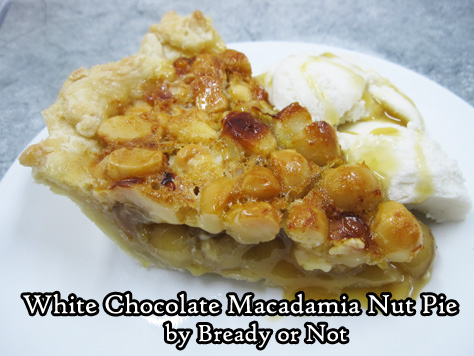
Bready or Not Original: White Chocolate Macadamia Nut Pie
Welcome to MACADAMIA NUT MONTH! Why is this Macadamia Nut Month? Because next month on the 23rd, the final book in my Blood of Earth trilogy comes out! Hawaii is a major setting in Roar of Sky, and I did a research trip to Oahu and the Big Island last year. That included a stay at a lovely bed & breakfast on a macadamia nut farm near Kona. I’ve loved macadamia nuts my entire life, but there’s nothing like cracking through those double layers of shell to eat a macadamia nut fresh off the tree.

If you love macadamia nuts as well, get ready to bliss out. This month you’ll get recipes for:
White Chocolate Macadamia Nut Pie (today)
White Chocolate Macadamia Nut Cookies
Lemony Macadamia Nut Bars
Mini Fruit Cake Loaves to make now for the holidays (macadamia nuts optional)
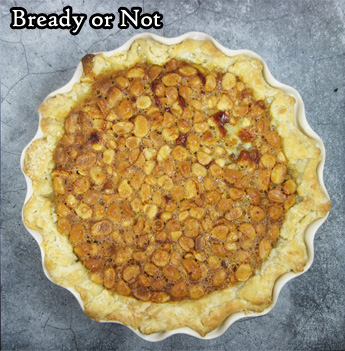
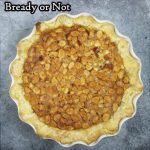
Macadamia Nut Pie. This pie is unquestionably decadent, but it is so very worth it.
I looked at about five recipes to formulate my own original take on this recipe. I confess, I was pretty nervous about this experiment.
After all, I didn’t want to waste these delicious nuts, even if I did buy two big bags at a good price from the Kona Costco during my novel research trip. Not like I can fly back there to stockpile nuts again soon (alas).
For years now, I’ve loved white chocolate macadamia nut cookies–hence I am featuring that recipe again next week. To me, that pairing of chocolate and nuts is sheer perfection. I just wasn’t sure how it would translate to pie.
The results genuinely surprised me.
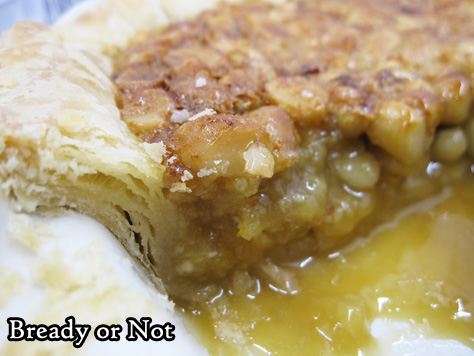
That’s because the white chocolate melded with the corn syrup and brown sugar during the baking process, creating a kind of smooth caramel sauce.
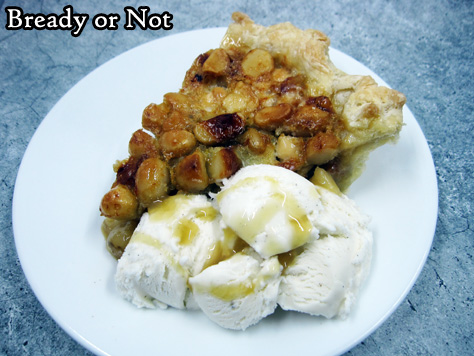
Caramel and macadamia nuts is an awfully good pairing, too. But a very sweet one. This pie necessitated the purchase of a tub of vanilla ice cream.
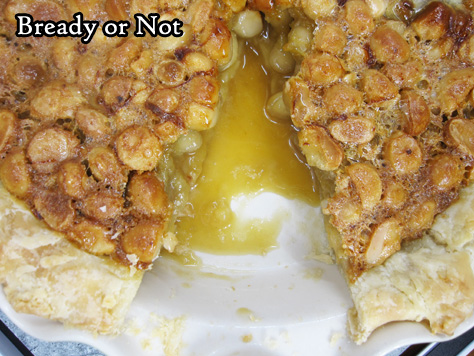
I then served the pie to my husband with ice cream on the side, and I spooned caramel from the pie plate over both. Oh yeah.
You won’t need big slices of this pie. It’s just too rich. The good news is, it keeps well in the fridge for up to a week.
Come back next week for one of my favorite cookie recipes, and please preorder Roar of Sky!
Bready or Not Original: White Chocolate Macadamia Nut Pie
Ingredients
- 1 deep dish pie crust 9-inch unbaked, homemade or store-bought
Filling:
- 2/3 cup white chocolate chips
- 2 cups macadamia nuts raw, coarsely chopped
- 4 eggs room temperature
- 1 cup light corn syrup
- 1/3 cup brown sugar packed
- 2 teaspoons vanilla extract
- 1/4 teaspoon salt
Instructions
- Preheat oven to 400-degrees. Place a cookie sheet in the oven to heat up as well; this will help prevent a soggy bottom on the crust.
- Place white chocolate chips and macadamia nuts in the unbaked pie crust, and place it in the fridge to chill.
- In a mixing bowl, lightly whisk the eggs, then add the corn syrup, brown sugar, vanilla, and salt. Pour the filling over the white chocolate and macadamia nuts. Cover the pie crust edges with foil.
- Bake for 15 minutes at 400-degrees. Remove the foil.
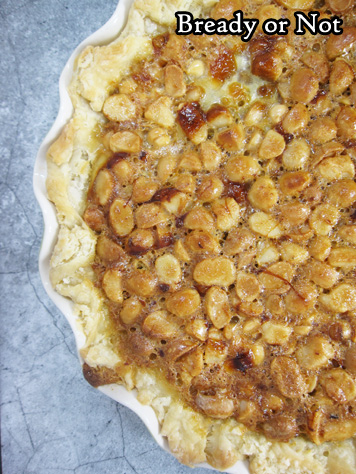
- Reduce the oven temperature to 350-degrees and bake for another 25 to 30 minutes, until the top is lightly brown and the filling is set. Cool to room temperature before cutting.
- OM NOM NOM!
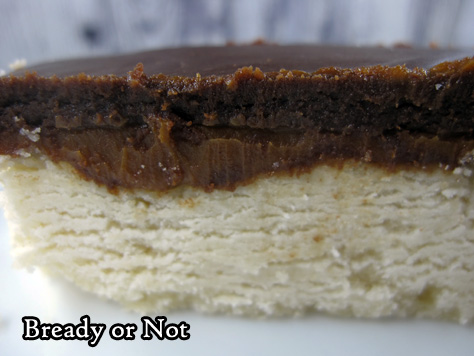
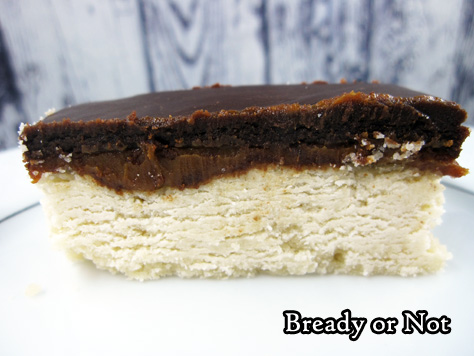
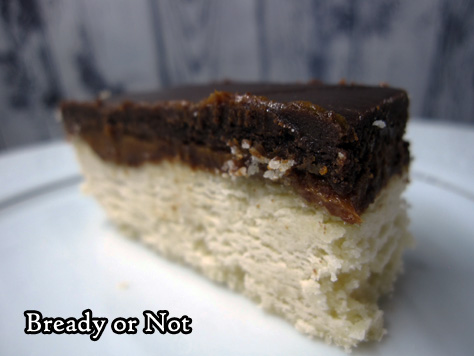
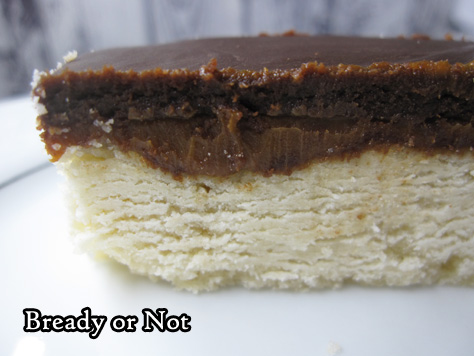
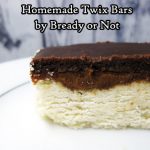
Bready or Not: Homemade Twix Bars
If you’re craving candy bars–a lot of candy bars–this recipe will result in a casserole dish of Twix-like yumminess.
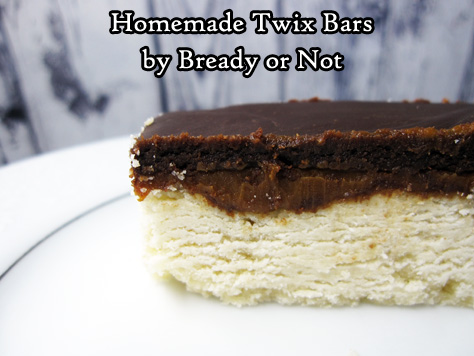
These are a bit softer than Twix, but the similarities are there. The crust is like cakey shortbread topped with caramel-sweet dulce de leche. Chocolate finishes off the top.

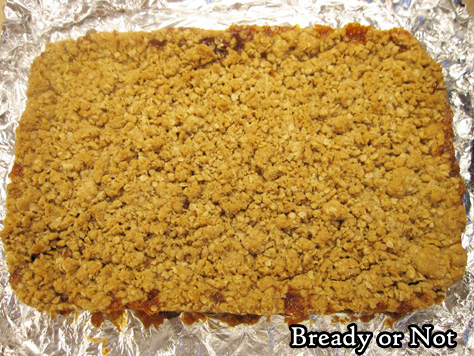
As the pictures show, there are some crumbs. Very delicious crumbs. I found the chocolate layer on top stayed soft, even after chilling.
This is the perfect recipe for feeding a large crowd. If you cut them into long rectangles, like Twix, you’ll have a lot!
But if you have leftovers, no worries–these keep well for days in the fridge, and you can also freeze them between waxed paper layers. Just thaw them in the fridge when your craving strikes again.
Modified from Twixy Shortbread Bars in Better Homes & Gardens.
Bready or Not: Homemade Twix Bars
Ingredients
Cookie base:
- 1 1/2 cups unsalted butter 3 sticks, softened
- 1/2 cup white sugar
- 1 1/2 teaspoons vanilla extract
- 3 cups all-purpose flour
Middle:
- 13.4 oz dulce de leche can
Chocolate top:
- 3/4 cup whipping cream
- 6 Tablespoons unsalted butter
- 3 Tablespoons light corn syrup
- 12 ounces semisweet chocolate chips 1 bag
- 3/4 teaspoon vanilla extract
Instructions
- Line a 13x9-inch pan with aluminum foil and apply nonstick spray.
- In a large bowl beat the 1 1/2 cups butter until soft and creamy. Add the sugar and vanilla. Beat in the flour. Press the dough into the prepared pan and set in fridge to chill for at least 30 minutes.
- Preheat oven at 350-degrees. Bake the pan with dough for 20 to 25 minutes, until set and turning light brown. Cool on rack.
- Spread contents of dulce de leche can evenly over the crust.
- In a saucepan on medium heat, warm up the whipping cream, 6 tablespoons of butter, and corn syrup until they are just boiling. Remove from heat. Add the chocolate and vanilla but don't stir! Let it sit for 5 minutes. Stir until nice and smooth. Cool another 10 minutes, then pour chocolate over the dulce de leche. Spread it evenly over the top. Cover and chill for an hour or two.
- Use the foil to lift contents of pan onto a large cutting board. Slice into bars.
- These homemade candy bars keep best in the fridge, and can also be frozen (and later thawed in fridge). If at room temperature for a prolonged period, the bottom crust may get soggy.
- OM NOM NOM!
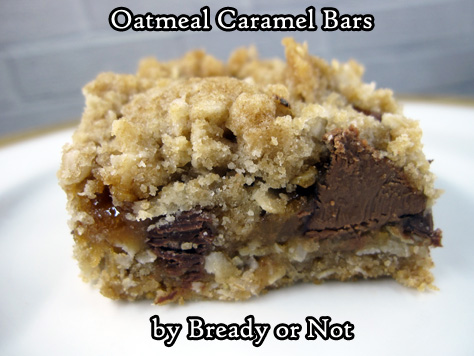
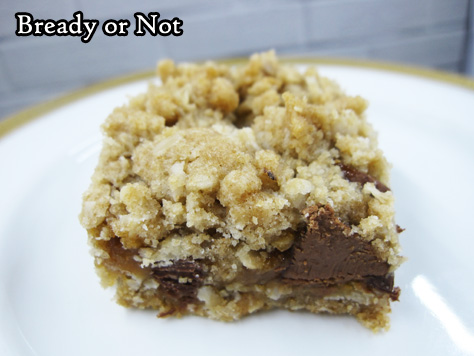
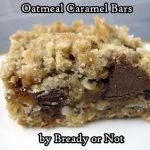
Bready or Not: Oatmeal Caramel Bars
I’d like to thank my past self for setting me up to re-discover this Oatmeal Caramel Bars recipe.
When I was home last Thanksgiving, my mom gave me a stack of her old recipes and food magazines to go through. A lot of the material dated to the 1970s and ’80s and went straight in the recycle pile.
Mixed in with everything else, though, I found some little food magazines I had bought back in 1999 as I looked toward getting married. One of them highlighted favorite recipes from the Pillsbury Bake-Off.
This recipe, originally titled Oatmeal Carmelitas, dated from the 1960s. I knew I had to make it.
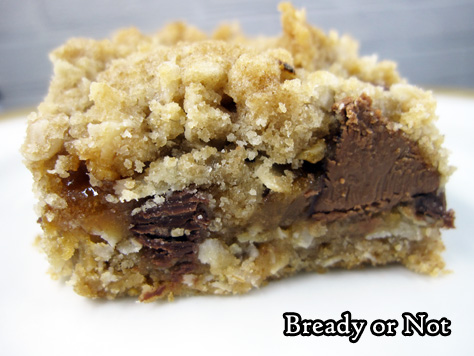
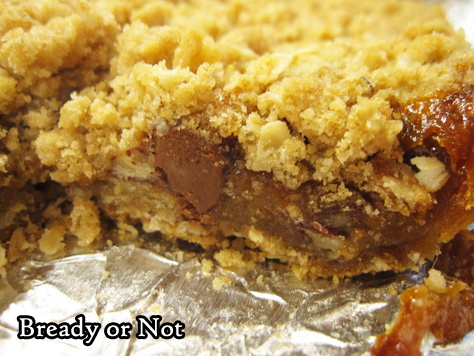
The recipe essentially makes a big, fat candy bar. Oatmeal forms the crust, while the middle consists of chocolate chips and gooey caramel.
Yeah. This isn’t a health recipe, but wow, is it good. This was worth being published again in 1999–and again now, with some new tweaks.

Bready or Not: Oatmeal Caramel Bars
Ingredients
Crust:
- 2 cups all-purpose flour
- 2 cups quick oats
- 1 1/2 cups brown sugar packed
- 1 teaspoon baking soda
- 1/2 teaspoon salt
- 1 1/4 cups unsalted butter 2 1/2 sticks, room temperature
Filling:
- 14 ounce caramel jar
- 4 Tablespoons all-purpose flour
- 1 cup semi-sweet chocolate chips
- 1/2 cup pecans chopped
Instructions
- Preheat oven at 350-degrees. Line a 13x9 pan with aluminum foil and apply nonstick spray.
- In a large bowl, combine all crust ingredients until crumbly. Reserve half, about 3 cups, for the topping, and press the rest into the bottom of the pan. Bake for 10 minutes.
- Meanwhile, in a medium bowl, stir together the caramel and 4 Tablespoons of flour.
- When the crust is done baking, sprinkle chocolate chips and pecans over the top, then drizzle evenly with the caramel mixture. Add the reserved crumb mixture on top.
- Return to the oven for about 20 minutes, or until golden brown. Cool for an hour or so, then set in fridge to completely chill for several hours or overnight. To cut, use the foil to lift contents to a cutting board. Slice into bars.
- Store in sealed container in fridge with layers between pieces of parchment or wax paper. Bars will stay more cohesive if chilled; they are gooier at room temperature.
- OM NOM NOM!
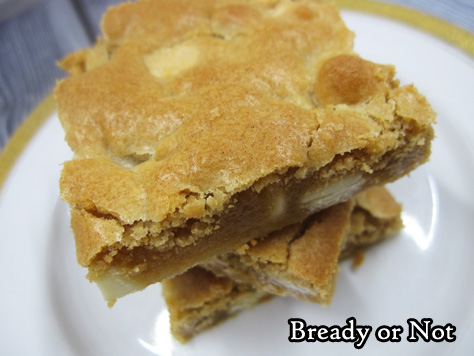
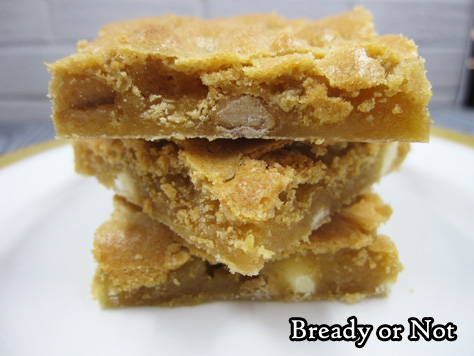
Bready or Not Original: Salted Caramel Chip Blondies
Salted Caramel Chips now exist. There is hope for our world yet.
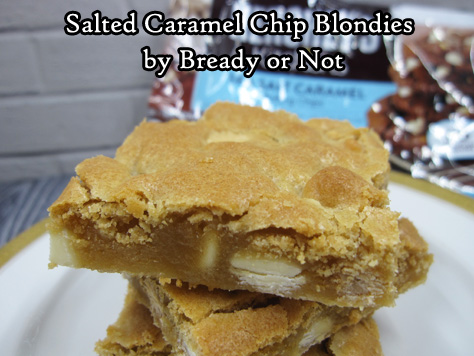
“What makes these chips different than just using caramel chips?” Well, they have the texture of and keep their shape like regular chocolate chips. Caramel bits are more chaotic–they melt, they ooze, they can create a sticky mess.
More and more stores are carrying salted caramel chips around Arizona. Locally, I have found Ghirardelli (at Walmart), Nestle (at Walmart and several stores), and a Kroger-branded kind (at Fry’s Grocery Store).
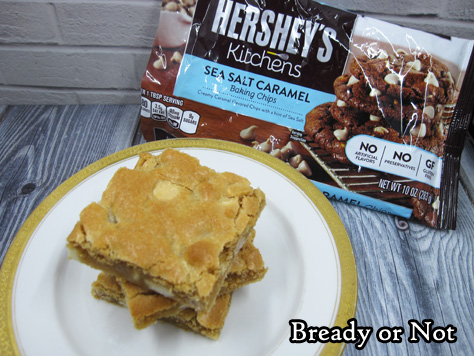
All three work and have a good flavor, but I liked the Kroger one the least. The color looks more artificial (yeah everything is about these is artificial but…) and the pieces are small and not quite as rich in flavor. Still, their price is good and they aren’t bad, by any means.
You’ll see these chips used in a couple recipes in the next while–I bought several bags to test out!
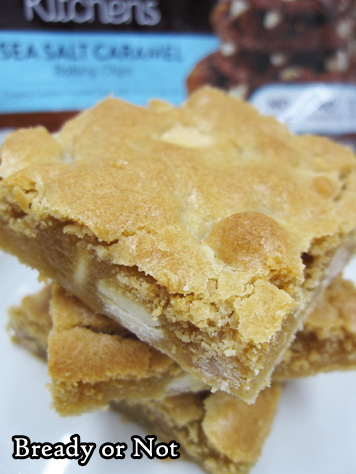
While I’ll definitely stick to using real caramel in things like pies, these salted caramel chips are now my go-to for cookies and bars.
I do suggest keeping the ratio of 1 cup chocolate chips with 1 cup of caramel chips in this recipe. The caramel chips ARE strong–they are like butterscotch in that way–and the white chocolate adds a different kind of sweetness to balance them out.
Bready or Not Original: Salted Caramel Chip Blondies
Ingredients
- 2 1/4 cups all-purpose flour
- 1 1/2 teaspoons baking powder
- 1/2 teaspoon salt
- 3/4 cup unsalted butter 1 1/2 sticks, room temperature
- 1 1/4 cups white sugar
- 1 1/4 cups brown sugar packed
- 2 teaspoons vanilla extract
- 3 large eggs room temperature
- 1 cup white chocolate chips
- 1 cup salted caramel chips
Instructions
- Preheat oven to 350-degrees. Line a 10x15 jelly roll pan with wide aluminum foil and apply nonstick spray or butter.
- In a small bowl, mix together the flour, baking powder, and salt. Set aside.
- In a mixing bowl, beat together the butter, both sugars, and vanilla to create a smooth batter. Beat in eggs, one at a time, followed by the flour mixture. Stir in the cup of white chocolate and cup of salted caramel chips. Spread batter evenly in pan.
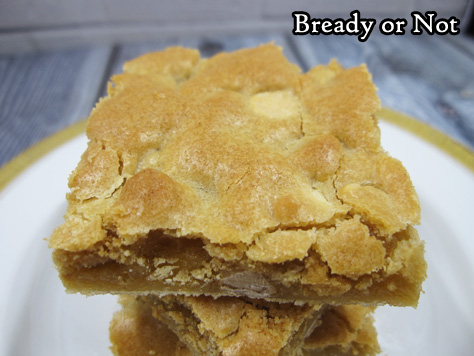
- Bake until evenly golden brown and set in the middle, 24 to 27 minutes. Cool completely at room temperature or chill before cutting. Blondies keep for up to 3 days in a room temperature sealed container.
- OM NOM NOM!
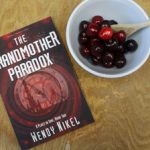
Bready or Not Guest Recipe from Author Wendy Nikel: The Grandmother Paradox Cherry Cupcakes
Today I welcome Wendy Nikel! Her novella The Grandmother Paradox is out TODAY from World Weaver Press. This is the sequel to The Continuum. I’ve read both, and I can testify they are fun, fast reads that reminded me of old favorite shows like Quantum Leap and Sliders. Find out more about her new release below, and grab a recipe for some cupcakes that are loaded with cocoa and cherries!

When Dr. Wells, the head of the Place in Time Travel Agency, learns that someone’s trying to track down the ancestors of his star employee, there are few people he can turn to without revealing her secrets. But who better to jump down the timeline and rescue Elise from being snuffed out of existence generations before she’s born than the very person whose life she saved a hundred years in the future?
But Juliette Argent isn’t an easy woman to protect. The assistant to a traveling magician, she’s bold, fearless, and has a fascination with time travel, of all things. Can the former secret agent Chandler, with his knowledge of what’s to come, keep her safe from harm and keep his purpose there a secret? Or will his presence there only entangle the timeline more?
THE GRANDMOTHER PARADOX Cherry Cupcakes
by Wendy Nikel
Today is release day for THE GRANDMOTHER PARADOX, the second time travel novella in the Place in Time series. Which means, once again, it’s time to celebrate with cupcakes!
In this novella, which can be read as a sequel or as a standalone story, Chandler – a man from our present who’s been living in the future – is sent back to the year 1893 to protect the great-great-grandmother of the woman who saved his life. There, he joins up with a traveling magic show touring Michigan before heading down to the Chicago World’s Fair.
One of the many wonderful things that Michigan is known for is its cherries, which made cherry cupcakes an easy choice for this book’s recipe. Substituting fats like butter and oils with fruit in baking also makes for a healthier cake, which is something I’ve had to keep in mind since I’m still recovering from having my gallbladder removed. Fortunately, I happen to have a cherry tree in my backyard filled with sweet cherries just ripe for the picking.
THE CUPCAKES:


Bready or Not Guest Recipe: THE GRANDMOTHER PARADOX Cherry Cupcakes by Wendy Nikel
Ingredients
Cupcake Ingredients:
- 1 1/2 cups all-purpose flour
- 1/2 cup cocoa powder
- 2 teaspoons baking powder
- 1/2 teaspoon baking soda
- 1/2 teaspoon salt
- 2 egg whites
- 1 Tablespoon vanilla extract
- 1/4 cup honey
- 1/4 cup white sugar
- 1/4 cup applesauce
- 1/4 cup buttermilk
- 1 cup cherries pitted & pureed
Frosting ingredients:
- 8 oz cream cheese
- 1 cup confectioners' sugar
- 1-2 Tablespoons milk
- 1 box cherry-flavored instant gelatin mix
Instructions
- Preheat oven to 325 degrees F
- Sift together flour, cocoa, baking soda, baking powder, and salt.
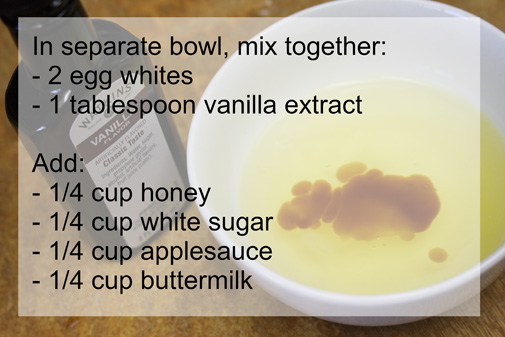
- In separate bowl, mix egg whites and vanilla.
- Add honey, sugar, applesauce, and buttermilk.
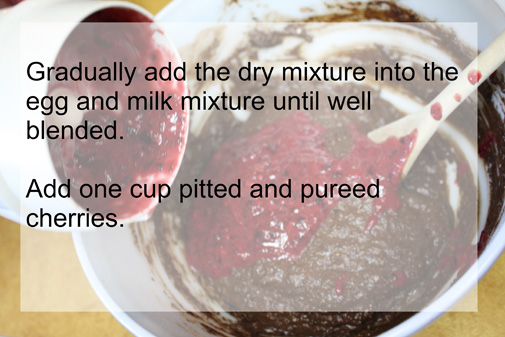
- Gradually add the dry mixture into the egg and milk mixture until well blended.
- Add cherries
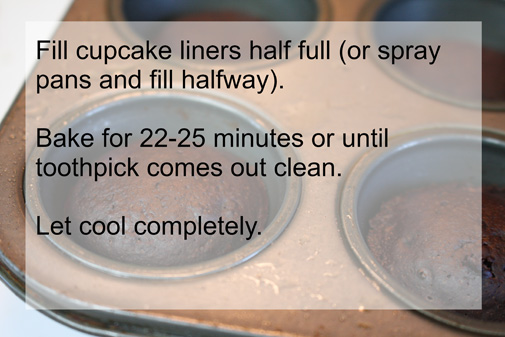
- Fill cupcake liners half full and bake for 22-25 minutes. Let cool.
- After cupcakes are cool, frost.
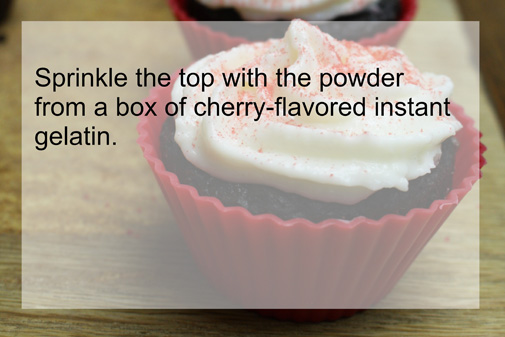
- Sprinkle gelatin mix on the top and enjoy!
THE CONTINUUM (book #1) out NOW
paperback via World Weaver Press $9.99
eBook via iTunes
eBook via Barnes & Noble
eBook via Amazon
eBook via Kobo
THE GRANDMOTHER PARADOX (book #2) out TODAY
paperback via World Weaver Press $8.95
eBook via iTunes
eBook via Barnes & Noble
eBook via Amazon
eBook via Kobo
Wendy Nikel is a speculative fiction author whose short stories have appeared in Fantastic Stories of the Imagination, Daily Science Fiction, AE Sci-Fi, Nature: Futures, and various anthologies and e-zines. She is a member of SFWA and Codex Writers Group and is a managing editor at Flash Fiction Online.
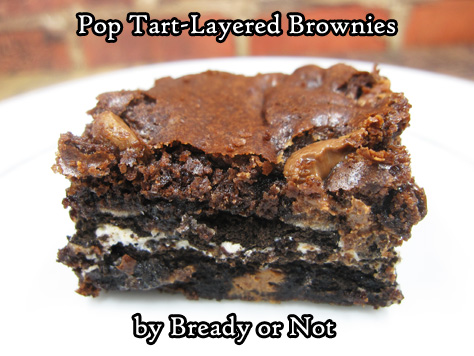
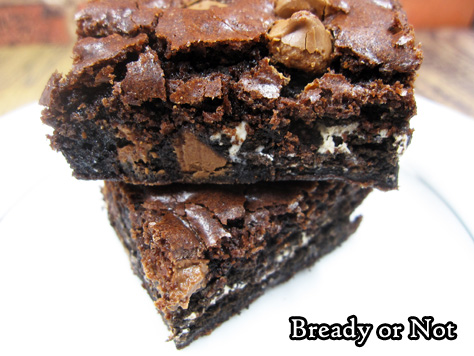
Read MoreBready or Not: Pop Tart-Layered Brownies
These brownies are what happened after I bought a box of Cookies & Crème Pop Tarts for my son. He didn’t like them.
Well, darn. I can’t eat them myself. I didn’t want them wallowing in my pantry forever.
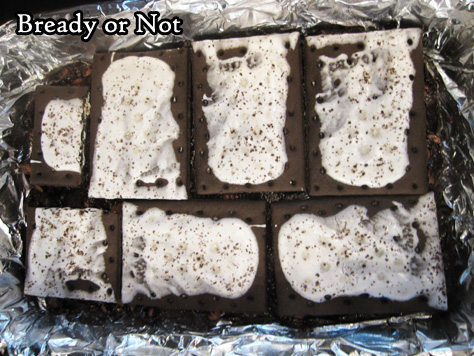
Therefore, I decided to use up the remaining packets by baking them into brownies. The layered technique works out well with Oreos, after all!
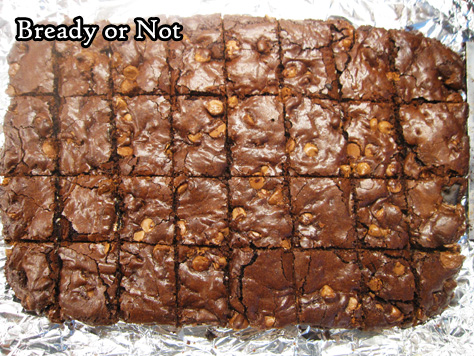
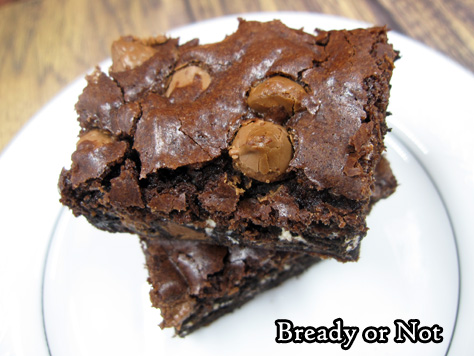
Turns out, Pop Tarts are fantastic baked into brownies. They are thinner than Oreos, and meld more with the surrounding dough. The mild Oreo-like taste still shines through.
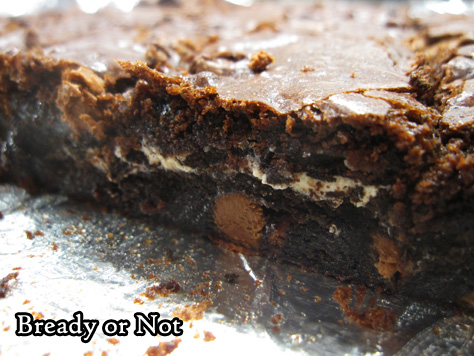
Plus, the resulting brownie isn’t quite as dense. Just in case you aren’t in the mood for brick-like brownies.
The original recipe is from King Arthur Flour. I rewrote it and added in the Pop Tarts and chocolate chips (because, why not?!).
I’ve only done the recipe with Cookies & Crème Pop Tarts, but I think this technique would be great with all kinds of Pop Tarts–try strawberry (frosted or not), or Peanut Butter, or Smores.

Plus, then you can tell people you had Pop Tarts for breakfast, and no one has to know it was encased in a brownie.

Bready or Not: Pop Tart-Layered Brownies
Ingredients
- 1 cup all-purpose flour
- 3/4 cup cocoa powder sifted
- 2 cups white sugar
- 1/4 teaspoon salt
- 1 teaspoon espresso powder optional but awesome
- 3 large eggs room temperature
- 1/2 cup unsalted butter melted
- 1/4 cup vegetable oil
- 2 teaspoons vanilla extract
- 1 cup semisweet chocolate chips or milk chocolate
- 3 packets Cookies & Creme Pop Tarts or other variety, 6 total pieces
Instructions
- Preheat oven at 350-degrees. Line a 9x13 pan with parchment paper or foil, and grease with butter or apply nonstick spray.
- Stir together, in order, all of the ingredients up to the Pop Tarts. Dollop about half the dough in the prepared pan, and try to spread out as evenly as possible; the dough will be thick. Layer the Pop Tarts over the dough, breaking pieces as necessary to fit. Dollop the rest of the dough on top, and again, smooth out as much as possible.
- Bake brownies for 25 to 30 minutes, until the middle passes the toothpick test. Cool completely before lifting the brownies onto a cutting board to slice up.
- Store in a sealed container at room temperature, or freeze to make them last longer.
- OM NOM NOM!
