


Bready or Not Guest: Spencer Ellsworth with Un-Ruinable Gluten Free Brownies
I’m happy to welcome Spencer Ellsworth with a Bready or Not guest post! His debut novel is out today. I was lucky enough to read A Red Peace a few months ago, and blurbed it: “This is space opera candy!” Seriously, if you love space opera, GET THIS. It’s fresh and fun, mixing up cozy tropes in fantastic new ways.
Which is pretty much what Spencer does with this recipe today, too. He shares a recipe for gluten-free brownies that look absolutely delicious. I bet they’d be perfect to eat in accompaniment with a brand new space opera novel…
I’m Spencer, and I have two big things in common with Beth: we both like to write a good swashbuckling adventure (here’s mine) and we both like to bake.
Unlike Beth, I have celiac disease, which means, although I bake all the time, I use gluten-free flours. I was diagnosed way back in the dark ages of 1985. I did all of elementary school in the 1980s gluten free. Let us all turn and salute my mother, who had to bake “special cupcakes” every time someone else in the class had a birthday and brought in gluten cupcakes.
*Salutes Mom*
Ahem.
Celiac disease is, like Crohn’s, arthritis and lupus, an autoimmune disease. Our immune systems, upon consumption of gluten, attack and inflame our intestinal lining, preventing the absorption of any food. Because autoimmune disease is on a spectrum, people often have reactions to gluten that are tricky to diagnose without an endoscopy or colonoscopy.
There are two great lies about gluten-free food
1) you can just substitute GF flour mix in most recipes
2) gluten-free food just doesn’t taste as good
1 isn’t true because different proteins act differently in different grains. Gluten-free flours are not sticky like wheat. You don’t need to knead any gluten-free bread product; you just need to mix the dough and let it rise. You may find certain GF flours, like sorghum or millet or brown rice, less palatable than wheat. But most celiacs can find a preferred flour mix.
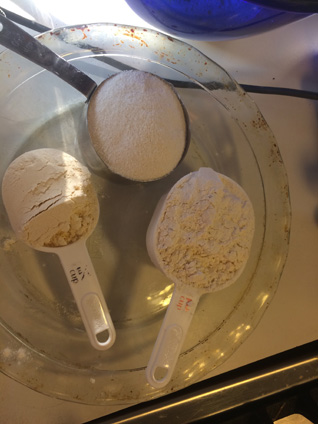
This picture shows plain rice flour (the fine-textured flour), a gluten-free mix, and a gluten-free pancake mix (the one with dark specks).
However, that leads me to…
2 isn’t true because there are a LOT of celiacs out there making a LOT of amazing food. But you do have to do some baking on your own. The best gluten-free food is made at home, with patience. Commercial kitchens can’t take the time and ingredients necessary.
So if you’re new to GF baking, here’s an un-ruinable recipe to start. Peruse Gluten-Free & More (formerly known as Living Without) for anything else you need, or just contact me through my website.
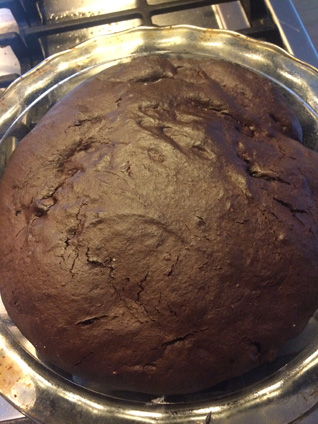
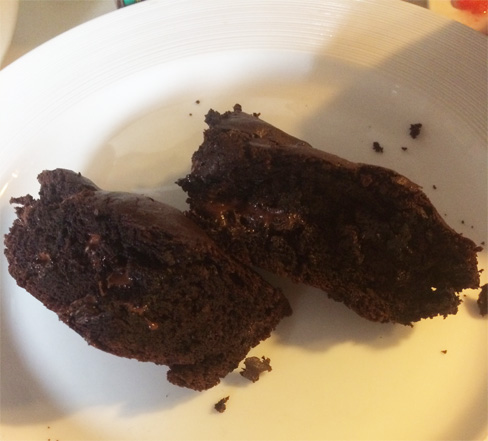
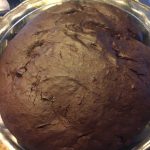
Un-Ruinable Gluten Free Brownies
These are totally un-ruinable because they can be made with just about any gluten-free flour, flour mix, or pancake mix. They will have a slightly different consistency depending on the flour, but they work with anything from plain rice flour to Pamela’s pancake mix.
Your celiac friends will appreciate the attempt to make real brownies, rather than those flourless peanut butter cookies or rice krispie treats we ALWAYS get.
Make sure to clean ALL your work surfaces very well first. All counters and bowls should be scrubbed clear of any trace of gluten. Use non-porous materials like Teflon or glass. Make sure they are scrubbed completely clean of every last scrap of anything that ever contained gluten. (Even better, use the excuse to treat yourself to a new dish and new mixing bowl.)
4 eggs
1 cup sugar (add more to taste, especially if not using chocolate chips)
1 tsp vanilla extract
2/3 cup cocoa powder (I much prefer the darker, richer Ghiradelli’s over the chalky Hershey’s)
1/2 cup butter, margarine or coconut oil
1/2 mushy avocado (this is weird, but it makes the whole endeavor much fluffier)
1 cup of any gluten-free flour, baking mix or pancake mix
2 tsp baking powder (if not already included in your mix)
Chocolate chips & nuts to taste
Set oven to 350.
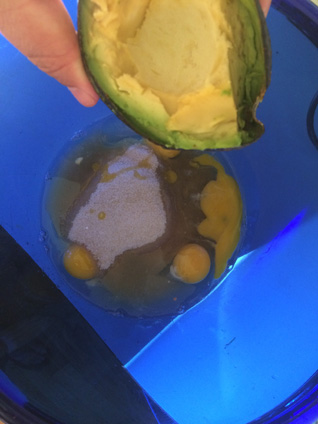
Beat the eggs with the sugar and avocados.
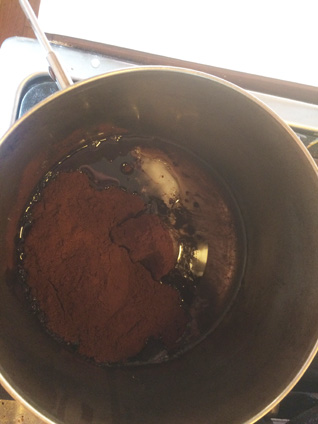
Melt the butter or oil in a saucepan or microwave-safe dish, and add the cocoa powder and beat until smooth.
Allow the butter/cocoa powder mix to cool a bit, then mix into eggs, sugar and avocado.
Mix your flour in with the rest. Add baking powder if you simply have a basic flour mix.
Pour into a greased baking dish and bake for 30-40 minutes on 350.
Bready or Not Guest: Spencer Ellsworth's Un-Ruinable Gluten Free Brownies
Ingredients
- 4 eggs
- 1 cup white sugar add more to taste, especially if not using chocolate chips
- 1 tsp vanilla extract
- 2/3 cup cocoa powder I much prefer the darker, richer Ghiradelli’s over the chalky Hershey’s
- 1/2 cup butter or margarine or coconut oil
- 1/2 mushy avocado this is weird, but it makes the whole endeavor much fluffier
- 1 cup of any gluten-free flour or baking mix or pancake mix
- 2 tsp baking powder if not already included in your mix
- Chocolate chips & nuts to taste
Instructions
- Set oven to 350.
- Beat the eggs with the sugar and avocado.
- Melt the butter or oil in a saucepan or microwave-safe dish, and add the cocoa powder and beat until smooth.
- Allow the butter/cocoa powder mix to cool a bit, then mix into eggs, sugar and avocado.
- Mix your flour in with the rest. Add baking powder if you simply have a basic flour mix.
- Pour into a greased baking dish and bake for 30-40 minutes on 350.

Amazon | Barnes & Noble | Kobo
A Red Peace, first in Spencer Ellsworth’s Starfire trilogy, is an action-packed space opera in a universe where the oppressed half-Jorian crosses have risen up to supplant humanity and dominate the galaxy.
Half-human star navigator Jaqi, working the edges of human-settled space on contract to whoever will hire her, stumbles into possession of an artifact that the leader of the Rebellion wants desperately enough to send his personal guard after. An interstellar empire and the fate of the remnant of humanity hang in the balance.
Spencer Ellsworth has written a classic space opera, with space battles between giant bugs, sun-sized spiders, planets of cyborgs and a heroine with enough grit to bring down the galaxy’s newest warlord.

Read More
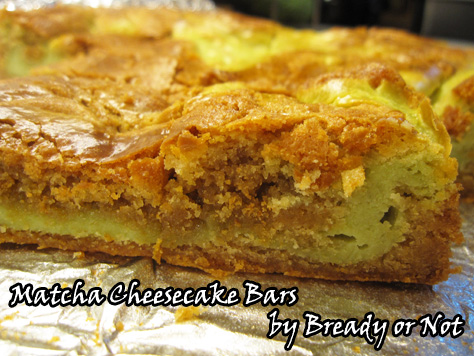
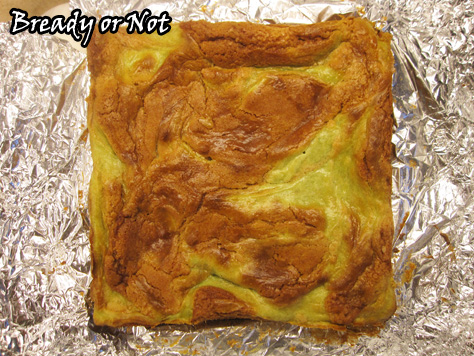
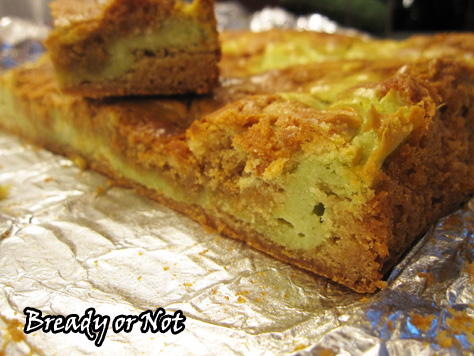
Bready or Not: Matcha Green Tea Cheesecake Bars
I’m presenting many wonderful matcha baked goods this month, but this one, dear readers, is the most delicious. The most divine. The most appropriate way to celebrate the release of Call of Fire.
My husband takes most all of my baked goods to work. These Matcha Cheesecake Bars earned a rare and vociferous response.
To directly quote, with expletives replaced Mad Lib style to make this work-safe and kid-safe:
“She needs to laminate that [noun for excrement].”
“Those were [verb for copulation, -ing] on point.”
Yeah. This recipe is a winner.
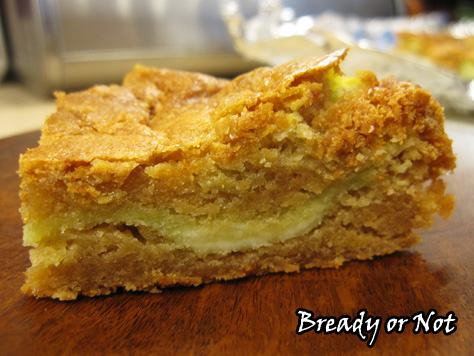
Plus, these bars are ridiculously easy to make. You make a crust. Mix up some green cheesecake. Do some layering and swirling.

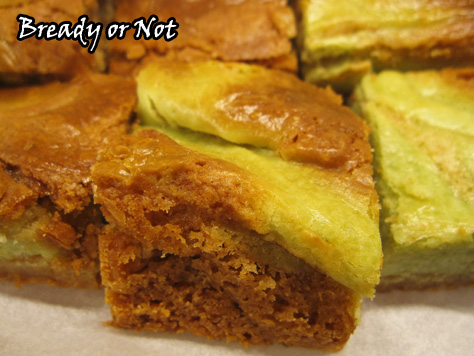
Mind you, I’m not a big cheesecake person, but thanks to the cookie-like crust, these are not rich like standard cheesecakes. You really get the best of everything here, and the matcha powder adds a wonderful fresh flavor and a lovely green tint.
Do note that the type of green tea you use may produce different results. I used a Rishi sweet green tea blend that includes sugar, making it ideal for lattes or baked goods. [Addendum: Readers have baked this recipe using standard matcha powder and have been delighted with the results! So use whatever green tea you have handy. If you want it sweeter, just add a touch more sugar.]
I plan on re-making this with a variety of teas. Look for another version of this recipe in the coming months!
Adapted from Every Day Dishes.
Bready or Not: Matcha Green Tea Cheesecake Bars
Ingredients
Crust
- 1 1/2 cups all-purpose flour
- 1 tsp baking powder
- 1/2 tsp salt
- 10 Tb unsalted butter softened
- 1 1/2 cups light brown sugar packed
- 2 eggs room temperature
- 1 Tb vanilla extract
Cheesecake layer
- 8 oz cream cheese softened
- 1/4 cup white sugar
- 2 Tb unsalted butter softened
- 2 Tb all-purpose flour
- 1 Tb matcha sweet or regular
- 1 egg room temperature
- 1/2 tsp vanilla extract
Instructions
- Preheat oven at 325-degrees. Line an 8x8 or 9x9 pan with aluminum foil and apply nonstick spray.
- In a medium bowl, sift together the flour, baking powder, and salt. Set aside.
- In a large mixer bowl, cream together the softened butter and brown sugar for about 3 minutes, until light and fluffy. Add 2 eggs and the vanilla extract, followed by the combined dry ingredients.
- Use an uneven spatula to smooth out HALF of the batter in the prepared pan. Place the other half in another bowl for now. Clean the mixing bowl before the next stage, if desired.
- To make the cheesecake layer, beat together the softened cream cheese, sugar, butter, flour, and matcha powder. Mix in the egg and vanilla until it is mostly smooth.
- Pour about HALF of the cream cheese mix on top of the batter in the pan and smooth it out. Dollop the remaining crust and cheesecake batters over the top, and use a butter knife to swirl them together.
- Bake for 45 to 55 minutes, until it passes the toothpick test in the middle. Let cool at room temperature for an hour, then place in fridge to continue chill and set for another hour or two.
- Lift it up by the aluminum foil and place on a cutting board to slice into bars. Store in a lidded container in fridge, with waxed paper or parchment between stacked layers.
- OM NOM NOM!
Read More
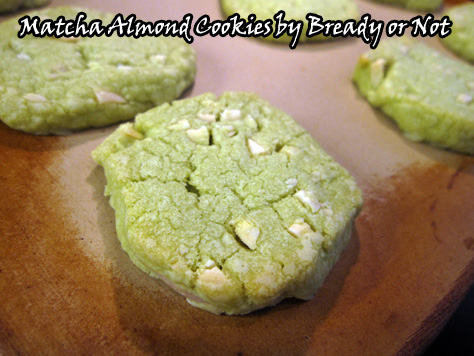
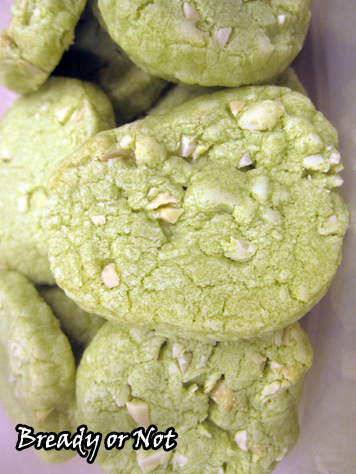
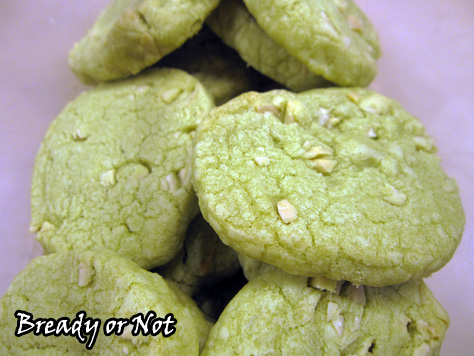
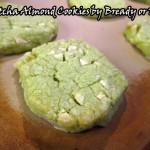
Bready or Not Original: Matcha (Green Tea) Almond Cookies
The second edition in our baked-goods-with-matcha book release celebration features sliced cookies: Matcha Almond Cookies!
I found a base recipe for this that produced a very small amount of cookies. I doubled the amounts, added vanilla, rewrote everything… and here we are.
These are essentially shortbread cookies with a vibrant green hue and fresh matcha flavor. The almonds add a sporadic, wonderful crunch.
I found this dough surprisingly easy to work with. As I sliced cookies, some of them crumbled–an inevitable hazard, with nuts in there–but it was easy to shape the dough into a cookie again.
The type of green tea you use may produce different results. I used a Rishi sweet green tea blend that includes sugar, making it ideal for lattes or baked goods.
Like most shortbreads this just begs to be accompanied by a nice hot cup of coffee or tea. Perhaps a book, too. Might I recommend Call of Fire? It’s out next Tuesday! (Was that smooth?)
Bready or Not Original: Matcha (Green Tea) Almond Cookies
Ingredients
- 2 cups all-purpose flour
- 2 Tablespoons sweet matcha powder
- 1/4 teaspoon salt
- 1 cup unsalted butter 2 sticks, softened
- 1/2 tsp vanilla extract
- 1 cup confectioners' sugar
- 2/3 cup sliced almonds lightly chopped
Instructions
- In a small bowl, sift together the flour, matcha powder, and salt. Set aside.
- In a large bowl, cream the butter, vanilla extract, and confectioners' sugar until it becomes light and fluffy.
- Slowly add in the flour mixture until dough is formed. Stir in the almonds.
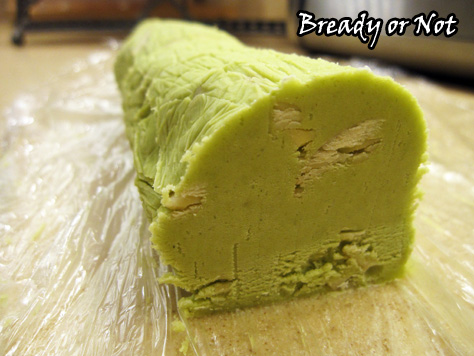
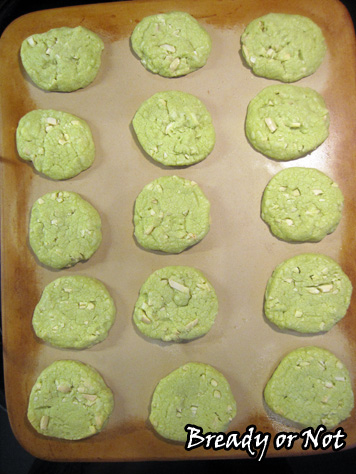
- Stretch out a long piece of plastic wrap. Place dough in the middle to form a 1 1/2 inch log, then wrap well with the plastic. Repeat again so that all of the dough is in logs. Place them in the fridge to chill for at least an hour, or a day or two.
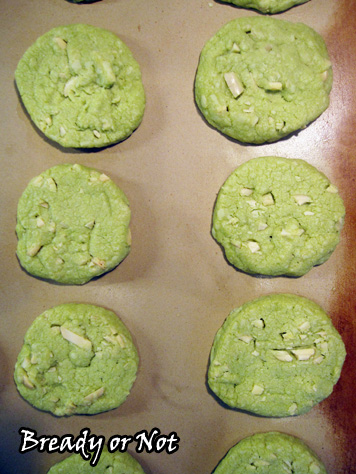
- Pre-heat oven at 325-degrees. Line a baking sheet with parchment paper.
- Use a sharp knife to slice the dough into 1/4-inch thick rounds. If the dough crumbles, compress it to reshape. Arrange cookies about 2 inches apart on the pan.
- Bake for 14 to 16 minutes; set cookies on wire rack to completely cool. Store in a sealed container.
- OM NOM NOM!
Read More
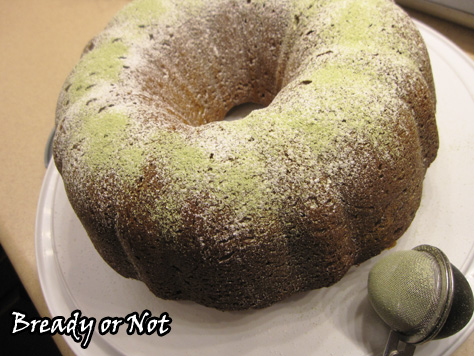
Bready or Not: Matcha Green Tea Bundt Cake
During my book release months, I typically follow a theme of cakes and pies. This time around, we’re doing something different: baked goods featuring matcha powder, aka green tea!
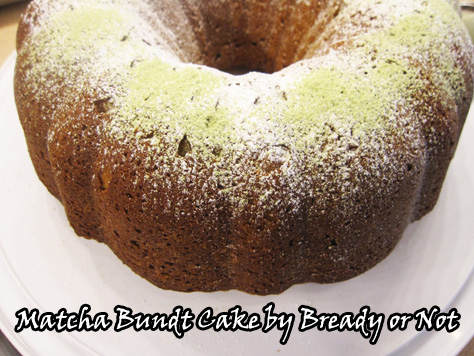
My first recipe can’t help but follow the traditional cake theme, though: Matcha Bundt Cake.
The America in my books Breath of Earth and Call of Fire is heavily influenced by Japanese culture. That’s evident in architecture, nickel cinemas, the vernacular–and in baked goods, too.
Of course, in our timeline, the phenomenon of green tea in leavened sweets is a contemporary innovation.
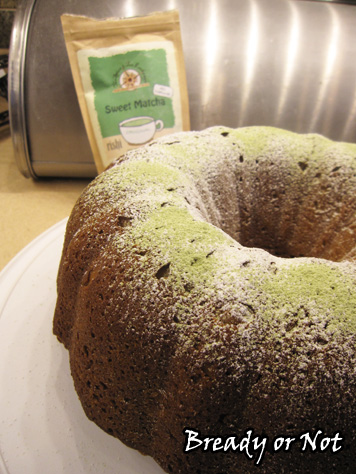
The type of green tea you use may produce different results. I used a Rishi sweet green tea blend that includes sugar, making it ideal for lattes or baked goods.
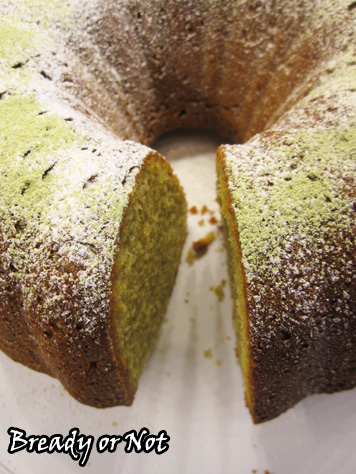
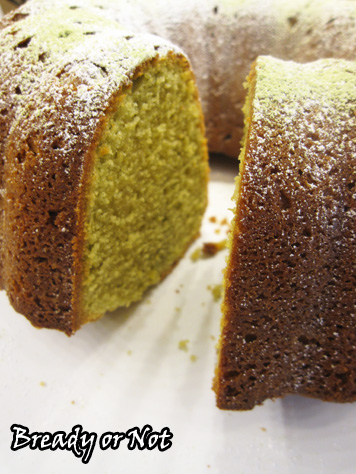
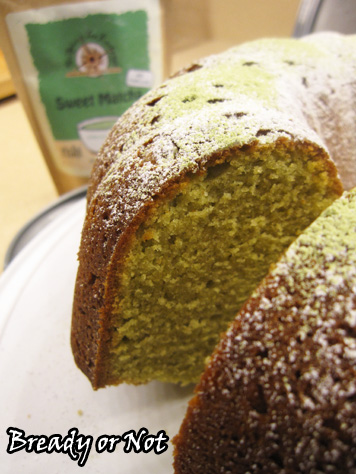
This bundt cake naturally baked up with a lovely light green tint, but as you’ll see, in some of the forthcoming cookie recipes, the green is barely visible. If you want things to turn out VERY green, just add some food dye.
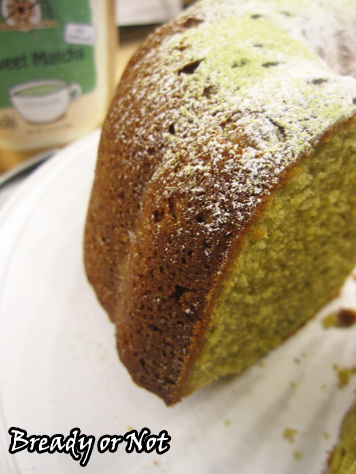
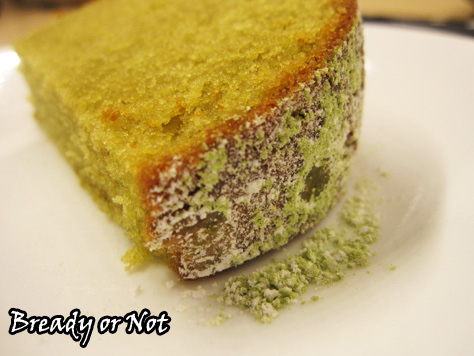
This is essentially a tender pound cake in both taste and texture, with a unique fresh flavor from the tea.
In other words, DELICIOUS.
Modified from Week of Menus.
Bready or Not: Matcha Green Tea Bundt Cake
Ingredients
Cake
- 3 cups all-purpose flour
- 3 Tablespoons sweet matcha powder
- 1/2 teaspoon baking powder
- 1/2 teaspoon baking soda
- 1/2 teaspoon salt
- 1 cup unsalted butter 2 sticks, softened
- 1 3/4 cups white sugar
- 4 large eggs room temperature
- 2 teaspoons vanilla extract
- 1 cup sour cream 8 ounces
Topping
- 2 Tablespoons confectioners' sugar sifted
- 1/4 teaspoon sweet matcha powder sifted
Instructions
- Preheat oven at 350-degrees. Grease and lightly flour a 10-or 12-inch bundt pan.
- In a medium bowl, stir together the dry ingredients: flour, matcha powder, baking powder, baking soda and salt. Set aside.
- In a large bowl, beat the butter creamy. Gradually add sugar; continue to mix until it is light in texture and color. Add the eggs one at a time, beating after each addition, followed by the vanilla extract.
- Gradually add the dry mix and sour cream into the big bowl, going back and forth between the two, until everything is combined. Scoop batter into the ready pan.
- Bake cake for 50 to 60 minutes, until it passes the toothpick test in the middle. Cool the cake for about 10 minutes, then invert it onto a rack to completely cool.
- Sift the confectioners' sugar on top of the cake, followed by the matcha. Slice and serve. Keep covered on counter.
- OM NOM NOM!
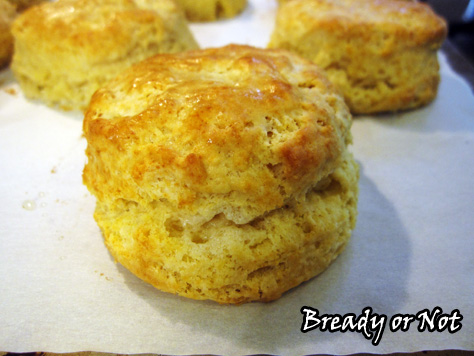
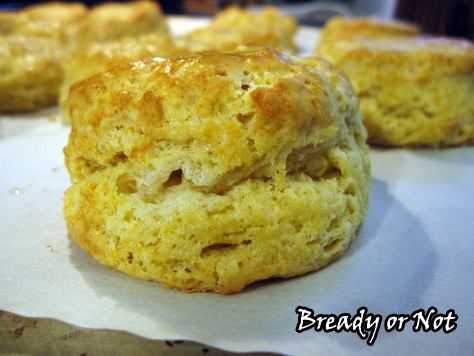
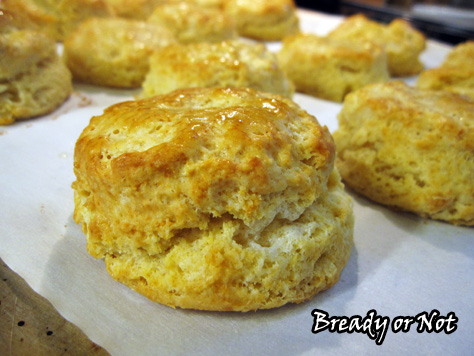
Bready or Not: Easy Buttermilk Biscuits
I first posted this recipe over three years ago. I’m sharing it again because 1) biscuits are timeless and awesome, and 2) I have much better photographs this time around.
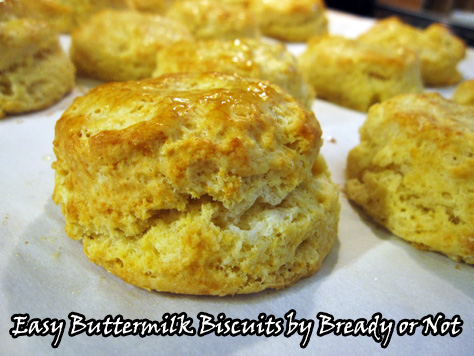
I failed at buttermilk biscuits for years. This grieved me. This recipe, finally, is the one that has repeatedly produced lofty, flaky, perfect biscuits.
The trick is to keep small chunks of butter throughout the dough. That’s what makes flaky layers. Most of the pieces should be pea-sized, and somewhat flat. For that reason, I will start mixing everything together with a big spoon or pastry cutter, but by the end I use my fingers.
Biscuits are important within my family. My dad’s from Alabama. My husband’s family has Arkansas roots. Most meals come with a side of bread, and you can’t get more southern than baking soda-leavened biscuits.
I never keep buttermilk around, but instead rely on sour milk. I have also made these using buttermilk powder and water. The biscuits taste the same with every method–DELICIOUS.

Bready or Not: Easy Buttermilk Biscuits
Ingredients
- 4 cups all-purpose flour
- 4 teaspoons baking powder
- 1 teaspoon baking soda
- 1 teaspoon salt
- 12 Tablespoons unsalted butter 1 1/2 cubes, cold, cut up
- 1 1/2 cups buttermilk or sour milk
- 1/4 cup milk to brush on tops BEFORE baking
- 2 Tablespoons unsalted butter melted, to brush on tops AFTER baking
Instructions
- Preheat oven to 450-degrees. Prepare baking sheet by lightly greasing or using parchment or baking mats.
- Combine the dry ingredients: flour, baking powder, baking soda, and salt. Gradually cut the butter into the flour mix, using a pastry blender or forks until it's down to pea size.
- Add the buttermilk and combine until it just comes together. Don't overwork it! The butter needs to stay in small lumps; that creates the flaky layers. It's often best to use fingers to mix at the end.
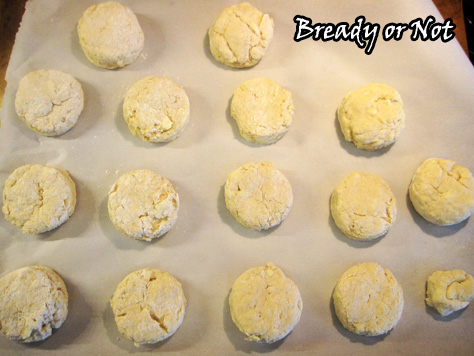
- Lightly flour about a square foot of counter. Press the dough out to be about an even 3/4-inch thick. Use a 3-inch round biscuit cutter to punch out shapes and place on baking sheets. Brush a little bit of milk on the biscuits.
- Bake for 12 to 15 minutes or until they turn golden brown. Remove from oven and immediately brush melted butter on the tops.
- OM NOM NOM!
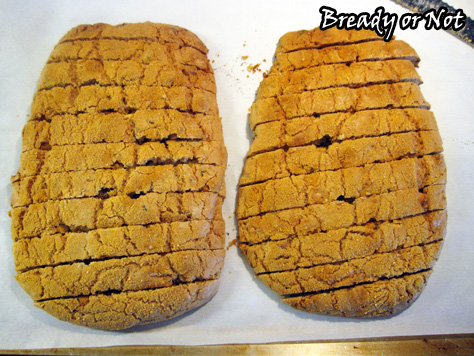
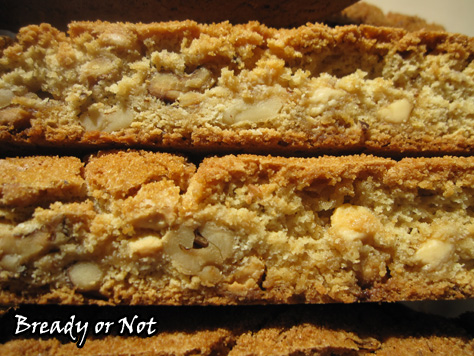
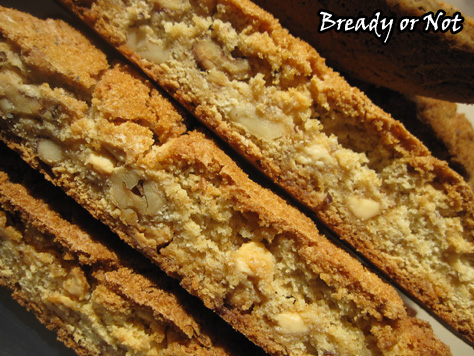
Bready or Not: Maple Walnut White Chocolate Biscotti
Back in May, I posted my Snickerdoodle Biscotti recipe. This is the next installment: Maple-Walnut White Chocolate Biscotti, modified from a King Arthur Flour recipe.

I first made this following the original version pretty closely. I received feedback that it was good, but it was also way too nutty.
Clearly, I needed to rewrite the recipe and make it work. I decided to halve the walnuts, and replace that half with white chocolate chips. This time, I received feedback that they were the most awesome biscotti ever.
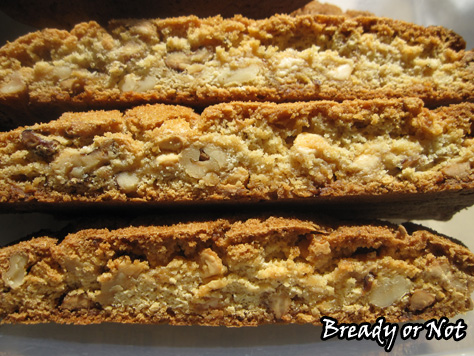
In a single bite, it’s easy to see why. The maple flavor is great, the walnuts add a wonderful crunch within the already-crunchy dough, and the white chocolate adds sublime sweetness to bring everything together.
Since these are biscotti, they will keep well, sealed, for weeks. That makes these great for mailing (though perhaps not in the middle of summer, as there is some chocolate in these) or presenting as gifts.
As I noted before, homemade biscotti cannot be compared to the store versions, which could be used as billy clubs to defend households against burglars. Homemade biscotti are crunchy but still chewy… and, of course, taste best if dipped into coffee or tea.
Bready or Not: Maple Walnut White Chocolate Biscotti
Ingredients
- 1 cup walnuts coarsely chopped
- 2 large eggs
- 1/2 cup white sugar
- 1/2 cup brown sugar packed
- 1/4 cup pure maple syrup
- 3/4 teaspoon maple flavor
- 1/3 cup unsalted butter melted
- 2 1/2 cups all-purpose flour
- 2 teaspoons baking powder
- 1/2 teaspoon salt
- 1 cup white chocolate chips
- 1 Tablespoon maple sugar optional, or turbinado sugar for topping
Instructions
- Preheat oven at 350-degrees. Line a baking sheet with parchment. Toast the walnuts for about 8 minutes, until they're light golden brown and smell toasty. Set them aside in a bowl to cool, but keep the parchment on the pan.
- In a large bowl, beat together the eggs, sugars, maple syrup, and maple flavor. Add the melted butter, and beat until smooth.
- Mix in the flour, baking powder, and salt. Add the walnuts next, followed by the white chocolate chips.
- Divide the dough in half on the prepared baking sheet. Form each into a log about 4 inches wide and 10 inches long; make sure there is space between the two logs, as they'll grow in the oven.
- Sprinkle maple sugar or turbinado sugar over the tops of both logs.
- Bake about 30 minutes, until the biscotti is lightly browned with small cracks forming across the top. Remove the baking sheet, but be sure to leave the oven on.
- Let the biscotti cool for 10 minutes. Use a large knife, such as a bread knife, to diagonally slice the logs 1/2-inch apart. Use a straight-down motion to cut; don't saw.
- Arrange the biscotti spaced out on the baking sheet. Stand them up if possible, or lay them on their sides. Bake for another 20 to 25 minutes, flipping them over halfway if necessary, to equally crisp both sides.
- Cool completely on the baking sheet. Store in an airtight container as long as a few weeks.
- OM NOM NOM!
Read More
