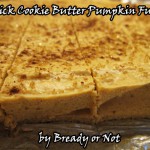
Bready or Not: Quick Cookie Butter Pumpkin Fudge
Is frosting your favorite part of cake? Well, do I have a fudge recipe for you!
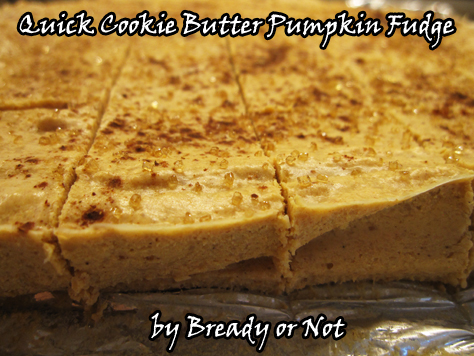
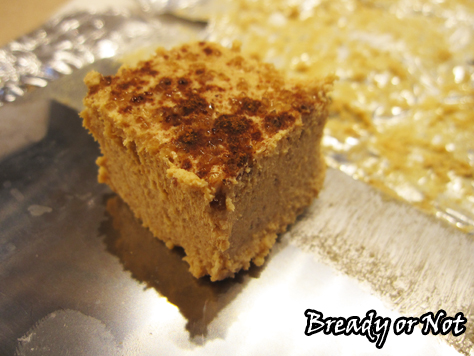
This easy microwave fudge tastes like pumpkin spice frosting. It’s that rich. That delicious. This makes a big batch, so cut the pieces small and share with a crowd!

The original version of this recipe used peanut butter. Well, you know me. Why go with cliché peanut butter when you can use creamy COOKIE BUTTER? Use Biscoff, Speculoose, or any of the new off-brand versions–heck, my local Sprouts even has their own cookie butter now!
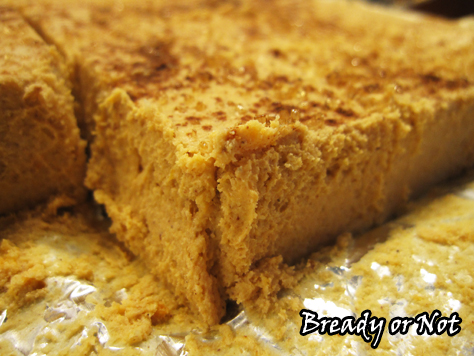
In baked recipes, cookie butter makes cooked goodies taste like cookie dough. Here, that effect is much more mild. It adds a lovely color and helps the pumpkin and spices to shine through.
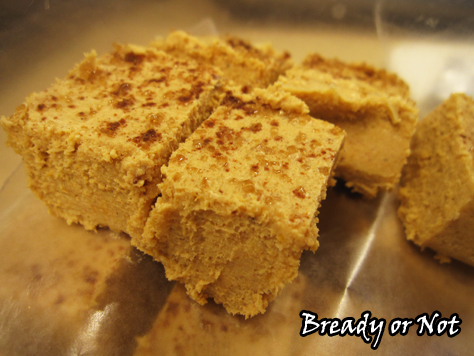
Make this for a potluck or family gathering, and share the joy of cookie butter and pumpkin spice!
Modified from Peanut Butter Pumpkin Fudge at Crazy for Crust.
Bready or Not: Quick Cookie Butter Pumpkin Fudge
Ingredients
- 4 cups white chocolate chips
- 1/2 cup Creamy Biscoff or Speculoos or other brand cookie butter
- 3/4 cup pumpkin puree
- 2 teaspoons pumpkin pie spice
- 2 teaspoons vanilla extract
- turbinado sugar optional
Instructions
- Line an 8x8-inch pan with foil and coat it with cooking spray. Measure out all of your ingredients and have them at hand.
- Place white chocolate chips and cookie butter in a large microwave-safe bowl. Heat on 50% power for 45 seconds--and stay close, because white chocolate can burn fast in the microwave. Stir well, then continue heating on 50% power in 25 second increments, stirring between each bout, until melted and smooth.
- (Yes, you could also do this in a saucepan over medium-low heat on the stovetop, but that wouldn't be quite as quick!)
- Once the chocolate and cookie butter are blended with no lumps, immediately stir in the pumpkin puree, spice, and vanilla extract. Combine it as fast as you can. Pour the fudge batter into the prepared pan. If desired, sprinkle turbinado sugar and some more pumpkin spice over the top.
- Place in fridge to set for several hours before cutting and serving--this makes a lot! Keep stored in a sealed container in fridge, with blocks of fudge between layers of wax paper or parchment. The fudge softens fast at room temperature.
- OM NOM NOM!
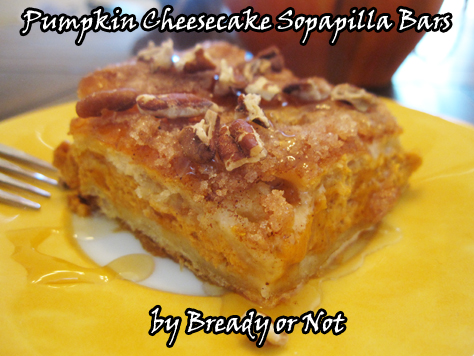
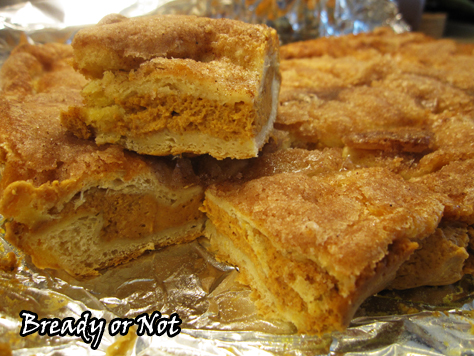
Bready or Not: Pumpkin Cheesecake Sopapillas
These Pumpkin Cheesecake Sopapillas are super-easy to make. You use crescent dough roll for the top and bottom! This comes together in minutes.
You get to work some churromancy here as well. Once you have your pumpkin bars assembled, you pour melted butter over everything. You create LAKES OF BUTTER. Then to make it healthier, you top that with more cinnamon and sugar.
As it cools, the butter is absorbed, and that cinnamon-sugar forms an amazing crust on top.
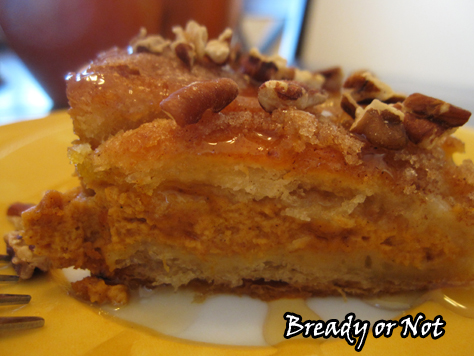
The dish is fast to assemble, but it does need a few hours to cool down on the counter and then chill in the fridge. After, that, though…! All you need to do to serve this up is zap a piece in the microwave. Top that with some pecans and honey, and you have your own seasonally-appropriate sopapilla.
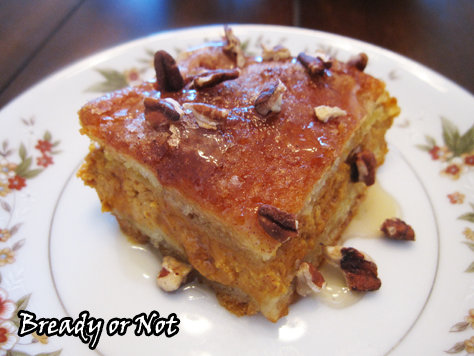
Eat it for breakfast. Snack. Dessert. Whatever. There’s pumpkin in this and it’s October. This could be dinner, if you so desire. Embrace the season! Get out the stretchy pants!
Modified from Willowbird Baking. Originally shared on the Holy Taco Church.
Bready or Not: Pumpkin Cheesecake Sopapillas
Ingredients
Bars
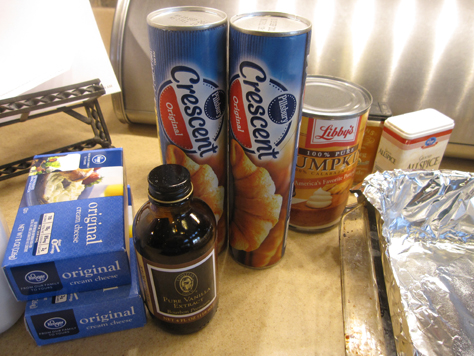
- 2 cans crescent rolls any brand
- 16 oz cream cheese 2 boxes, room temperature
- 16 oz pumpkin puree
- 1/2 cup white sugar
- 2 teaspoons vanilla extract
- 2 teaspoons ground cinnamon
- 1/4 teaspoon ground allspice
- 1/2 teaspoon nutmeg
- 1/2 teaspoon ginger
Topping:
- 6 Tablespoons unsalted butter melted
- 1/2 cup white sugar
- 1 teaspoon cinnamon
Highly Advised Extras:
- honey
- toasted pecans
Instructions
- Preheat oven at 350 degrees F. Line a 9x13 inch baking dish with foil and apply nonstick spray. Unroll one can of crescent roll dough--keeping it as a single piece--and lay it in the dish. Pressing it out to cover the bottom and pinch seams together.
- In a large mixing bowl, beat together the softened cream cheese and sugar until light and fluffy. Add the pumpkin puree, vanilla extract, cinnamon, ginger, nutmeg, and allspice. Spread the pumpkin mixture over the crescent roll dough in the pan.
- Stretch out plastic wrap on a large cutting board. Use this surface to lay out the other can of crescent roll dough. Stretch it out and pinch together the seams. That done, use the board to flip the dough on top of the pumpkin layer.
- Next is the topping. In a small bowl, stir together the 1/2 cup sugar with 1 teaspoon cinnamon. Pour the melted butter over the crescent dough top layer. Sprinkle the sugar mix all over the top.
- Bake for 30 minutes or until golden brown. Let the bars cool completely at room temperature before placing them in the fridge to set for a few hours or overnight.
- Cut the sopapillas into bars. They are best served warm, after a 20-30 second zap in the microwave, and topped with some pecans and drizzled honey.
- OM NOM NOM!
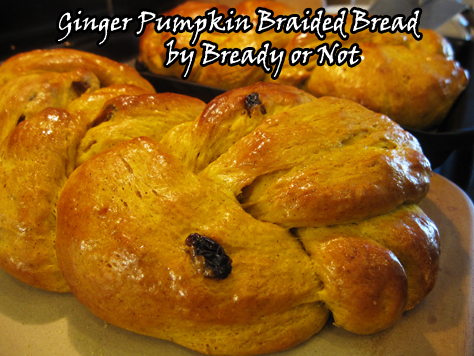
Bready or Not: Ginger Pumpkin Braided Bread
Bready or Not is full-out bready this week with a recipe that produces two gorgeous braided loaves of pumpkin bread!
This recipe from King Arthur Flour and was featured in their mailed catalog a while back. Like so many of their recipes, it’s an absolute winner.
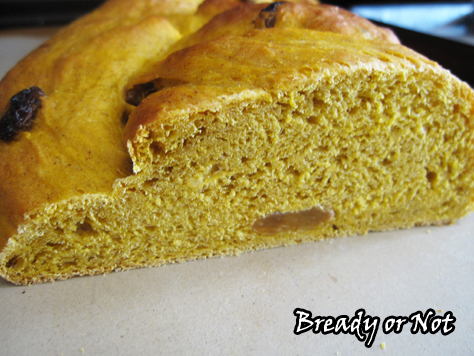
The pumpkin puree doesn’t make this bread tacky, even as dough. It incorporates well and adds light taste and vivid color. Diced candied ginger and raisins create variations in texture. The spices play well with everything. Actually, you should make this bread just to smell it as it bakes.
The slices are divine, whether or not you add butter. It would also be delicious in something like bread pudding. YUM.
Plus, it’s just plain pretty.
Modified from King Arthur Flour.

Bready or Not: Ginger Pumpkin Braided Bread
Ingredients
- 4 1/2 cups bread flour
- 1 teaspoon cinnamon
- 1 teaspoon ground ginger
- 1/4 teaspoon ground cloves
- 1/3 cup white sugar
- 1 1/2 teaspoons salt
- 1 Tablespoon instant yeast
- 1 3/4 cups pumpkin puree 1 can
- 2 eggs room temperature
- 1/4 cup unsalted butter half stick, melted
- 1/2 cup golden raisins
- 1/3 cup diced candied ginger
- butter to brush on bread
Instructions
- In the large bowl of a stand mixer, combine the flour, spices, sugar, ginger, salt, and yeast.
- In a separate bowl, stir together the pumpkin, eggs and melted butter. Add the wet ingredients to the dry ingredients. Continue to stir until the dough begins to come away from the sides of the bowl. Knead the dough for 2 minutes; let it rest for 15 minutes. Knead for an additional 5 to 7 minutes, or until it's smooth. Add the raisins and candied ginger, and continue kneading just until they're incorporated.
- Transfer the dough to a lightly oiled bowl. Cover it with plastic wrap, and set it aside to rise for 1 to 1 1/2 hours, until about doubled.
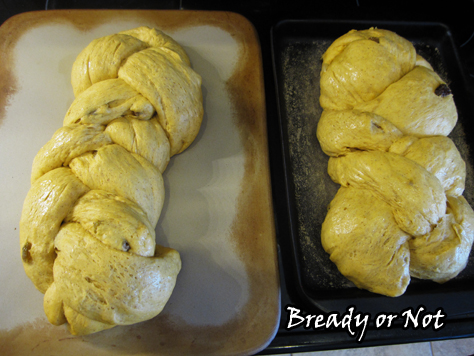
- Lightly grease a surface and turn out the dough onto it. Divide the dough in half, then divide each half into three pieces. Roll each piece into a 10-inch log.
- Place three logs together on a parchment-lined baking sheet. Braid them together, making sure to pinch together the ends or tuck them underneath. Repeat the process with the other three logs on another baking sheet. Lightly cover them with plastic wrap and let them rise another hour. They should be puffy, not necessarily doubled in size.
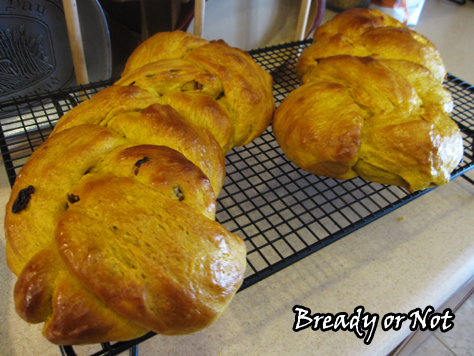
- Bake the loaves in a preheated 375-degree oven for 25 to 30 minutes, until lightly browned. A cake tester inserted in the center should come out clean. Brush butter over the loaves to give them a nice shine.
- Let the braids cool on a wire rack. Serve them warm or at room temperature. Loaves can also be frozen for later enjoyment.
- OM NOM NOM!

Read More
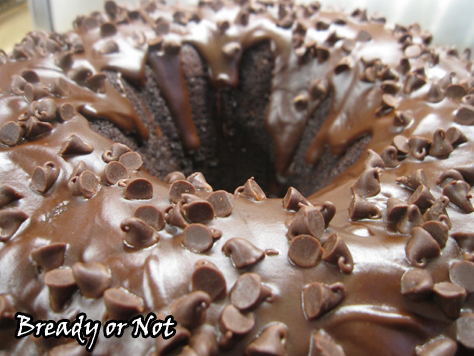
Bready or Not: Triple Chocolate Pumpkin Cake
Triple Chocolate Pumpkin Cake created something of a sensation at my husband’s work. Imagine profanity-laden joyful proclamations about this being the best cake ever.
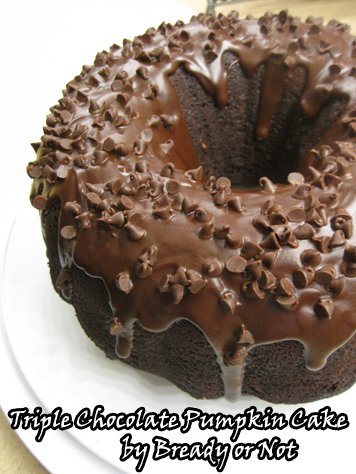
The thing that surprised me most about their feedback was that they didn’t even realize there was pumpkin in the cake. It was all about the chocolate and the sheer moistness of the cake itself.
Well, the secret to that tender crumb: canned pumpkin puree. Ta-da!
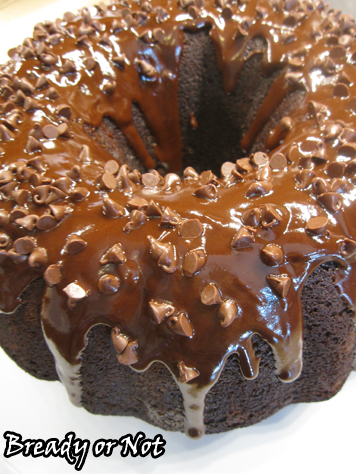
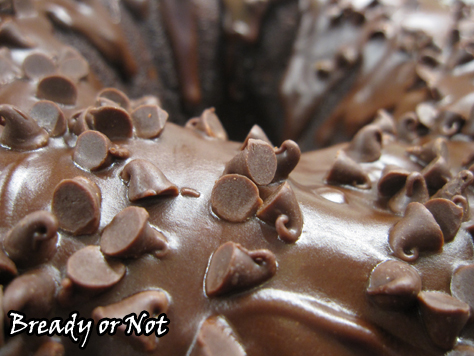
The chocolate IS the star here. I mean, there’s a reason the name starts with “triple chocolate.” You have cocoa and chocolate chips in the cake, and a chocolate glaze that is also topped with chocolate chips.
Does that mean this should really be called a “quadruple chocolate pumpkin cake?” Dang it. I’m a writer. Don’t expect me to do math.
Modified from A Dash of Sanity.
Bready or Not: Triple Chocolate Pumpkin Cake
Ingredients
To Coat Pan
- 1 Tablespoon unsalted butter
- 1 Tablespoon cocoa sifted
Cake
- 2 cups white sugar
- 3/4 cup oil
- 2 teaspoons vanilla extract
- 3 eggs room temperature
- 2 1/2 cups all-purpose flour
- 1 teaspoon salt
- 1 1/2 teaspoon baking soda
- 1 1/2 teaspoon baking powder
- 1/2 cup cocoa sifted
- 1 teaspoon cinnamon
- 1/2 cup milk almondmilk works
- 15 ounces pumpkin puree
- 3/4 cup chocolate chips
Glaze
- 3 Tablespoons butter diced
- 3/4 cup dark chocolate chips or semi-sweet
- 1 Tablespoon light corn syrup
- 2 Tablespoons mini chocolate chips for topping
Instructions
- Prepare the bundt pan. In the microwave, melt the tablespoon of butter. Stir in the tablespoon of sifted cocoa to make a paste. Use a pastry brush to completely coat the inside of the pan. Set aside.
- Preheat oven at 325-degrees. In a large bowl, mix together sugar, oil, vanilla extract, and eggs.
- In a separate bowl combine flour, salt, baking soda, baking powder, sifted cocoa, and cinnamon. Gradually add the flour mix to the sugar mix.
- Mix in the milk and pumpkin puree. Once everything is just combined, stir in the chocolate chips. Pour thick batter into the ready bundt pan.
- Bake for 50-60 minutes, or until it passes the toothpick test.
- Set pan on rack for about ten minutes and remove pan by upending the cake onto the rack. Let it completely cool.
- Once the cake is cool, make the glaze. In a small microwave-safe bowl, place the butter, chocolate chips, and corn syrup. Heat for 30 seconds or so and stir thoroughly, then briefly heat again if needed to finish melting.
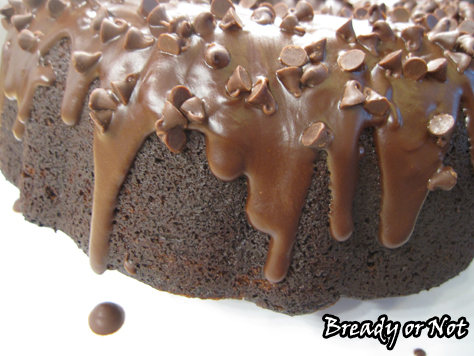
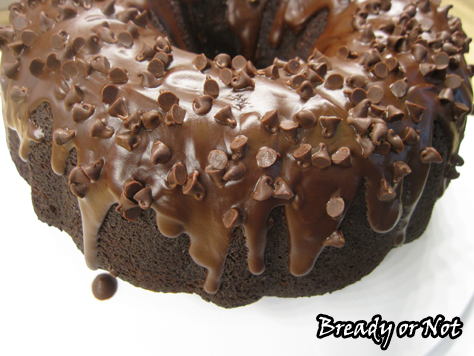
- Use a spoon to drizzle the glaze onto the cake, spreading it around as needed. Sprinkle mini chocolate chips on top to finish it off. Set in fridge to set for several hours or overnight--chocolate cakes are better after a day (if you can restrain yourself that long)!
- OM NOM NOM!
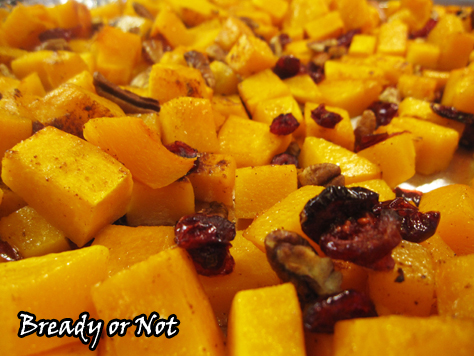
Bready or Not: Butternut Squash and Quinoa Salad
Bready or Not has featured a whole lot of sweets in recent weeks. Let’s switch to something delicious and healthy instead: Butternut Squash and Quinoa Salad.
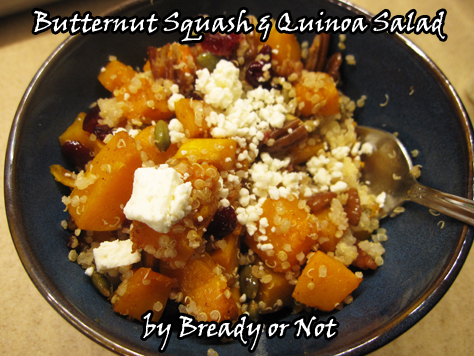
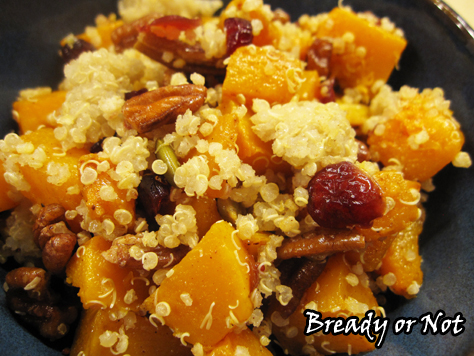
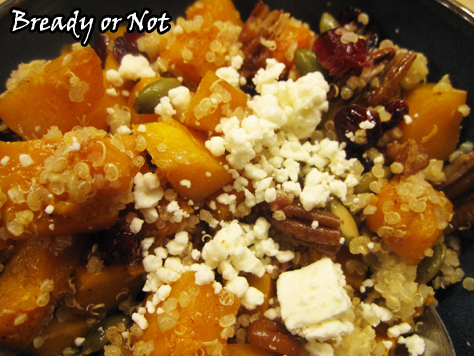
This still has a little bit of sweetness going on. Butternut squash is naturally awesome that way, and a sprinkling of cranberries adds some extra oomph. Add some pecans for crunch and feta because CHEESE, and this creates a bowl of happiness. The quinoa adds protein and kinda enjoys the ride along with all the other flavors.
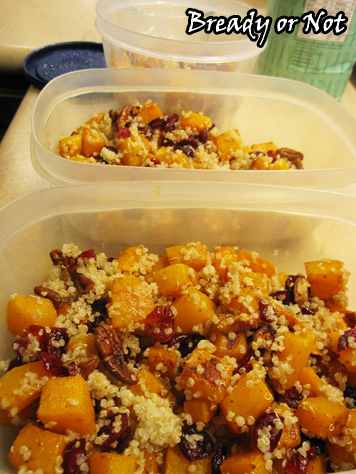
I cobbled this together from several other recipes. I wanted something that I could invest some time in and then use as a quick-fix dinner for several more days. I parcel it into three or four containers, depending on the size of the squash, and my meals are set! Or, you could use this as a gluten-free main dish or side dish to feed a group.
I can offer a few useful tips, too. I cook quinoa in my Zojirushi rice cooker. One cup of uncooked quinoa makes a LOT once its cooked, more than my salad recipe requires, but cooked quinoa keeps well in the fridge and can also be frozen and thawed weeks later without any issue.
If you’re intimidated by cutting butternut squash, there is a safe and easy way to do it!
Next week’s Bready or Not officially kicks off my October-November tradition of pumpkin and autumn-themed recipes! Time to bust out the stretchy pants.

Bready or Not: Butternut Squash and Quinoa Salad
Ingredients
- 2 1/2 - 3 1/2 pounds butternut squash
- olive oil or avocado oil
- sprinkle pumpkin pie spice
- 1 cup cooked quinoa
- 1/2 cup dried cranberries
- 1/2 cup pecans chopped
- feta cheese
Instructions
- Preheat the oven at 425-F.
- Line a rimmed cookie sheet with aluminum foil. Spread out the chopped squash and drizzle with oil. Sprinkle spices of choice and some salt. Roast squash for 20 minutes.
- While the squash is roasting, measure out the cranberries and place in a small bowl. Cover the cranberries with water and let them soak. Measure out the pecans.
- When the 20 minutes is up, toss the squash in the pan. Drain the water from the cranberries, discarding water. Add the plumped cranberries and pecans to the squash, and season more, if desired. Cook another 10 minutes or so, until butternut squash is fork tender with roasted coloration.
- Transfer the pan's contents to a large bowl. Gently stir in the quinoa. Serve hot or stash in fridge for later, and heat with microwave. Add sprinkle of feta just before serving.
- OM NOM NOM!
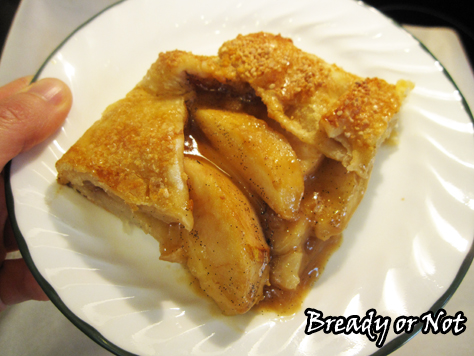
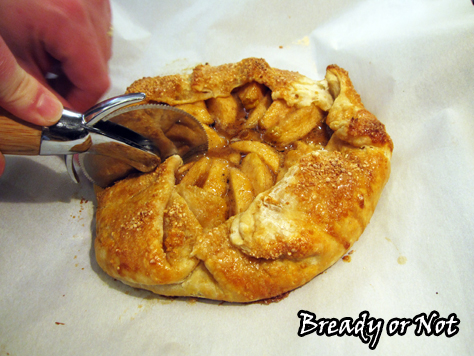
Bready or Not: Maple Pear Galette
It’s my husband’s birthday, so I’m sharing a dessert that he looooves.

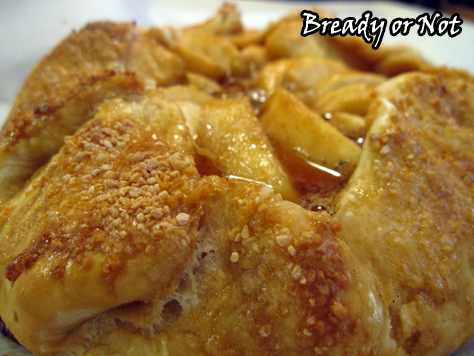
This recipe laces maple sugar into every layer: the galette dough, the thick maple paste for the pears, and as a golden accent and perfect crunch for the top of the galette.
This is remarkably easy to make, too. Peeling and coring the pears is the biggest hassle. I made the dough a day ahead of time, which made the assembly part go pretty fast.
I modified this recipe from one found in this incredible cookbook called Maple by Katie Webster. Seriously, if you love maple used in dishes for any meal of the day, get this cookbook!

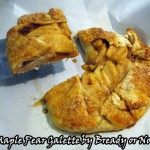
This galette is one of the three recipes I melded together to create my Maple Apple Pie (aka Voltron Pie). Specifically, I tweaked the maple-lemon paste for the filling and ported it over. I’m pretty certain that such a potent maple mix can improve anything. Maybe it can inspire world peace. I dunno.
In the case of this galette, though, I say give a piece a chance.
Bready or Not: Maple Pear Galette
Ingredients
- 1 1/4 cups plus 2 Tablespoons all-purpose flour divided, plus more for dusting
- 1/2 cup plus 2 Tablespoons maple sugar divided
- 1/2 teaspoon salt
- 4 Tablespoons unsalted butter
- 3 - 6 Tablespoons ice water
- 1 vanilla bean split open and scraped out, or 2 teaspoons vanilla extract
- 1 Tablespoon lemon juice
- 3 ripe pears peeled, cored, and cut into wedges
- 1 egg lightly beaten
Instructions
- In a medium bowl, whisk together the 1 1/4 cups flour, 1 tablespoon maple sugar, and salt. Add butter and work into dough so that the butter is down to pea-sized chunks. Add just enough water to incorporate as dough, smearing butter chunks in the process. Shape dough into a disk and shroud in plastic wrap; refrigerate for 30 minutes, or overnight.
- Preheat oven to 350-degrees. Place parchment paper on a large rimmed baking sheet.
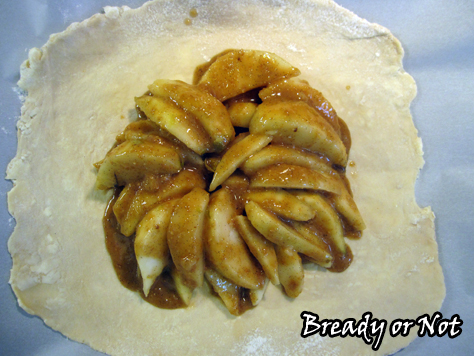
- In a large bowl, gently stir together the vanilla (bean or extract), lemon juice, 2 tablespoons flour, and 1/2 cup maple sugar; it will form a thick paste. Gently stir in the pears to coat. Expect the mixture to become more liquid as it sits with the pears in it.
- Use flour to lightly dust a large work surface. Roll out the dough to at least a foot diameter circle. Transfer it to the prepared parchment paper on baking sheet; the dough might hang over the edges for now, but that's okay.
- Arrange the pears in a circular pattern in the center; leave a 2.5 to 3-inch border. Scrape the rest of the maple paste over the pears. Fold the dough inward, with the center still exposed. Brush the egg over the top and sprinkle on the maple sugar.
- Bake for 40 to 50 minutes, until the crust is golden and the filling bubbles. Let cool before cutting.
- OM NOM NOM!