


Bready or Not Original: Millionaire Shortbread
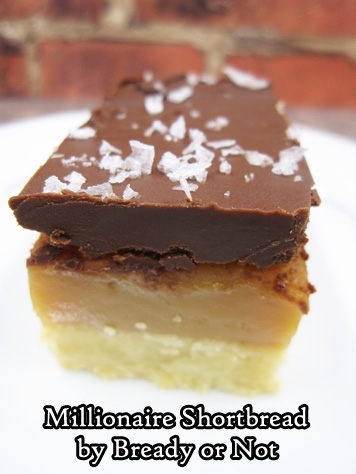
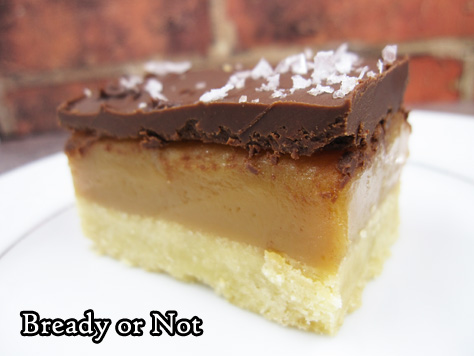
Millionaire Shortbread. Gorgeous. Delicious. A little bit of extra effort to make, but SO WORTH IT.
I wanted to concoct the best-possible Millionaire Shortbread. This involved strenuous testing of recipes. Much baking. Much reliance on test subjects (husband and his co-workers).
The resulting feedback? I wrote it down.
“This shortbread is enjoyed, and feared.”
“To call them excellent would be an insult to your wife.”
So yeah. The test subjects approved. I personally would rank this up there with my best all-time bakes, because it really combines the best of everything.
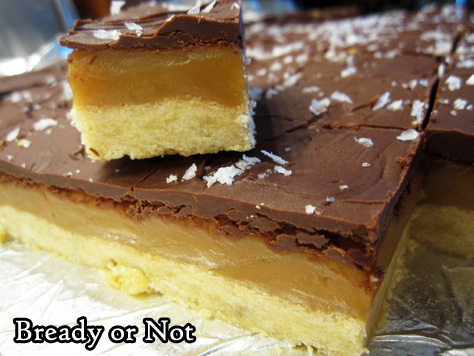
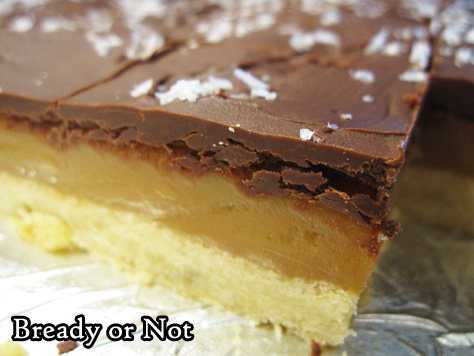
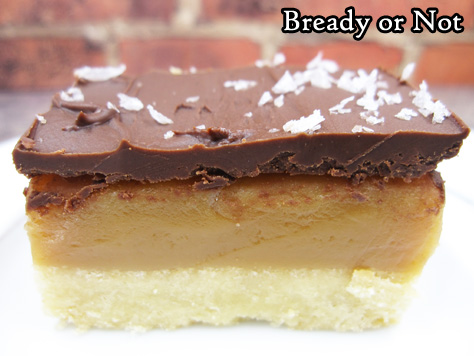
The shortbread layer is firm yet soft. THEN THAT CARAMEL. It is thick, luscious, and sweet. The chocolate provides the perfect balance, especially with the help of some Maldon salt flakes.
Do note that the ganache needs to be semisweet chocolate, or an even darker variety. Milk chocolate is just too sweet against that thick caramel. I say that, and I usually prefer milk chocolate.
I wish I could say how long this keeps in the fridge, but my test subjects were a bit too voracious to provide perspective on that point.
Bready or Not Original: Millionaire Shortbread
Ingredients
Shortbread Crust
- 1 cup unsalted butter 2 cubes, softened
- 1/3 cup white sugar
- 1/3 cup light brown sugar packed
- 1 egg yolk
- 3/4 teaspoon vanilla extract
- 2 1/4 cups all-purpose flour
- 1/2 teaspoon salt
Caramel
- 2 14-ounce cans sweetened condensed milk
- 14 Tablespoons unsalted butter
- 1 cup light brown sugar packed
- 1/3 cup light corn syrup
- 1 teaspoon vanilla extract
- 1/4 teaspoon salt
Chocolate Ganache
- 11 ounces semisweet chocolate chips
- 4 Tablespoons unsalted butter 1/2 stick
- Maldon sea salt flakes for top, optional
Instructions
Shortbread base
- Preheat oven at 350-degrees. Line a 13x9 baking pan with aluminum foil and apply nonstick spray or butter.
- In a large bowl, beat butter until creamy. Add both sugars and beat until light and fluffy. Follow up with the egg yolk and vanilla extract. Scrape bottom of bowl to make sure everything is incorporated.
- Gradually work in flour along with the salt. Don't overmix. It should still be crumbly. Drop dough into prepared pan and compress into an even layer. (A piece of waxed paper and a heavy glass make this easier.)
- Bake shortbread layer for 20 to 25 minutes, until edges are turning golden brown. Set pan aside to cool while the next layer is made.
Caramel
- In a large saucepan at medium heat, stir together the condensed milk, butter, brown sugar, and corn syrup. Stir constantly as it rises to a boil. Immediately drop heat to low, and continue to stir nonstop for about 10 to 15 minutes, until mixture turns a deep caramel color and thickens up; watch out, the caramel can spit out of the pan at times!
- Remove pot from heat and promptly stir in vanilla extract and salt.
- Pour caramel over the shortbread, using an uneven spatula or knife if needed to smooth it into an even layer. Cool pan for several hours until it reaches room temperature, or set in fridge to chill.
Ganache topping
- In a microwave-safe bowl (or, alternatively, on the stove top in a pot) melt together the chocolate chips and butter. Once it can be stirred smooth, pour over the caramel. Spread out into an even layer. If desired, sprinkle Maldon sea salt flakes over the top.
- Chill in fridge to let chocolate harden for at least 30 minutes. Use foil to lift contents of pan onto a cutting board. Let chocolate warm again, just a touch, perhaps for 5 or 10 minutes, before slicing into bars (otherwise, the chocolate will crack rather than be sliced through).
- Store bars in fridge with waxed paper between layers. Keeps for days.
OM NOM NOM!
Bready or Not: Almond Sable Cookies
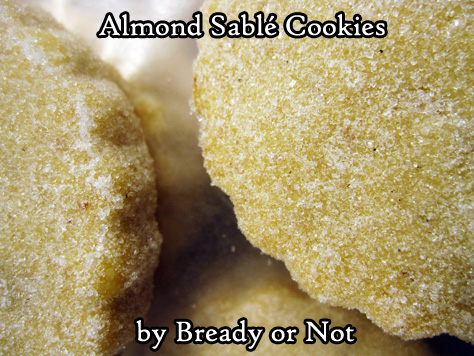
Let’s welcome 2020 in grand style: with French shortbread called almond sables!
I’ve made a lot of shortbread in my day. All varieties. This is shortbread that’s gone up in level. It tastes fancy. It’s a French recipe, so that’s only appropriate, right?

I highly recommend you use President-brand unsalted butter for this recipe. My recipe is actually modified from a version they used in advertisements. However, you can use other butters, just make sure you use unsalted and only 7 ounces. That means you’ll chop off a tablespoon from the standard American butter stick.
I made these cookies twice to get the recipe the way I wanted it. I used salted butter the first time, and the cookies tasted noticeably salty. Not just to me, but to other eaters as well.
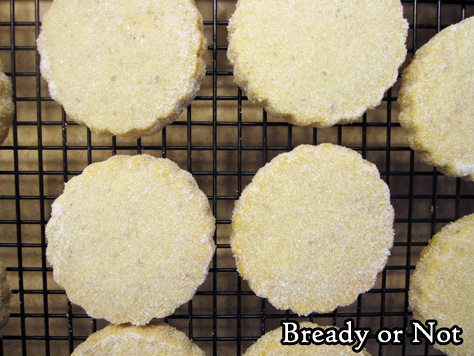
Because these cookies have such few ingredients, the few that are present really have a chance to shine. They are buttery, mildly nutty, with a soft, sandy texture.
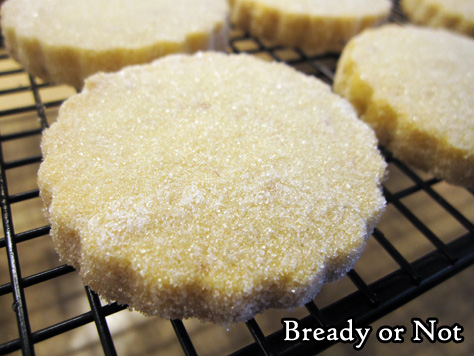
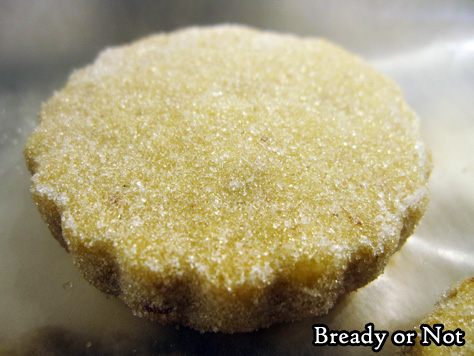
I liked using my fluted cookie cutters for these–that way the sugar coating has more nooks and crannies to cling to!
Recipe modified from a President butter advertisement.
Bready or Not: Almond Sable Cookies
Equipment
- small cookie cutter
- parchment paper
Ingredients
- 1/3 cup sliced almonds
- 2 cups all-purpose flour
- 7- ounces President unsalted butter softened, or substitute other unsalted butter
- 1/3 cup confectioners' sugar
- 3/4 cup white sugar divided
- 1 teaspoon kosher salt
- 1 vanilla bean or substitute 1 Tablespoon vanilla bean paste or 3 teaspoons vanilla extract
- 1 egg yolk
Instructions
- Toast the almonds prior to beginning cookies. Preheat oven at 325-degrees. Spread almonds in an even layer on a rimmed baking sheet. Toast for about 10 minutes, until fragrant. Set aside to cool for a few minutes; turn off oven.
- Measure out flour in a small bowl.
- Use a food processor to grind almonds to a fine crumb; don't process for too long or it'll turn to almond butter. Mix almond crumbs with flour.
- In a big bowl, beat butter until smooth. Add confectioners' sugar, 1/4 cup white sugar, and salt, until smooth again. Add vanilla bean (or equivalent) and egg yolk. Gradually work in flour mixture. Turn dough onto a lightly floured work surface, and knead 3 or 4 times to form a cohesive ball.
- Place dough between two large sheets of parchment paper and compress dough to about 1/2-inch thickness. Enshroud in plastic wrap. Transfer to fridge to set, at least 2 hours but as long as 2 days.
- Preheat oven to 325-degrees. Line large baking sheet with fresh parchment paper.
- Roll out dough to closer to 1/4-inch thickness, then set aside top parchment sheet. Use a small round cookie cutter to cut dough, placing rounds spaced-out on sheet pan. Re-roll dough scraps to use up the rest, adding a touch of water, if necessary, to bring dough together again.
- Bake until edges are just turning golden, about 15 to 20 minutes. Measure out remaining 1/2 cup white sugar in a bowl. Use a spatula to dip warm cookies into sugar to coat top and sides. Place on rack to cool cookies completely.
- Cookies keep well in sealed container for up to 3 days.
OM NOM NOM!
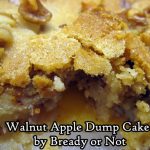
Bready or Not Original: Walnut Apple Dump Cake
Bready or Not is being gifted a day early this year since Wednesday falls on Christmas Day!
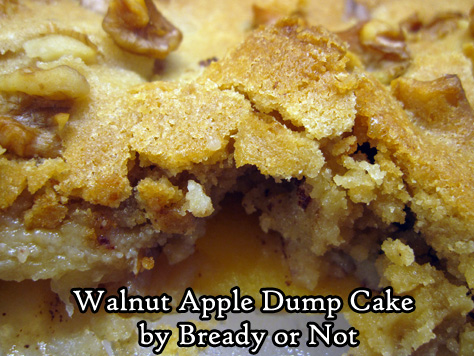
‘Dump cake’ is not the most appetizing of terms, but I assure you, this Walnut Apple Dump Cake is delicious. It’s also quick and easy to throw together if you need something for breakfast or dessert on Christmas Day or on New Year’s a week away.
Dump cake is the broad term that encompasses regional dishes like crisps, cobblers, brown betties, etcetera. It means the fruit is dropped into a dish and some kind of bready topping (flour, oats, granola, dumplings) is baked over it.
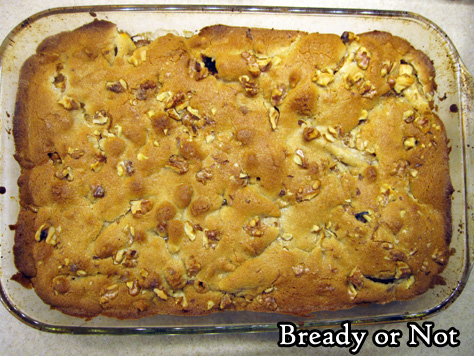
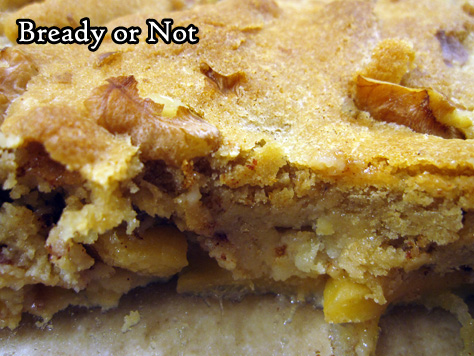
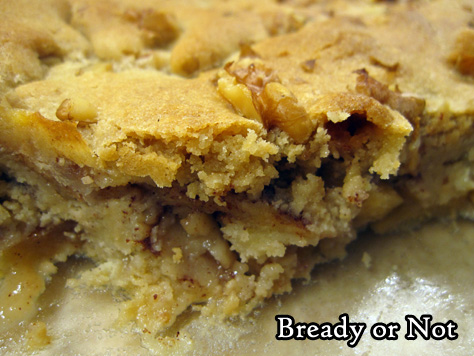
In this case, the topping is a thin, golden cake. It’s enough to encase the apples and lock in moisture and flavor–plus add in some chewiness and crunch. The walnuts especially add to the latter.
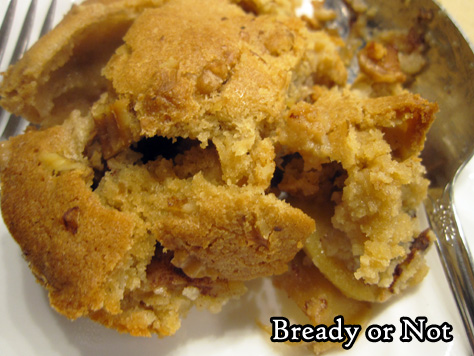
This is not a cake to be tidily cut into pieces. This is a cake that is scooped out onto a plate or bowl. Hence, I advise NOT using foil to line the pan as I do with most other casserole dish-style recipes. The spoon will just tear up the foil. Plus, the dish will clean up pretty easily afterward.
I also advise that you eat this along with vanilla ice cream. It really does make for the perfect pairing, especially if you’re eating the cake warm.
Bready or Not Original: Walnut Apple Dump Cake
Equipment
- 9x13 pan
Ingredients
- 6 medium apples like Granny Smith or Pink Lady, or a mix
- 2 1/4 cups brown sugar packed, divided
- 2 teaspoons ground cinnamon
- 1 cup unsalted butter 2 sticks
- 2 large eggs
- 1 teaspoon vanilla extract
- 2 cups all-purpose flour
- 1 cup walnuts chopped, divided
Instructions
- Preheat oven at 350-degrees. Use nonstick spray or grease with butter the inside of a 13x9 pan (note: don't line with foil).
- Peel and slice apples and place in pan. Sprinkle 1/4 cup brown sugar and cinnamon over apples.
- In a large bowl, cream together butter and remaining brown sugar. Add eggs and vanilla extract. Follow up with flour and 1/2 cup of walnuts.
- Drop dollops of dough all over apples, covering as much as possible. Sprinkle remaining walnuts over top.
- Bake for about 40 minutes. Top should be golden and apples tender when poked with a fork.
- Serve warm, at room temperature, or cold. Store covered in foil, in fridge or on counter top, for up to three days. Fantastic with ice cream!
OM NOM NOM!
Bready or Not Original: Quick Peanut Butter Chocolate Fudge
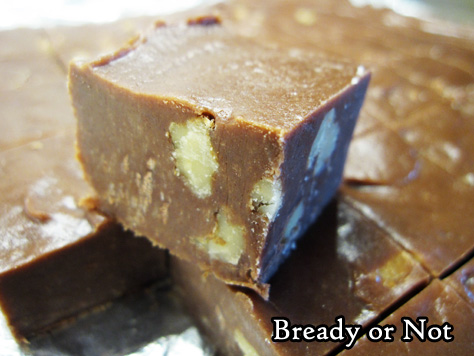
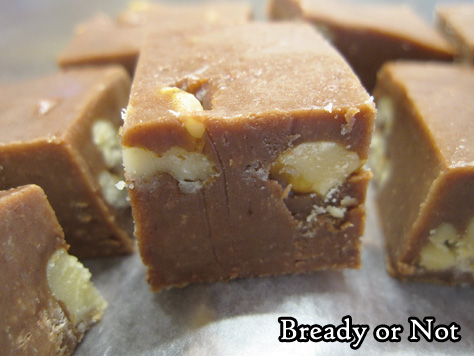
Holiday time can be all kinds of hectic, but if you need a sweet treat in limited time, this Quick Peanut Butter Fudge will be adored by all chocolate and peanut butter lovers!
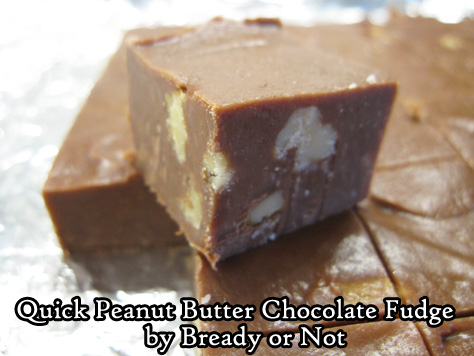
This thing literally comes together in under five minutes. Give it a couple hours to set in the fridge, and there you go. Plus, it keeps for weeks in the fridge (if you can make it last that long) and it can be frozen for ages.
I love using walnuts in this fudge, but any nut will do. Can you make it without nuts? Sure, but I find that a little bit of crunch is great for texture. Some seeds could work in this, too, if you need to avoid an allergen (keeping in mind, this already includes peanut butter chips!).
My husband had co-workers describe this fudge as “crack.” Consider yourself warned.
I’ve shared a number of quick fudge recipes over the years. Here are some others to try out!
Five-Minute Spicy Mexican Fudge
Quick Cake Batter White Chocolate Fudge
Gingerbread Cookie Dough Fudge
No-Bake Peanut Butter Pretzel Fudge
Bready or Not Original: Quick Peanut Butter Chocolate Fudge
Equipment
- 8x8 or 9x9 pan
Ingredients
- 1/4 cup unsalted butter
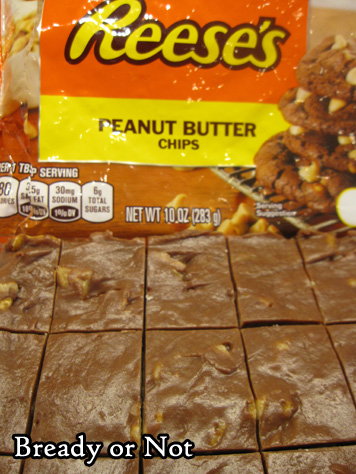
- 10- ounce bag peanut butter chips 1 bag
- 8- ounces semi-sweet chocolate chips about 3/4 bag
- 14-ounce can sweetened condensed milk
- 1 cup walnuts or other nuts, chopped
Instructions
- Line a small square pan with foil and apply nonstick spray or butter.
- In a large microwave-safe bowl, melt butter with a zap or two in microwave. Add peanut butter, chips, chocolate chips, and sweetened condensed milk. Heat in a couple 30-second bursts, stirring well between each, and continuing until the mixture is smooth. Fold in nuts.
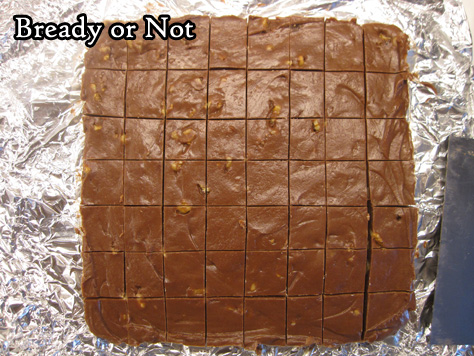
- Pour into prepared pan. Smooth out using an uneven spatula, taking fudge to edges and pressing down to remove any bubbles.
- Chill in fudge for at least two hours. Use foil to lift onto cutting board for easy slicing. Store in a sealed container with waxed paper between the layers; keep in fridge as long as a month, or freeze for longer.
OM NOM NOM!
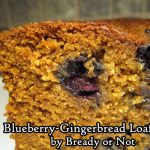
Bready or Not Original: Blueberry-Gingerbread Loaf
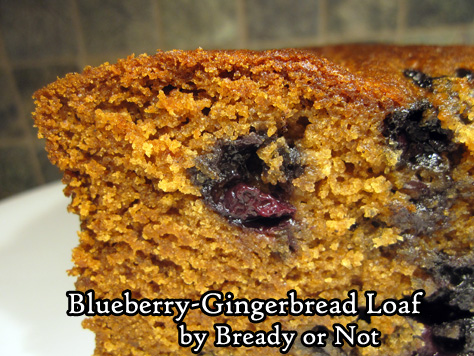
Fresh blueberries and gingerbread! This combo never occurred to me before, and wow was I missing out. Find out how good it is when you bake this Blueberry-Gingerbread Loaf.
I’m growing increasingly convinced that blueberries can make almost everything better. Case in point: Wensleydale Cheese with Blueberries. DIVINE. This recipe ranks up there, too.
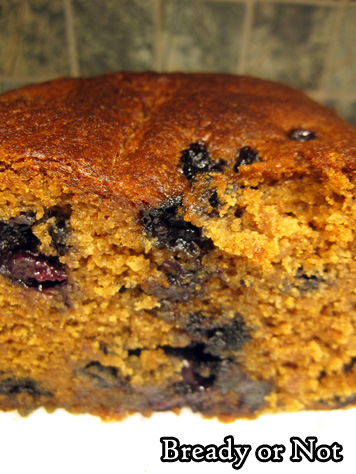
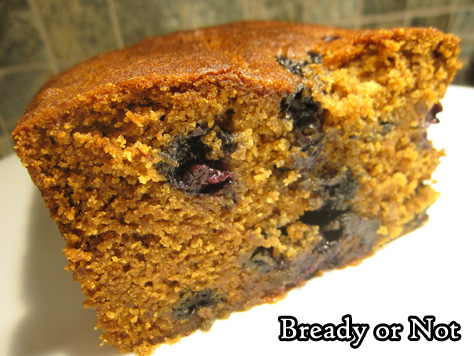
As any gingerbread should be, this loaf is packed with spices that sing of autumn and winter. Blueberries add an incredibly fresh note, a literal burst of flavor that stands apart from the usual tart cranberry.
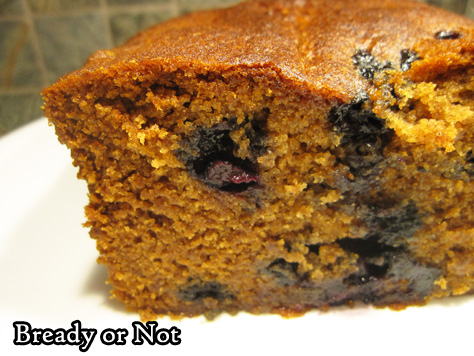
This bread is very moist and tender. It is perfect to slice for breakfasts or snacks, and it doesn’t even need an additional pat of butter.
I’m sharing this recipe in December because of the gingerbread/Christmas association, but let me fervently remind you that delicious foods should not be confined to any season. Print this out and save it for when summer blueberries are bountiful and cheap. Heck, even bake the bread and freeze it for later.
This bread smells so good, though, I bet you’ll find it hard to resist a slice or two.
Bready or Not Original: Blueberry-Gingerbread Loaf
Equipment
- 9x5 loaf pan
Ingredients
- 1/2 cup fresh blueberries 6 ounce pack
- 1 1/2 cups all-purpose flour or mix in whole-wheat, plus extra flour
- 2 teaspoons ground cinnamon
- 2 teaspoons ground ginger
- 1 teaspoon salt
- 1/4 teaspoon ground cloves
- 1/2 cup unsalted butter 1 stick, softened
- 1/2 cup white sugar
- 1/2 cup brown sugar packed
- 1 cup applesauce
- 1/2 teaspoon vanilla extract
- 1 teaspoon baking soda
Instructions
- Preheat oven at 350-degrees. Cut a piece of parchment to fit inside a 9x5 loaf pan, with paper extending up the two long sides to form a sling. Apply nonstick spray or butter to pan, place parchment inside to adhere, then grease paper as well.
- Wash and pick through blueberries to remove any stems, smashed berries, or moldy ones. Dry blueberries and gently toss with a couple spoons of flour to coat. Set aside.
- In a medium-sized bowl, combine the 1 1/2 cups flour, cinnamon, ginger, salt, and cloves.
- In a big bowl, beat butter until creamy. Add both sugars, beating until combined and fluffy. Add applesauce, vanilla, and baking soda. Follow up with flour mixture, mixing until combined. Gently fold in the blueberries. Pour batter into prepared loaf pan.
- Bake for 1 hour to 1 hour and 10 minutes, removing loaf only after middle has passed the toothpick test. Cool in pan no more than 20 minutes. THIS IS IMPORTANT, as otherwise the loaf can steam up and collapse! Let loaf continue to cool on a rack.
- Keep stored in a plastic bag or plastic wrap for at least two days. Loaf can also be frozen for later enjoyment.
OM NOM NOM!
Giftmas 2019: Fruity Wensleydale Cream Cheese Balls & a Fundraiser for the Edmonton Food Bank

If people know only a few things about me, it’s that I bake, I share lots of cute cat gifs, I write some stuff, and that I love, love, LOVE cheese. As part of the Giftmas Fundraiser, I’m sharing a recipe I just made for the first time during my American Thanksgiving last month–and I’m hoping you’ll share some money and goodwill to help the Edmonton Food Bank, too. Your donation (in Canadian dollars) will help a lot of folks in need this season. One dollar equals three meals.
Please give to the Edmonton Food Bank for Giftmas!
Scroll down past the recipe to enter an incredible Rafflecopter giveaway that includes loads of stuff, including a signed Chicken Soup for the Soul Christmas book featuring one of my stories. You needn’t donate to enter the giveaway–in fact, even spreading the news about Giftmas is a big help. Use #Giftmas2019 on social media to do that.
As part of Giftmas, there’s also a Snowman drawing contest. The whole family can take part in this one! Find out the details from Rhonda Parrish.
2019 has been a cruel year, and 2020 could go straight-out apocalyptic. Let’s help each other stay warm and fed.
Let’s start that effort with some delicious cheese.
This recipe is inspired by a glorious cheesecake I experience at the Wensleydale Creamery during my dream-come-true trip to the UK in June. I immediately began mulling ways that my cheese-loving mom could enjoy a facsimile of the cheesecake, but with a lot less carbs.
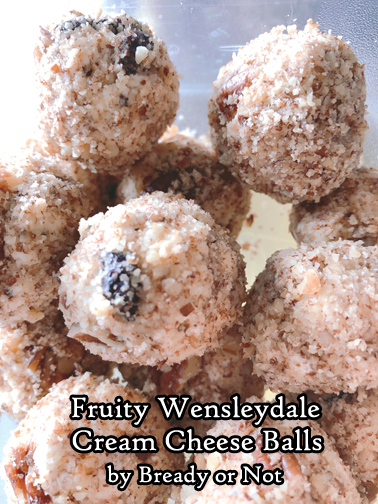
The result is this recipe for Fruity Wensleydale Cream Cheese Balls. This is gluten-free, keto-friendly, low-carb, and probably other buzz words with dashes, too. More importantly, it’s DELICIOUS.
Please support the Edmonton Food Bank for Giftmas!
Bready or Not Original: Fruity Wensleydale Cream Cheese Balls
Ingredients
- 4 oz Wensleydale cheese with fruit such as blueberry or cranberry
- 4 oz cream cheese half block
- 2 Tablespoons dried fruit that matches cheese
- 1/2 cup ground pecans
Instructions
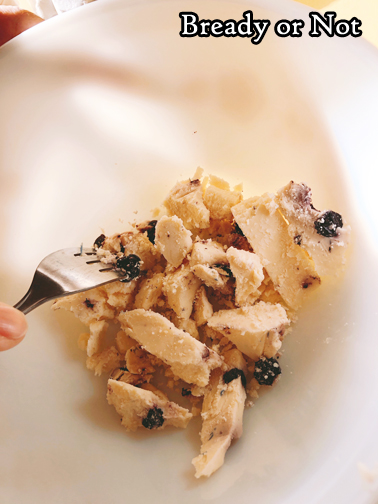
- Use a fork to chop cheese into chunks of various sizes. Add dollops of cream cheese and extra dried fruit and stir together, taking care distribute the Wensleydale without breaking it apart too much.
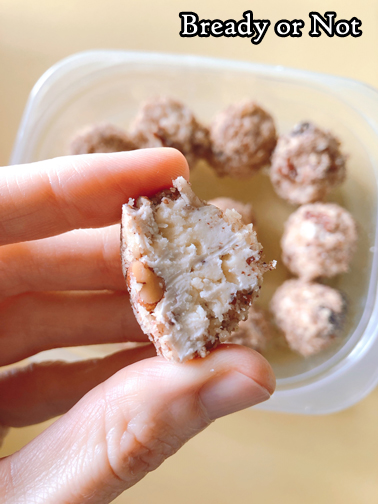
- Place ground pecan pieces in a small bowl. Use a tablespoon and hands to form small balls. Roll in pecan bits to coat. Store in a sealed dish in fridge. Flavor improves after a day as the pecan flavor infuses the cheese balls more. Keeps for at least four days.
