


Bready or Not Guest Post: T. Frohock with Spinach with Raisins and Pine Nuts
 Today I welcome T. Frohock, a fellow Harper Voyager Impulse author and a generally awesome person. Her first novella in the Los Nefilim series is In Midnight’s Silence and it is fantastic–I happily blurbed it! Think pre-World War II Spain with angels, demons, and dark machinations. The novella is out tomorrow and it’s only 99-cents.
To get you ready for a good read, here is a healthy, genuine recipe that is something her characters might enjoy.
Okay, bready people, it’s time to shake off those carbs and go for the green!
I have a new series coming out called Los Nefilim, which is set in Spain in the early thirties. While doing research for the novellas, I had to schedule events around mealtimes, because in Spain, lunch (usually held between 2:00 and 4:00 p.m.) is the biggest meal of the day. It is a lengthy affair with many courses whereas dinner is a lighter meal usually consisting of the kind of foods that Americans tend to associate with lunch.
When Beth offered her gracious invitation for a guest post, I contacted my friend in Barcelona. Josep suggested a couple of recipes for me: spinach with raisins and pine nuts, or panellets, I chose spinach, because I have a “vintage kitchen.” That means my oven is old. I’m also a lousy baker and sweet potatoes have never appealed to me in any form. However, since this is a bready blog, I’m including a link to panellets, which are cookies or cakes made with sweet potatoes, almonds, and pine nuts. You can find a recipe for them here.
The recipe I’m going to tell you about is spinach with raisins and pine nuts, mainly because we’ve got to balance out all this delicious sweet stuff with something that is good for us.
I searched around online and found this recipe on Leite’s Culinaria blog.
I had a great deal of success with it, so here goes:
Ingredients
1/4 cup raisins
1/4 cup pine nuts
3 tablespoons olive oil, plus 1 to 2 teaspoons for the nuts (optional)
1 small onion, chopped (optional), or 3 ounces serrano ham, minced (optional)
2 pounds spinach, tough stems removed and rinsed
Salt and freshly ground black pepper
A short note here: 2 pounds of spinach looks like you’re walking out of the store with enough spinach to feed a small herd of goats. Not so. Like any other green, spinach cooks up small, so be sure you get the full 2 pounds.
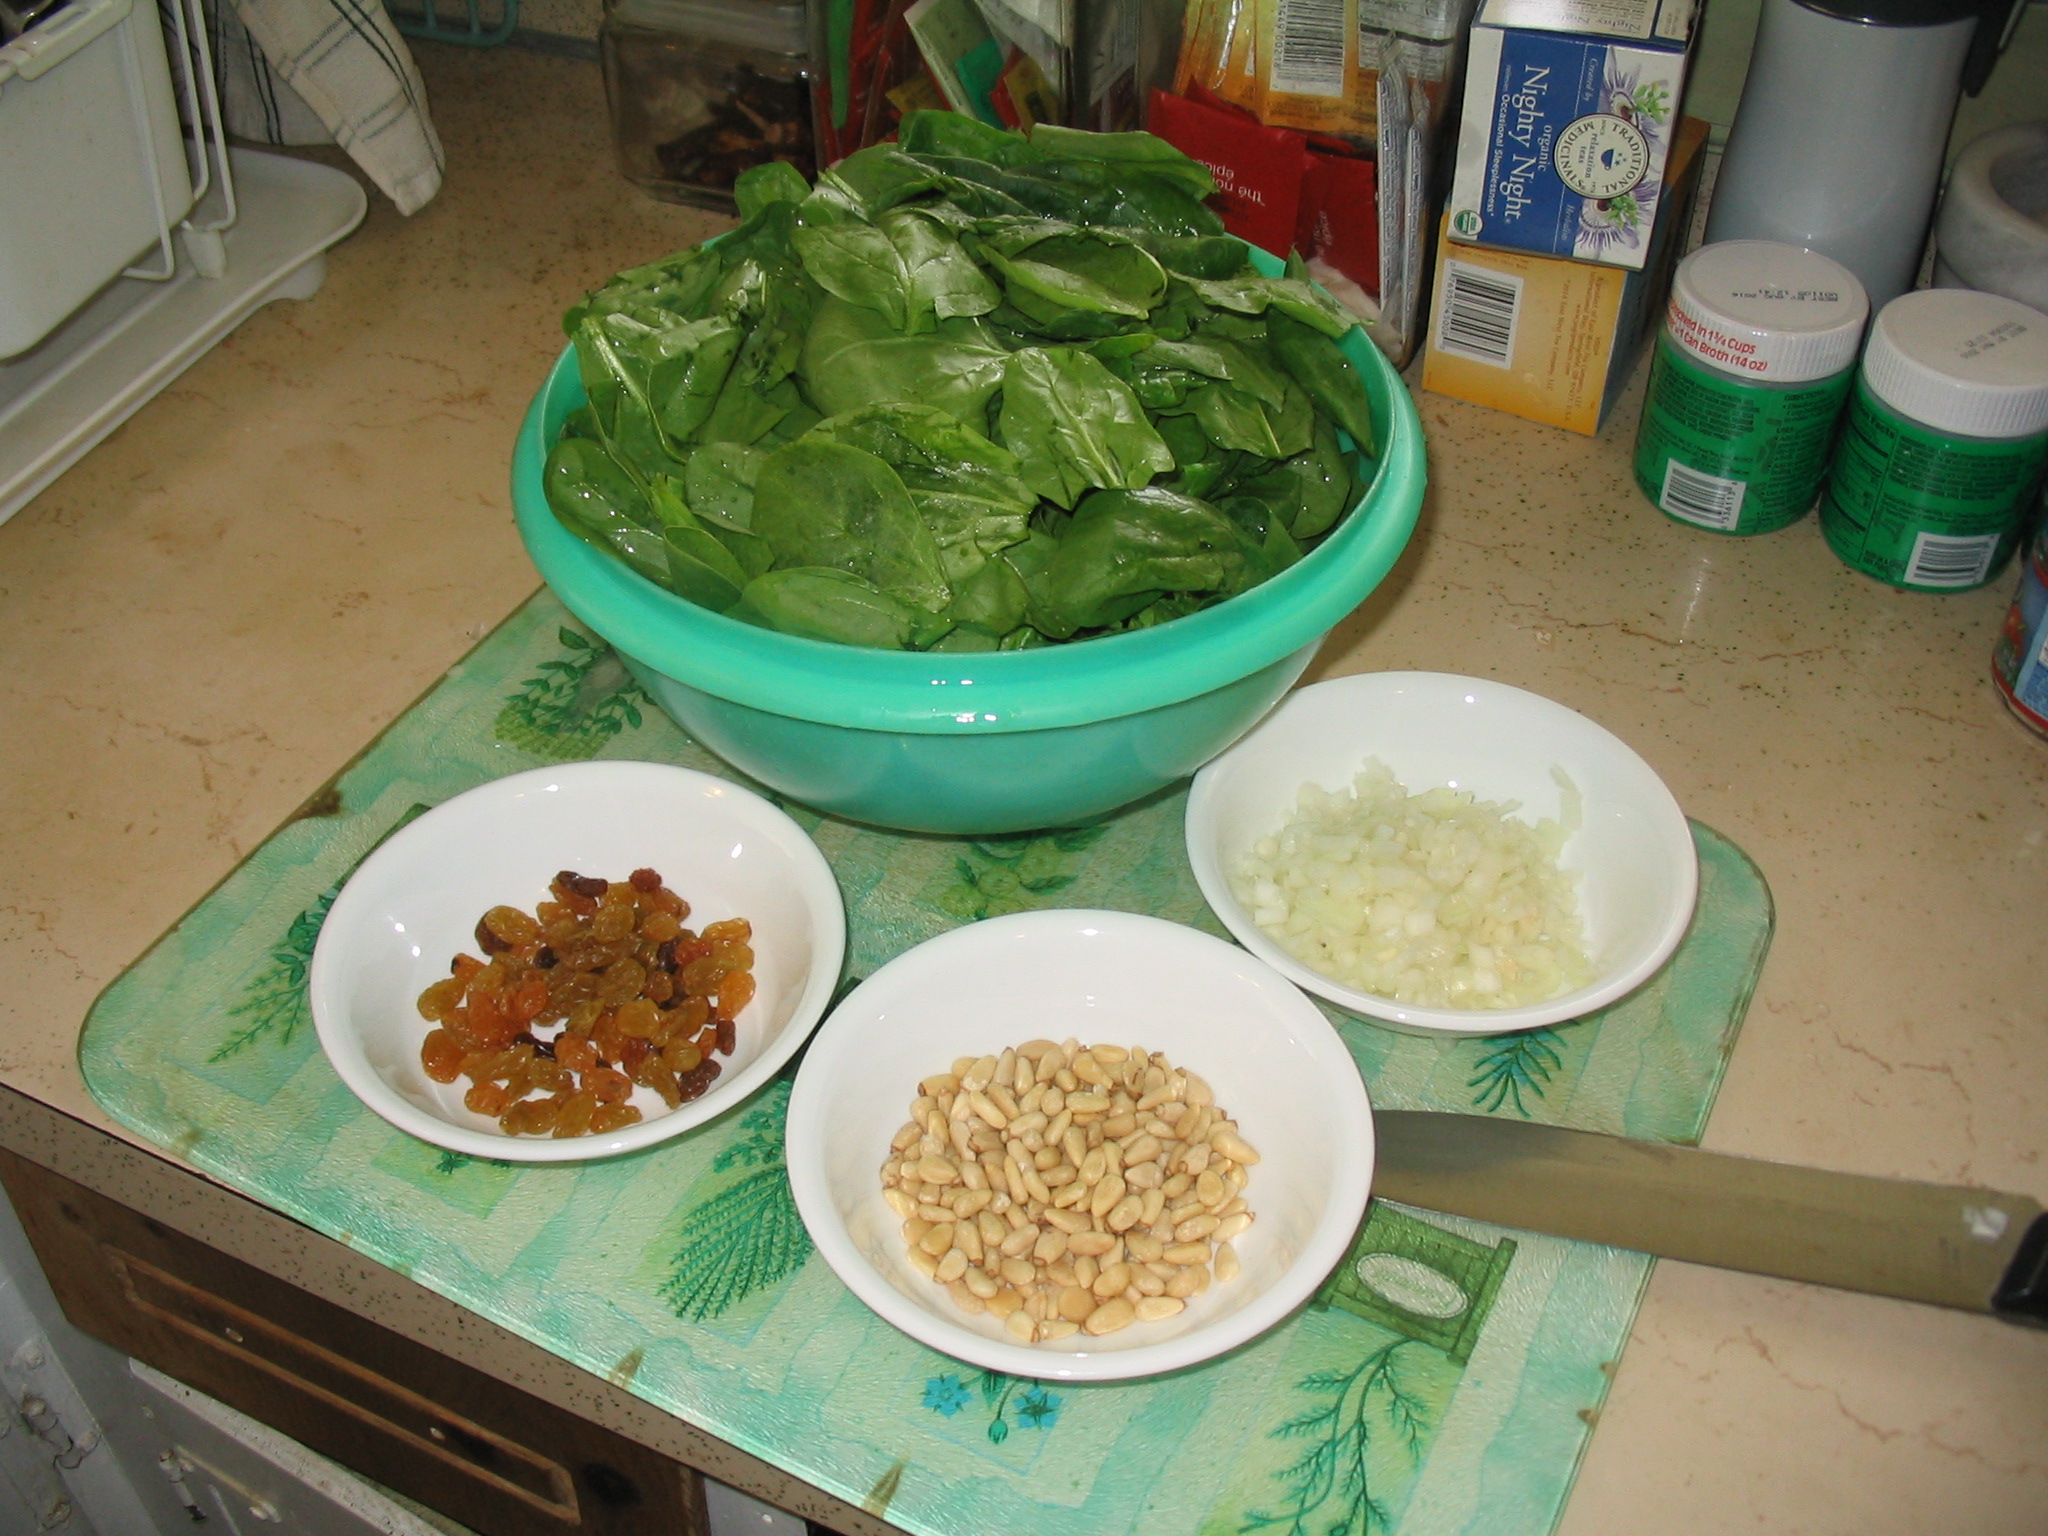 I measured everything out and covered the raisins in hot water in order to plump them. Give them about 30 minutes.
While the raisins are soaking, you want to remove the stems from the spinach. Removing the stems took me the longest, so if you’re planning on using this recipe on a weeknight, I’d recommend preparing the spinach over the weekend. Yes, you can probably use frozen, but fresh is the best.
Once the stems are removed, rinse the spinach.
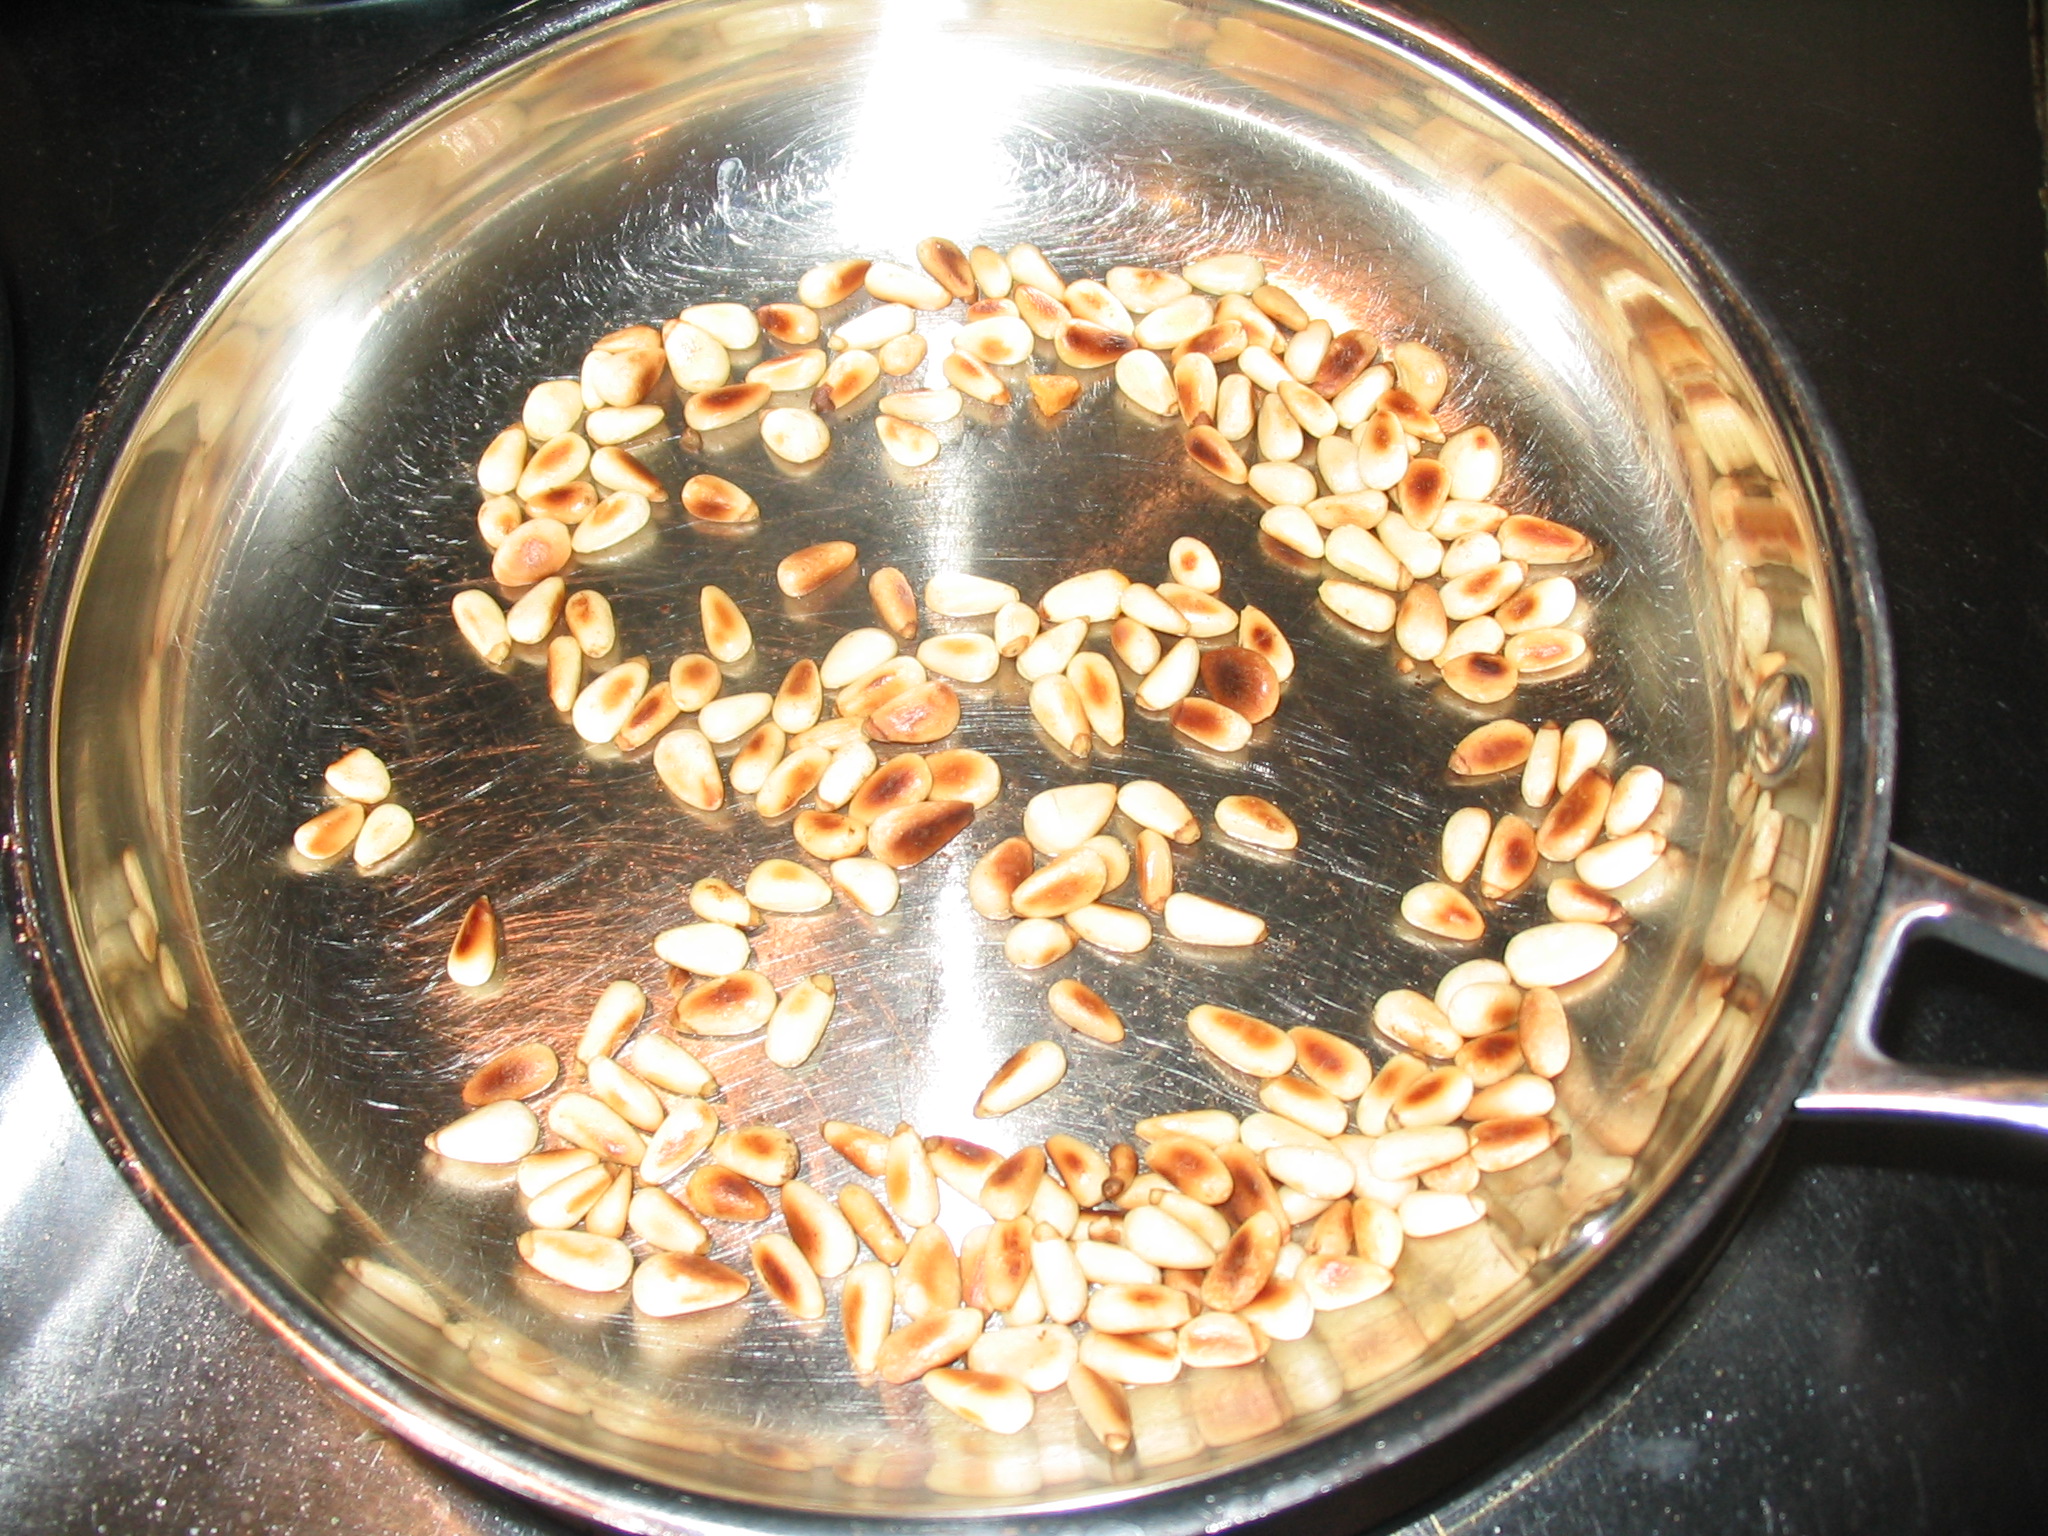 1. Roast the pine nuts in a small dry skillet over medium heat, shaking the pan frequently. This isn’t the time to check your Twitter feed. It only takes about 3 to 5 minutes, and once they start to brown, you can go from brown to burnt in seconds. Pour them into a plate or small bowl to cool.
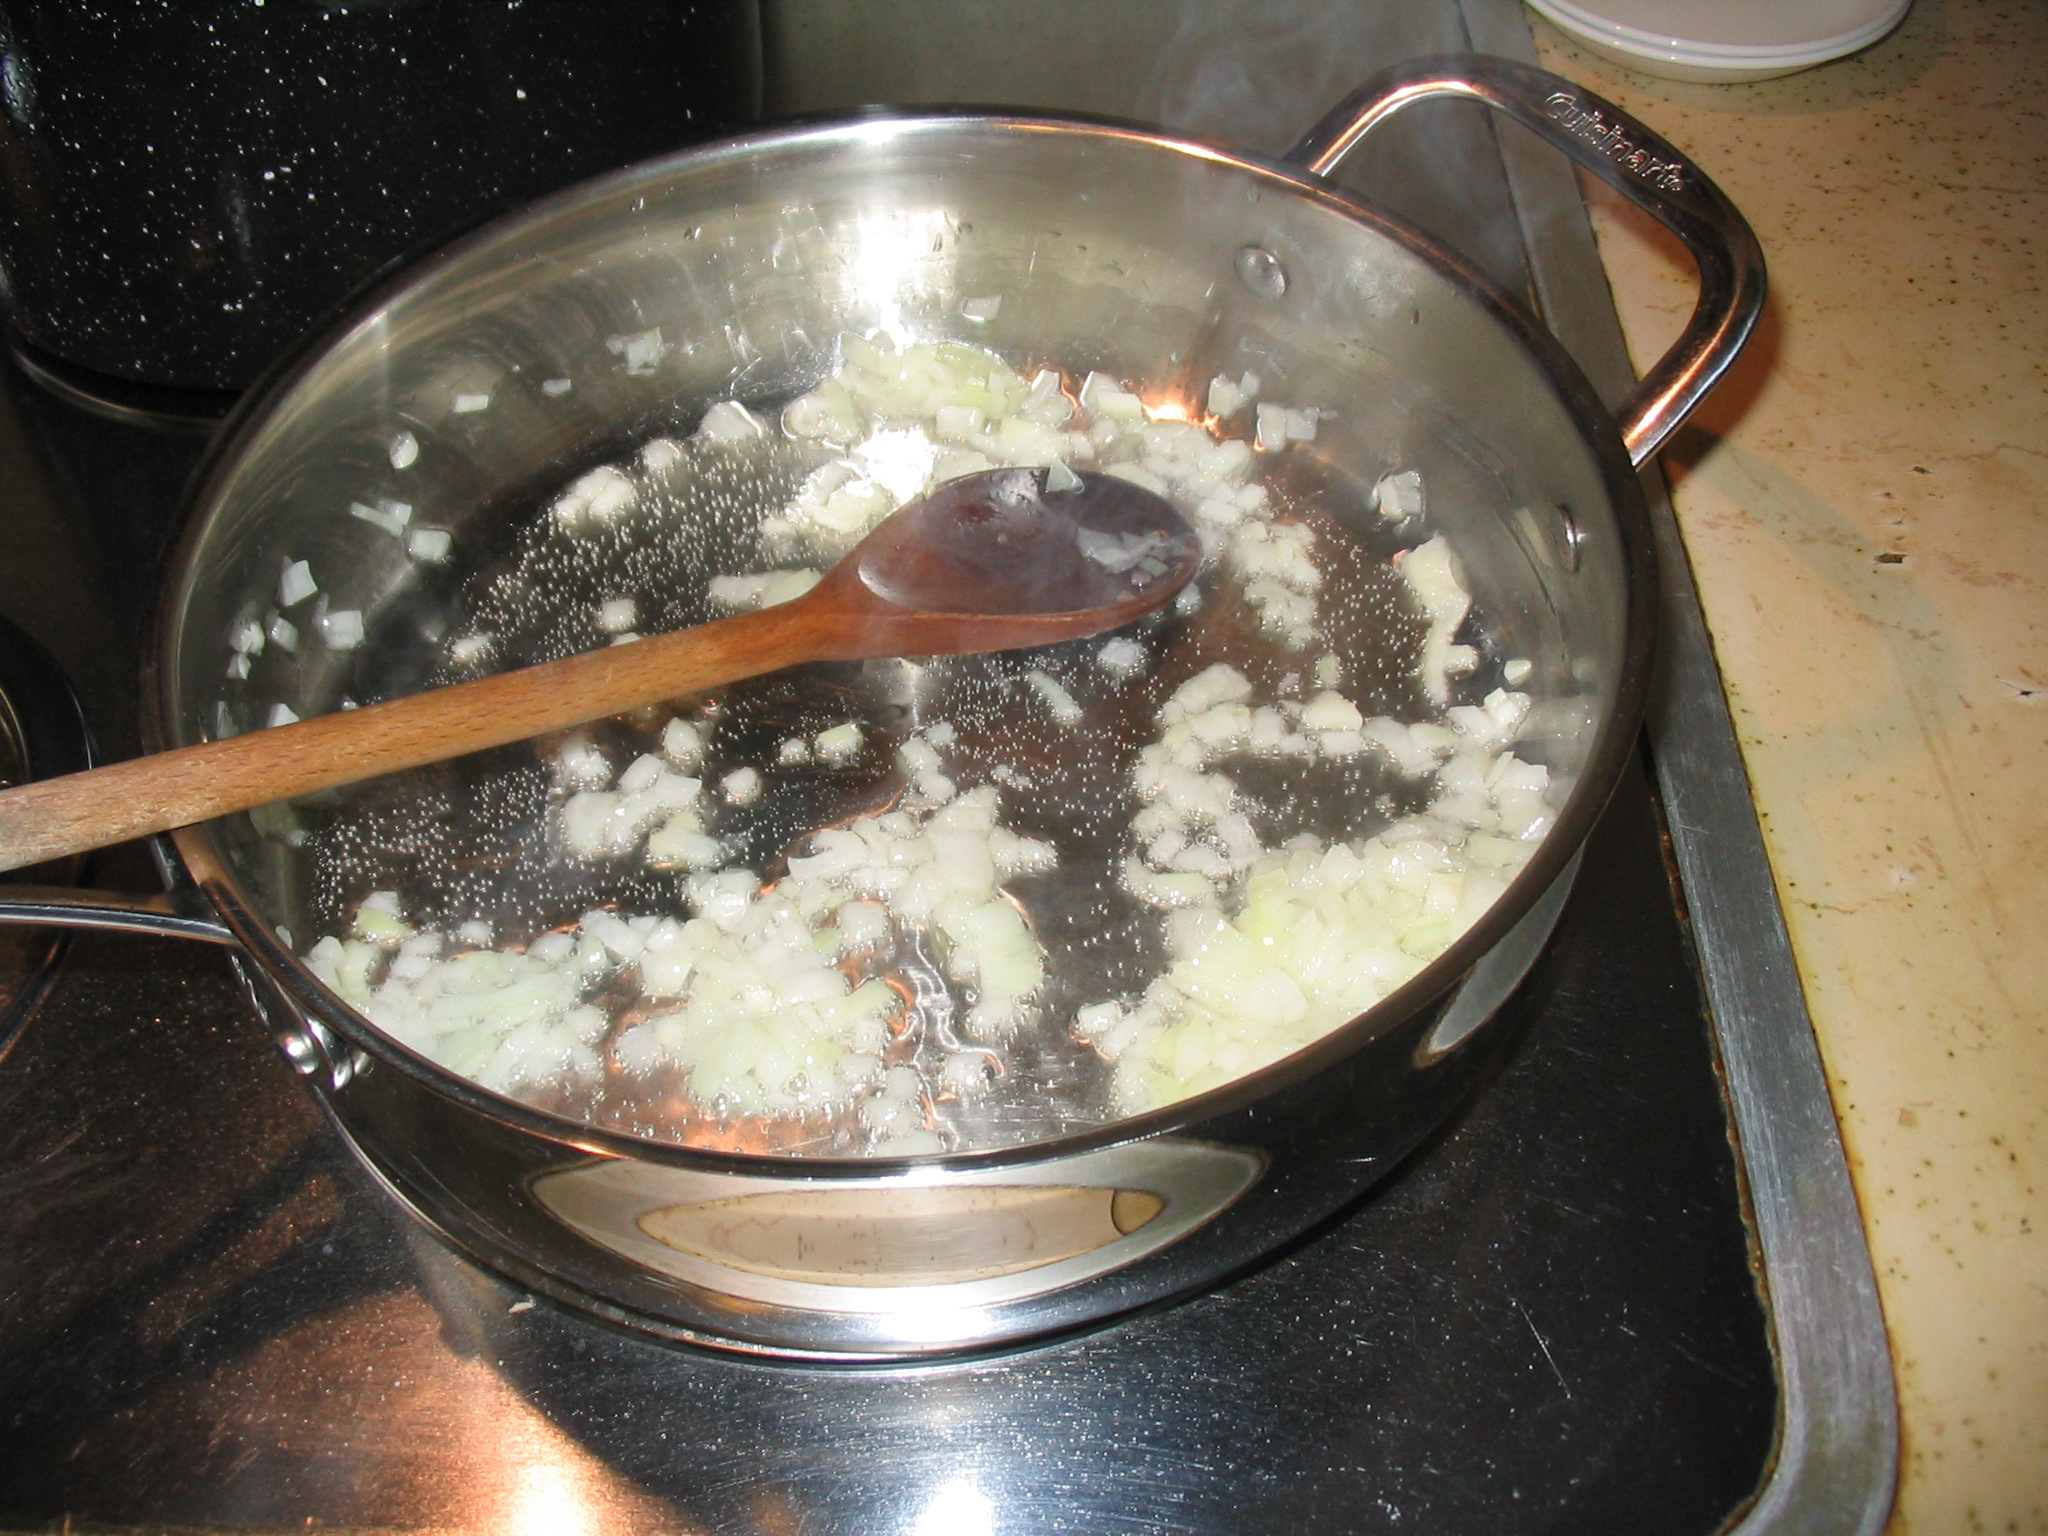 2. In a large sauté pan or skillet, heat 3 tablespoons of the oil over medium heat. If you are using either onion or ham, add them to the oil, stirring often. The onion should be soft and translucent, and the ham lightly colored. Probably 5 to 10 minutes.
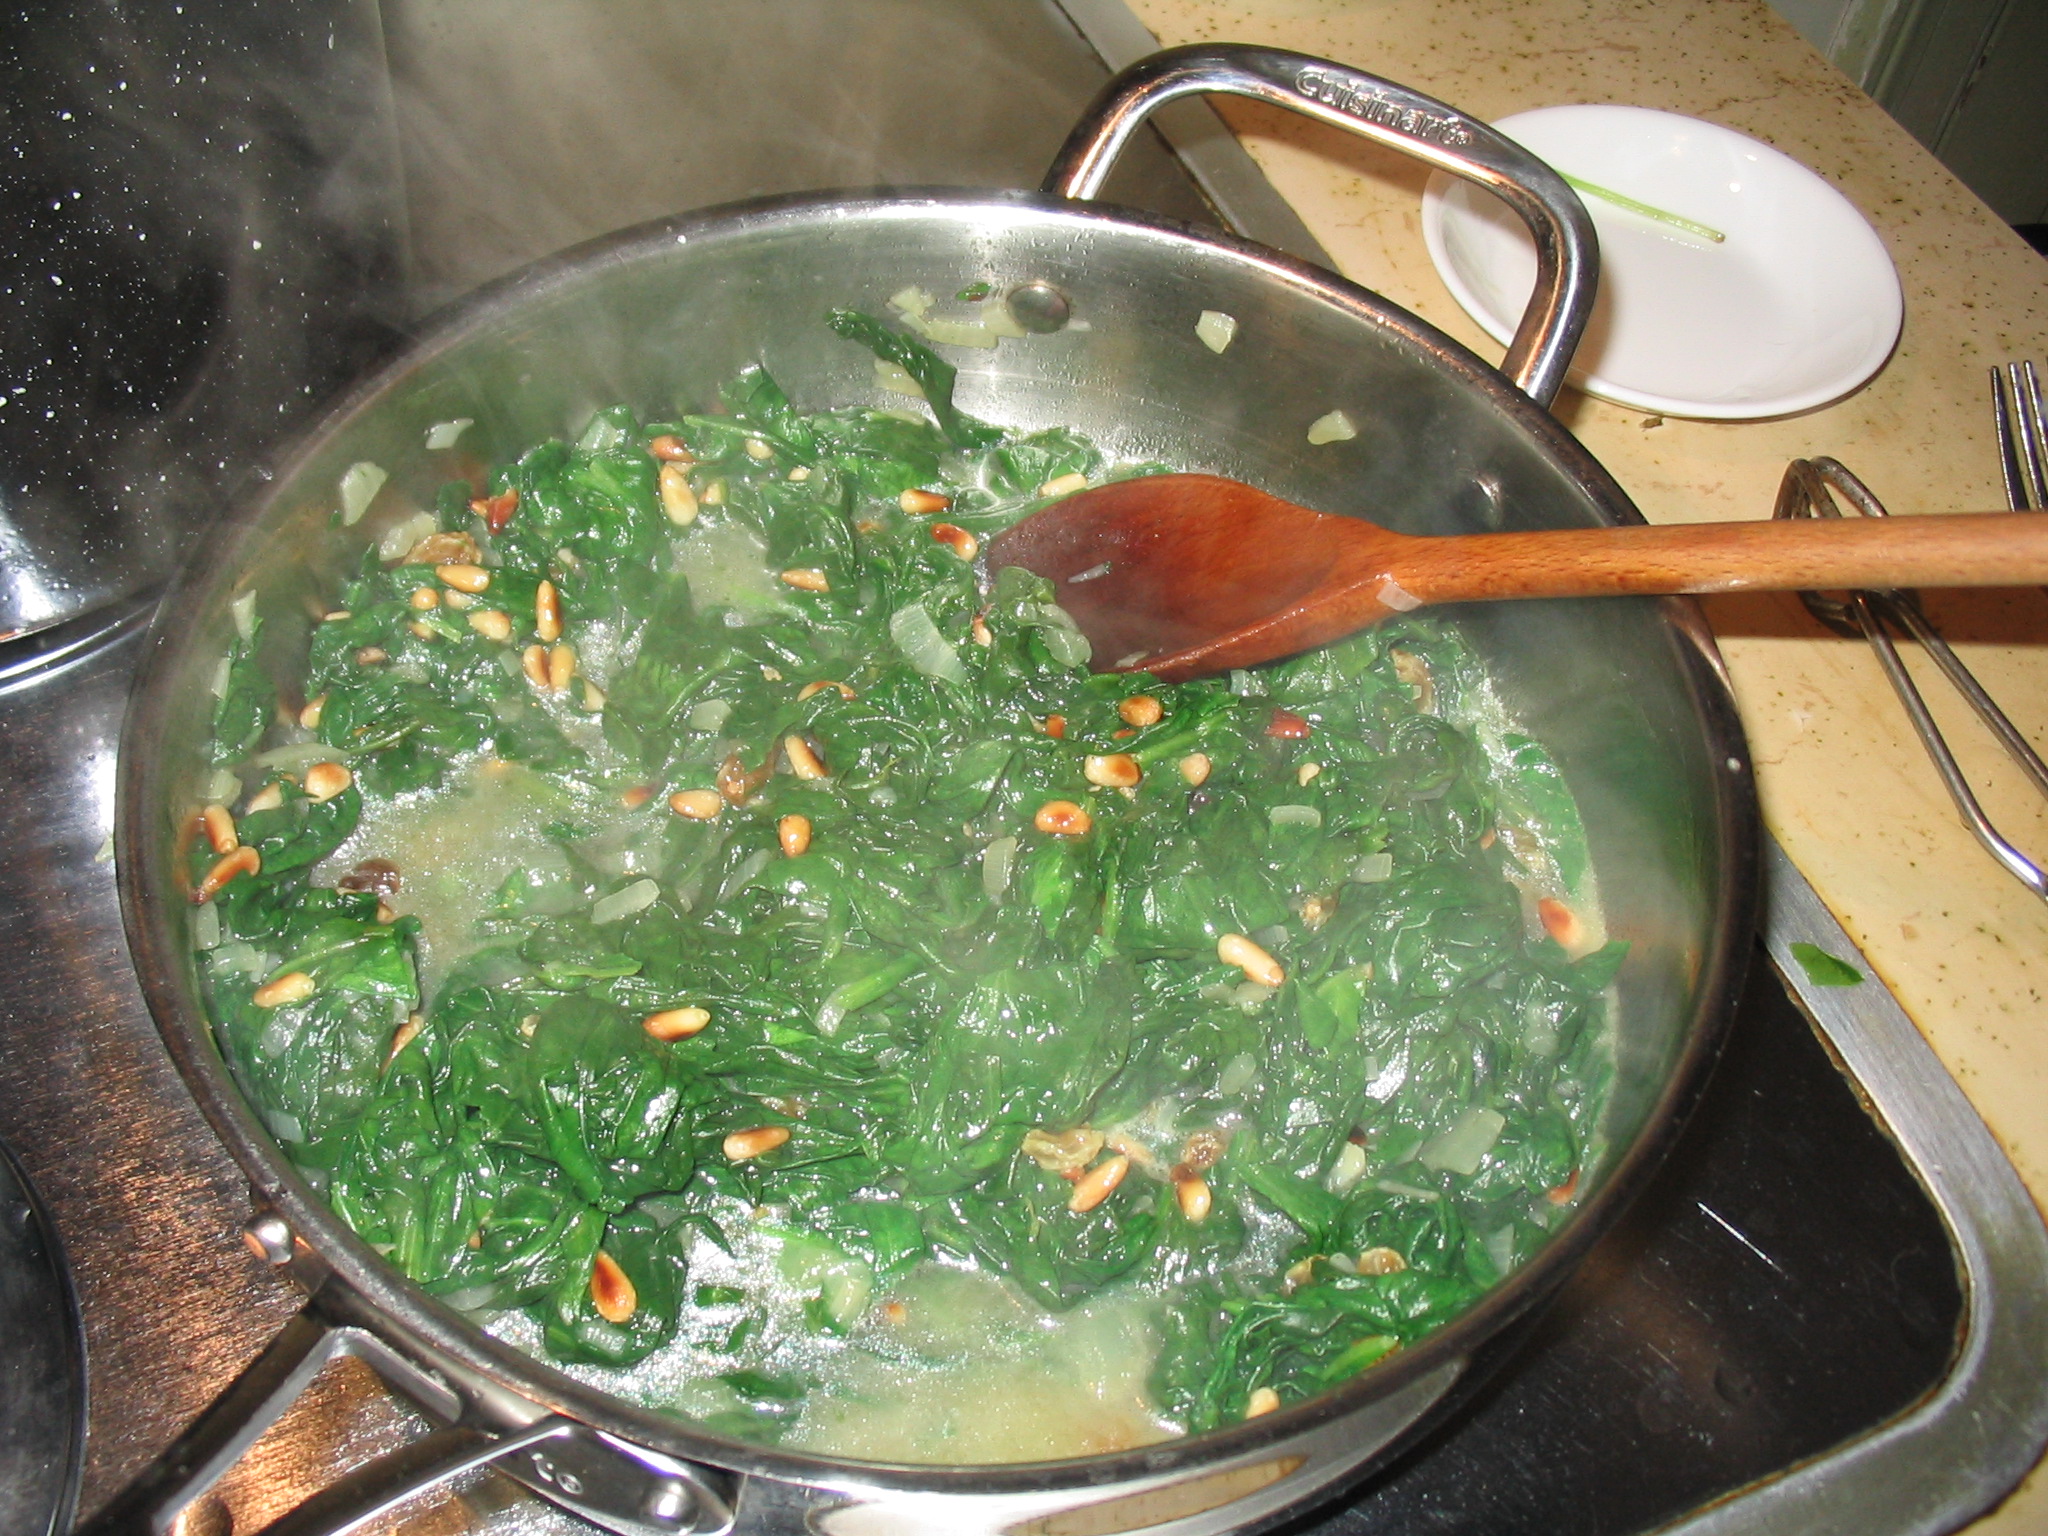 3. Add the spinach (with a little of the water still clinging to the leaves). Turn and stir constantly with tongs, until the spinach is wilted and shimmering with oil, about 3 to 5 minutes.
4. Drain the raisins and add to the pan along with the pine nuts. Stir well and season with salt and pepper. Transfer to a serving dish and serve warm.
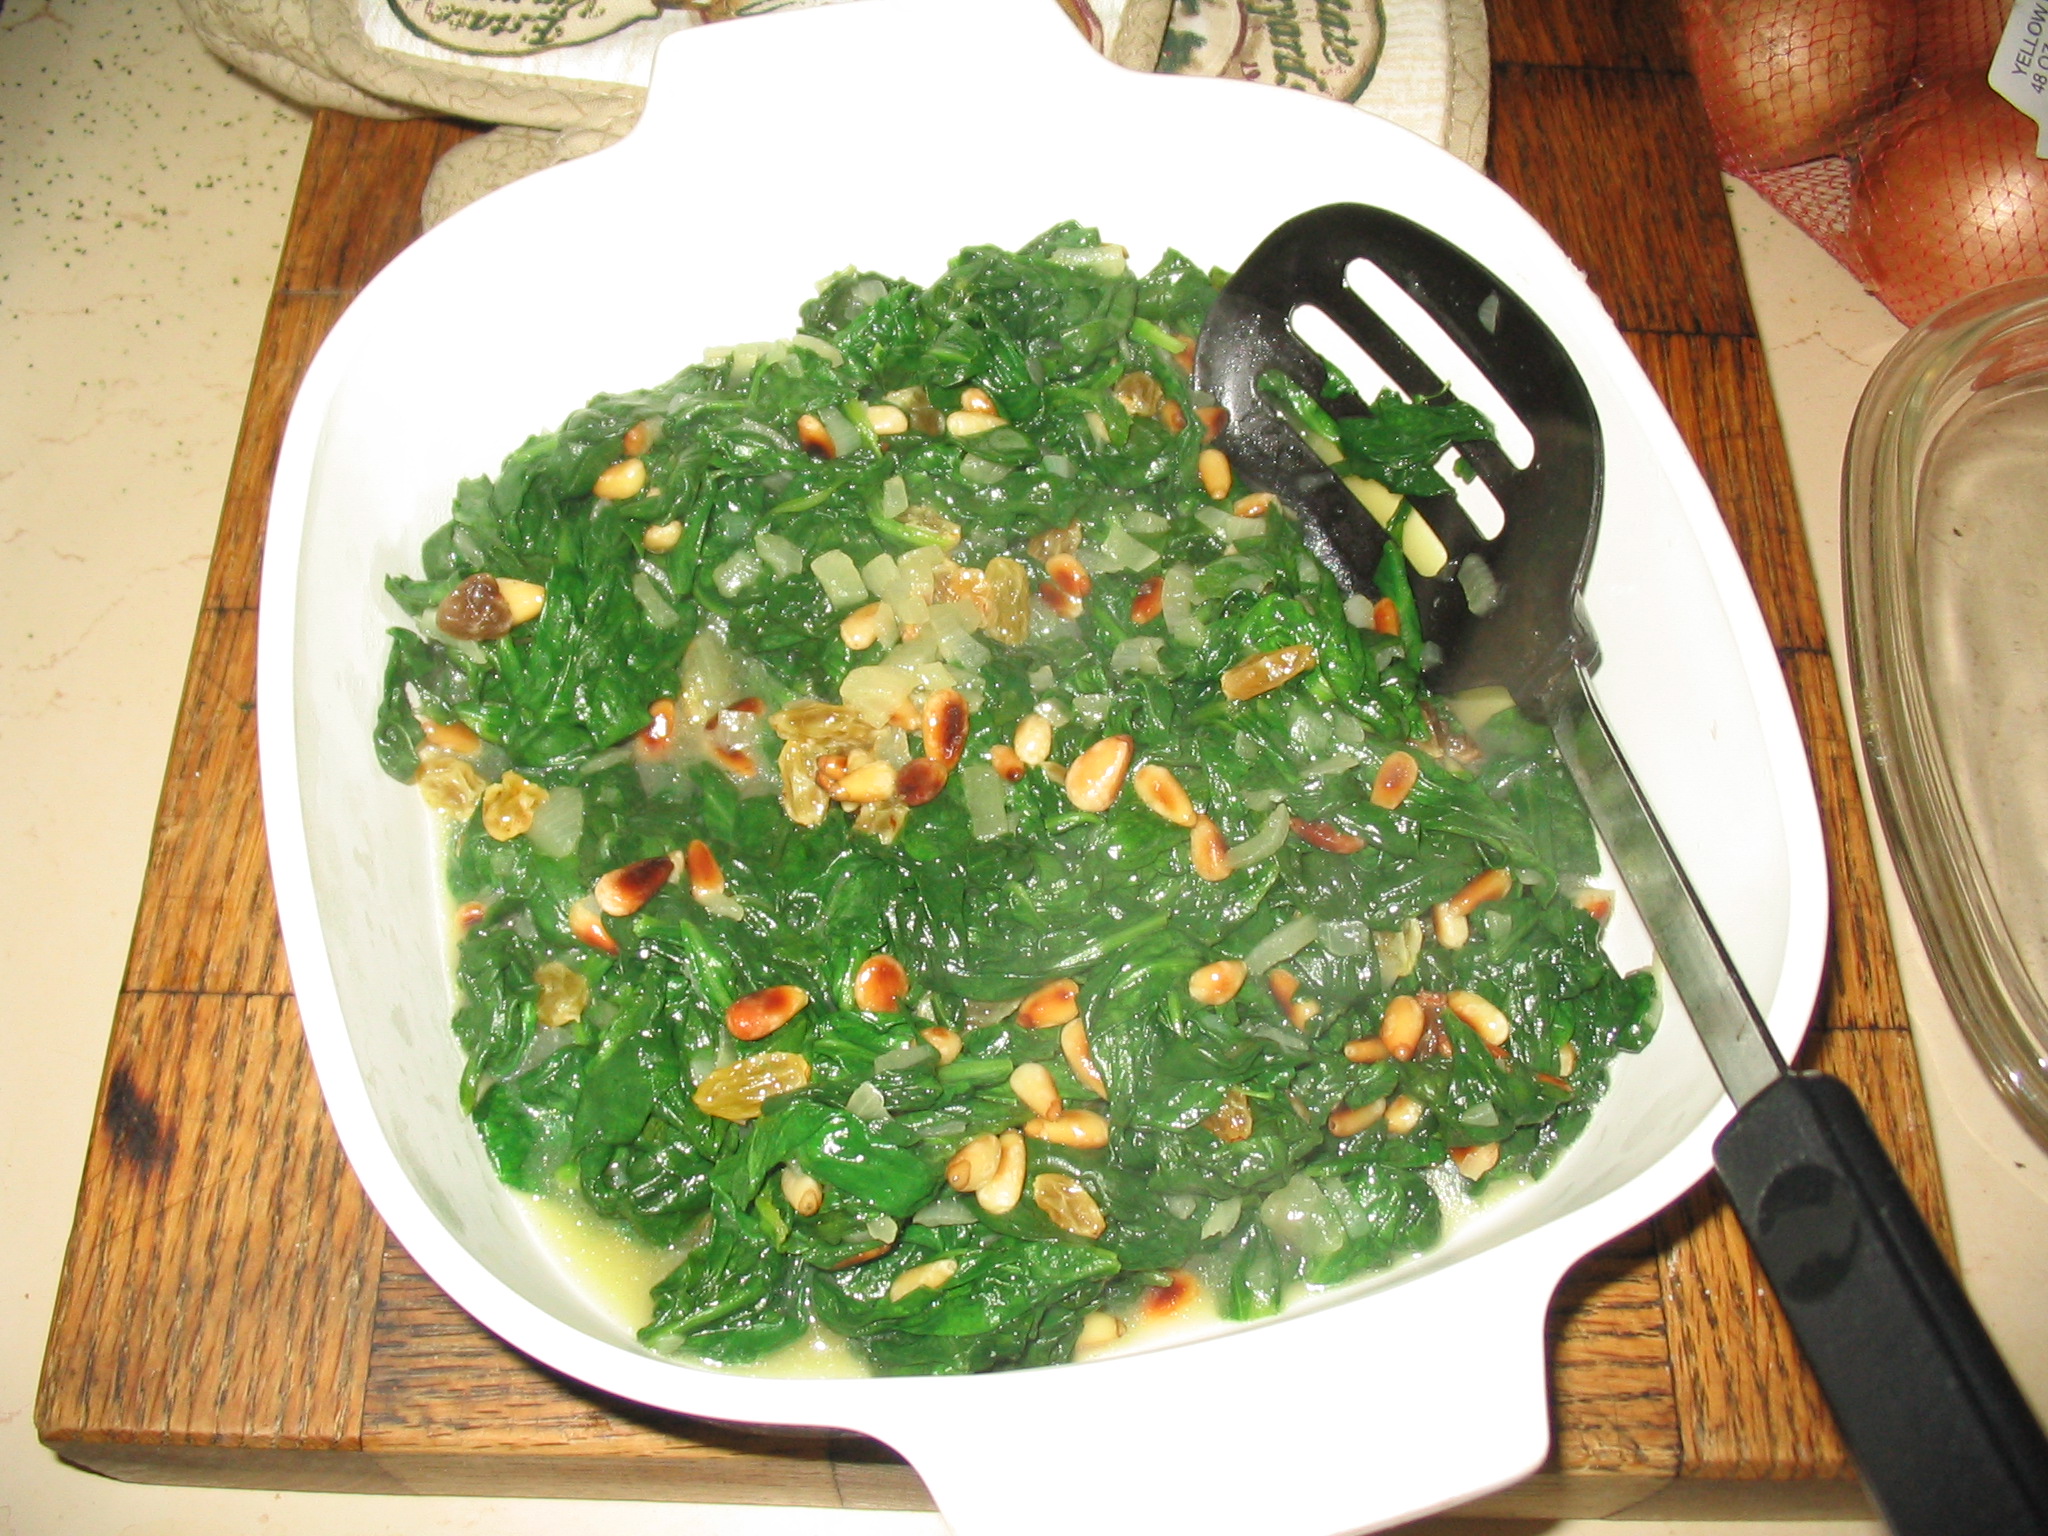 The olive oil, raisins, and pine nuts take all the bitterness from the spinach and leave it with a rich flavor in addition to giving the dish a nice texture. It was positively delicious, and this from a person who hates eating vegetables. I served the spinach with raisins and pine nuts with roast pork and red potatoes, but the dish would really complement any meat.
BIO: T. Frohock has turned a love of dark fantasy and horror into tales of deliciously creepy fiction. Her other publications include everything from novelettes to short stories. She is also the author of the novel, Miserere: An Autumn Tale. Her newest series, Los Nefilim, is coming from Harper Voyager Impulse and debuts in June 2015 with the novella, In Midnight’s Silence.
T. lives in North Carolina where she has long been accused of telling stories, which is a southern colloquialism for lying.
In Midnight’s Silence (Los Nefilim: Part I): 99 cents everywhere
Amazon
More about In Midnight’s Silence
The fate of mankind has nothing to do with mankind …
Born of an angel and a daimon, Diago Alvarez is a singular being in a country torn by a looming civil war and the spiritual struggle between the forces of angels and daimons. With allegiance to no one but his partner Miquel, he is content to simply live in Barcelona, caring only for the man he loves and the music he makes. Yet, neither side is satisfied to let him lead this domesticated life and, knowing they can’t get to him directly, they do the one thing he’s always feared.
They go after Miquel.
Now, in order to save his lover’s life, he is forced by an angel to perform a gruesome task: feed a child to the daimon Moloch in exchange for a coin that will limit the extent of the world’s next war. The mission is fraught with danger, the time he has to accomplish it is limited…and the child he is to sacrifice is the son Diago never knew existed.
A lyrical tale in a world of music and magic, T. Frohock’s IN MIDNIGHT’S SILENCE shows the lengths a man will go to save the people he loves, and the sides he’ll choose when the sidelines are no longer an option.
Read More
Bready or Not: Chocolate Cream Cheese Pound Cake
CAKE MONTH continues as I celebrate the release of The Clockwork Crown!
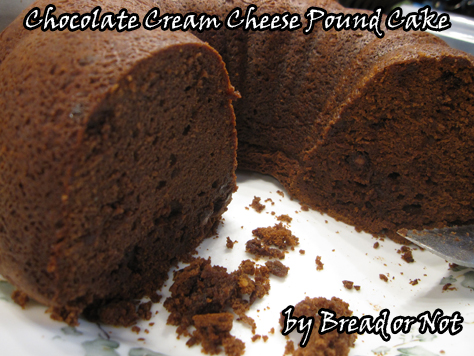
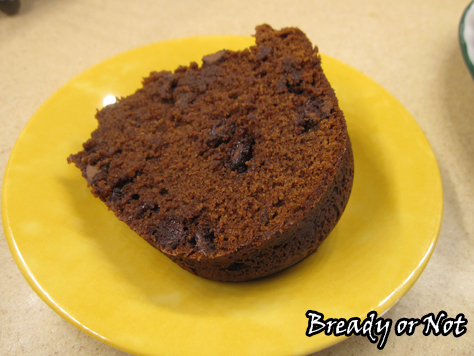
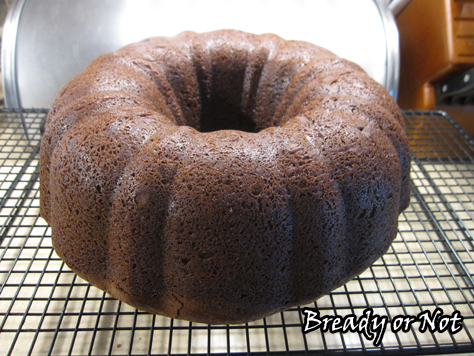
Today’s offering is Chocolate Cream Cheese Pound Cake. It’s everything you would expect a typical loaf pound cake to be: soft, tender, and delicious.
It manages to be rich and chocolatey without being tooth-achingly sweet (like, ahem, the Tunnel of Fudge cake recently posted).
This is the kind of cake that would be lovely for breakfast or brunch with fruit, or dessertified with a few scoops of ice cream and a drizzle of caramel.
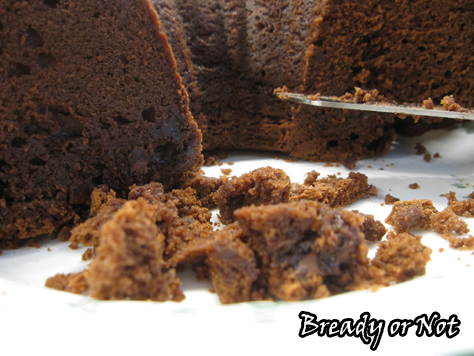
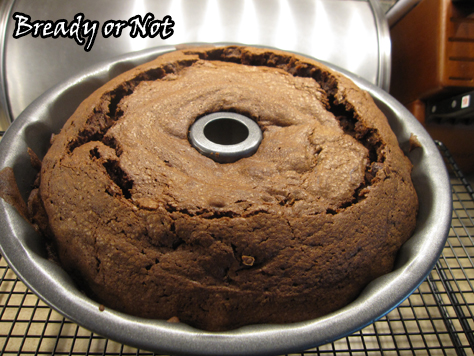
When I baked this, I followed the original directions too closely and overbaked the cake slightly. The top (which is the bottom once it’s flipped over) became kinda crunchy, though still delicious. Therefore, I recommend that you start checking this at the hour point. If it starts developing deep cracks and is firm to the touch, it’s likely done.
The cake keeps fantastically for many days if it’s wrapped and kept in the fridge. I imagine it would also work well sliced and frozen, too.
Modified from Bake or Break.

Bready or Not: Chocolate Cream Cheese Pound Cake
Ingredients
- 1 cup unsalted butter 2 sticks, softened
- 8 ounces cream cheese 1 box, softened
- 3 cups white sugar
- 6 large eggs room temperature
- 1 teaspoon vanilla extract
- 2 1/4 cups cake flour
- 1 teaspoon baking powder
- 3/4 cup unsweetened cocoa powder sifted
- 1 cup chocolate chips
Instructions
- Preheat oven to 325-degrees. Grease or spray a 10-inch Bundt pan.
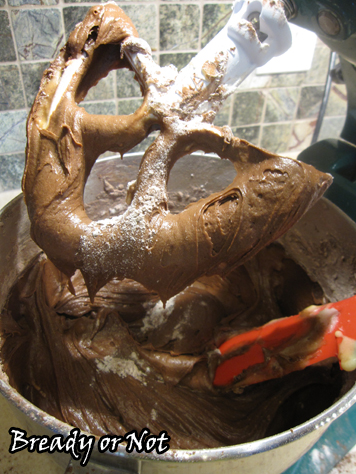
- Beat butter, cream cheese, and sugar until creamy. Add eggs, one at a time, beating well after each, followed by vanilla extract.
- In a separate bowl, combine the flour, baking powder, and cocoa. Slowly incorporate the dry ingredients with the butter mixture and beat well for about 2 minutes.
- Pour batter into prepared Bundt pan. Bake for 1 hour and test with a toothpick; the top will start to crack and will quickly get crispy when it's done.
- Cake keeps upward of a week if kept wrapped in the fridge.
- OM NOM NOM!
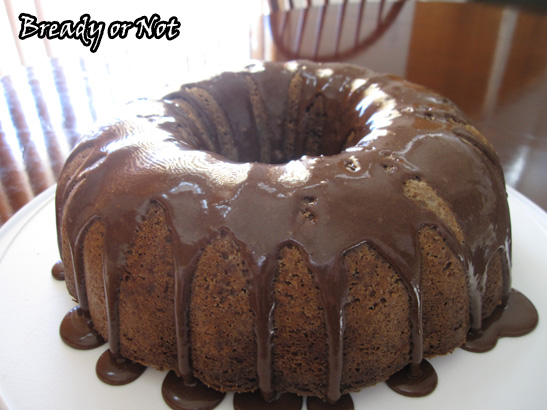
Bready or Not: Tunnel of Fudge Cake (redux)
The Clockwork Crown is out! YAAAAAY! Now here’s the cake to celebrate. THE cake. The infamous Tunnel of Fudge Cake.
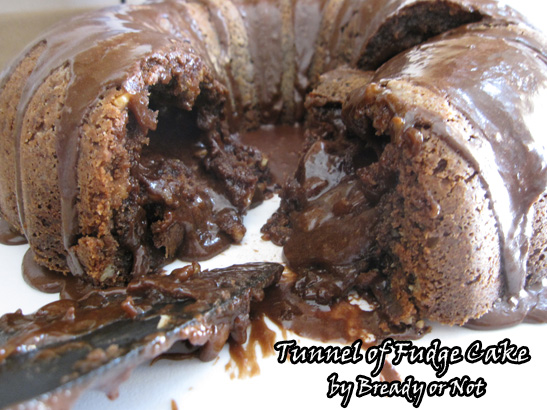
I originally posted this back in May 2012. I figured that for this splendiferous occasion, it deserved a repost. This is one of the most amazing cakes I have ever encountered. I mean, LOOK AT IT.
You just gained five pounds by looking at that picture. I’m sorry.
To quote my original post:
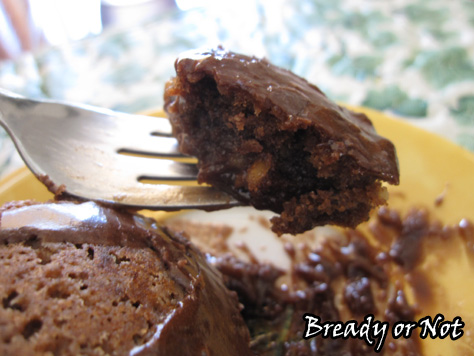
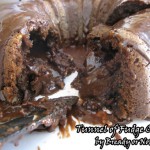
As you can see, it’s a bundt cake. It cooks up and creates its own middle layer of fudge inside. When the cake is fresh, it oozes out in an amazing way. After it has been in the fridge, honestly, it tastes even better. The middle solidifies so it’s like there are two layers of fudgy frosting, one on the inside and one on the outside. You also have this whole mingling of textures thing going on: cakey chocolate, fudgy chocolate, chocolate glaze, walnuts, chocolate, chocolate, chhhhhhocolate.
If you don’t like nuts or have allergies–sorry, this cake really does need them. I think they provide some scaffolding for the massive quantities of chocolate.
I can add some experience from making this a few times, too. The leftovers are easy to handle. Line a small pan with wax paper. Slice the cake however you want and place the pieces on the pan. Freeze them. Bag them. When you want to serve a slice, remove from freezer and zap it in the microwave until it’s as thawed or hot as you want.
Recipe is adapted from Relish Magazine, and originally in Bundt Cake Bliss by Susanna Short.
Bready or Not: Tunnel of Fudge Cake
Ingredients
Cake:
- 2 1/4 cups all-purpose flour
- 3/4 cup cocoa powder sifted
- 1 3/4 cups white sugar
- 1 3/4 cups unsalted butter room temperature
- 6 eggs room temperature
- 2 cups confectioners' sugar sifted
- 2 cups walnuts or pecans, chopped
Glaze:
- 3/4 cup confectioners' sugar sifted
- 1/4 cup cocoa powder sifted
- 2 - 3 tablespoons milk or half and half
Instructions
- Preheat oven to 350-degrees. Grease a 12-cup Bundt pan. One option is to melt 1tablespoon butter, mix 1 tablespoon of cocoa powder into it, then brush the sides of the bundt pan. Or use nonstick spray or butter and sprinkle flour or cocoa powder into the pan.
- In a small mixing bowl, combine flour and cocoa powder and set aside.
- In a large bowl, cream sugar and butter until light and fluffy. Add the eggs, one at a time, beating well after each addition. Gradually add confectioners' sugar and mix thoroughly. Stir in flour mixture by hand until well blended. Gently stir in nuts. Batter will be thick and rather mud-like. Spoon all of the batter into the prepared bundt pan.
- Bake 45 to 50 minutes or until the top is set and the edges begin to pull away from sides of pan. Do NOT use the toothpick test. You don't want the center to solidify with this cake.
- Cool cake upright in the pan on a wire rack for 1 1/2 hours to allow fudge to set. Invert onto a plate to cool thoroughly. Make sure the cake is completely cool before you add the glaze.
- To prepare glaze, combine sifted confectioners' sugar and cocoa. Add 2 tablespoons milk. Mix thoroughly, and add more milk if needed to create a smooth but pourable glaze. Spoon glaze over top of cake, allowing some to run down sides.
- This can be eaten fresh but is even better after being in the fridge overnight. The chocolate flavor deepens. It can also be frozen in slices and thawed/warmed in microwave.
- OM NOM NOM and take an insulin injection.
Bready or Not: Twinkie Cake
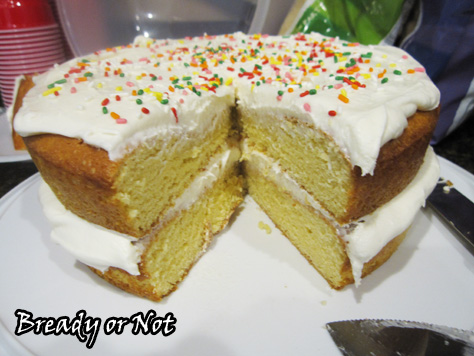
The Clockwork Crown is out next week, and that means this is CAKE MONTH on Bready or Not! We start that off with a glorious layer cake that tastes like a fresh version of a Twinkie.
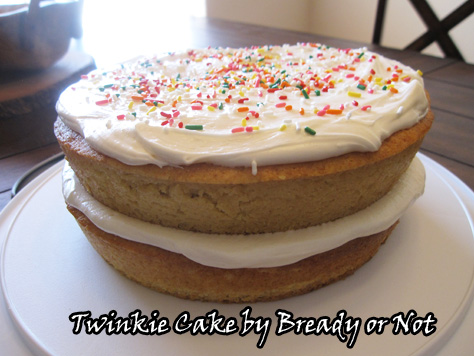
Seriously, that’s what this is. A totally fresh, melt-in-your-mouth version of a Twinkie.
I wanted to make this from scratch because I believe in making my life extra difficult. I found this awesome yellow cake recipe at Mel’s Kitchen. I used the dry ingredients to form my base of the Twinkie Cake.
The good news is that you can make this using a store-bought mix–heck, you could even do it gluten-free!
The marshmallow frosting here is amazing. It’s not overly sweet but it does pack a sugar wallop. Eat a few slices of this and you might have trouble sleeping tonight.
Varied reactions to this cake: “It’s… a Twinkie. That you made?” “Wow.” “You are trying to murder me with diabetes.” “Good grief.” “Don’t tell my doctor I’m eating this.”

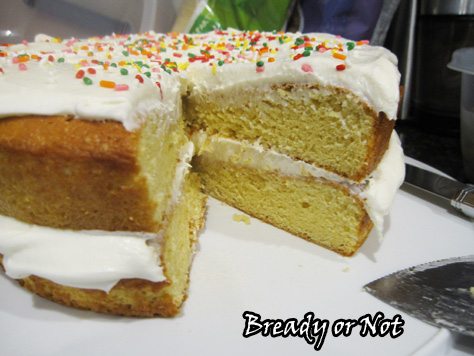
One funny note, too. This was at room temperature for a few hours at a party. When it was down to about a quarter of the cake, the top layer kept sliding off. The frosting layers didn’t budge and the yellow cake didn’t even crumble. I kept going over to slide it back into place again because I’m OCD like that.
Finally, I told my husband we had to finish the cake because it didn’t look right.
The things I do.
Yellow cake mix modified from Mel’s Kitchen and Twinkie Cake modified from Confessions of a Cookbook Queen.

Bready or Not: Twinkie Cake
Ingredients
Homemade dry cake mix:
(Or disregard this section and use a boxed yellow cake mix)
- 2 cups white sugar
- 1 1/2 cups all-purpose flour
- 1 1/2 cups cake flour
- 1/2 cup nonfat dry milk powder
- 1 Tablespoon baking powder
- 1 teaspoon salt
Add to cake mix:
- 5.1 oz box instant vanilla pudding large box
- 2 teaspoons vanilla extract
- 1 cup water
- 1/2 cup salted butter 1 stick, melted and cooled slightly
- 4 large eggs lightly beaten
Filling/Frosting:
- 1/2 cup salted butter 1 stick, room temperature
- 1/4 cup heavy cream
- 1 teaspoon vanilla extract
- 7 oz marshmallow creme
- 3 1/2 cups confectioners' sugar sifted
- rainbow sprinkles if desired
Instructions
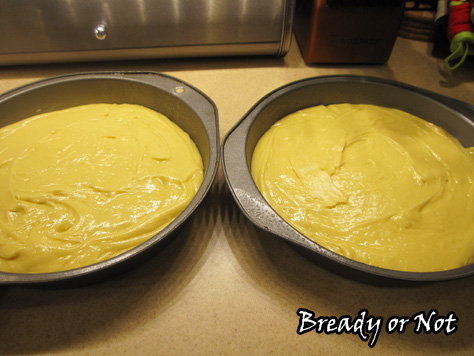
- Preheat oven to 350-degrees. Butter or add nonstick spray to 8 or 9 inch round cake pans, then cut out parchment rounds to place inside each pan, then butter or spray again.
- Combine the dry ingredients of the cake mix (this can be done a day or two ahead of time) or open up a box of yellow cake mix.
- In a large bowl, combine the eggs and butter. Slowly add the cake mix (homemade or store bought), pudding mix, vanilla extract, and water. Beat on medium for a minute or so, until it's smooth and thick.
- Spread batter in the prepared pans. Bake for 20 to 25 minutes, until top is spongy to the touch and/or it passes the toothpick test.
- Cool cakes in pans for a few minutes, then gently run a plastic knife around the edge. Turn cakes out onto wire racks, remove the parchment, and let them completely cool.
For frosting/filling:
- In a mixer, beat together the butter and vanilla extract. Add the jarred marshmallow crème and beat until smooth. Slowly add the powdered sugar and then pour in the heavy cream. Put the mixer on high and beat for a minute or two, until the frosting is light, smooth, and fluffy.
- To assemble the cake, dab some frosting on the cake plate and set the bottom cake layer on top. The frosting dabs will act like glue. Note that this cake doesn't have frosting on the sides. Place about half the marshmallow frosting on the cake layer and even it out. Place the second cake layer on top. Dollop on the rest of the frosting and swirl it to be all pretty. Add sprinkles on top. Store in fridge.
- OM NOM NOM!
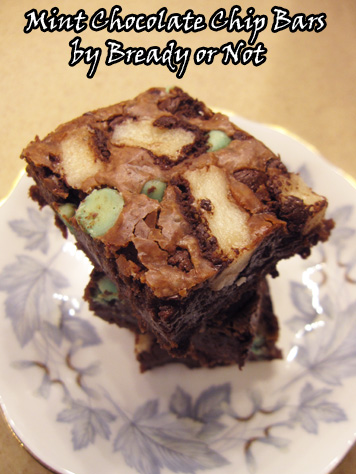
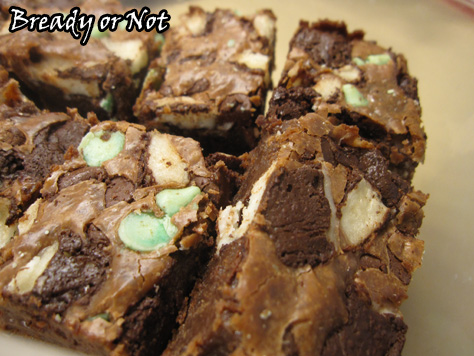
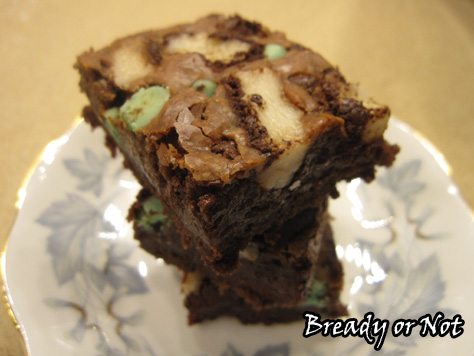
Bready or Not: Mint Chocolate Chip Bars
These super-easy bars are packed with chocolate and minty goodness.
My husband’s favorite flavors include snickerdoodle, lemon, and chocolate mint. I figured I was overdue to revisit that last flavor.
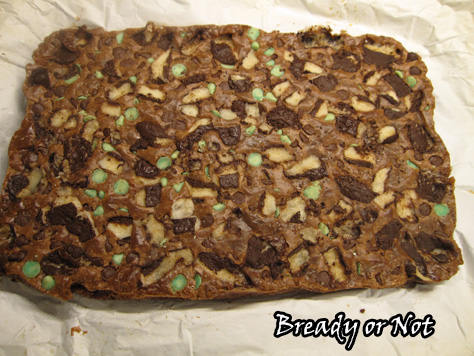
I had a bag of dark chocolate and mint chips I picked up on holiday clearance. Therefore, I used that whole bag to account for the 1 cup of dark chocolate and 1 cup of mint chips. You could easily do this with chocolate from separate bags or even use more York Patties to substitute for the mint chips.
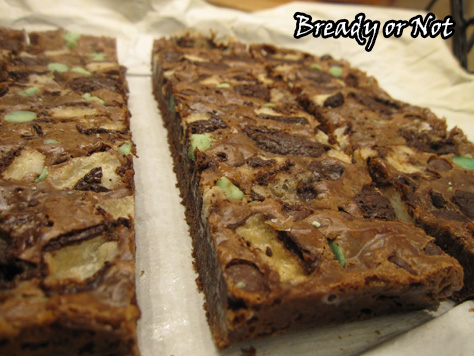
The basic fact is, you want a variety of dark chocolate and mint chocolate, and there are a lot of paths to achieve that. I do like the mix I used here–it’s pretty!
Not only is it photogenic, but it’s pretty darn tasty, too.
Modified from Chocolate Chips Bars at Roxana’s Home Baking.

Bready or Not: Mint Chocolate Chip Bars
Ingredients
Chocolate Layer:
- 2 cups chocolate chips semi-sweet or milk or mixed
- 14 ounce sweetened condensed milk
- 1 teaspoon peppermint extract
Cookie Dough:
- 1 cup unsalted butter room temperature
- 1 cup light brown sugar packed
- 1/2 cup white sugar
- 2 large eggs
- 1 Tablespoon vanilla extract
- 2 cups all-purpose flour
- 1 cup quick-cooking or old-fashioned rolled oats
- 1 teaspoon baking powder
- 1 teaspoon baking soda
- 1 teaspoon kosher salt
- 2 cups mint chocolate chips
Instructions
- Prepare the mint chocolate filling first: Place semi-sweet and/or milk chocolate chips and condensed milk in a small saucepan. Heat on low, stirring often, until everything has melted and the mix has thickened. Remove it from the burner and pour in the peppermint extract and stir. Let the pot cool until it's about room temperature.
- Preheat oven to 350 degrees. Prep a 9x13-inch pan with parchment paper (the combination aluminum foil/parchment paper works well here) and lightly butter or use nonstick spray. Have paper overhang the sides for easy lifting later.
- Prepare the cookie dough: Place the butter and sugars in a large bowl. Mix until smooth and creamy. Add the eggs and vanilla.
- In a separate bowl, whisk together the dry ingredients: flour, oats, baking powder, baking soda and salt. Mix with the butter mixture. Add mint chocolate chips last.
- Place about half the cookie dough in the prepared pan. It will be sticky, but drop it in dollops and smooth it to the edge as best you can. With a solid layer on the bottom, now dollop the cooled chocolate from the saucepan. Use an offset spatula to smooth it to the edges. Plop the rest of the cookie dough on top and don't worry if some chocolate shows through. The dough will ooze out and even as it bakes.
- Bake until lightly browned, about 20 to 25 minutes. Set aside to cool for a few hours, then place in fridge to completely set. Cut into bars. Store in sealed container in fridge or on counter.
OM NOM NOM!
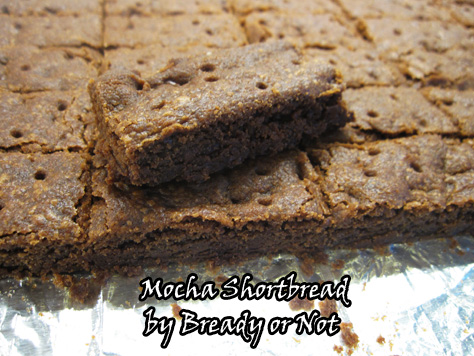
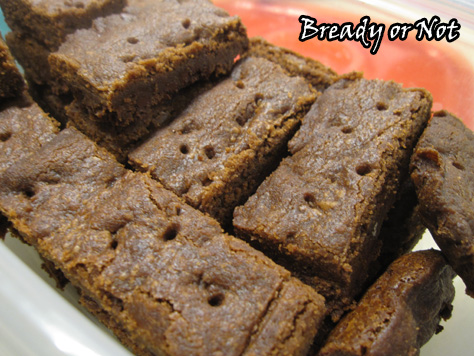
Bready or Not: Mocha Shortbread
Combine the awesomeness of shortbread and chocolate in a single pan!
I loved shortbread from the time I was a kid and we’d buy those precious boxes of Walker’s Shortbread at the Fresno Highland Games. Now you can buy Walker’s everywhere, but in the late ’80s and 1990s? It was a real treat.
This chocolate shortbread is a real treat, too. It creates tender yet firm bars that combine all the best of buttery shortbread, mocha, and espresso.
I first made this by mixing in mini chocolate chips (replacing the cocoa nibs in the original recipe). When I wanted a good cookie recipe to mail during an Arizona summer, I thought of shortbread because it ships and keeps so well, but chocolate chips would melt. Therefore, I made the recipe again with melted chocolate in the dough. The versions tasted the same and the new version shipped cross-country without any issues.
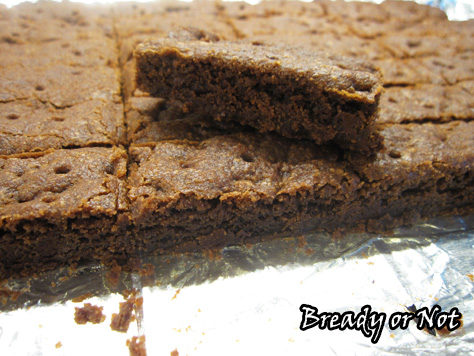
I think the biggest issue here is that it tastes so good–especially with coffee or tea–that there’s a tendency to gobble down shortbread bars as if they are potato chips.
Bet you can’t eat just one!
Modified from Mocha Shortbread as printed in Martha Stewart Living.
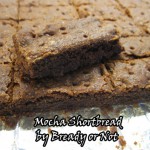
Bready or Not: Mocha Shortbread
Ingredients
- 2 cups all-purpose flour
- 1/4 cup unsweetened cocoa powder sifted
- 1/2 teaspoon coarse salt
- 1 cup unsalted butter 2 sticks, room temperature
- 1 cup white sugar
- 2 teaspoons pure vanilla extract
- 1 Tablespoon instant espresso powder
- 1/2 cup mini chocolate chips either kept whole, or melted in microwave to blend into dough; the latter ships well, even in summer heat
Instructions
- Prepare a 9x13 baking pan with foil or parchment, and apply nonstick spray. In a small bowl, whisk together the flour, cocoa powder, and salt; set aside.
- In a large bowl, beat softened butter with a mixer on medium speed until fluffy and pale, about 5 minutes. Gradually add sugar, beating until mixture is very light, about 2 minutes, then stir in the vanilla extract and espresso powder. Mix about one more minute until it's smooth.
- Slowly pour in the flour mixture and mix until it just comes together. Add in the chocolate (either in chips or melted). Press dough evenly into the prepared pan. Press plastic wrap over the top and use that to smooth the dough with your hands or a spatula. Refrigerate until the dough is firm, at least an hour and up to a day.
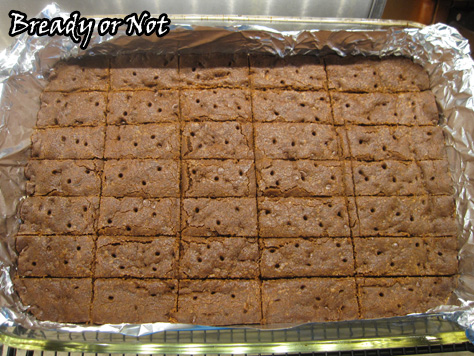
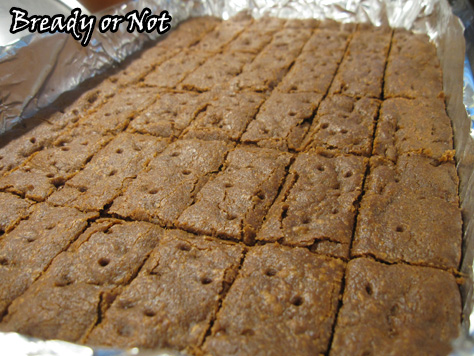
- Preheat oven to 350-degrees. Leaving the dough in the pan, use a knife to slash the dough into small rectangles and then use a fork or chopstick to poke holes in top of each bar.
- Bake until set, 30 to 35 minutes. Let cool in pan on a wire rack 15 minutes, then re-cut bars. Let it cool completely then use the foil or parchment to lift out the shortbread and separate bars. Store covered up to one week.
- OM NOM NOM!
