Bready or Not: Pecan-Whiskey Pumpkin Pie
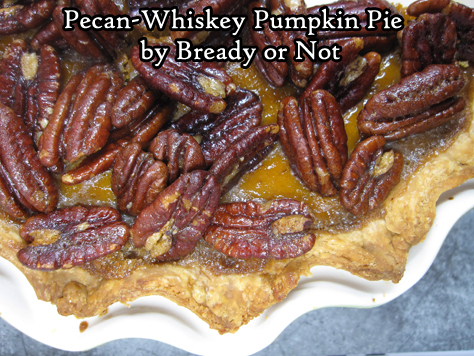
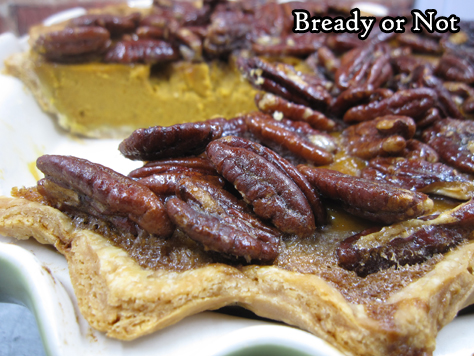
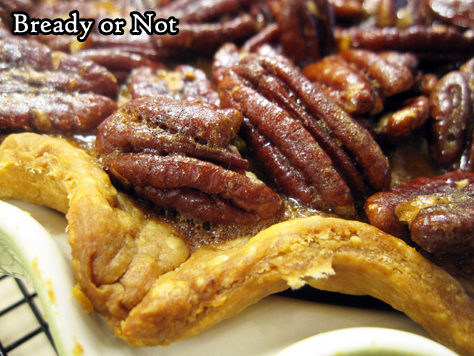
This Pecan-Whiskey Pumpkin Pie is FANCY. It looks fancy, and let me assure you, it tastes fancy.
I’m relieved that the results are amazing, because honestly, this is the most complicated pumpkin pie recipe I have ever made.
I’m used to the basic, yummy Libby’s pie. This pie is substantially more intimidating, but doable.
I found the original recipe in the November 2019 issue of Bon Appetit. I do not like how the original recipe is written. It’s confusing at several points. Therefore, I largely rewrote it, creating what (I hope) is a more straightforward version.
But it is still complicated. I suggest making the pie crust a day ahead, just to avoid dirtying everything all at once.
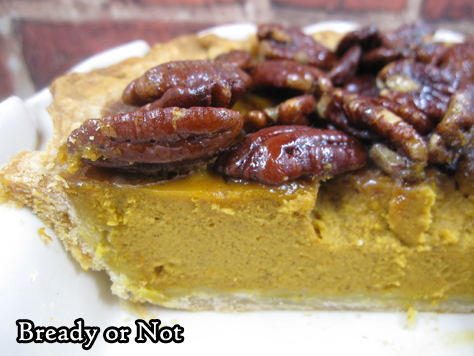
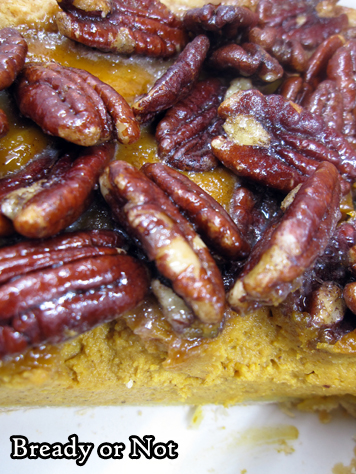
The end result is a pumpkin pie with a custard that is delicately firm and soft, with nuanced spices that perfectly complement the candied pecans on top.
This is a pie to make to impress people. Truly, this is a Bake Off showstopper kind of pie.
Recipe heavily rewritten from original in Bon Appetit November 2019.
Bready or Not: Pecan-Whiskey Pumpkin Pie
Equipment
- deep dish pie pan
- parchment paper
- pie weights
- immersion blender or blender
Ingredients
Crust
- 1 3/4 cups all-purpose flour
- 1 Tablespoon white sugar
- 3/4 teaspoon kosher salt
- 3/4 cup unsalted butter (1 1/2 sticks) cold, cut into pieces
- 3/4 cup ice water
- 1 large egg white reserve yolk to use in pie filling
Pecan Topping
- 1 1/2 cups whole pecans
- 2 Tablespoons brown sugar packed
- pinch kosher salt
- 1 Tablespoon unsalted butter melted
- 1 Tablespoon pure maple syrup
Pumpkin Pie
- 3 large eggs
- 1 egg yolk
- 15 oz pure pumpkin puree
- 3/4 cup heavy cream
- 1/4 cup white sugar
- 2 Tablespoons rye whiskey
- 1 teaspoon ground cinnamon
- 1 teaspoon ground ginger
- 1/4 teaspoon ground nutmeg
- 1/4 teaspoon ground cardamom
- pinch ground cloves
- 6 Tablespoons brown sugar packed
- 2 Tablespoons unsalted butter melted
- 1/4 teaspoon kosher salt
Instructions
Make the crust
- Note that the dough can be made as days in advance and kept chilled. The crust can also be baked a day or two before the pie is finished; keep it covered at room temperature in the meantime.
- Whisk together flour, sugar, and salt. Add butter and coat it with flour, then use fingers to press butter into shaggy pieces of varying sizes. Drizzle in about 5 Tablespoons of cold water and knead it into flour. Add additional small increments of water until dough just starts to come together. There should still be visible pieces of butter.
- Dump dough onto a clean, lightly-floured surface and knead a few more times to work in any dry, shaggy bits. Form the dough into an even, broad disc and encase in plastic wrap. Tuck inside fridge to chill for at least 30 minutes, or up to 3 days.
- To blind-bake crust, preheat oven at 400-degrees.
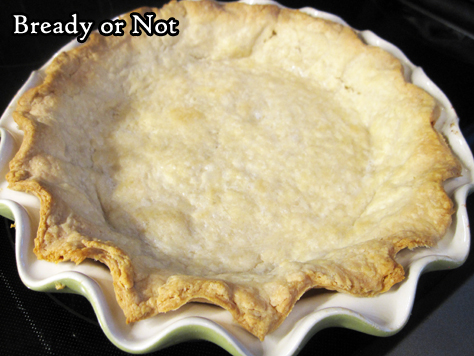
- On a floured surface, roll out dough to make about an even 12-inch round. Loop it over the rolling pin to lift it onto a deep dish pie plate. Shape it into pan. Form the crust edge as desired and trim away any excess dough.
- Line the inside of the crust with parchment paper. Fill entire crust with pie weights, such as dry beans.
- Bake until the edges of the crust start to brown, about 20 minutes. Use parchment to lift out pie weights and set aside to cool--do so with great care!
- Decrease the oven temperature to 350-degrees, and continue to bake for another 20 to 25 minutes. While it is baking, separate an egg; place the white in a bowl and beat it slightly, and reserve the yolk in fridge to use for the pie filling.
- Remove crust from oven. Immediately brush a tablespoon of egg white over the bottom, which will help it resist going soggy once the filling is added. Return crust to oven for another 5 to 10 minutes. Reserve the remaining egg white for use in the pie.
- At this point, the recipe can proceed to the filling stage, or the crust can cool completely and be covered to sit at room temperature for a few days.
Filling
- Heat oven at 350-degrees; set a baking sheet inside oven at heat up, too.
- While mixing the filling ingredients, toast the pecans on a foil-lined rimmed baking sheet for about 8 to 10 minutes, stirring them once at the halfway point. The pecan should be a little darker and fragrant.
- If using an immersion blender, combine the following ingredients in an even-bottomed large pot (a slow cooker pot works for this) or use a large blender (in two batches, if needed). Combine eggs, egg yolk, pumpkin puree, heavy cream, and white sugar. Add the whiskey, cinnamon, ginger, nutmeg, cardamom, cloves, 6 Tablespoons brown sugar, 2 Tablespoons melted butter, and kosher salt. Blend until smooth.
- Pour into crust and bake until the filling is puffed and mostly set--a little wobble is okay--about 40 to 45 minutes.
- While that is finishing up, coat the pecans. Pull out the leftover egg white and whisk in 2 Tablespoons brown sugar and kosher salt. Add maple syrup and Tablespoon of melted butter, stirring until just combined. Add the pecans and toss to coat.
- Carefully use baking sheet to bring out the pie. Use a slotted spoon to add the pecans on top of the pumpkin, letting the excess egg white slurry stay in the bowl.
- Return pie to oven. Bake until filling is completely set, until a butter knife stabbed into center (avoiding pecans) comes out clean. This can take anywhere from 10 to 30 minutes. If necessary, cover the edge of crust with foil to prevent overbrowning.
- Let pie cool at least 2 hours before cutting in, chilling first if desired. Store pie loosely covered by foil at room temperature or in fridge.
OM NOM NOM!
Read More
Bready or Not Original: Lemon Frangipane with Shortcrust Pastry
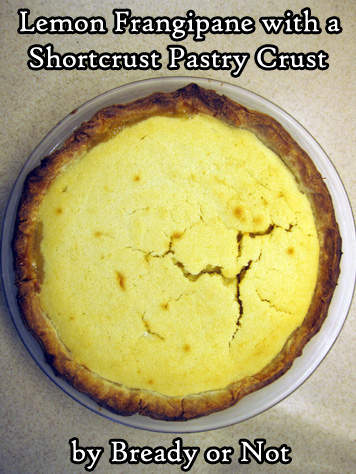
To finish off Lemon Month, I present a Lemon Frangipane along with a bonus recipe for Shortcrust Pastry.
What is frangipane? It’s a sweet filling made from almonds. It can be used in cookies, pastries, or–in this case–a shortcrust pie crust.
The nutty flavor of frangipane isn’t upfront in this recipe. This one is really all about lemony freshness, which happens to complement frangipane nicely.
The shortcrust recipe is a good, basic pie crust recipe, one that is doable even for beginning bakers. The dough can be made days or weeks in advance.
I first encountered frangipane on the Great British Bake Off. Since I associated it with fancy bakes, I was a bit intimidated about trying it myself, but this recipe makes it straightforward.
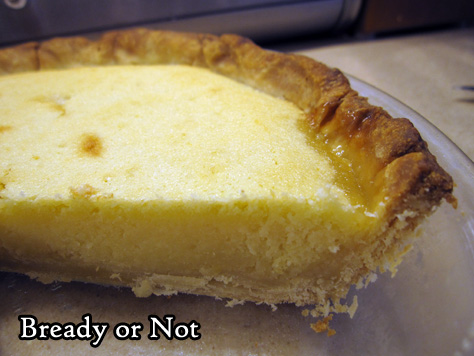
The end result is a lemony fresh frangipane with a crisp, delicious homemade crust. A crust that, thanks to being blind-baked first, should not have a soggy bottom.
Bready or Not Original : Sweet Shortcrust Pastry
Equipment
- food scale
- parchment paper
- pie weights
Ingredients
- 225 grams all-purpose flour
- 4 Tablespoons confectioners' sugar
- 150 grams cold butter cut into small cubes
- 1 large egg beaten
- 2 Tablespoons cold water plus more as needed
Instructions
- Mix flour and confectioners' sugar in a large bowl. Add pieces of butter and rub in with fingertips to break into smaller, flatter morsels. Make a well in the middle and add the beaten egg and one tablespoon of water. Use fingers to work in a bit before adding the second tablespoon.
- Work dough until it begins to lump together! Drizzle in tiny increments of additional water, if needed, to make it cohesive. The dough should be able to come together in a ball, not gluey.
- Wrap dough in plastic wrap and stash in fridge for at least 20 minutes--or for a few days, or freeze until ready to use.
- When ready to blind-bake crust, preheat oven at 375-degrees (180 C, Gas 5). Lightly grease pie plate.
- Lightly flour work surface. Use rolling pin to roll dough into proper size for your pan, at about 1/2 cm thickness. Gently set dough into dish and press into place. Make sure excessive amounts of dough don't stick out over the edge but do NOT trim exactly to edge yet.
- Cover the pastry surface with parchment paper. Use dried beans or other pie weights to completely fill plate. If using a 9-inch pie plate, bake for 20 to 25 minutes, until crust takes on a light golden color; for a smaller plate, reduce time and monitor color.
- Use parchment to lift out pie weights. Use a knife to trim excess dough from edge to form a nice, neat line. Follow filling recipe from here on and bake again as necessary.
OM NOM NOM!
Bready or Not Original: Lemon Frangipane with Shortcrust Pastry
Equipment
- 9-inch shallow pie/quiche plate
Ingredients
- 1 shortcrust pastry crust already partially baked
- 2 Tablespoons lemon curd
- 1/2 cup unsalted butter 1 stick, room temperature
- 1/2 cup white sugar
- 2 eggs room temperature
- 1 1/3 cup ground almonds sifted
- 2 1/2 Tablespoons all-purpose flour or substitute with extra ground almonds
- 1 lemon zested and juiced
- 1 Tablespoon lemon juice
- 4 Tablespoons milk or half & half
Instructions
- Preheat oven at 375-degrees (190C, Gas 5).
- Warm the lemon curd in the microwave for only 5-10 seconds, long enough to make it looser and more spreadable. Brush all over the bottom of the crust.
- In a large bowl, cream together butter and sugar until light and fluffy. Beat in eggs, one at a time. Add almond flour, flour, and lemon zest. Follow up with a tablespoon of lemon juice and the milk. Mix until just cohesive.
- Pour filling into crust. Bake for 25 minutes, or until it passes the toothpick test in center. If parts of the filling uplift in crazy ways, worry not--it should even out as it cools.
- Cool pan for an hour at room temperature for an hour to set. Cut into it then, or chill in fridge to enjoy later. Keep stored in fridge with foil covering.
OM NOM NOM!
Bready or Not Classic: Oatmeal Cream Pies
I prepared two classic recipes to repost while I was on vacation this summer. That isn’t happening now. Therefore, I’m sharing them earlier with the hope that my fellow #stressbakers can enjoy them. Eat well and stay safe out there!
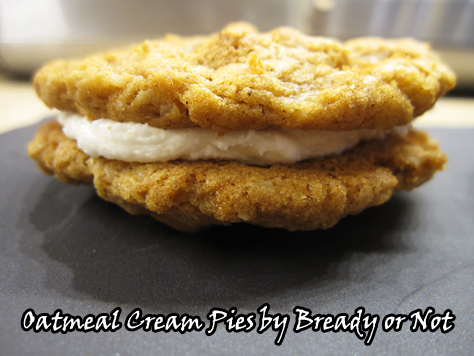
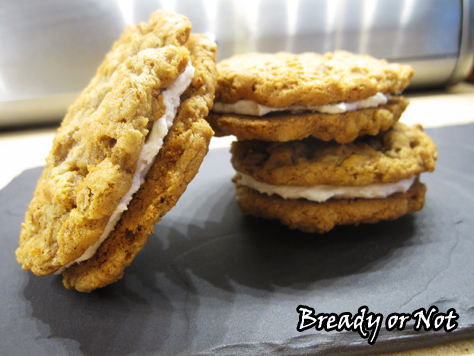
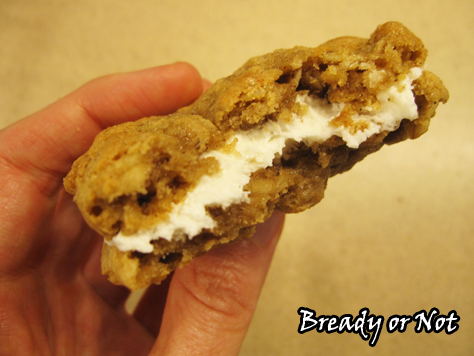
Today I present something seriously delicious: Oatmeal Cream Pies, aka Sandwich Cookies.
These things are about the size of a sandwich, too, and about as filling because of the chewy oatmeal cookies. You have two tablespoons worth of dough with a teaspoon of marshmallow cream between them. So yeah.
I don’t think I’d make smaller cookies, though, for sheer reasons of space and time. The recipe makes over four dozen cookies, which makes for over two dozen sandwich cookies. This is a recipe to make for a lot of hungry adults or kids!
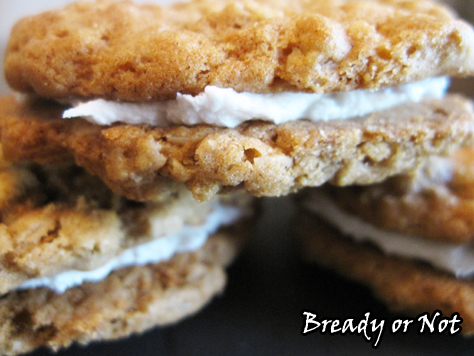
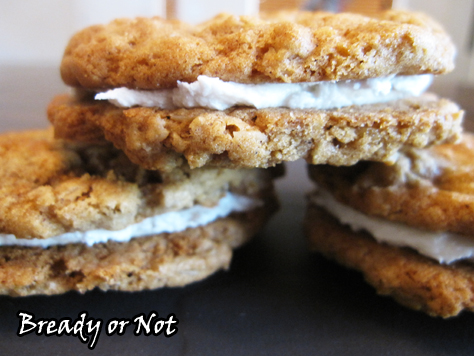
If you love commercial-made cream pies like the ones from Little Debbie, these homemade ones will blow your mind. They have that same taste and texture, but with some extra chewy freshness.
I highly advise that you use tablespoon and teaspoon scoops for this recipe, too. It helps a lot if the cookies are of uniform size and that the amount of filling is equally distributed.
Modified from Taste of Home.
Bready or Not: Oatmeal Cream Pies
Ingredients
Cookies:
- 1 1/2 cups shortening
- 2 2/3 cups brown sugar packed
- 4 large eggs
- 2 teaspoons vanilla extract
- 2 1/4 cups all-purpose flour
- 2 teaspoons ground cinnamon
- 1 1/2 teaspoons baking soda
- 1 teaspoon salt
- 1/2 teaspoon ground nutmeg
- 4 cups old-fashioned rolled oats
Filling:
- 3/4 cup shortening
- 3 cups confectioners' sugar sifted
- 7 oz marshmallow creme 1 jar
- 1 - 3 Tablespoons milk or half & half
Instructions
- Preheat the oven at 350-degrees. In a large bowl, cream together the shortening and brown sugar until they are light and fluffy. Beat in eggs, one at a time, followed by the vanilla extract.
- In another bowl, combine the flour, cinnamon, baking soda, salt and nutmeg; gradually add this dry mix to the creamed mix. Stir in oats. If you're using a stand mixer, you'll probably need to stir the last of the oats in by hand. This is a lot of dough!
- Use a tablespoon scoop to dole out the dough onto a cookie sheet, keeping two inches between each spoonful. These will spread.
- Bake for 10 to 12 minutes; they brown very fast, so keep an eye on them at the end. Remove them when they are turning golden brown. Let sit on cookie sheet for 10 minutes before transitioning them to a rack to cool.
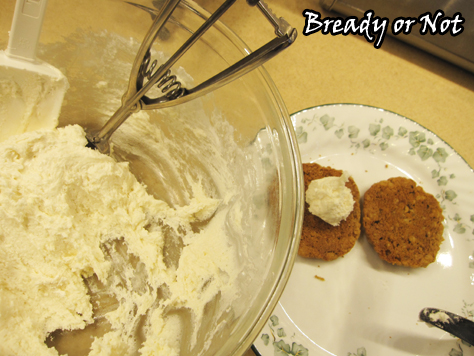
- To make the filling, start by sifting the confectioners' sugar into a large bowl. Add the shortening and marshmallow crème. Add a tablespoon of milk and gradually add more as needed to get it to spreadable consistency. Use a heaping teaspoon to dollop filling onto the base of a cookie. Spread it with a knife, top with another cookie, and press together to get cream to the edges.
- End result: about 30 large sandwich cookies.
- OM NOM NOM!
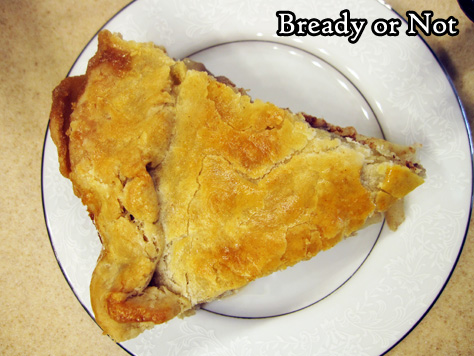
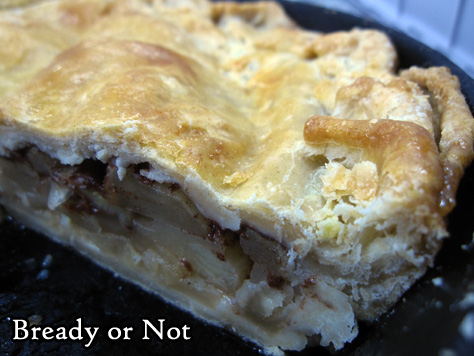
Bready or Not Original: Iron-Skillet Apple Pie with Ginger Liqueur
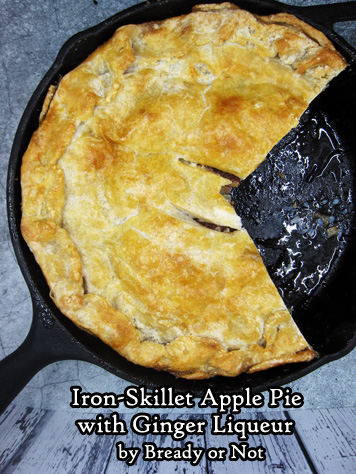
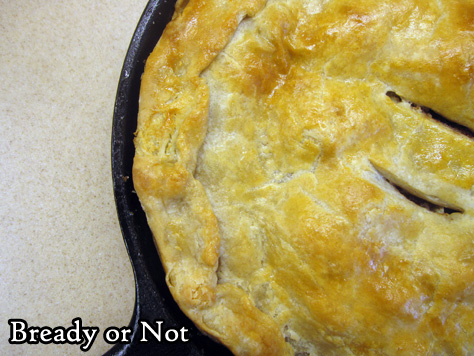
A trusty cast iron skillet bakes up a beautiful apple pie in this delicious recipe.
This pie is also special because it includes a drizzle of ginger liqueur. I posted a recipe a few weeks ago on how to make a cheap, sublime version at home in under a week.
The ginger liqueur does add some lovely nuance to this pie, too–the complexity and freshness come across in a different way than, say, using some lemon juice on the sliced apples as I sometimes do to prevent them from browning.
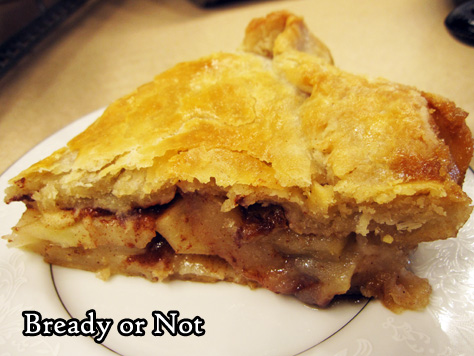
The whole process of this recipe is pretty neat, too. The biggest dose of sweetness is actually at the bottom of the pie, as butter and brown sugar are baked into the bottom crust!
I had to make this recipe three times to finally figure out the right balance of ingredients and how best to bake it. The second try was the most disastrous, as I ended up with the dreaded soggy bottom.
Do be sure to follow the advice to use a rimmed cookie sheet in the oven. It’ll catch the overflow from the skillet and save you from suffering a soggy bottom.
Click here for my Homemade Ginger Liqueur Recipe
Bready or Not Original: Iron-Skillet Apple Pie with Ginger Liqueur
Ingredients
Skillet base:
- 1/4 cup unsalted butter half cube
- 1/2 cup brown sugar packed
Pie:
- 2 prepared rounds of piecrust dough bought or made
- 1/4 cup white sugar
- 2 teaspoons cinnamon
- 2 teaspoons flour
- 5 Granny Smith and/or Honeycrisp apples peeled, cored, and sliced
- 1/4 cup ginger liqueur
For top:
- 1 egg slightly beaten with 1 teaspoon water, for egg wash
Instructions
- Preheat oven at 350-degrees with a large rimmed cookie sheet in the oven. [THIS IS IMPORTANT. The skillet will likely overflow as it bakes and the hot cookie sheet will also reduce the likelihood of a soggy pie bottom.] Add butter to skillet and place in oven until butter is melted. Remove skillet; stir in brown sugar, then return to oven until sugar starts bubbling, about 10 to 15 more minutes.
- In the meantime, in a small bowl combine the white sugar, cinnamon, and flour. Set aside.
- Roll out one of the pie crusts, if not already done. Carefully lay crust inside hot skillet so that bottom and sides are covered. Pour apple slices inside. Drizzle liqueur over the apples, followed by the dry ingredients.
- Roll out second pie crust. Lay atop the mounded pie. Wary of the hot pan, tuck the crusts together as much as possible. Cut several slits in the top of the pie.
- Brush egg wash over the top crust. Set pie on top of hot cookie sheet in oven.
- Bake until pie is golden brown and apples are tender when jabbed with a fork, about 45 to 50 minutes.
- Let cool at least 30 minutes before cutting. Store covered with foil, at room temperature or in fridge.
- OM NOM NOM!
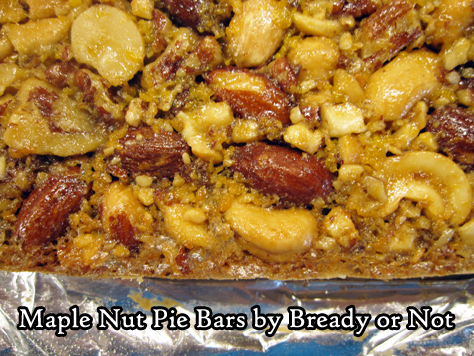
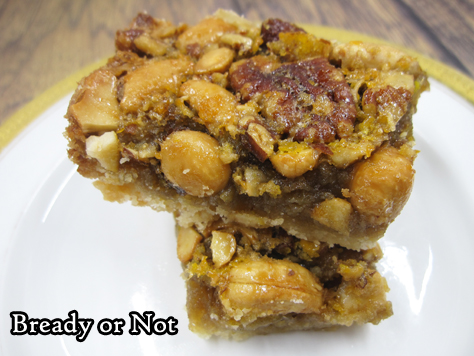
Bready or Not: Maple Nut Pie Bars
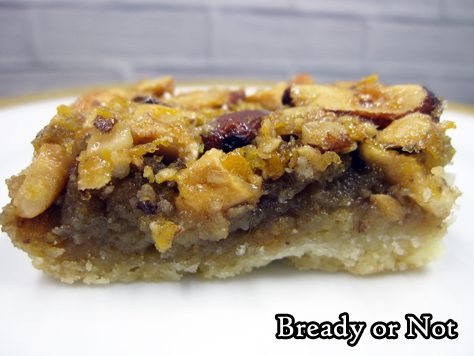
Bready or Not returns to the theme of maple goodness with these delicious Maple Nut Pie Bars.
These are like pecan pie, but BETTER because they are portable and easily shared. And really, I love the variety of nuts.
That ‘easily shared’ bit is important, as this recipe bakes up an entire 13×9-inch dish of goodness. That’s quite a bounty to keep to oneself.
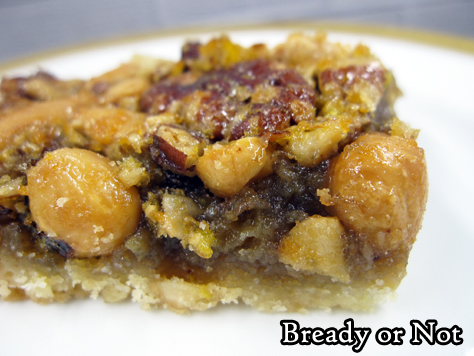
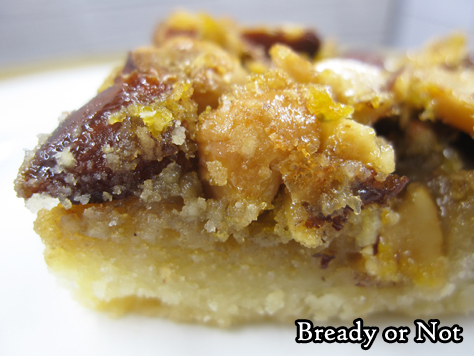
Each bar is exquisite, too: a shortbread base covered with sweetened mixed nuts. The variety of tastes and textures is perfection.
Store these in the fridge when all is done, and note that you can also freeze them for later. Make the goodness last even longer!
Modified from Brownies & Bars Magazine.
Bready or Not: Maple Nut Pie Bars
Ingredients
- 1 1/2 cups all-purpose flour
- 2/3 cup confectioners' sugar
- 1/4 teaspoon salt
- 2/3 cup unsalted butter room temperature
- 3 eggs room temperature
- 1 1/4 cups mixed nuts chopped
- 3/4 cup brown sugar packed
- 3/4 cup pure maple syrup
- 3 Tablespoons unsalted butter melted
- 1/2 teaspoon maple flavor or substitute 1 teaspoon vanilla extract
Instructions
- Preheat oven at 350-degrees. Line a 13x9 pan with foil and grease with nonstick spray or butter. Set aside.
- In a medium bowl, stir together the flour, powdered sugar, and salt. Use a pastry blender or a knife and fork to cut in the butter until it resembles small crumbs. Evenly press into the bottom of the pan. Bake for about 20 minutes, until light brown.
- As that bakes, make the filling. In a medium bowl, lightly stir the eggs. Add the mixed nuts, brown sugar, maple syrup, melted butter, and maple flavoring. Spread over the hot crust.
- Bake for another 18 to 20 minutes, until top is golden and set. Cool in pan for several hours. Lift contents onto a cutting board using the foil and slice into bars.
- Store with waxed paper between layers in a sealed container in fridge. Bars can also be frozen for later enjoyment.
- OM NOM NOM!
Bready or Not: Pumpkin Pie Snickerdoodle Bars
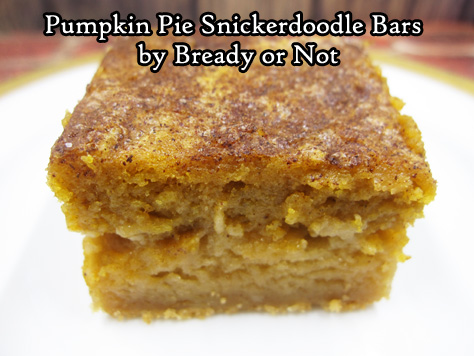
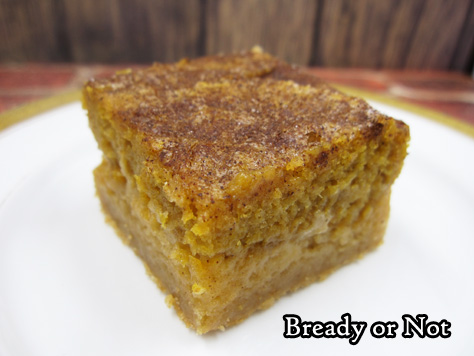
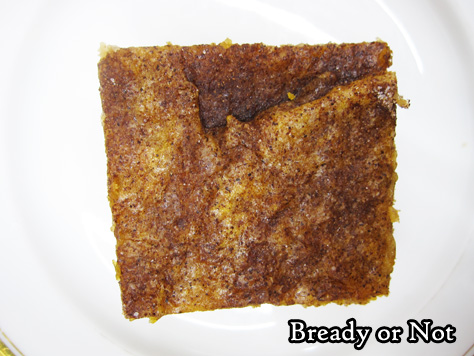
Happy Halloween! Today I bring you a major treat, no tricks. These Pumpkin Pie Snickerdoodle Bars will boggle your mind in the best kind of way.
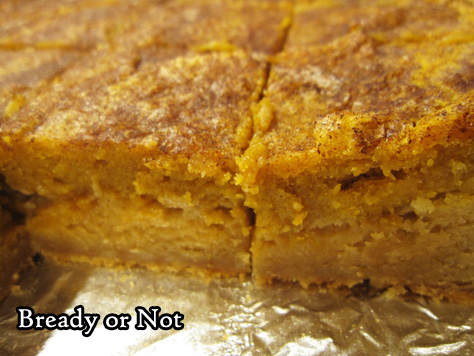
That’s because these bars really do, in fact, taste like a combination of Snickerdoodles and Pumpkin Pie. Crazy, right?
And since those two things are delicious, that means these bars are REALLY REALLY GOOD. Not just the flavors, but the combination of textures.
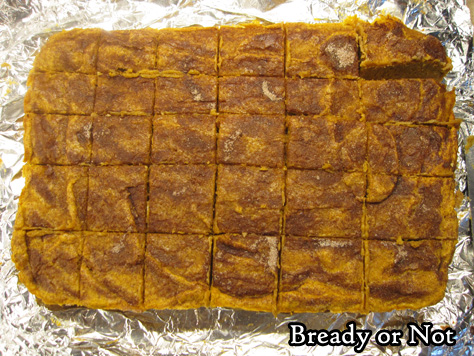
That’s because these are soft and dense, easy to eat in hand or with a fork. The ones in the middle might end up a little gooier, though. Not necessarily a bad thing.
The list of ingredients looks long but it actually comes together pretty fast. The ingredients are so alike, I didn’t even bother washing the bowl and beater, which saved a lot of time and effort.
This makes a full 13×9 pan, so this is perfect for a potluck or family gathering. They might get softer after the two day point, but they will still be tasty.
Bready or Not: Pumpkin Pie Snickerdoodle Bars
Ingredients
Cookie Layer
- 1 cup unsalted butter 2 sticks, room temperature
- 2 cups brown sugar packed
- 2 eggs room temperature
- 1 Tablespoon vanilla extract
- 3 cups all-purpose flour
- 1 teaspoon baking powder
- 1/2 teaspoon salt
- 1/2 teaspoon cream of tartar
Pumpkin Pie Layer
- 1/2 cup unsalted butter 1 stick, room temperature
- 1 cup white sugar
- 2 eggs room temperature
- 1 teaspoon vanilla extract
- 1/2 teaspoon baking powder
- 1/2 teaspoon salt
- 1 teaspoon pumpkin pie spice heaping
- 1 cup all-purpose flour
- 15 ounce pumpkin puree
Topping
- 2 Tablespoons white sugar
- 1 teaspoon cinnamon
Instructions
- Preheat oven at 350-degrees. Line a 13x9 pan with foil and apply nonstick spray or butter.
- To make the cookie layer, cream together the butter and brown sugar. Once they are smooth, add the eggs and vanilla. Next, mix in the dry ingredients: flour, baking powder, salt, and cream of tartar. Spread the mixture evenly in the pan.
- Next up is the pumpkin pie layer. No need to wash the bowl. Cream together the butter and sugar followed by the eggs and vanilla. Add the baking powder, salt, pumpkin pie spice, and flour. Once they are just mixed, fold in the pumpkin puree. Spread the everything over the cookie layer.
- Spoon together the topping and add it evenly over the top of the dough.
- Bake for 38 to 41 minutes, until toothpick inserted in the center comes out clean (though it may still be softer when cut). Cool at room temperature at least an hour, then chill in fridge for several hours. Use the foil to lift the contents onto a cutting board to slice up.
- Keep stored chilled in a sealed container between waxed paper layers. Best consumed within 2 days; bars get mushier after that, but are still tasty.
- OM NOM NOM!


